Chocolate Favours

Written and Created by PaperCraftCentral Susan


Chocolate Favours make parties and events special. It shows everyone that you have spent time and care on them and thought about them before they came to the party. A friend made me one of these and I loved receiving it. I decided to make some of my own and show you how I made them so you could have the same pleasure of giving.

These little wraps or baskets are so nice to make for your next party. Here's a simple one to start with.

"The 12-step chocoholics program:
NEVER BE MORE THAN 12 STEPS AWAY FROM CHOCOLATE!
~Terry Moore"
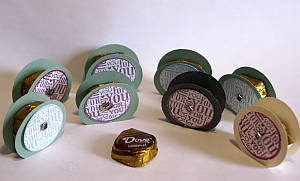

chocolate favours

How to Make Chocolate Favours

What You Will Need:


It need not take a lot of time and effort to make something cute and special for your next occasion.

I made these with

  • Two circle punches
  • A stamp set (I chose the centre of the (retired) For You Flower stamp from Stampin' Up!) and ink
  • A crop-a-dile
  • Some gems with split posts
  • Small wrapped sweets(I used Dove chocolates)
  • Cardstock

There's a place for you to upload your own party favor ideas at the bottom of the page. Scroll down to see!
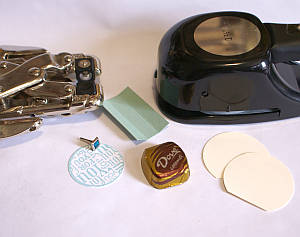

Candy favor supplies

Here's what to do:


  • Stamp and punch out your circle images with the smaller punch, then
  • Cut two circles out of cardstock with your larger punch
  • Be sure to give the circles a flat bottom, either by their positioning in the punch or you can cut them off with a paper trimmer later
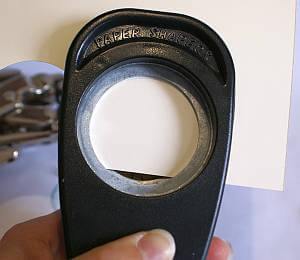
Circle punch technique

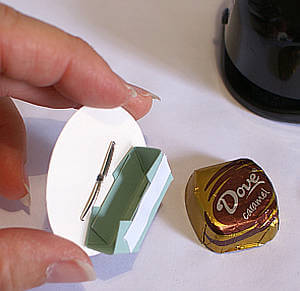
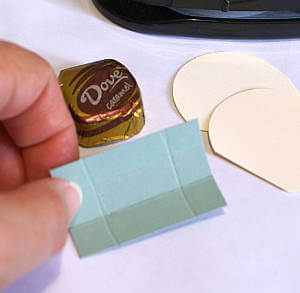
  • Next, measure the bottom of your chosen sweet and cut a piece of cardstock that measures about twice as long as the lolly.
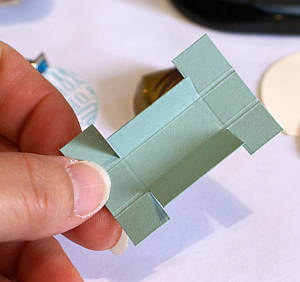
  • Score the cardstock about 1cm (1/2") in on both sides and across the ends as shown, so that the sweet will fit in between the score lines easily

  • Cardstock chocolate holder

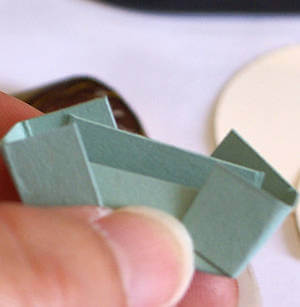
  • Fold and crease along score lines with a bone folder.

  • Now cut the end pieces as shown so they can bend up

  • Cardstock chocolate holder
    chocolate favour holder

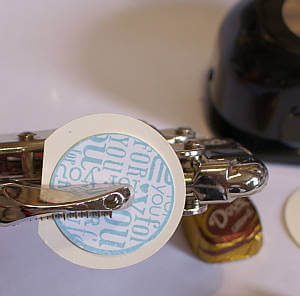
  • Now use the Crop-A-Dile to punch a hole in the middle of your stamped circle and your circle with a flat bottom so that the split post gem can be inserted
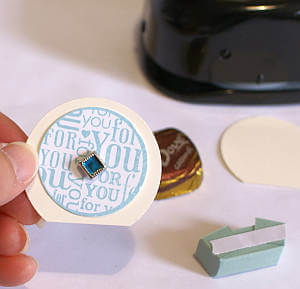
  • Place some double sided tape on the sweet basket as shown, on both sides

  • Crop-a-dile punch

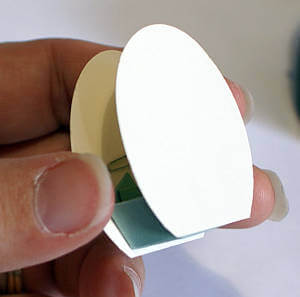
  • Add a decorated circle to one side of the basket, pressing firmly to ensure a good adhesion with the double sided tape
  • Then add the other circle and adhere as shown

  • Layered circles
    Assembling chocolate party favors

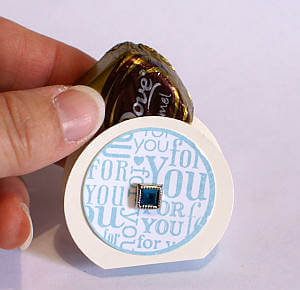
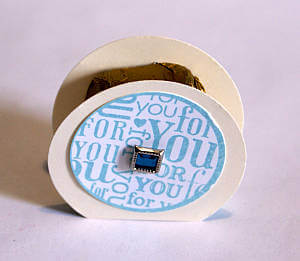
  • Now you can add your sweet and step back to admire your work!

  • Chocolate party favour basket
    Party favor idea
    Handmade chocolate party favor

    You could make Chocolate Favours in any theme you want, making them as large or as small as your punches or dies allow, and decorating them as much or s little as you like. When you do, I would love to see them!


    Do You Have A 3-d PaperCraft Project To Share?

    Do you make 3-d PaperCraft items? I'd love to see your work. Please do share below.

    [ ? ]

    Upload A Picture [ ? ]


    Click here to upload more images (optional)

    Author Information (optional)

    To receive credit as the author, enter your information below.

    (first or full name)

    (e.g., City, State, Country)

    Submit Your Contribution

    •  submission guidelines.


    (You can preview and edit on the next page)


    1. Home
    2. 3d Paper Projects
    3. Dove Chocolate Party Favours

    New! Comments

    Have your say about what you just read! Leave me a comment in the box below.

    Share this page: What's this?

    Enjoy this page? Please pay it forward. Here's how ...

    Would you prefer to share this page with others by linking to it? Click on the HTML link code below. Copy and paste it, adding a note of your own, into your blog, a Web page, forums, a blog comment, your Facebook account, or anywhere that someone would find this page valuable.

    var l = window.location.href, d = document; document.write('<form action="#"><div style="text-align:center"><textarea cols="50" rows="2" onclick="this.select();"><a href="'+l+'">'+d.title+'</a></textarea></div></form>');