- Home
- Papercraft Adhesives
- Faux Metal Technique
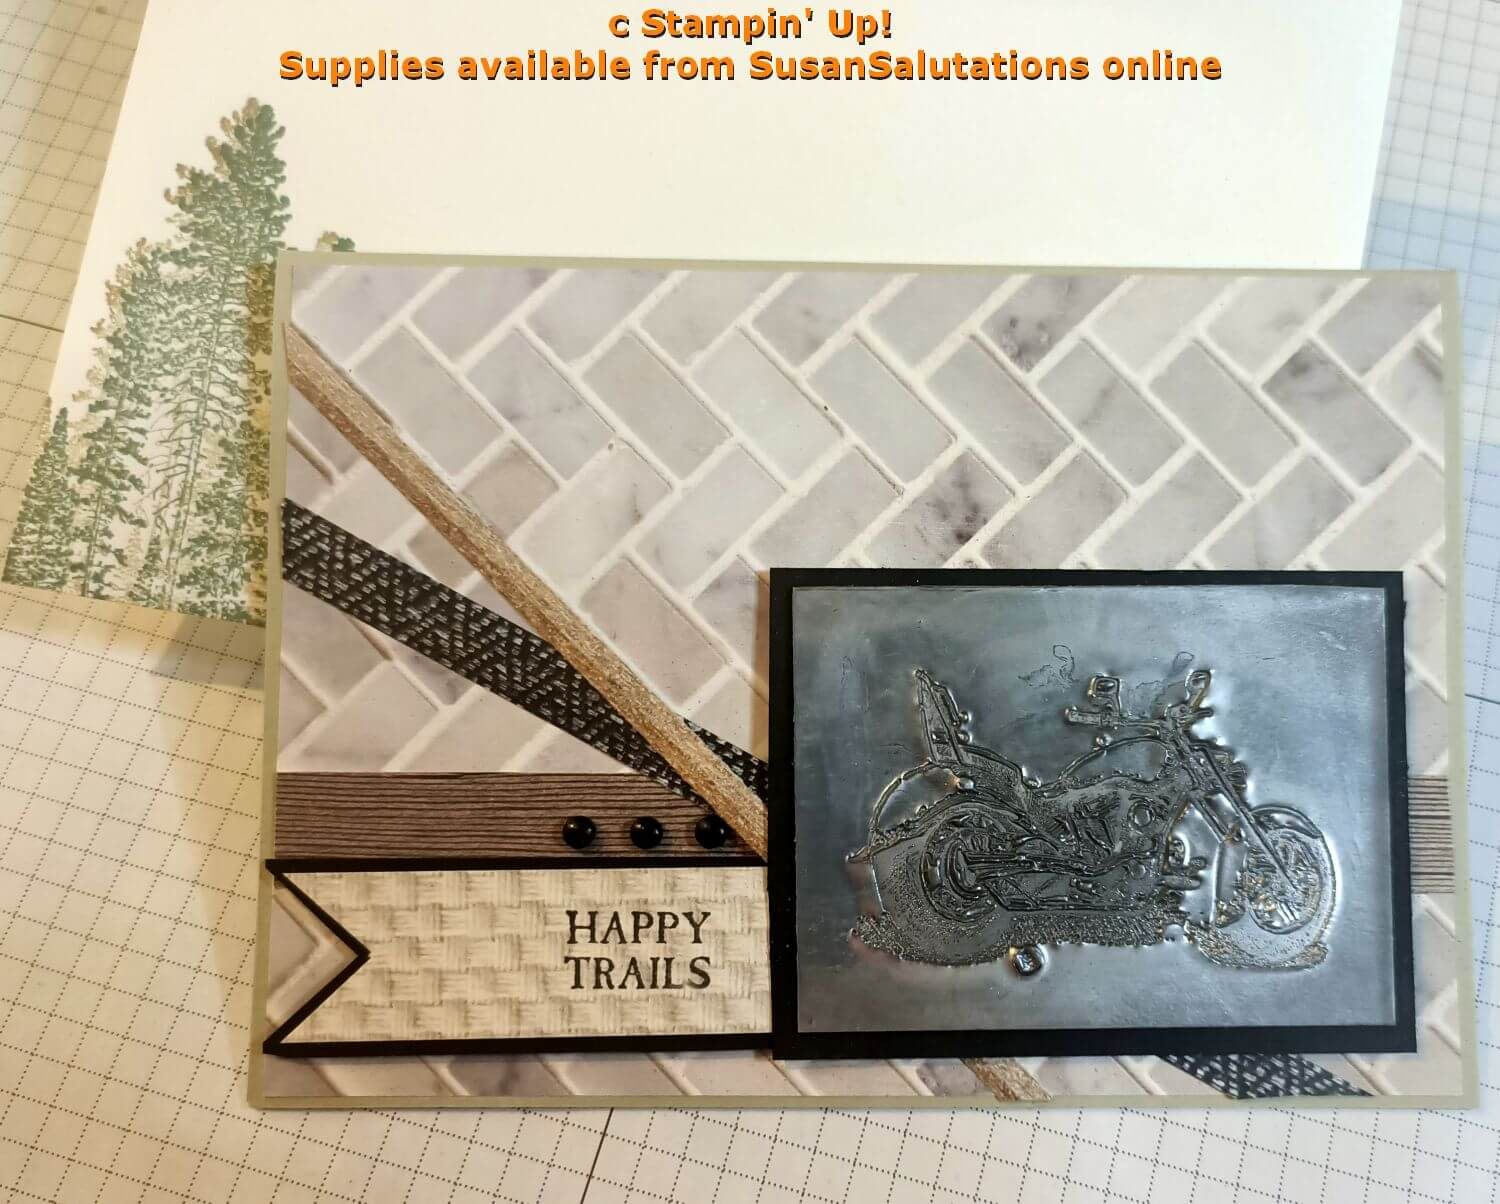
Motorcycle Card
Written and Created by PaperCraftCentral Susan
Make a motorcycle card using the faux metal technique.
"The best alarm clock is sunshine on chrome"
~Anonymous
A motorcycle card needs to be shiny, right? Like the quote
says, the chrome on a well-looked-after machine gleams. It's one of the
things that makes me stare.
Polish up that chrome, I say.

How I Made My Motorcycle Card
Getting a metallic effect in the card making world for your favourite biker is actually not too difficult.
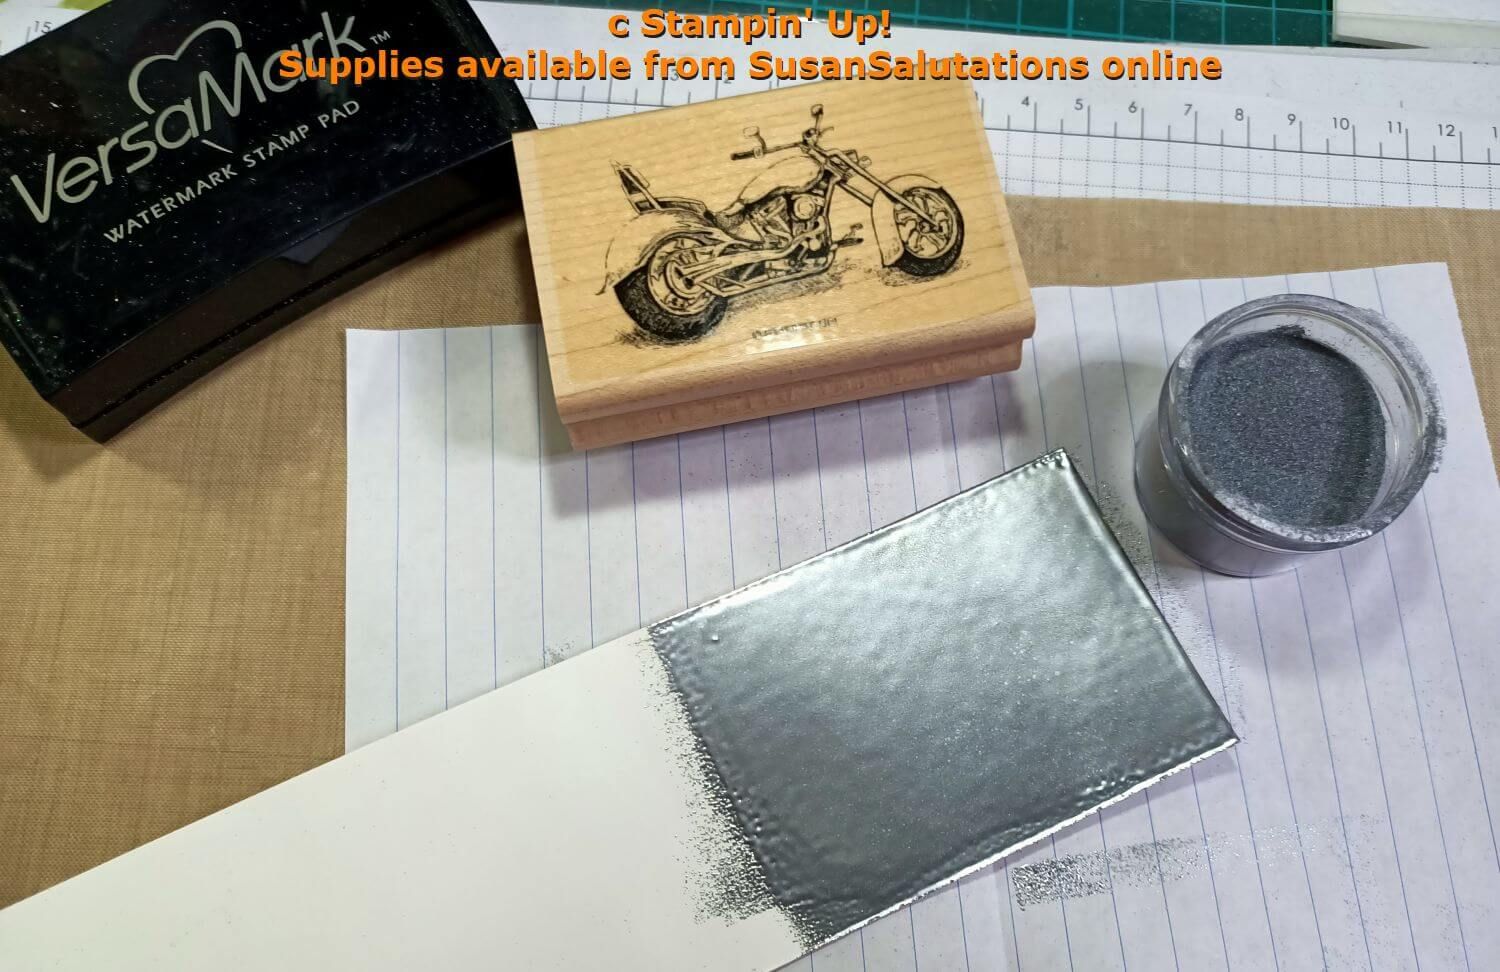
All you need is lots of silver embossing powder and a heat tool, Versamark ink, a rubber stamp with a suitably impressive image on it, and some cardstock.
I used Basic White but there is nothing wrong with starting with another colour such as Basic Black or even a sparkly silver or another colour, as long as the cardstock will take many layers of embossing powder.
I just
love that Stampin' Up! gave us such a great rubber stamp to play with in
the Australian 2011 Autumn-Winter Mini catalogue. Too bad it was retired
in the next catalogue though there are usually some metallic images, in the new catalogue. Stampin' Up! usually features a vehicle of some sort in their stamp set range each season. You may not always find a motorbike but I have seen a couple of cute scooters and even robots.
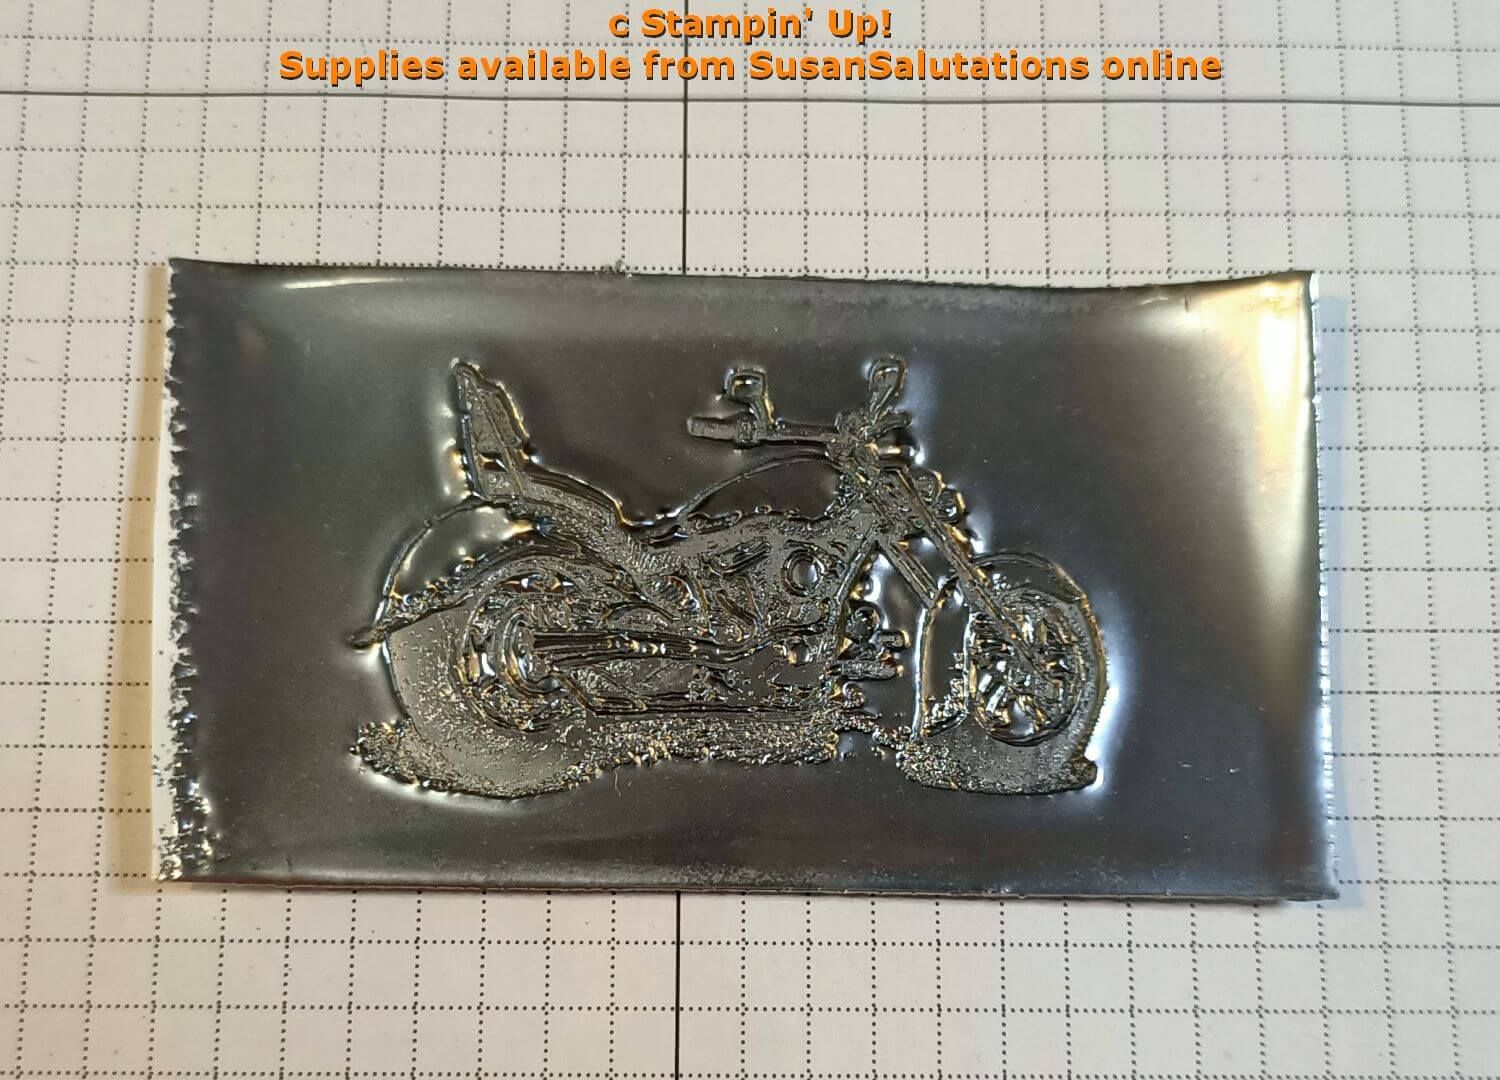
Making your greeting card machine shine is simply a matter of laying down enough layers of embossing powder to make a pool for your rubber stamp to chisel an image into while it is still hot.
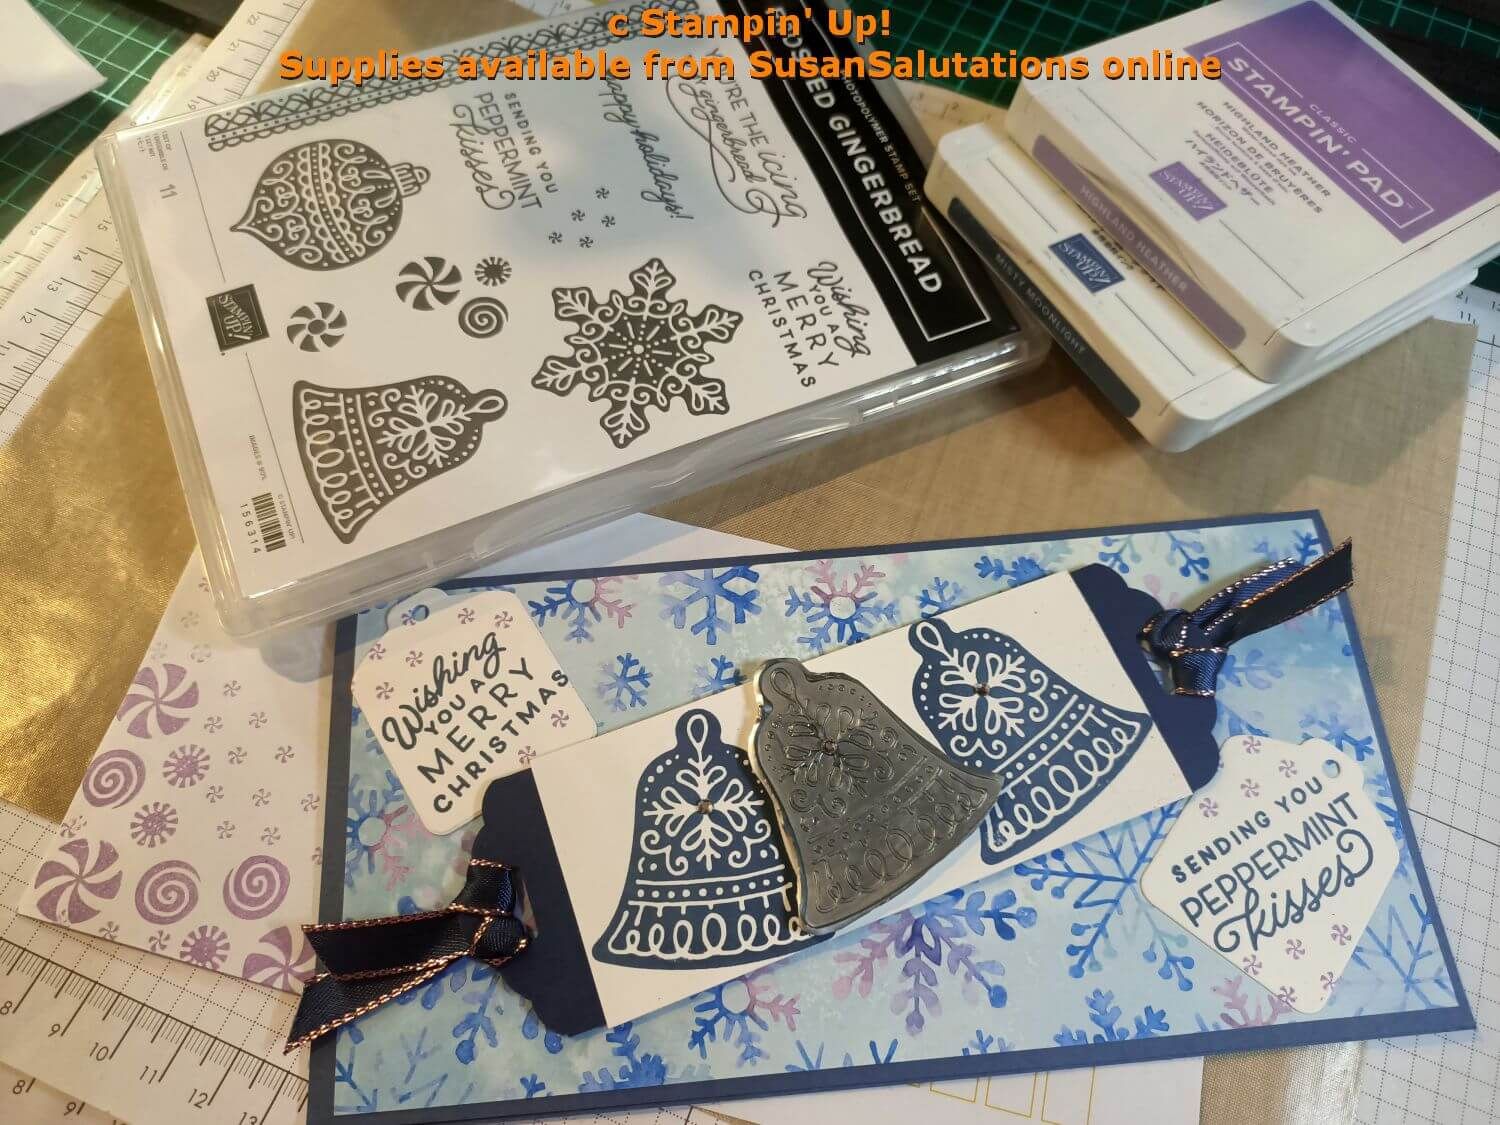
Here are some faux metal hearts and other images if you want to see other examples of the technique described on this page.
The only problem I had with getting this nice silver image was that the stamp was large-ish and it required a couple of goes for me to get a complete and satisfactory bike.
I did wind up adding quite a few more layers of embossing powder layers to my cardstock before I was happy with the molten pool I could make to take the stamp.
Here's a video I made showing you how to make a faux metal element:

You Will Need:
- Cardstock of choice to take the size of your image. This can be a cut shape or if you are making more organic shapes, try a torn shape. You need to leave some extra cardstock so you can hang on to the element while it is being heated over and over.
- Versamark ink pad
- Embossing Powder of choice (I chose silver but any metallic powder will work)
- Heat Tool
- Rubber or acrylic stamp. I chose to make a motorcycle card
NOTE: This technique will not harm rubber or acrylic stamps. Acrylic stamps are often not as deeply etched as a rubber stamp or vice versa, but the technique still works.

Instructions for Making Faux Metal
- Swipe and tap your piece of cardstock with Versamark ink
- Pour embossing powder on the Versamarked cardstock and tap off the excess
- Use the heat tool to melt the embossing powder
- Repeat steps two and three several times
- While the last layer of embossing powder is still warm/molten, work quickly to stamp your stamp in Versamark ink (it helps to stop it sticking) and press your stamp into the heated layers of embossing powder
- Let the stamp stay in the embossing powder till it has cooled down a little
- Gently peel the stamp off the embossing powder
Troubleshooting
- If you do not get a complete image the first time you stamp into the hot embossing powder, simply re-heat it and the first image will melt back into the molten pool so that you can have another go
- If you keep getting partial images, remelt the embossing powder and add another layer or two of Versamark and embossing powder, making sure you melt them thoroughly together
- Be sure to stamp while the
melted embossing powder is still hot and liquid. Be as quick as you can!
The melted embossing powder pools and hardens quickly once you take the
heat gun away. But you can always re-heat it if you haven't been quick enough
- Be sure you leave your stamp in the melted embossing powder pool till it completely cools and hardens. This will not hurt your stamp but will help set the image well
- You can punch or die cut your faux metal image when it is done!
If you make a faux metal card with a large-ish stamp, I would love to see your work. Maybe you already have the motorcycle card stamp and can do better than I did! Do share :)
Do You Have A Favourite Handmade Card to Share?
Do you make greeting cards? Please do share it with me.
You could use the faux metal technique for making medals, making faux wax impressions on envelopes, or in using any image that might be made of metal in real life, such as a lipstick case or a piece of jewelry.
Think outside the square though. I have seen beautiful cards with faux metal leaves on them, for example.
You may also like:

Return from Motorcycle Card to Special Occasion Cards | Return to PaperCraftCentral Home Page


New! Comments
Have your say about what you just read! Leave me a comment in the box below.