| Back to Back Issues Page |
 |
|
February Card Ideas and Tips For You February 12, 2021 |
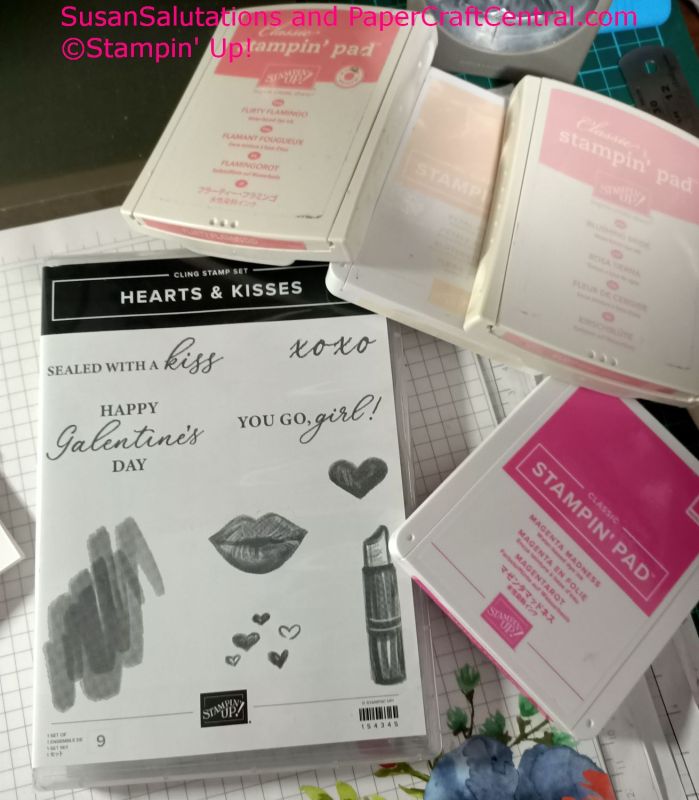
HiFebruary 2021 Paper TwistsHello and how are you doing this month? I trust you are finding time to stamp and create. If you haven't yet, maybe the following ideas will help inspire you. I've had a nice month of crafting both at my own craft desk and at online events or in person ones. It's always inspiring to me to see other people's ideas and get to use my own supplies to create something from that inspiration. If you do not have the supplies I mention in this month's projects maybe you have something in your stash that you could substitute. You can always purchase the items I use at my SusanSalutations online store or from any Stampin' Up! Demonstrator you know. So here we go with some project ideas for you. Happy GALentine's Day!February 13th is a day reserved for spoiling our gal pals. It's a day to thank them for their friendship and support, and make them feel special.I put together eighteen of these little cards with a message on the back really quickly today so I could hand them out on the 13th. I added a pic of the supplies I used for them. Happy GALentine's Day to all of you! 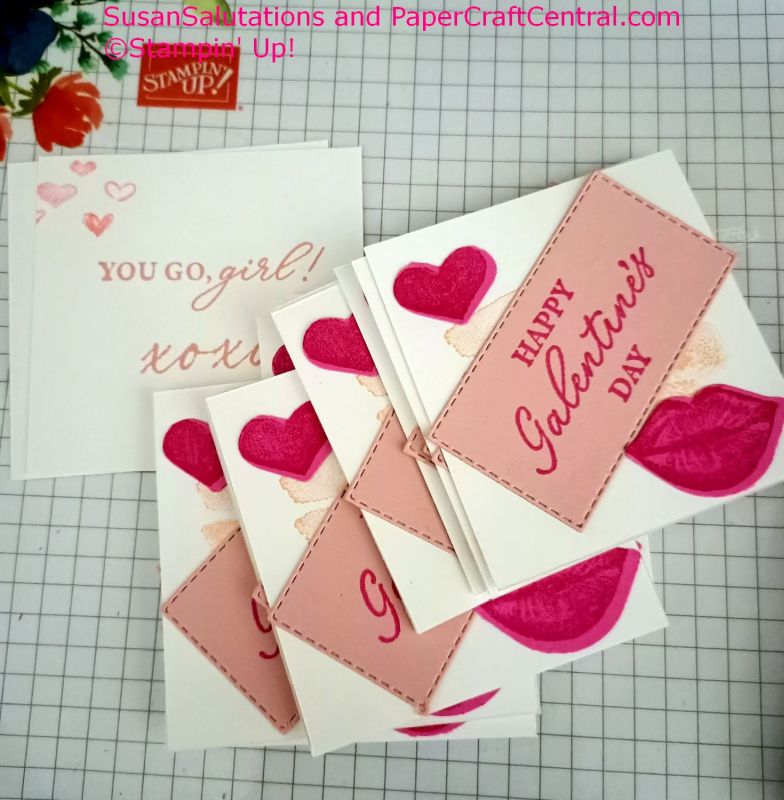
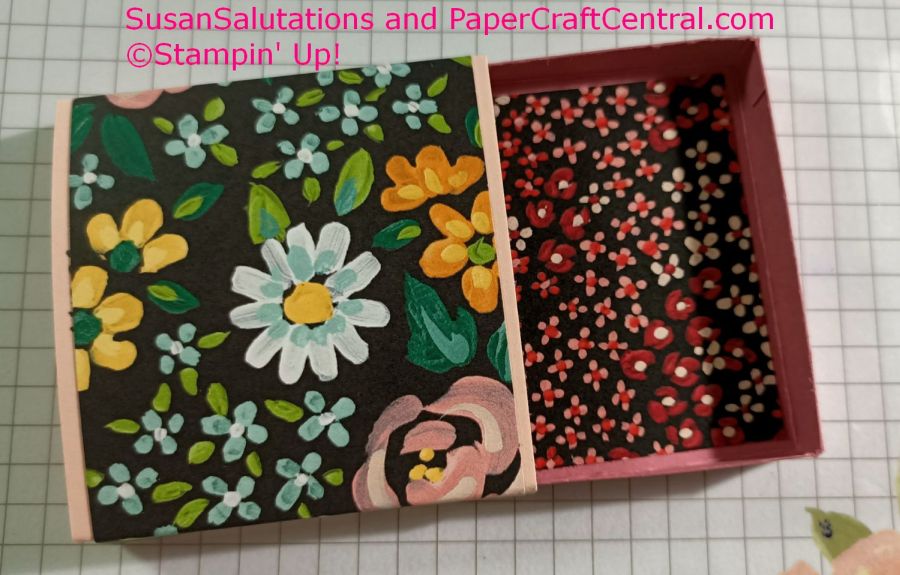
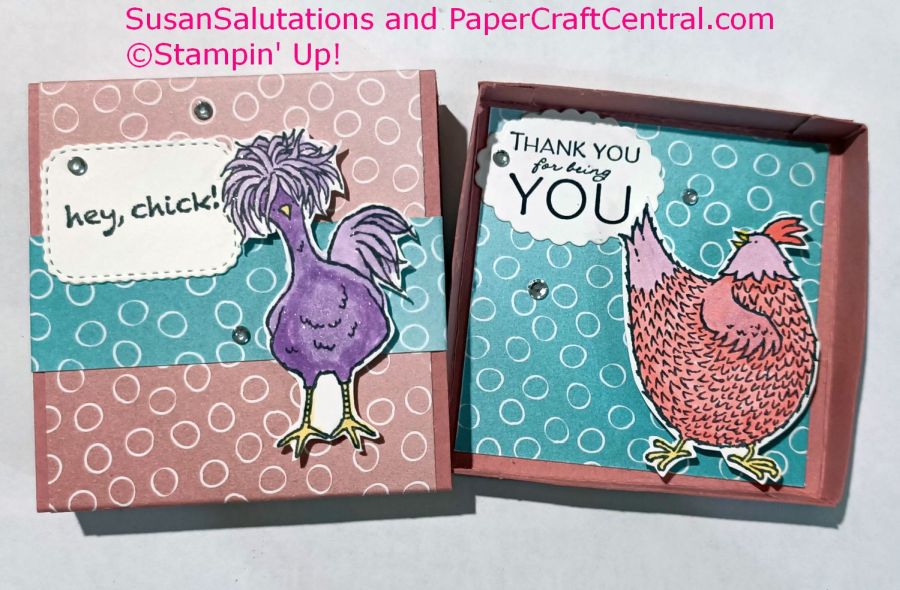
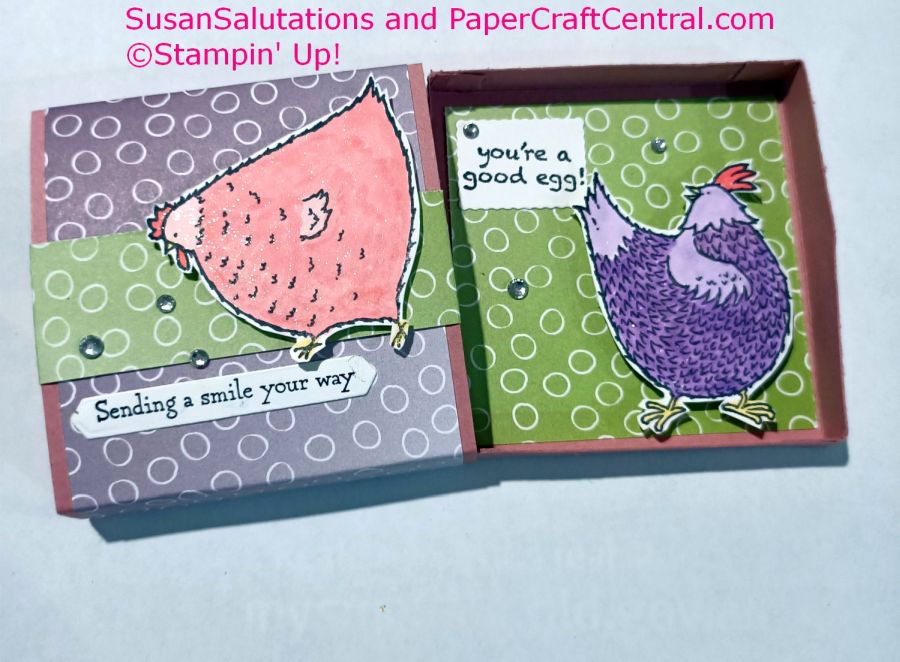
Hey Chick Box GreetingThe Hey Chick Stamp Set is back! I loved it a few years ago and I love it again this year.This stamp set inspired me to make little matchboxes or slide open boxes and create special greetings for some good friends. Maybe you have someone who would be cheered to receive such a greeting. Consider other cute stamps and sentiments you have to recreate a similar project. 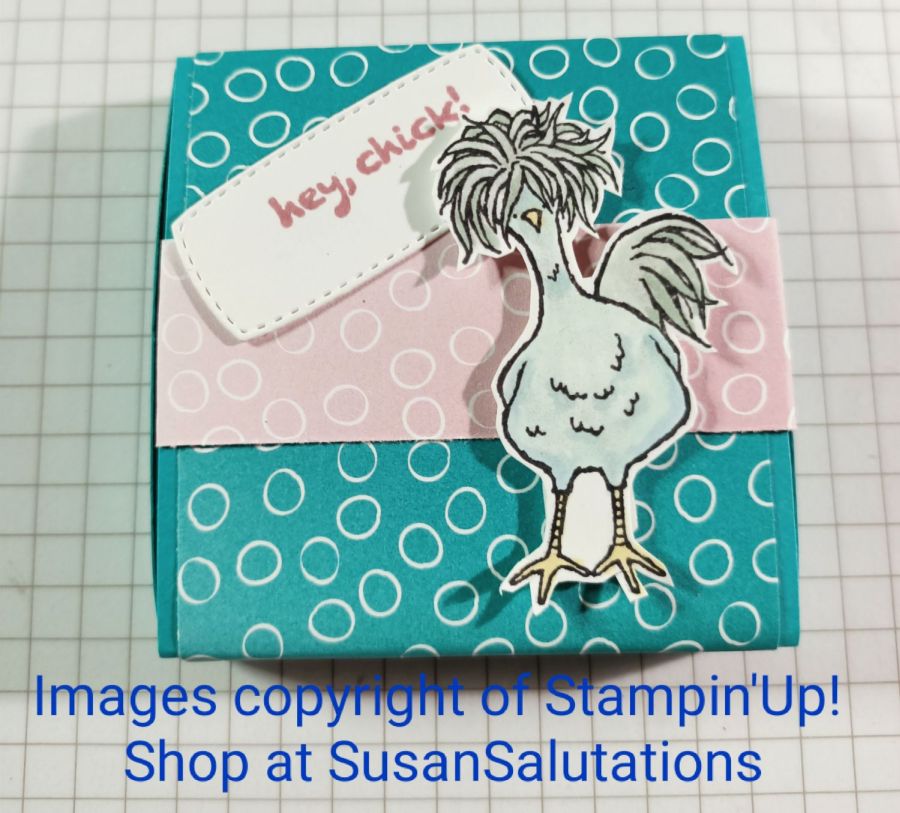
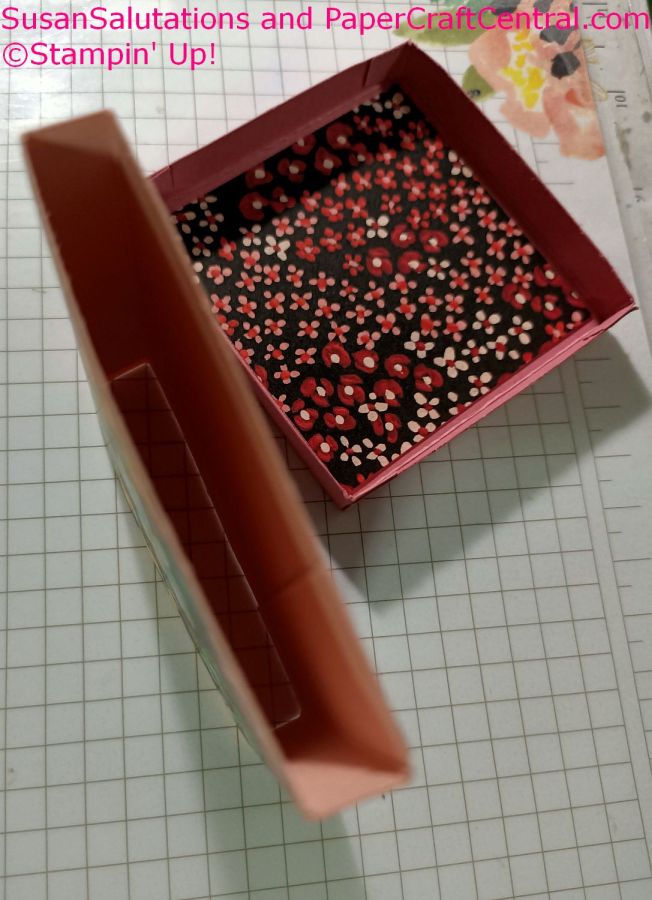
 For the body of the box, you will need a square piece of cardstock that measures 9cm x 9cm (or 3 1/2" square)
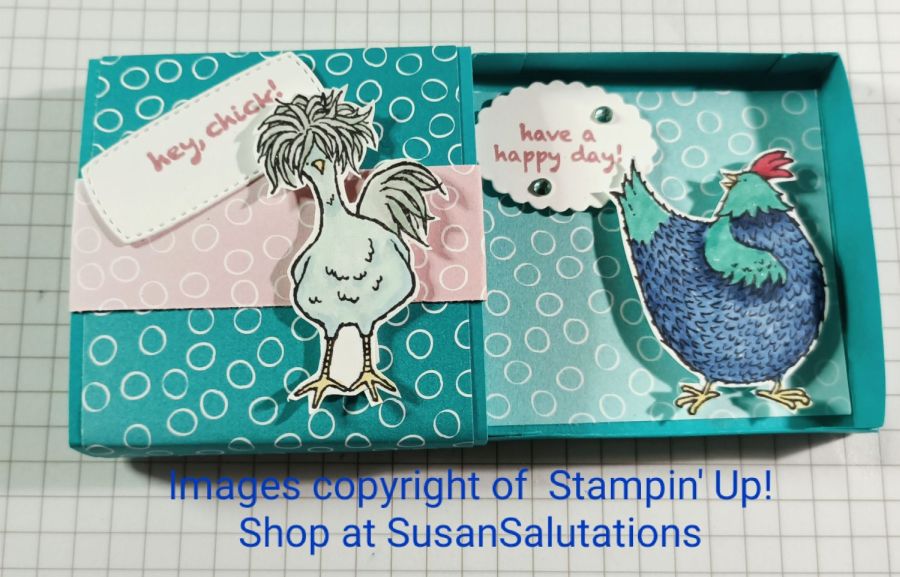
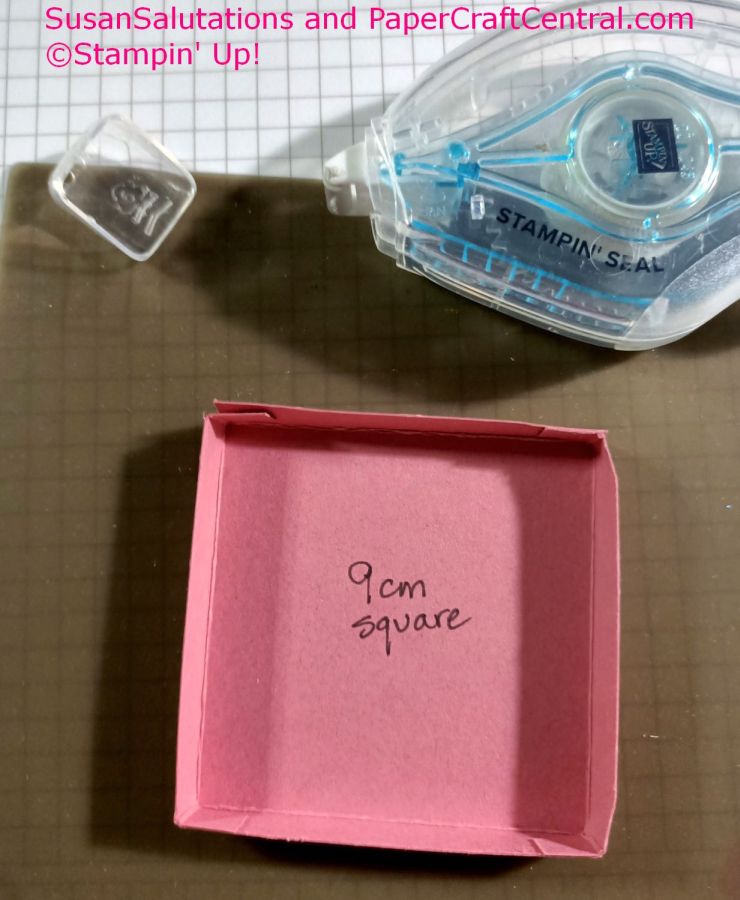
Score on all sides at 1cm (3/8") Cut tabs along the score lines. I always take a little notch out of the tabs themselves as it makes the box fit together better. Fold along all score lines. Adhere tabs to inside of box with strong adhesive such as Stampin' Seal. Add a piece of 6.5cm (2 9/16ths") square designer series paper to the inside of the box Add chickens and sentiments as desired 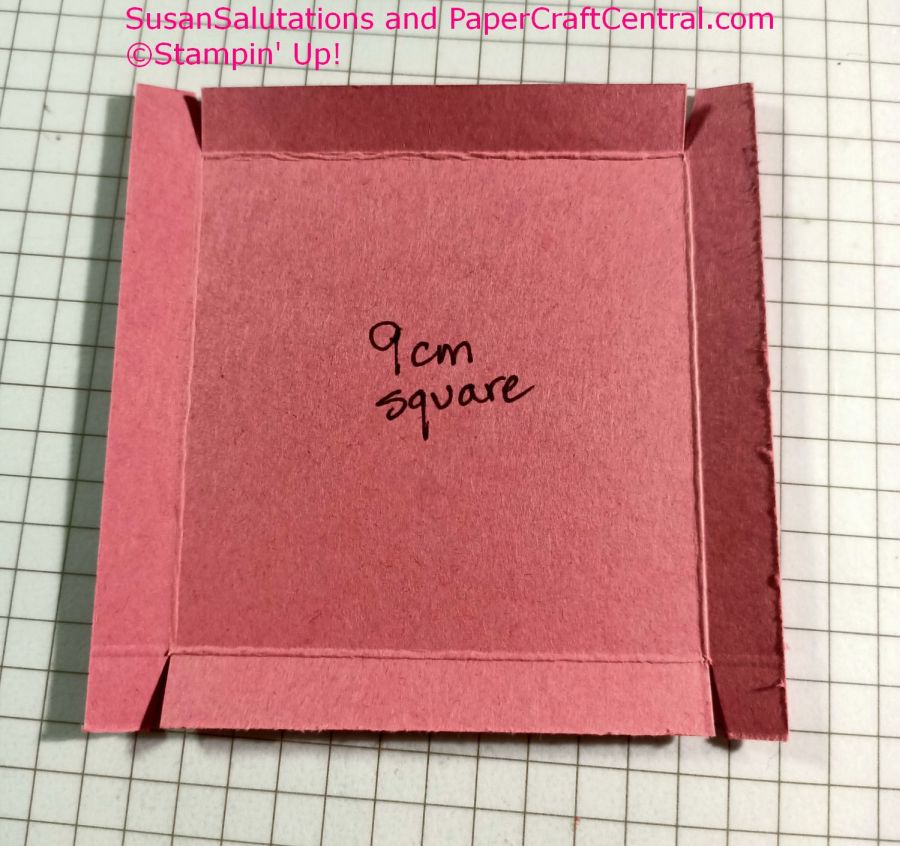
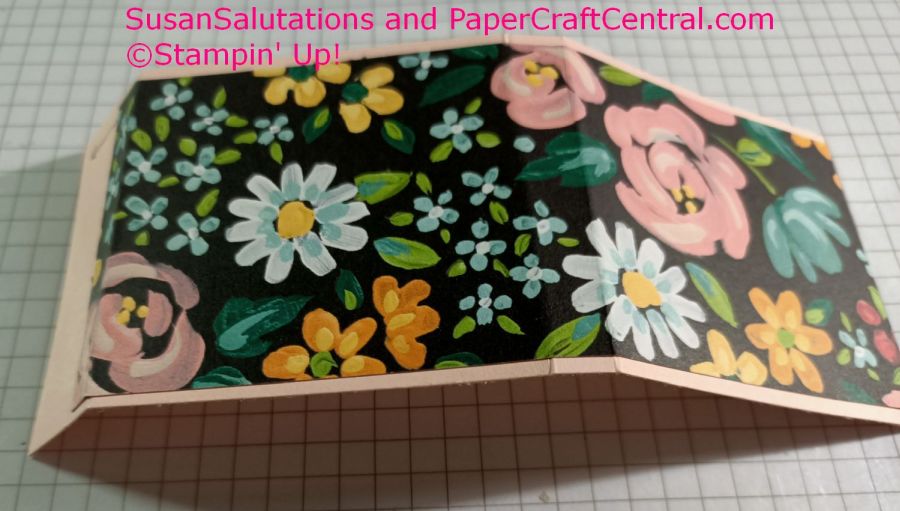
 For the box sleeve:
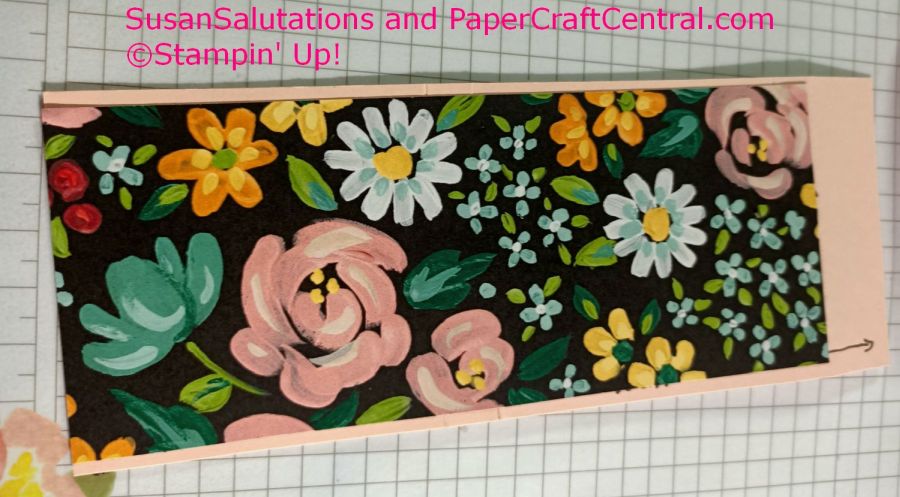
Cut a piece of designer series paper 6.5cm (2 9/16th) wide by 16cm (6 5/16ths") long Cut a piece of cardstock 7cm (2 3/4") by 18cm (7 1/8") Score the cardstock at 7cm (2 3/4"), 8cm (3 1/8th"), 15cm (5 7/8th") and 16cm (6 1/4"} Adhere the dsp to the cardstock, leaving the last 2cm (3/4")bare Score all lines, adhere the 2cm (3/4") tab to the inside of the sleeve Slide the sleeve onto the box base Decorate as desired 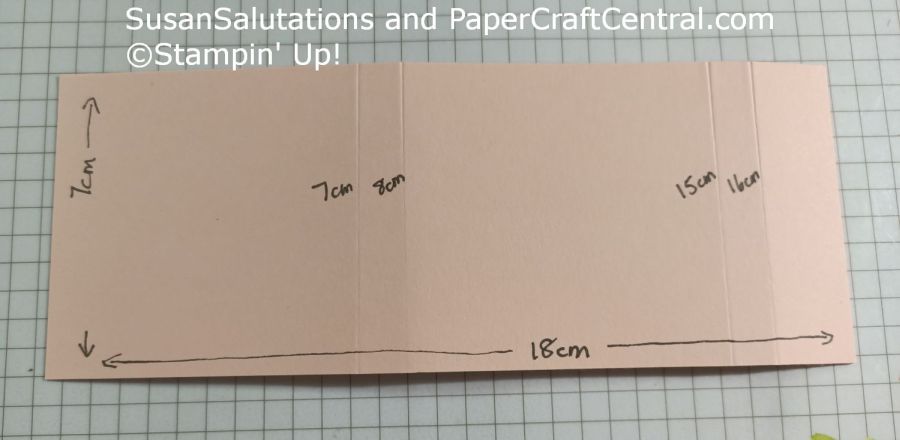

Tool TipUse the raised edge of your paper trimmer to make sure your folded cards are straight.After I score the card centres, I bend my card lightly in half, butting the edges of the card up against the raised edge on my cutting tool. Then I use my bone folder to set the crease in place. It may not wind up to be exactly where I scored it! This way the corners of my card base are always much straighter. 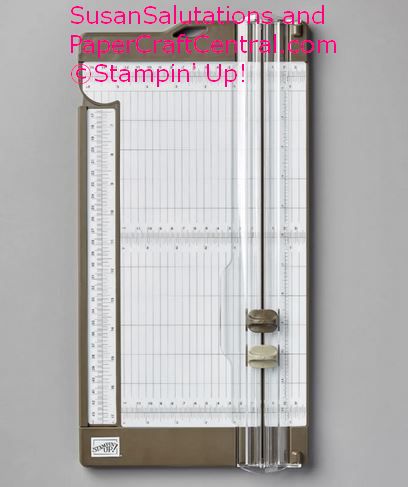
Ink TechniqueUse your blending pens to create backgrounds.Here I chose the light and dark black pens. I swooped across the Basic White paper in the dark colour, leaving little gaps between each 'stripe'. I tried to make each swoop in one go, without lifting the pen. Then I used the light pen to fill in the gaps, swooping single lines each time. I didn't try to be too straight and accurate. The slight curve in my strokes adds interest and more of an organic feel to the background. This background literally took me about two minutes to do! Try other colours as desired. 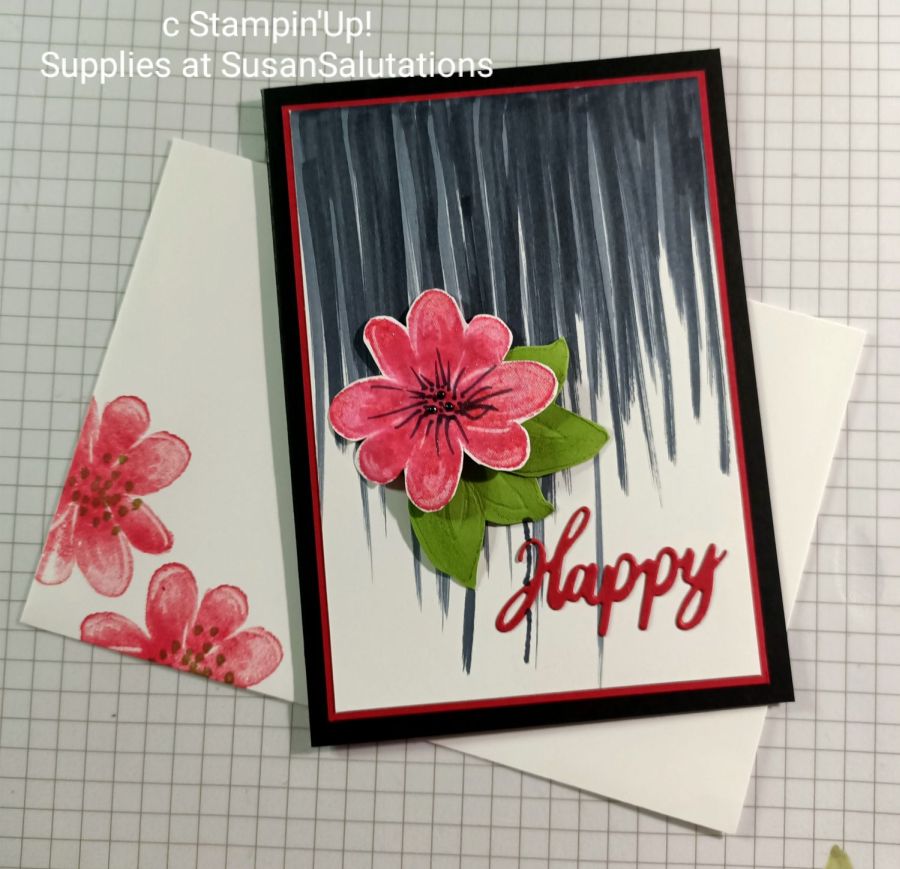
Colour CombinationsA little freebie I can share with you is this ink colour chart for stamping out two step flowers with the Art Gallery stamp set.Thank you to Stampin' Up! Demonstrator Lisa Robert Schmidt for permission to share her experiments! I hope it gives you ideas for how to use your ink colours to stamp flowers and other images. 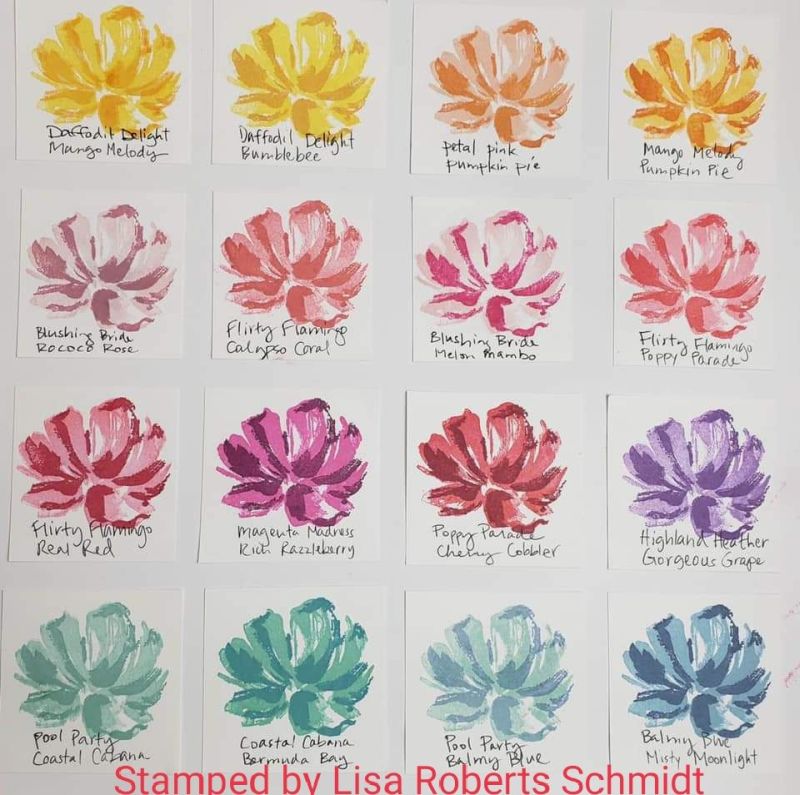
Other NewsThe restrictions on meeting in public have been lifted quite a bit in the part of the world where I live, so I am able to attend live events and think about re-starting my home classes. I'm pretty excited about that! I hope you too can attend live events in the part of the world you live in.Just a quick reminder: Sale-A-Bration has started but it only goes through till 28th February. If you plan to make a $AUD90 order before 28th February, you will be able to choose a free reward! I'd hate for you to miss out.
Take care and thank you for being a subscriber! Susan PaperCraftCentral Susan (Susan Hurley-Luke) also of SusanSalutations for Australian readers
PS Be sure to check out the new ideas and news at the Card Ideas page and the Stampin' Up! News page at PaperCraftCentral.com! card-ideas.html stampin-up-news.html  Newsletter Links:
Just click on the page links, or copy and paste links into your web browser if the link is not live when you receive it. How to Copy and Paste: Highlight the link by running your cursor over the link while holding your left mouse button down, then right click on it. Select 'copy' and go to a web page. Left click in the address bar and paste the link in it, then hit Enter. The newsletter should then load for you.
|
| Back to Back Issues Page |