Peeling Paint
Written and Created by PaperCraftCentral Susan
Create a peeling paint background for your next series of ATCs
"I really love this peeled paint effect and I use it often for the backgrounds."
~Gaby
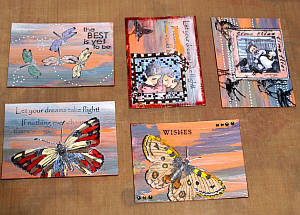
Would you like to know how to make a peeling paint background for your ATCs, cards or scrapbooks?
If you haven't used this technique before, it can create a pleasing background to set off your next paper craft project. This decorative painting technique is very effective and fun to do.
Here's what you will need for the peeling paint technique:
- Piece of A4 cardstock (I used Stampin' Up!'s Whisper White)
- Some acrylic paints and a paintbrush, sponge or foam wedge to spread the paint on the cardstock
- Vaseline petroleum jelly
- Some drying time
- An acrylic paint sealant
Here's what to do:
First decide what colour your would like to have revealed and use this as the first layer. Paint the entire piece of paper that colour. I chose a nice melon shade. Allow that to dry thoroughly.
Next use your fingers to dabble some Vaseline on the page where you would like your first colour to show through later. Apply the Vaseline thickly enough to cover the paint properly.
Now cover the entire paper again with another colour of paint or use several colours like I did. Avoid painting hard on the Vaseline. You don't want to smudge it.
You may like to use a sponge and dab paint over the Vaseline instead of a paintbrush so you get really close to the Vaselined bits, but use whatever you are comfortable with and lightly cover up to the Vaseline with paint. It won't matter if the paint goes over the Vaseline as long as you don't smudge it.
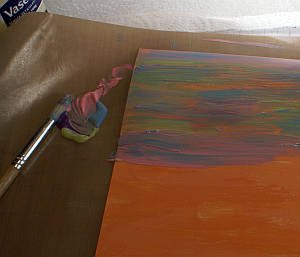

This next step is very important: Allow the paint to dry completely. If it is not quite dry, you will remove far more paint than you wish to in the next part.
Once it is dry, remove the Vaseline and covering paint with some paper towels. The paint will peel off like old, weathered layers. Keep cleaning till all the 'loose' paint is gone.
Now seal the page with Mod Podge or similar.

Stamping on the background you created
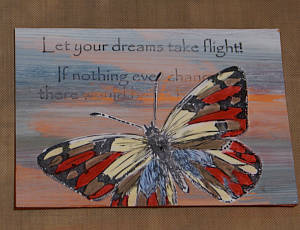
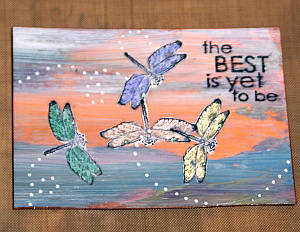
Next, stamp and treat the main images you want to use for your ATCs. On this occasion, I decided to stick to flying things or thoughts about flying.
On another piece of Whisper White cardstock, I stamped my images in Stazon black ink. I treated them by colouring them further with Stampin' Write! markers and then cut them out with my trusty paper snip scissors.
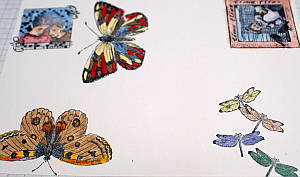
I cut out my ATC blanks from my completed painted sheet.
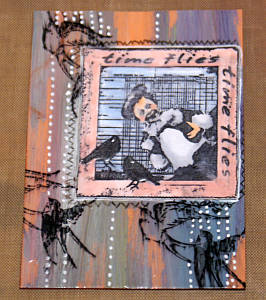
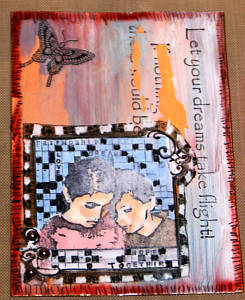
Then I thought about stamping some more images on the backgrounds I had created. I carefully did this with more black Stazon ink and also applied a rub on or two. Some of the wording I stamped onto the backgrounds lifted off more paint, so I must not have let that part dry enough. I still liked the effect though. It kind of reminded me of aged graffiti perhaps. Lol!
I adhered my cut-out stamped images on the backgrounds, embellished with a black journalling pen and a white gel pen and then sealed my cards with Mod Podge again.
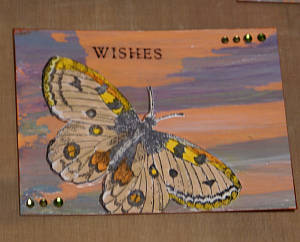
Finally I mounted my ATC fronts onto a backing piece of coordinating cardstock and ran a Stamp 'n Write! marker around the edges to really finish them off. I added a few little crystal gems too. You could add sequins as well as or instead of gems.
What do you think of the result?


New! Comments
Have your say about what you just read! Leave me a comment in the box below.