- Home
- Papercraft Adhesives
- Paper Punch Project Ideas
Paper Craft Punches
Written and Created by PaperCraftCentral Susan
Paper craft punches can provide a quick and easy way to make handmade cards, or something to do for a a challenge as you take on punch art projects. They are also great projects to create for scrapbook pages.
"I use paper shapers so often creating hand made greeting cards"
~PaperCraftCentral Susan
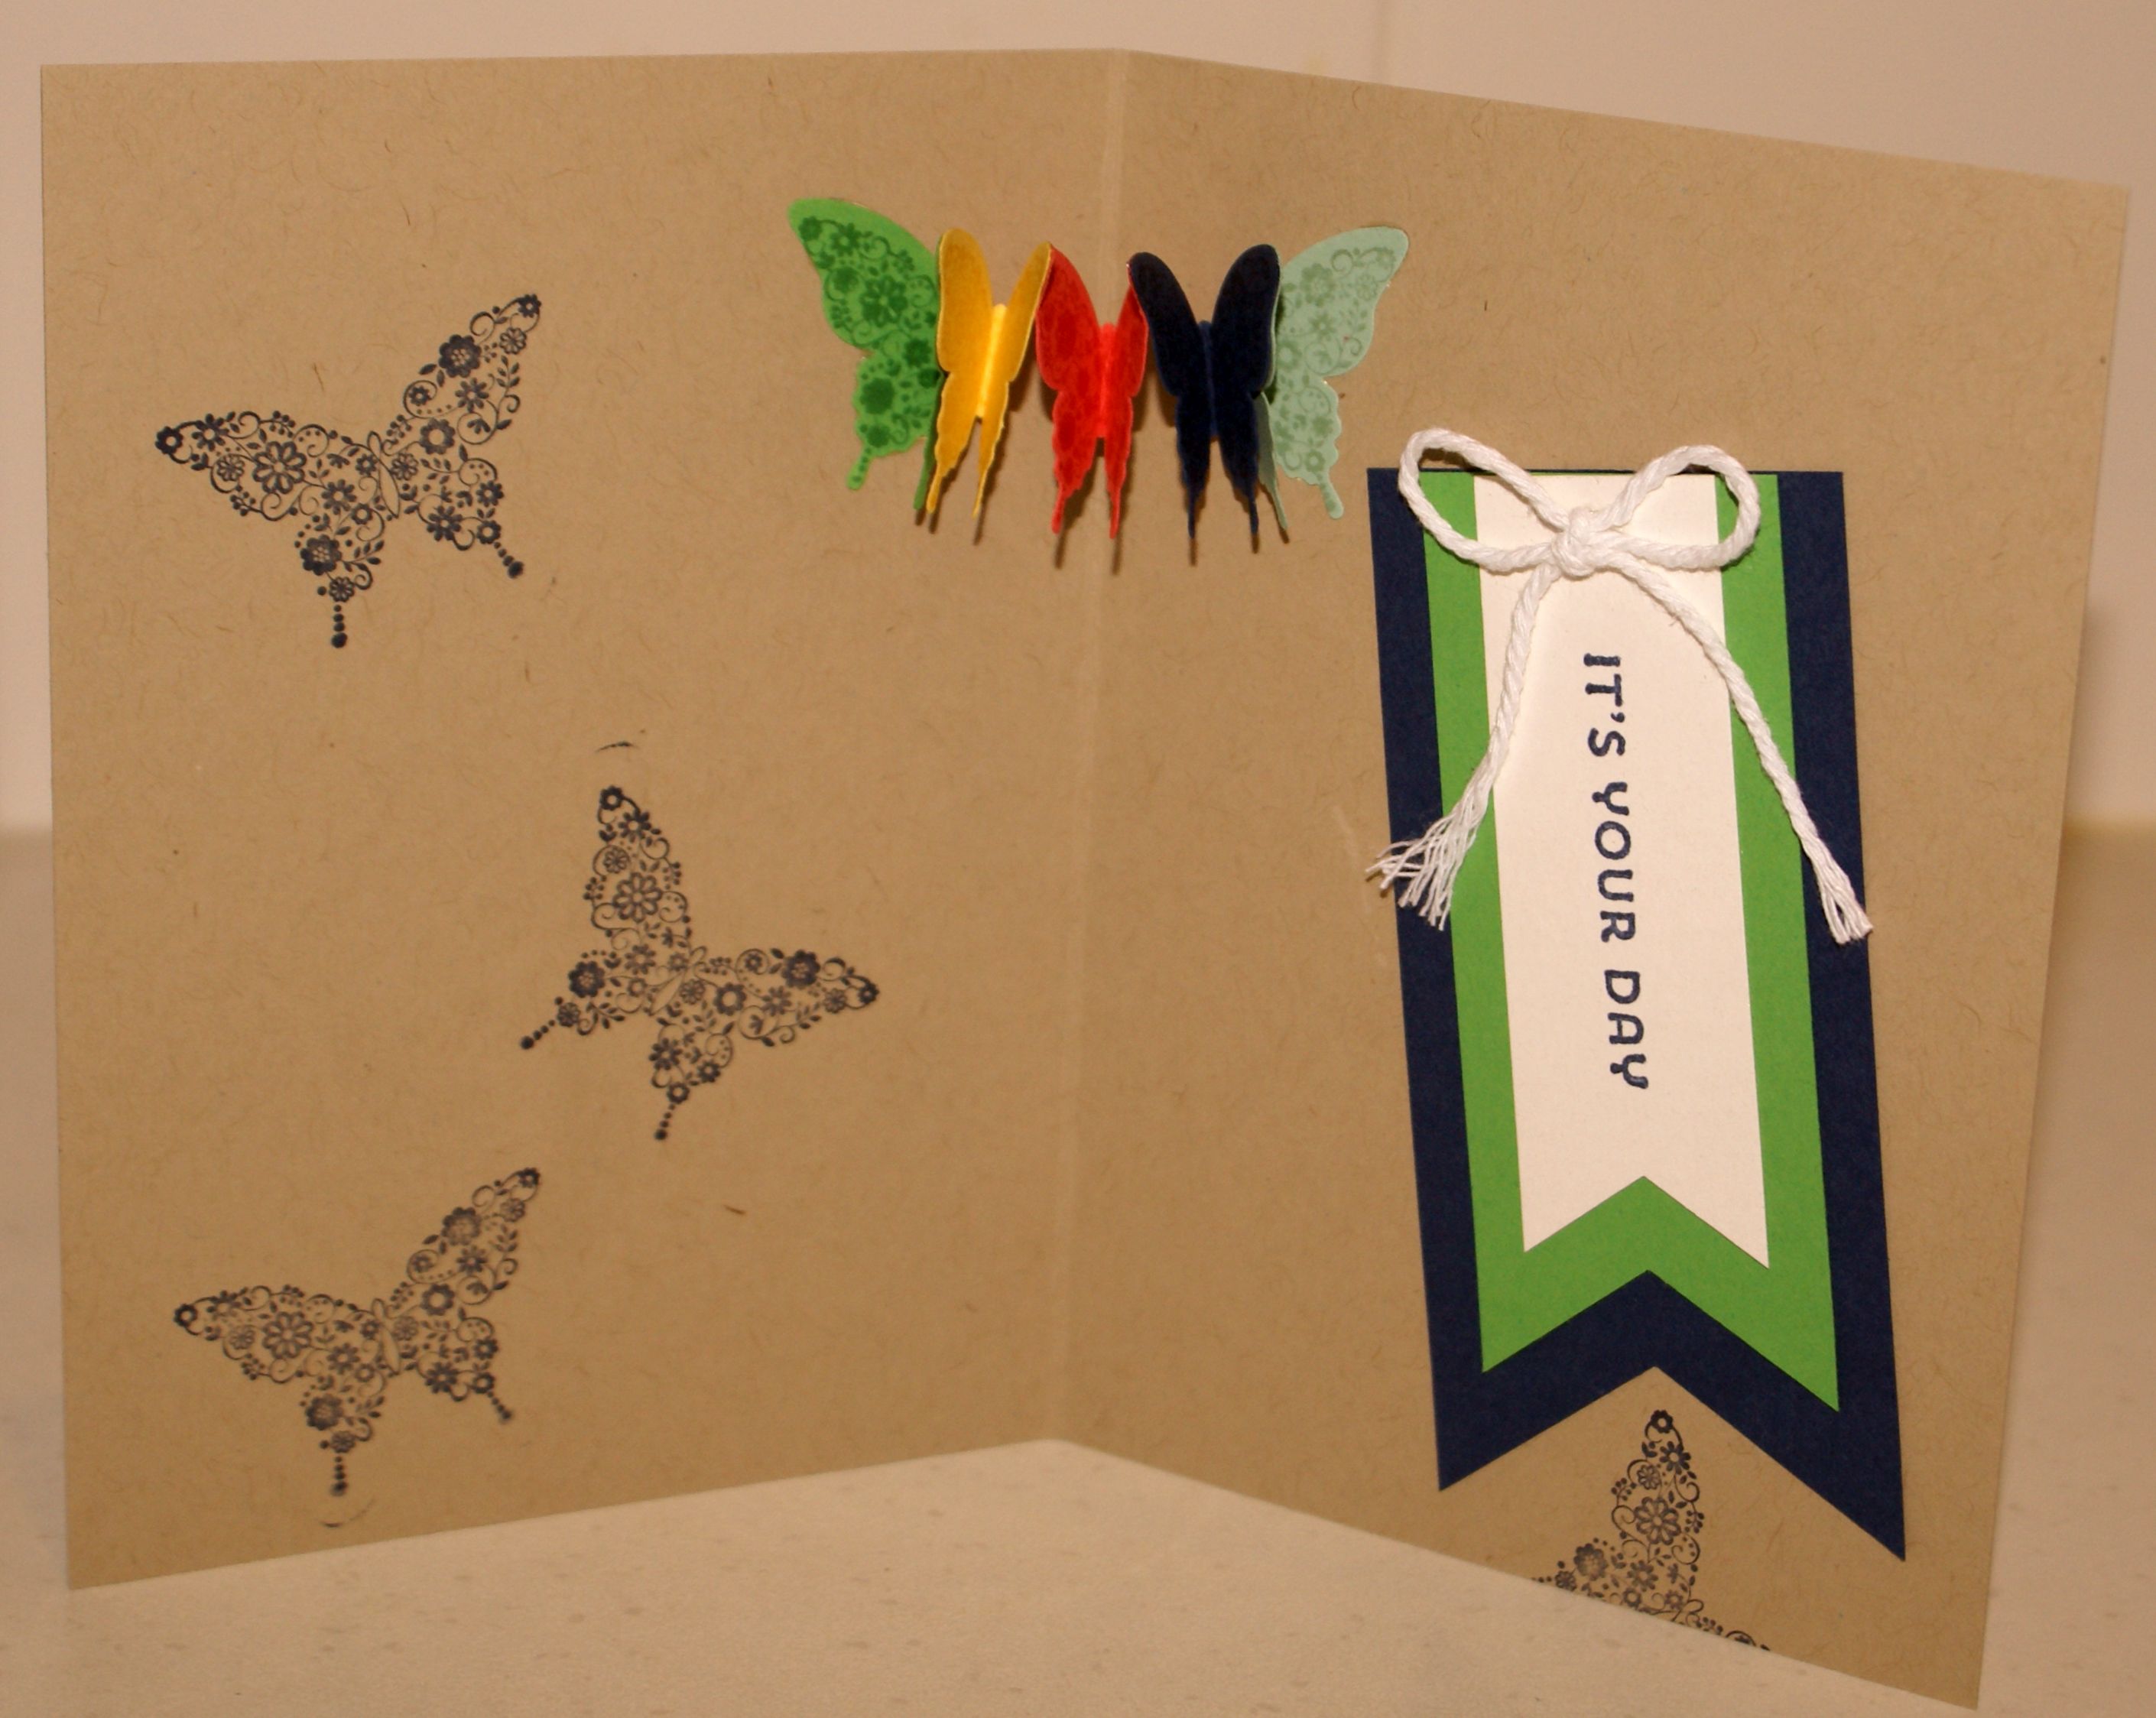
Scroll to the end of the page for some basic instructions about how to make this butterfly banner as a bonus technique.
Paper Craft Punches to the Rescue!
Have you ever needed to make a number of cards for a group of people and have it all done in a hurry? For a hand made greeting card to have an impact and be appreciated it does not always have to be loaded with techniques and clever ideas. Sometimes all you need is some eye catching colour combinations and a few paper shaping tools.
To demonstrate how easy they are to use, here's a cute video from Stampin' Up! showing how to use the Fox Builder Punch (retired).
Using Paper Craft Punches for Speedy Work
I once wanted to thank a group of eleven special people and had only
a short time to make them a card each. There was a deadline when this group would be together, so I was wondering how I could make eleven cards quickly and easily? There are many ways to do speedy work, but in this occasion it was punches to the rescue.
First I picked a smaller sized card blank to work with. The little card base I chose measures only about 2" x 1 1/2" (5cms x
3cms). This means you can do slightly less work, I figured.
I wanted the card to fit my little birdie stamp (now retired) and I also wanted to use the scalloped oval punch (retired) and another retired stamp set (all of them were from Stampin' Up!)
I had just bought the scalloped lace punch (retired) as well and was so impressed with it, I wanted to include an embellishment made with it too.
I picked my colours of cardstock and ink, stamped my oval image and punched out the oval shapes, then made some thin strips of lace with my border punch. I inked the edges of the punched lace and the oval as well.
After playing around with the space I had on my card front, the little bird stamp fit in on the bottom left for me and I liked the position I found for the lace border and the punched oval. I used double sided tape for the punched lace border and some Stampin' Dimensionals for the oval embellishment.
The inside of the card was just big enough for a cute sentiment stamp I had in mind with room to spare for some heartfelt words of thanks. It didn't take long at all to make eleven of these once I had my assembly line of card pieces sorted out.
It is quicker to make as many card elements as you need all at once. In other words, if you are making 11 cards, stamp 11 images and cut them out, punch 11 strips of paper lace, etc, and pile them up in the order you need to assemble the cards. Then you will find all the cards go together quite quickly and easily.
So next time you need a whole lot of hand made greeting cards in a hurry, do consider using your paper craft punches.
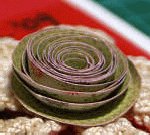
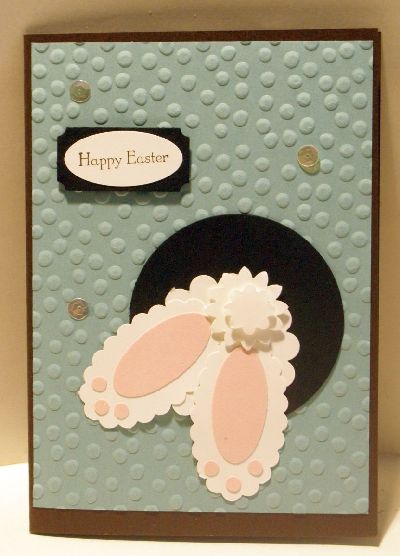
You can take on some punch art work with punches too. Here are a couple of projects you could try, all of which rely on paper shapers:
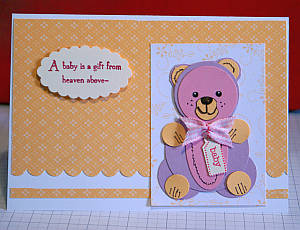
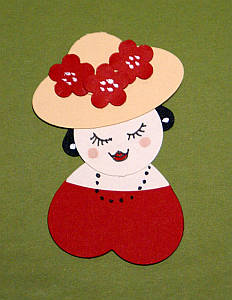
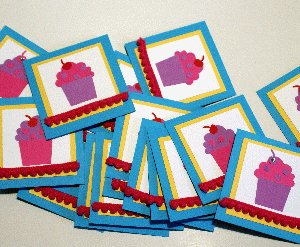
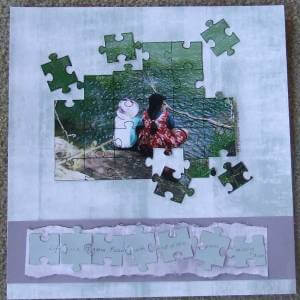
- A Jigsaw Punch project
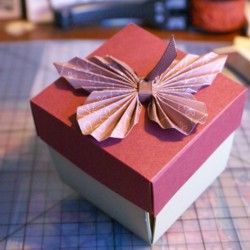
PS: You can make the butterfly banner at the top of the page by punching out five larger butterflies with the paper shaper or butterfly dies from Stampin' Up! and folding them in half. Glue the tips of their wings together to make your banner. Adhere one butterfly to your card, close up the banner and apply glue to the top butterfly. Close your card on it and wait till the glue holds. When you open your card The sentiment banner is of course made with the Stampin' Up! Triple Banner punch 9retired).
Check the SusanSalutations online store to see if it is still available or to check out current punches and dies.
I hope you will try lots of projects with your paper craft punches. Be sure to check back to this page now and then as I will continue to add more projects as I play more with my own paper shapers
And if you make something with your punches, I challenge you to add a story and a photo of your project here!
Do You Have A Favourite Handmade Card to Share?
Do you make greeting cards? Please do share it with me.
What Other Visitors Have Said
Click below to see contributions from other visitors to this page...
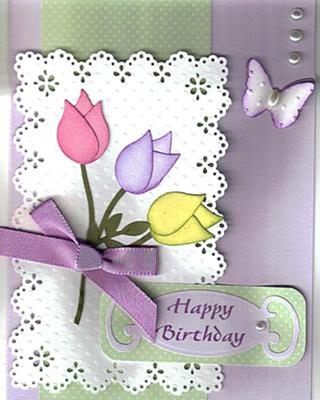
A Punch Art Card for my Grandson 


Good Morning Susan,
Just entering a card for the Punch card challenge! This was made for our grandson's 14th birthday.
Hope you like it.
Regards, …


New! Comments
Have your say about what you just read! Leave me a comment in the box below.