- Home
- Papercraft Adhesives
Scrapbooking and Papercraft Adhesives
The array of papercraft adhesives available these days can be confusing. Have you ever used a Xyron machine? Do you know how to choose the best adhesives for your projects? Could you make something without using any sticky helpers?
If you answered 'no' to any of these questions, please scroll on down to find some answers.
Now for a corny glue joke:
"I was reading a book... 'the history of glue' -
I couldn't put it down".
Tim Vine
Written and Created by PaperCraftCentral Susan
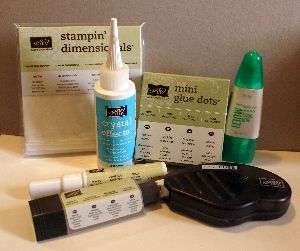
Papercraft adhesives are essential craft supplies that can be found in most scrapbooking and papercraft stores. These sticky things are not all the same, nor can they all do the same job for you. It is wise to fit the tool to the project you have in mind.
I tend to separate adhesives for scrapbooking from those used for
cardmaking. My preference is to use archival
quality products when I am working with my valuable photographs so that
they are never at risk of losing their colour, becoming pitted or peeled or
otherwise damaged.Look for gluing products that are acid free.
Cards seem to be items that are enjoyed for the moment and are not
usually preserved as long as photographs in albums are. That said, you
might want to have archival quality cards when making them for very
special occasion. For example, I have a scrapbook of all the cards I
received when I was married, and another for when I had my baby. I want
to keep those forever!Archival adhesives are best for these projects.
Here are just some of the types of scrapbooking and papercraft adhesives available and what I have used them for. I tend to use Stampin' Up! products the most so will talk mostly about them, but there are many other types of good quality stickiness around. You may find another product that has some of the same qualities as the ones I am mentioning, and craft companies also change their glue repertoire quite regularly, so do check the Stampin' Up! catalogue on the right to see if the adhesives I mention and associate with them are still current.
My aim is to make you aware of different types and their uses, no matter who makes them or what they are called.
So here we go:
Adhesives Commonly Used for Scrapbooking
General Papercraft Adhesives
TIP: When your glue oozes where you don't want it to be, you can use your Embossing Buddy (a little powder pillow) to take away stickiness, then use your adhesive remover to take away the powder and any remaining stickiness.
Descriptions of the various papercraft adhesives and their purposes:
An ATG Gun is the preference of many crafters. Follow the link to see a Youtube video comparing some of the ones on the market. I do not use them so cannot recommend one or another of them. They seem so large!
Double-sided Adhesive Tape or Sticky Strip:
This is a strong papercraft adhesive that allows you to be confident that your embellishments and photos will stay where you want them to be. Stampin' Up! makes Tear 'n Tape and Stampin' Seal runners that are strong and reliable and acid free.
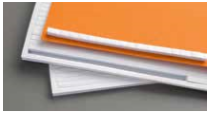
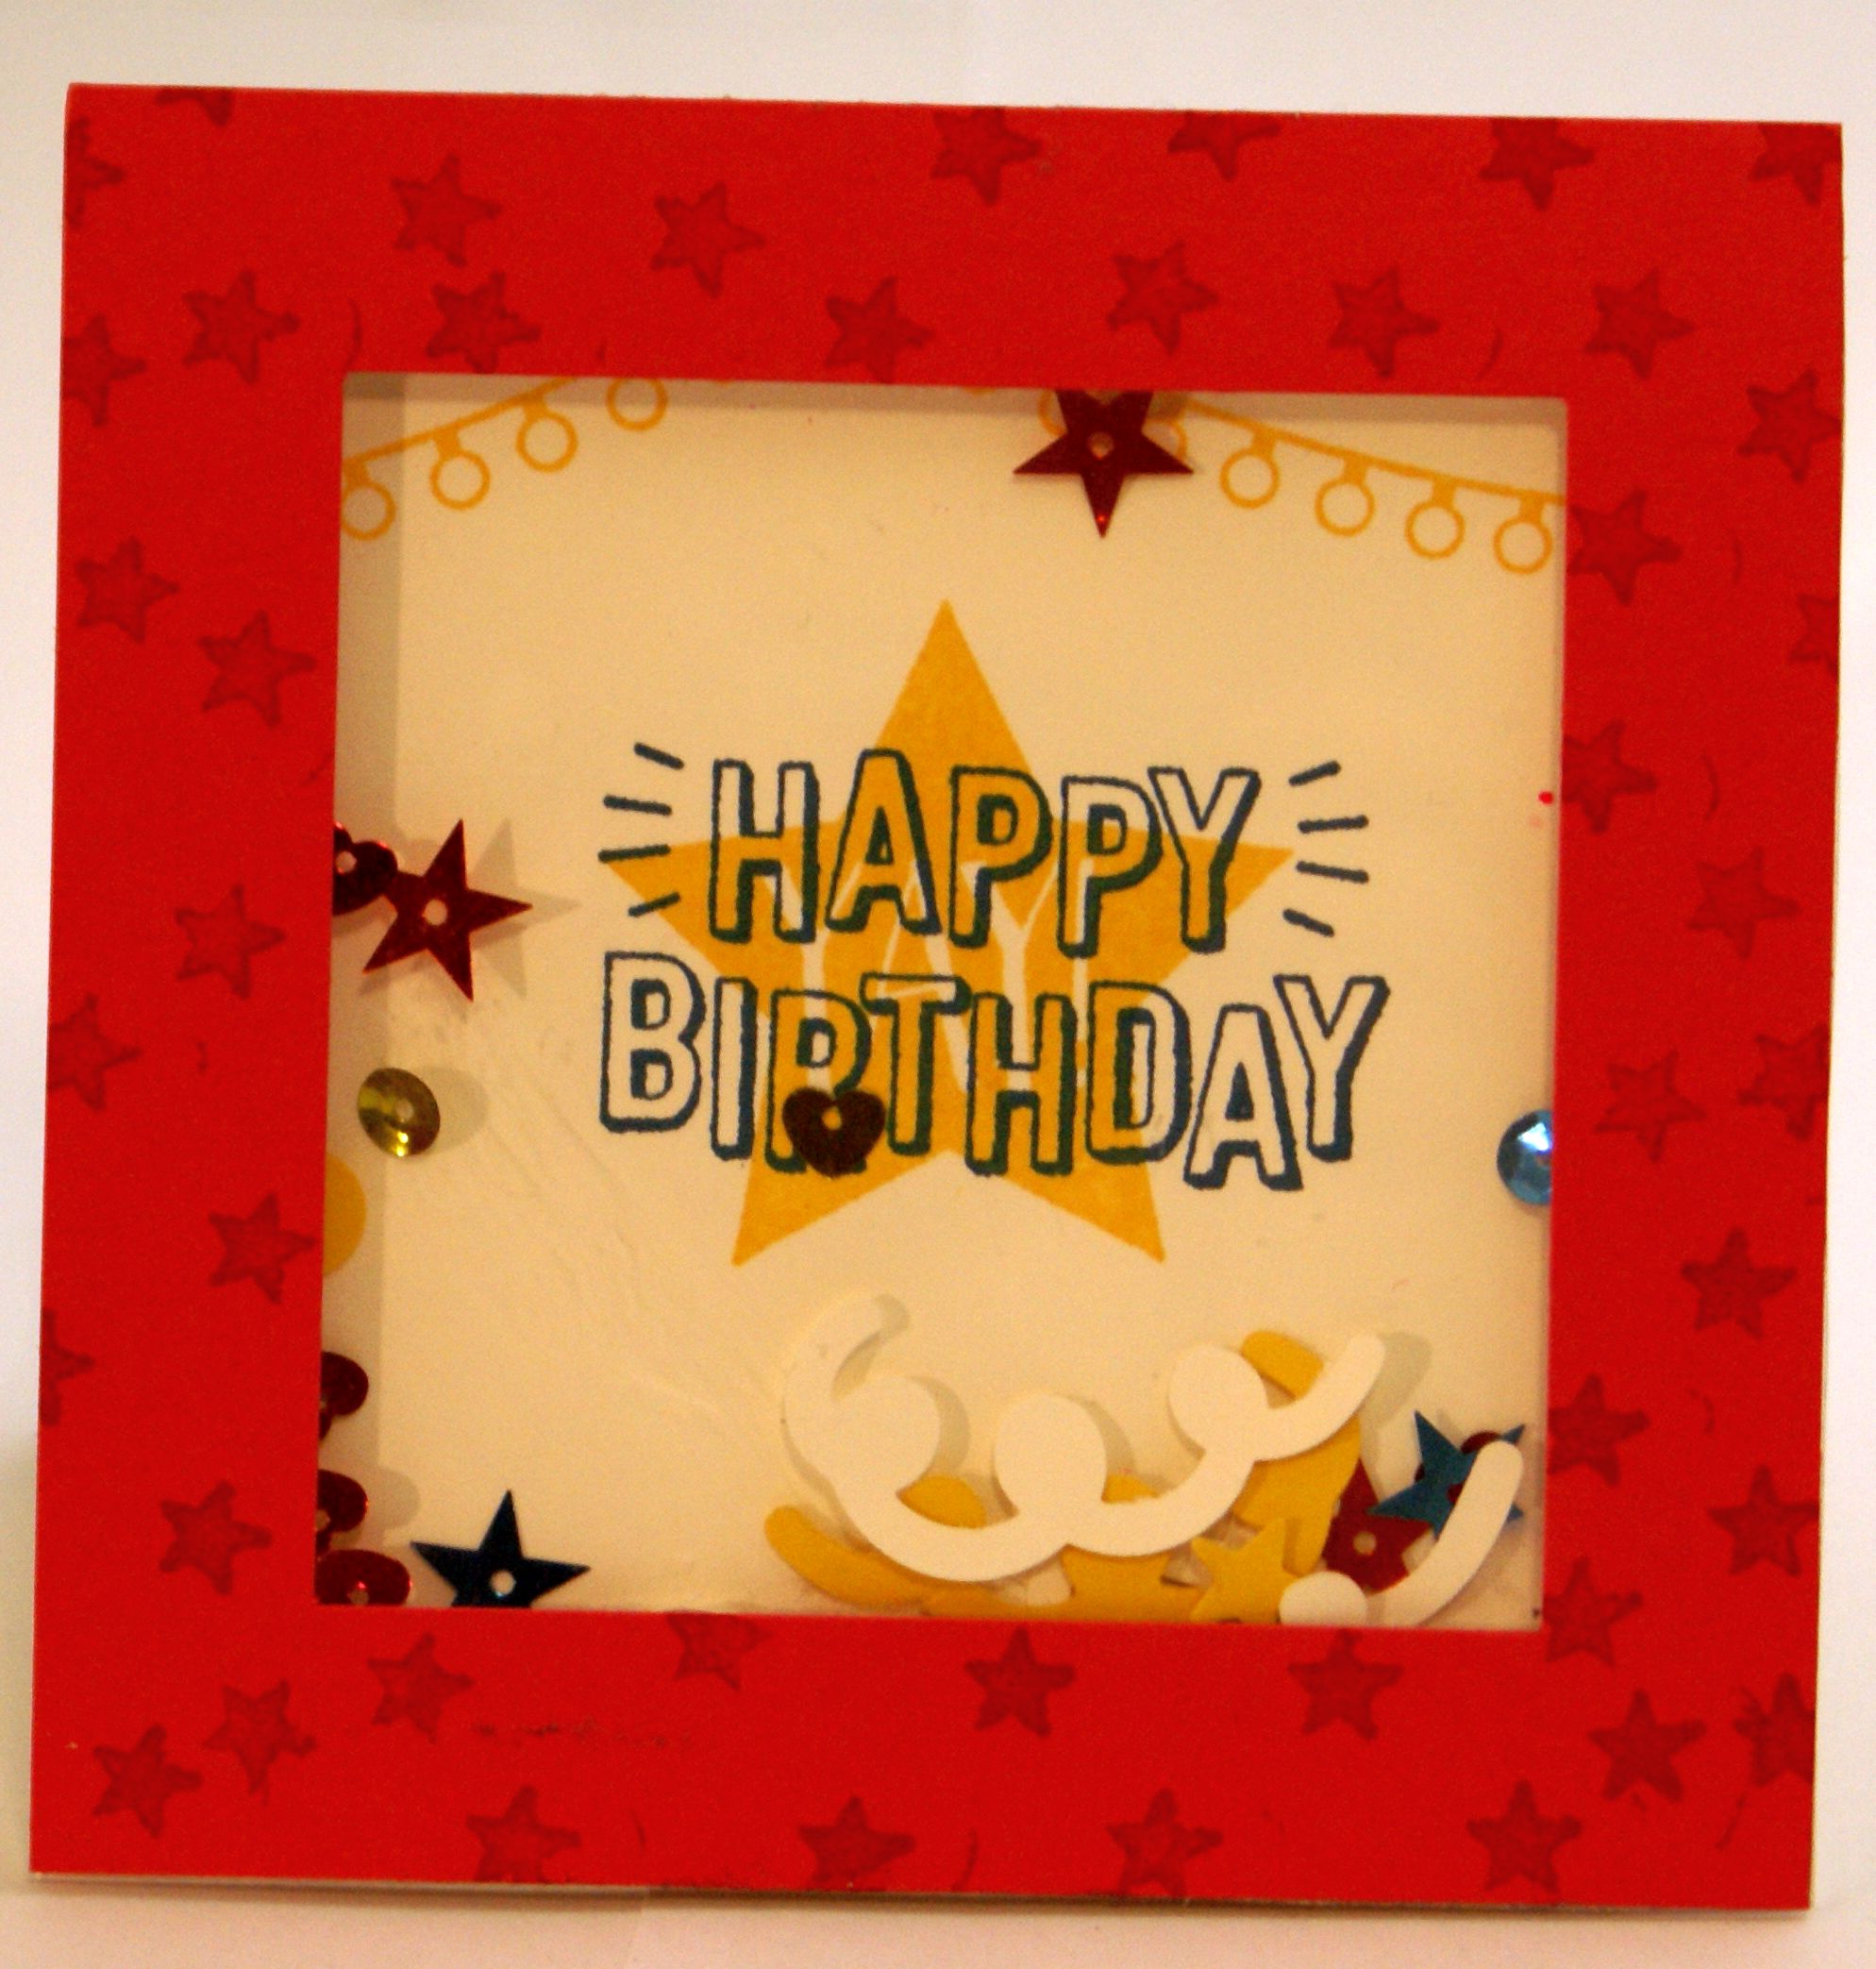
Foam Adhesive Strips are white foam strips that come to you on a sheet from Stampin' Up! Among other things, they allow you to make shaker and spinner cards much more easily.
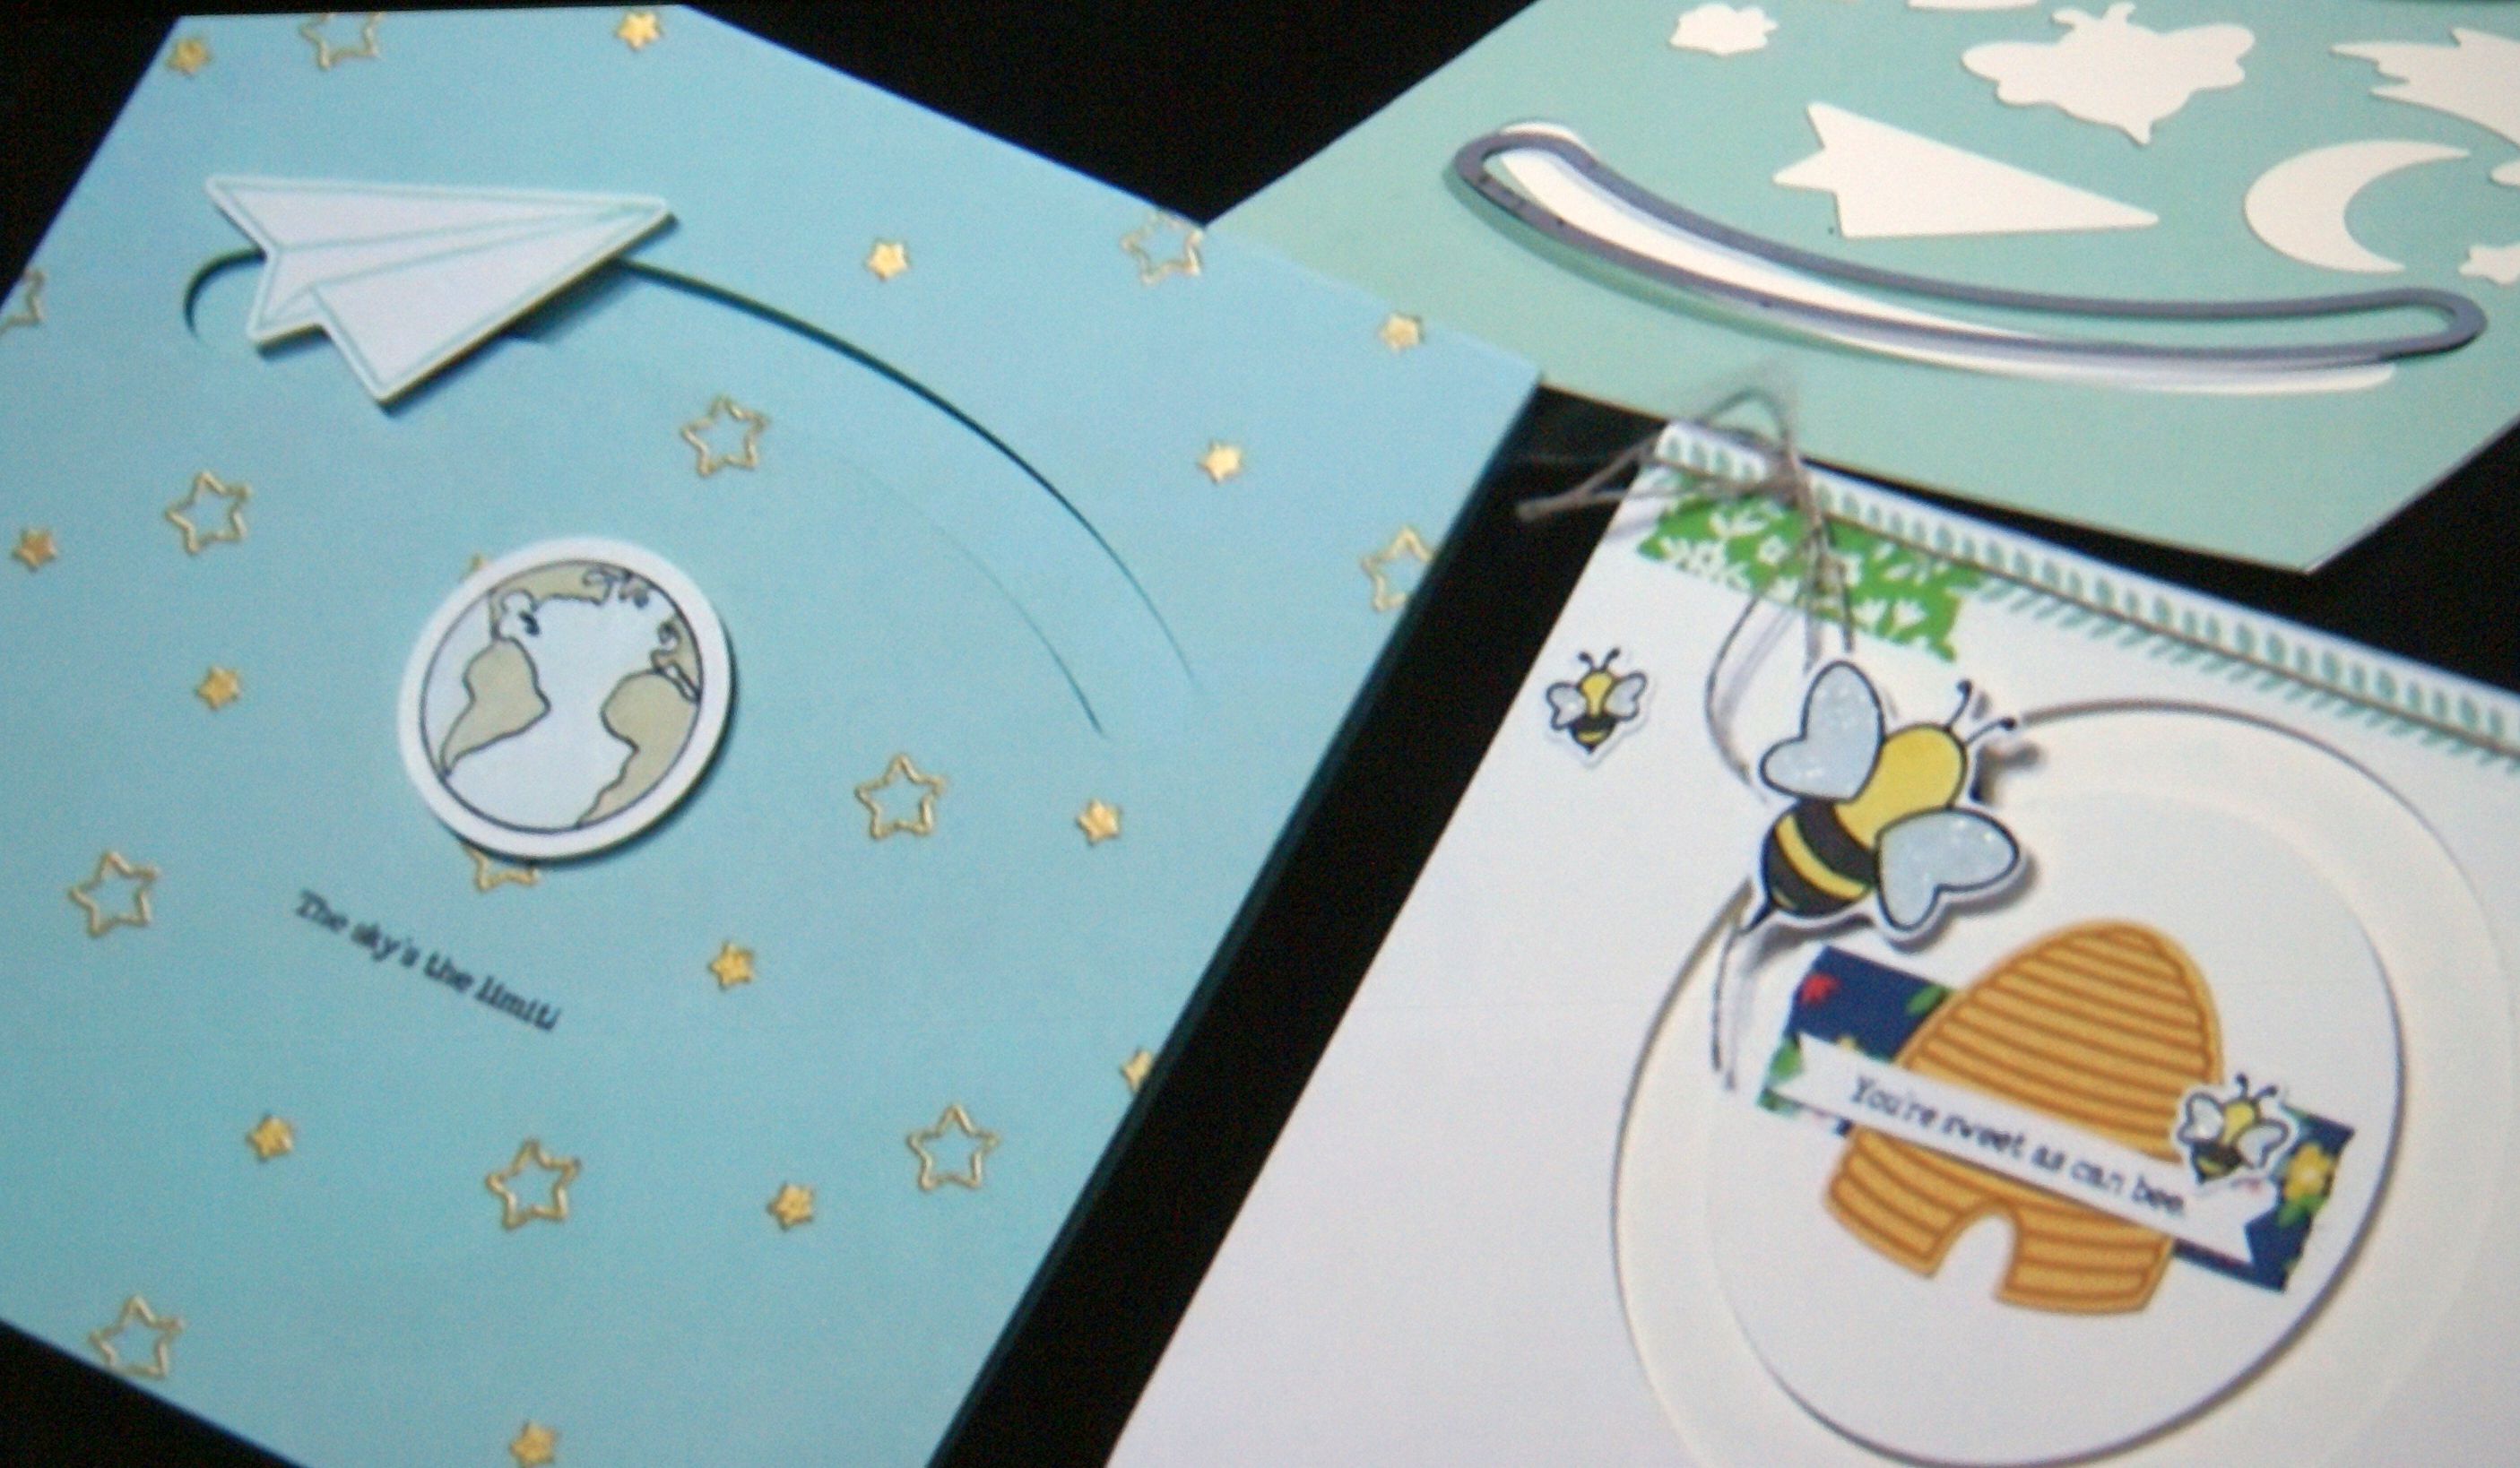
Spinner cards are the ones where you cut a slot in the card and add a stamped image that can spin along the slot. You need some room between the slot and the background layer to allow your spinner to work, so you use the foam adhesive strips to make it possible:
Shaker cards look like the one below this paragraph. You use the Foam Adhesive Strips to add a seal between the acrylic sheet and the background cardstock in Basic White:
Glue Dots are wonderful papercraft adhesive when you want something strong to adhere embellishments such as bows and buttons to a project. I also often use them to adhere paper flower layers together. They are available in different sizes from fairly tiny (mini) to large 2" rounds or even bigger.
NOTE: There is a removable version of glue dots that is also known as fugitive glue. This type of dot is what holds, say, a credit cards to a letter when the bank mails you a new one.
Glue Sticks are what I use for sticking lighter paper, cardboard and fabrics down on cards and off-the-page projects. I choose these when I want to make a project that does not necessarily have to last too long. This type of glue is not too strong so it cannot be expected to hold heavier objects together. Most glue sticks will dry clear. One type of stick goes on in a pale blue colour which is easier to see while you are creating your project, then it dries clear. I always have one of these in my craft supplies.
These are great, almost dry products so they are good for use when crafting with children if you want to avoid the messiness of wetter products.
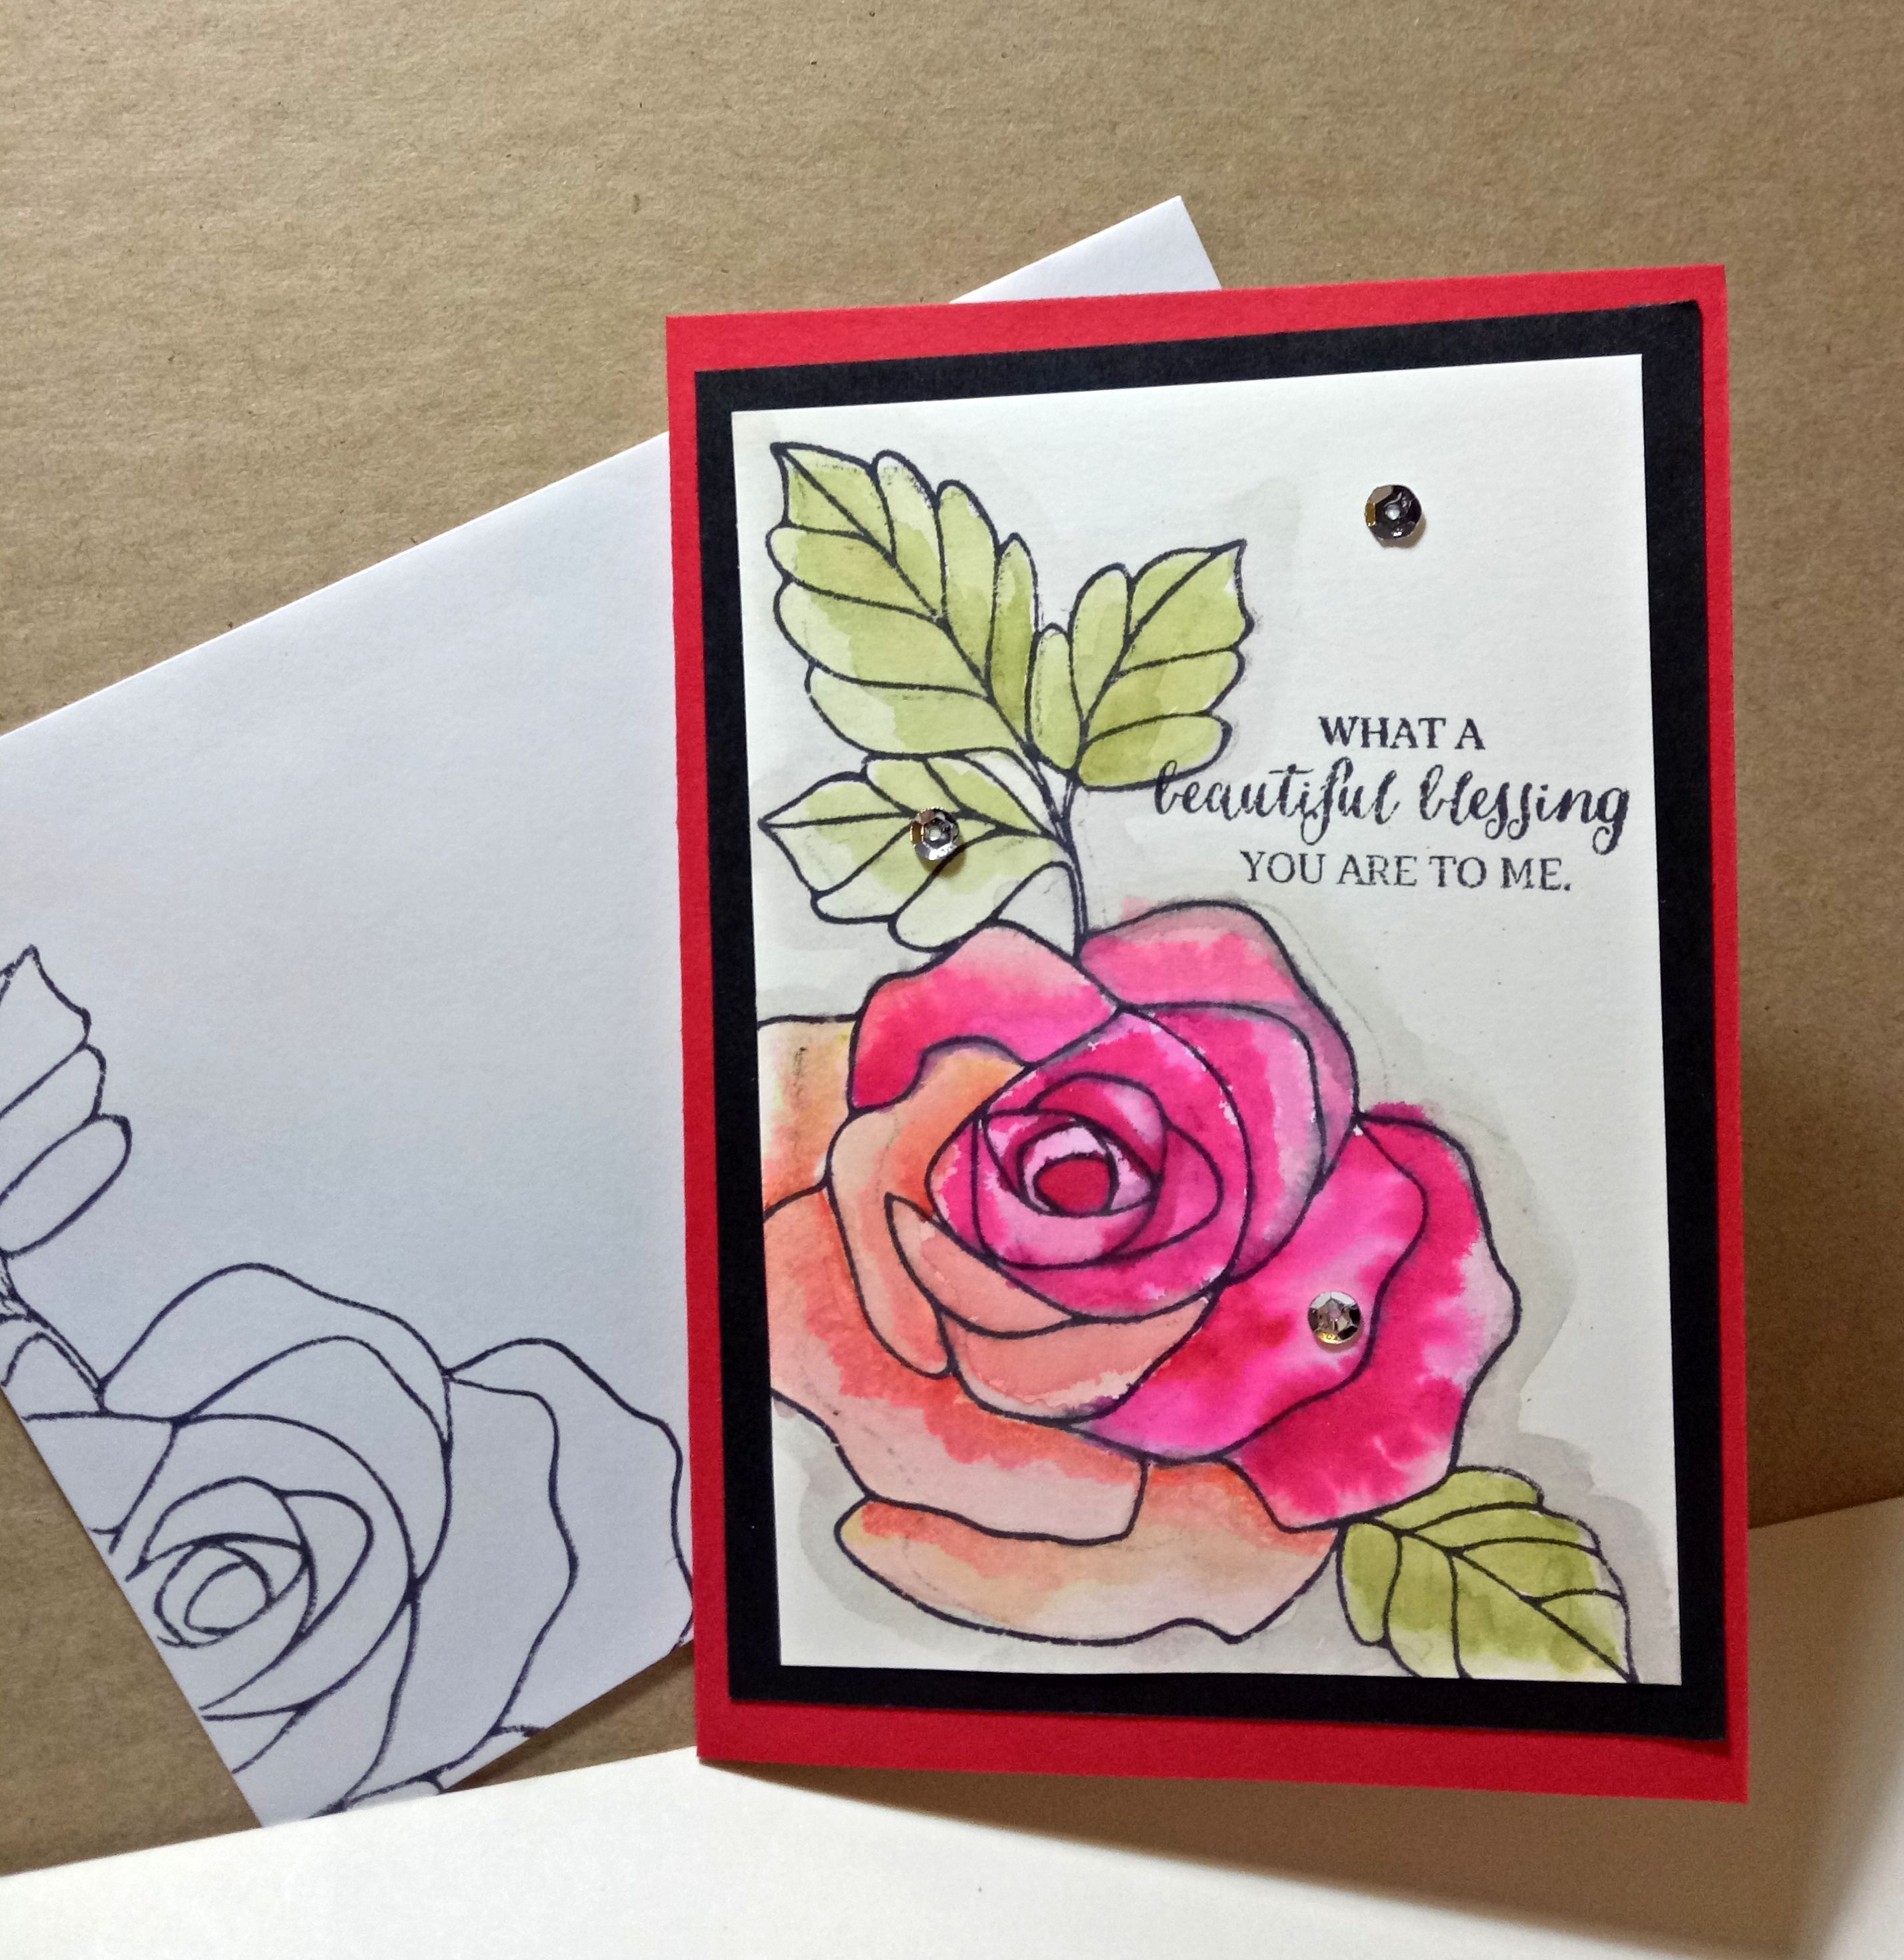
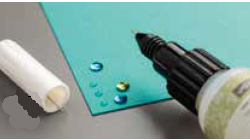
Stampin' Up! Fine Tip Glue Pens contain a very liquid type of adhesive that can be used to stick down very fiddly bits of paper. I use them when I want to make little dots of colour out of various shades of cardstock on my cards, or to attach the different parts of paper flowers together. This type of glue seems to dry very quickly and is easily absorbed into the paper, so you need to be sure you want to stick something permanently down before you commit!
I also love this type of tool when I want to adhere intricate die cut words or shapes to something. For the rose card below, I used it to adhere sequins to my main image.
Be careful to choose an archival quality pen as an adhesive for scrapbooking and even then I would not use this glue on photographs, only on embellishments and cardstock/dp.
Did you know you can use the Fine tipped Glue Pen to add
dimension and gloss to scrapbooking images and/or projects? For
large areas, paint this adhesive on in a thin layer with an old paintbrush (WARNING:
the glue may not all come out of the brush so use an old one). I use
it to dot smaller areas for shiny effect or to pour out a thick blob in
the middle of a project and for spreading that blob out to all edges.
It dries in 3 to 5
minutes when applied thinly but depending on the humidity it could take
an hour or even overnight to dry when it
is applied in a thicker layer. It's great for making glossy name badges
and flowers you want to add to, say, glass jars for decoration.
Be careful not to handle your project too soon after using such a lacquer or you may leave fingerprints in your design!
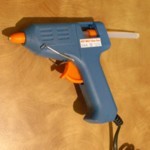
Hot Glue Guns are wonderful craft supply items for fixing even heavier objects such as boxes and other off-the-page projects together. I use them to make 3d Christmas ornaments and wreathes, paper and fabric flowers, hair clips and home decor. You may like to read some tips for using hot glue guns before you fire one up.
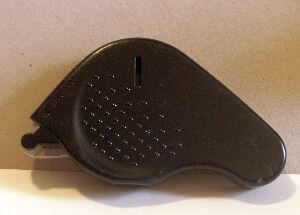
Repositionable Glue Dots or Dotto has some distinct features and advantages for you to consider. It allows you to adhere something temporarily, such as a mask you are stamping over. It kind of acts like post-it note glue. Though Stampin' Up! does not make it anymore, I still love it and it is readily available in craft stores.
You can make repositionable glue with some types of liquid glue pens by laying it down but not sticking anything to it, then allowing it to dry. It will remain tacky rather than sticky, which is perfect for repositioning pieces without tearing holes in your project.
Of course, you can also use Washi Tape for this purpose, and remove some of its tackiness by sticking it to your clothing a couple of times before using it as a temporary adhesive.
Mod Podge, is the brand name for PVA (Polyvinyl
Acetate, the base of white craft glue) gel medium, specially formulated
for use in decoupaging. It is available in gloss or matte finish, as
well as an acid-free version. You can use it to adhere many different
types of materials to many different types of surfaces. Use it to coat and seal a photograph or picture or to alter a hard plastic surface, or for sealing canvases or sealing decorated notebooks, for example. There are many more uses for this versatile product. It's a great papercraft adhesive.
Spray Lacquer or Spray Adhesive is great for sealing delicate projects and making them more durable. For safety's sake, be sure to only use this papercraft adhesive out doors as it is very toxic to inhale. Think of glue, in your lungs. Ouch and ewww. Little children also need to be protected from it.
Once it is dry it is safe from being inhaled. It is just the propellant you need to be careful with. It is a great product for adding fine layers of sealant and not having any brush strokes visible afterward.
Xyron Machines are sticker making machines and are great additions to your adhesive arsenal. You can purchase them in many chain stores carrying scrapbooking or papercraft adhesive supplies.
Here's what one of the smallest one looks like:
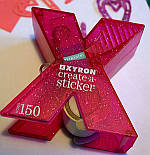
There are a few sizes of Xyron machines to choose from. Some will make little stickers and some will make bigger stickers. Whatever you run through the machine will come out with a sticky side. The object will be encased between a sticky paper and a clear cellophane layer. You can make stickers out of paper objects, stamped images that you have cut out, ribbons, feathers, or anything flattish that can fit through the machine.
Photo splits are adhesives for scrapbooking. I use them for sticking down photographs and paper in albums. They are little double sided stickers. I always look for archival quality photo splits when choosing them for albums so that they will not damage my photos over time. This means they have to comply with the International Standard for paper.
If you use them and then want to move your photo or paper, photo splits can usually be pried up and reset within about a day of use. They tend to bond more strongly as time goes on though.
They come in rolls or runners.
Photo Tape is a strong tape used for binding large areas or pop up pages together. It can be used in long lengths as well, for example when you would like to 'hinge' one page to another. It is a tough scrapbooking and papercraft adhesive that can add durability to your 3D projects.
I always make sure this tape complies with the International Standard for paper products if you are using it as an adhesive for scrapbooking.
Tape Runners or Snails are handy little dispensers full of double sided adhesive that can be placed where you want it to go. I enjoy using these for both cardmaking and scrapbooking projects. Again, I choose tape runners for my photo albums that comply with the International Standard for paper and are buffered, lignin and acid free.
If you use them and then want to move your photo or paper, things stuck down with tape runner adhesives can usually be pried up and reset within about a day of use. They tend to bond more strongly as time goes on.
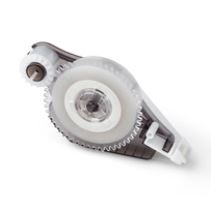
This tape runner is re-fillable. Here's a picture of a Stampin' Up! snail:
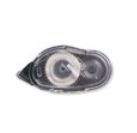
Stampin' Up! Stampin Seal is a very strong adhesive in a convenient little tape runner. I love this adhesive. I use it to construct gift boxes and bags especially. It can be tricky to use at first, but once you get the idea of how to break it off, it is a dream to use. The secret is to apply it gently, then make a little 'tick' motion by flicking it with your wrist to one side when you want to end the tape run. Tick in the opposite direction the next time you use it to help keep the tape on the reel. And it is re-fillable! Here's a picture of the tape runner:
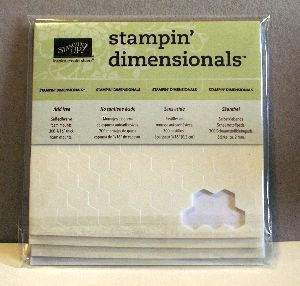
Stampin' Dimensionals are very useful little bits of
foam papercraft adhesives that I use to slip underneath images that I want to 'pop
out' from my pages and cards. They help to create a 3D feeling to a
paper project and can lift a nice card into being extra special.They allow a papercraft element to cast a shadow and that adds depth to your projects.
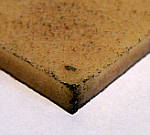
I do tend to use these as an adhesive for scrapbooking when I want to pop up handmade paper flowers and adhere buttons and the like. The Stampin' Up! ones are hexagonal shaped and I find that helps a lot when I want to line one up with a straight edge. I took a few out of this packet so you can see their shapes more easily:
Always be sure to use the edge bits that are left on the sheet when
you have removed all the hexagons. The edge bits are just as sticky as
the little hexagons and you get better value from your Stampin'
Dimensionals when you use up every bit!
Glitter Glue has glitter mixed through it. This is rarely used to actually hold items together. It is more useful as an accent on images or to make backgrounds than it is as a papercraft adhesive.
You might want to try some on a fairy card or to draw the eye on a butterfly's wings, for example.
I've also drawn glittery scrolls and shapes on the backgrounds of cards with glitter glue.
If you don't have any, try mixing some glitter or embossing powder with clear lacquers or fine tip glue pen adhesive, or sprinkle glitter on top of liquid glue before it dries.
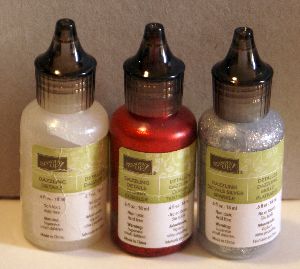
I put a picture of some of the colours that used to be available from STampin' Up! below:
Washi Tape is a lovely paper tape that is meant for decorative purposes only. Many people are disappointed when they try to use it as they would sticky tape or scotch tape, as it will not hold like those types of tapes.
Use it to add a line or pattern of prettiness to cards, scrapbook pages, on 3-d papercraft projects and more. It comes in so many different designs.
I hope this information has helped you to decide what scrapbooking and papercraft adhesives to choose when assembling your craft supplies. I'll add to this list as I discover more adhesives for you so come back to this page now and then to read the updates.
A Handy Glue Resource
I found this great web site that will give you some advice about which papercraft adhesives to use to adhere various materials together. It also includes glues I have not mentioned on this page, but maybe you have some of them in your stash already and would like to know more about how to use them. The web site also covers materials I may not have mentioned on this site such as glass. Try it for yourself. The website is called This to That.
Making a Papercraft Project Without Using Adhesive
Have you ever challenged yourself to make something without using any papercraft adhesives? Adhesives are great and we use them for so many things, but sometimes it is interesting to make something without them, just for a change. Elements that are joined together without glues also give you the option of making an interactive project as elements may still be able to move.
So how is it done? Well, this is where the Crop-a-dile or your eyelet setting tools can be so handy, for example, and there are many other ways to experiment.
Things to try:
- Punch holes or cut slits in your cardstock layers and thread with ribbon, lace, fibres, leather, string, raffia, shoe laces
- Sew items together by hand or with a sewing machine
- Lace your card elements together with fibres, threads or ribbons after setting some eyelets
- Use snaps to join paper layers instead of other types of papercraft adhesive
- Try using brads to anchor pieces together
- Sew buttons on for real! Stitch right through as many layers as you wish
- Try using pieces of Velcro to hold elements together - a great effect on a boy's card
- Use paper clips or mini bulldog clips to hold things together
- Check out the stationery department at your local store and see
if you can find something interesting to clip your elements together
- Cut slits in your paper to serve as photo or cardstock corners
- Use safety pins to pin things together - think baby cards
- Try wiring things together. You can even thread beads on your wires to create more interest
- Thread things together with strips of paper - cut vertical or
horizontal or slanted slits and weave strips of paper through different
elements
- Cut even smaller strips of paper and use them to 'tie' elements
together as though the thin strips of paper were string (or just use
string, yarn, Hessian fibres etc)
- Use wax to seal elements together and stamp an image into the cooling wax before it sets to add more detail
- Try using iron on interfacing or hemming web between sheets of
cardstock or other heat-proof elements (be careful not to scorch your
paper, unless you are looking for that effect!)
- Use jump rings, split rings or book binding rings to clip things together
- Use bread bag ties, wire twisties, rubber bands, or hair clips or ties
- Use staples
- Use magnets
Now that your creative mind is working, you can probably think of even more ways of making a project without using papercraft adhesives!
Have fun, no matter which types of Papercraft Adhesives you use!


New! Comments
Have your say about what you just read! Leave me a comment in the box below.