Papercraft Bear
Written and Created by PaperCraftCentral Susan
A papercraft bear can easily be created with a your paper punches, a marker and some cardstock. Why not make one for your next baby or toddler card or scrapbook layout?
"Teddy bears don't need hearts as they are already stuffed with love"
~Anonymous
Making a papercraft bear out of circle and oval shapes may seem
an unlikely quest at first, but it is really quite an easy thing to do!
That's all the shapes I used to make mine.
If you do not have paper punches, you can make the shapes with a compass and pencil, and by tracing around a stamped oval shape, for example. If you do have the correct punches or Stampin' Cut and Emboss Machine Dies it makes the process so easy and quick.
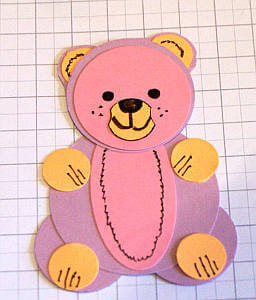
Can you see the shapes I mentioned in my pink and lilac bear shown above? If you can, you are already on the right track to making your own.
My instructions for this paper punch embellishment are below.
How to Make a Papercraft Bear
Here are the punches and tools I used. You may not recognise the black and silver ones if you have the newer, slimmer punches from Stampin' Up! as they changed the shape to the gray and silver one on the left (small tag punch) a few years ago, but the shapes they punch out should be similar:
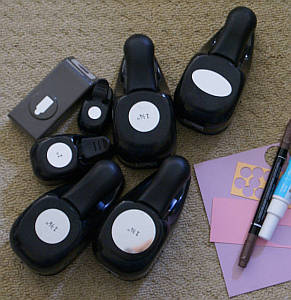
I always find a picture useful for making a punched image, so here if what I cut from my punches. You will need the shapes and numbers of punch outs shown:
- 7 x 1/2" circles (not 1/4"! That was an error on my part when making the photo)
- 2 x small tags
- 4 x 1" circles
- 1 x oval that is about 2" long
- 1 x 1 1/4" circle
- 1 x 1 3/8" circle
- 1 x 1 3/4" circle
You can of course use any colours you like to make your bear.
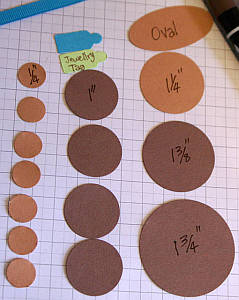
I chose Stampin' Up!'s Chocolate Chip and Creamy Caramel (both retired) cardstock and a Chocolate Chip Stampin' Write marker (also retired). You can make this figure out of a dark and light brown and pink, blue, yellow or purple tag, I also used my Tombow Multipurpose Liquid Glue as an adhesive.. You will need these shapes:
- One 1 3/8" circle in Chocolate Chip
- One large oval in Creamy Caramel
- One 1 3/8" circle in Chocolate Chip
- One 1 1/4" circle in Creamy Caramel
- Four 1" circles in Chocolate Chip
- Seven 1/2" circles (not 1/4" as written on the picture!!) in Creamy Caramel
Instructions:
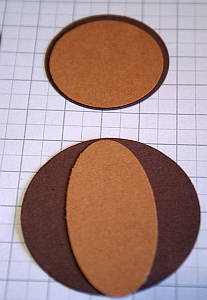
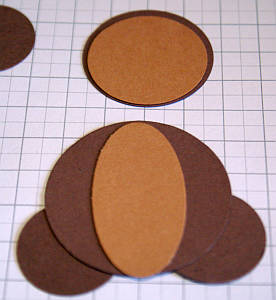
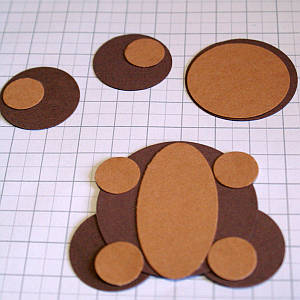
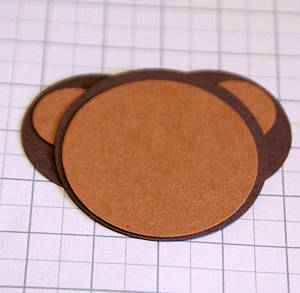
- First I used the 1 3/4" circle and the oval to make the body and tummy. I also used the 1 3/8" circle and the 1 1/4" circle to make the head and face. Place the two head circles so the edge of the inner circle touches the edge of the outer one. Use a little glue to adhere the pieces together.
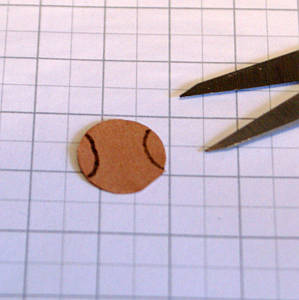
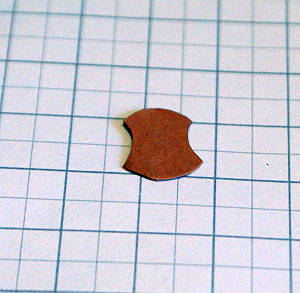
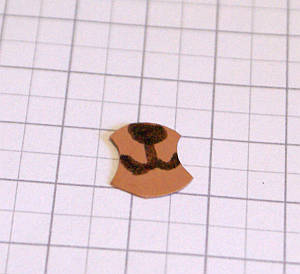
Using a marker, draw the nose (kind of an oval) and the mouth (a straight line from the nose and a curved line for the smile):
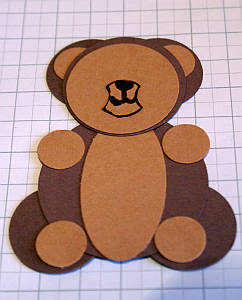
I hope yours is starting to look like you want it to!
There are only a few steps to go so click on the link below to see the rest of the instructions on the next page.
Remember, you can decorate the finished design in your own style, colours, and for your own purposes, some of which I suggest at the bottom of page two.
Go to page 2 of the instructions....
Return from Papercraft Bear to Card Making | Return to Scrapbooking Tips | Return to PaperCraftCentral Home Page


New! Comments
Have your say about what you just read! Leave me a comment in the box below.