- Home
- Papercraft Adhesives
- Iris Folding Tutorial
Iris Folding
Written and Created by PaperCraftCentral Susan
"Iris Folding is a paper craft technique that involves folding strips of colored paper in such a way to form a design. The center of the design forms... -- a shape reminiscent of the iris of an eye of of a camera lens". Wikipedia
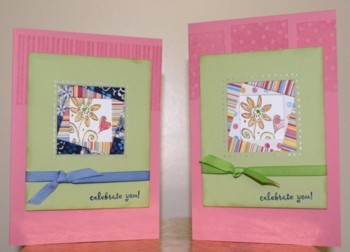
Making a card with the Iris Folding Technique can give
you a spectacular result.
If you have never made a card using this paper folding technique, it looks a lot more complicated than it actually is. It's pretty easy to learn how to do this.
See below for my step-by-step tutorial.
How to Do Iris Folding
In this example, I have used a square shaped aperture, but there are many other patterns. I will provide a link to some for you at the bottom of the page.
You will need:
- A card blank with a window aperture. Create the aperture with your paper trimmer or with a craft knife and steel ruler, or use a Big Shot die to cut one.
- A craft knife and cutting board or a large square punch or a paper trimmer.
- A plain piece of cardstock to punch or cut a slightly smaller square aperture from to use as a frame inside the main aperture.
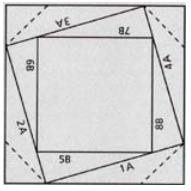
- A square pattern for your folds.
- Repositionable adhesive for the pattern.
- Adhesive for the paper strips.
- Some clear packing tape for the completed design.
- Some backing paper or cardstock for the completed aperture.
- Four different types of thin paper to make your folds (or you can use unfolded cardstock, ribbons, origami paper, etc - as long as it is thin) in contrasting or coordinating colours and/or patterns.
- A bone folder can be handy if you are going to be folding your strips of paper.
What to do:
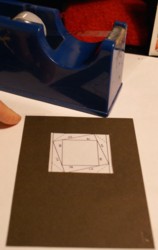
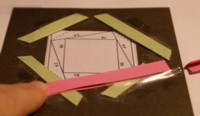
- Cut or punch your main aperture, and make a smaller aperture from the second piece of cardstock. Adhere the two layers together.
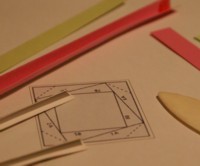
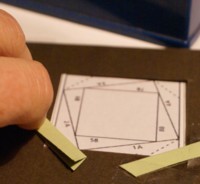
- Position the pattern over the right side of the aperture so you can see it from the wrong side.
- Use the non permanent adhesive to fix the pattern in place.
Do You Get Your Free Copy Of Paper Twists?
To get more free paper crafting ideas, subscribe to Paper Twists! You'll be among the first to know when there are new ideas at PaperCraftCentral.com when you subscribe. You'll get news about:
- Papercraft hints and tips
- New ideas in the papercraft world
- Reviews of new products and tools. What works….and what doesn’t!
- How to save money on paper crafting supplies
Subscribe today! It's Free!
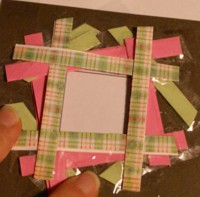
Now For The Next Card Making Steps:
Use your amazing image on a card front any way you wish but be sure to find someone to 'wow' with your lovely iris folds when you are done.
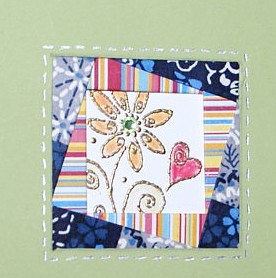
Other ideas
- Use foils or glittery papers in your desig.
- Try using Washi Tape to make a design. The pattern will probably show through the translucent tape though, so try overlapping the strips carefully.
- Try using origami papers or rice papers to make your paper folds.
- Use vellum strips to make a translucent design.
- Incorporate this technique into your scrapbook pages.
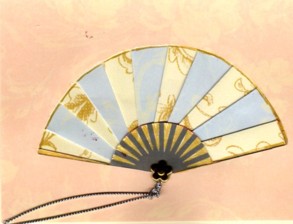
- Use embossing powder on the edges of the paper folds to add interest, or stamp and emboss the stamped images as I have done in the series of Iris Fold Fan Cards in the slide show at the top of the page.
If you have tried this technique and have a project to share, please do. I would love to see your projects.
Do You Have A Favourite Handmade Card to Share?
Do you make greeting cards? Please do share it with me.
If you would like to have more iris folding templates, you may like to purchase this book.
It also has a lot of tips and techniques available for you to really perfect this crafty art:
And if you like fancy folded card ideas, you might like to see the gatefold card technique, or the origami fox project.


New! Comments
Have your say about what you just read! Leave me a comment in the box below.