- Home
- Papercraft Adhesives
- Gate Fold Card Design
Gatefold Cards - Tutorial
Written and Created by PaperCraftCentral Susan
Gatefold cards are easy to make yet they can have such impact! There's something a little bit grand about a double front opening card, don't you think?
"The fence that makes good neighbors needs a gate to make good friends"
~Proverb
There is something about receiving a handmade greeting card that you
need to untie before you can see the personal message inside that makes a person feel they are receiving something made just for them, possibly with a secret message inside?The symbolism of gates and having the key to unlock them is powerful.
Bonus! This paper craft technique does not really require any special materials either if you already have some basic crafting supplies.
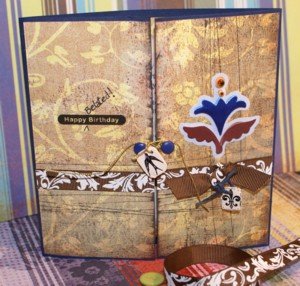
How to Make Gatefold Cards
Here are the papercraft tools and supplies you will need:
- A piece of cardstock measuring 30cms X 15cms (12" X 6")
- Designer series paper and embellishments of your choice
- A pencil and ruler
- A craft knife and a pair of sharp paper snips (scissors)
- A bone folder (if you don't have one, use a blunt knife or a biro that has run out to score the paper and the rounded handle of the knife or the back of a spoon to crease the folds)
- Some way to fasten the two folded sides of the card together. I used brads and gold cord on one card and eyelets and gold cord on another
- A cutting mat
Here's what to do:
- Find the middle of the length of your cardstock and mark it lightly with the pencil. Then find the quarter points of the length of cardstock and mark those lightly with a pencil
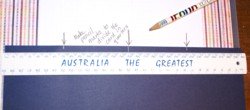
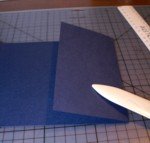
- Next, measure the designer series paper to make a square that fits over both 'doors' of your card. Cut it out and glue/adhere it down to the entire front of the card, covering up the centre as well.
- Make sure you glue or adhere the edges of the two front sections so that your designer series paper will stick down to the folds once they are cut open
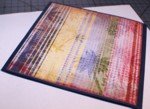
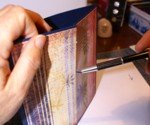

Now you can decorate your card and finish it the way you want to.
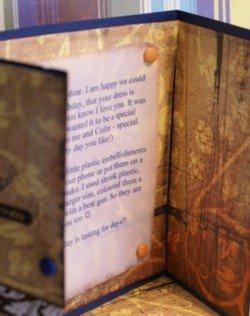
You can also decorate the inside of your card, of course. Here I used more of the designer series paper from the front and printed my sentiments on Vellum, then anchored them down with more brads like the ones I used at the front of the card.
I used one continuous piece of designer series paper to cover the entire inside of the card, then carefully cut it into panels to fit each section so the card would open and close easily without too much weight in the creases.
Why not try custom altering your own brads to match your papercraft projects?
Of course, the possibilities for decorating your gatefold card are endless, limited only by your imagination and what's in your stash. For example, you can make the gatefold overlapping like I did with these little thank you cards, And you can make them in bulk too, like I did, if that suits your purpose.
To make cards in bulk, I do all the steps for each card together. For example, I cut and score ALL the card bases I want at once. Then I cut all the mats for the front of all the cards. Then I stamp all the front pieces at once. Then I colour all those images.
I think you get the idea?
I'll show you.
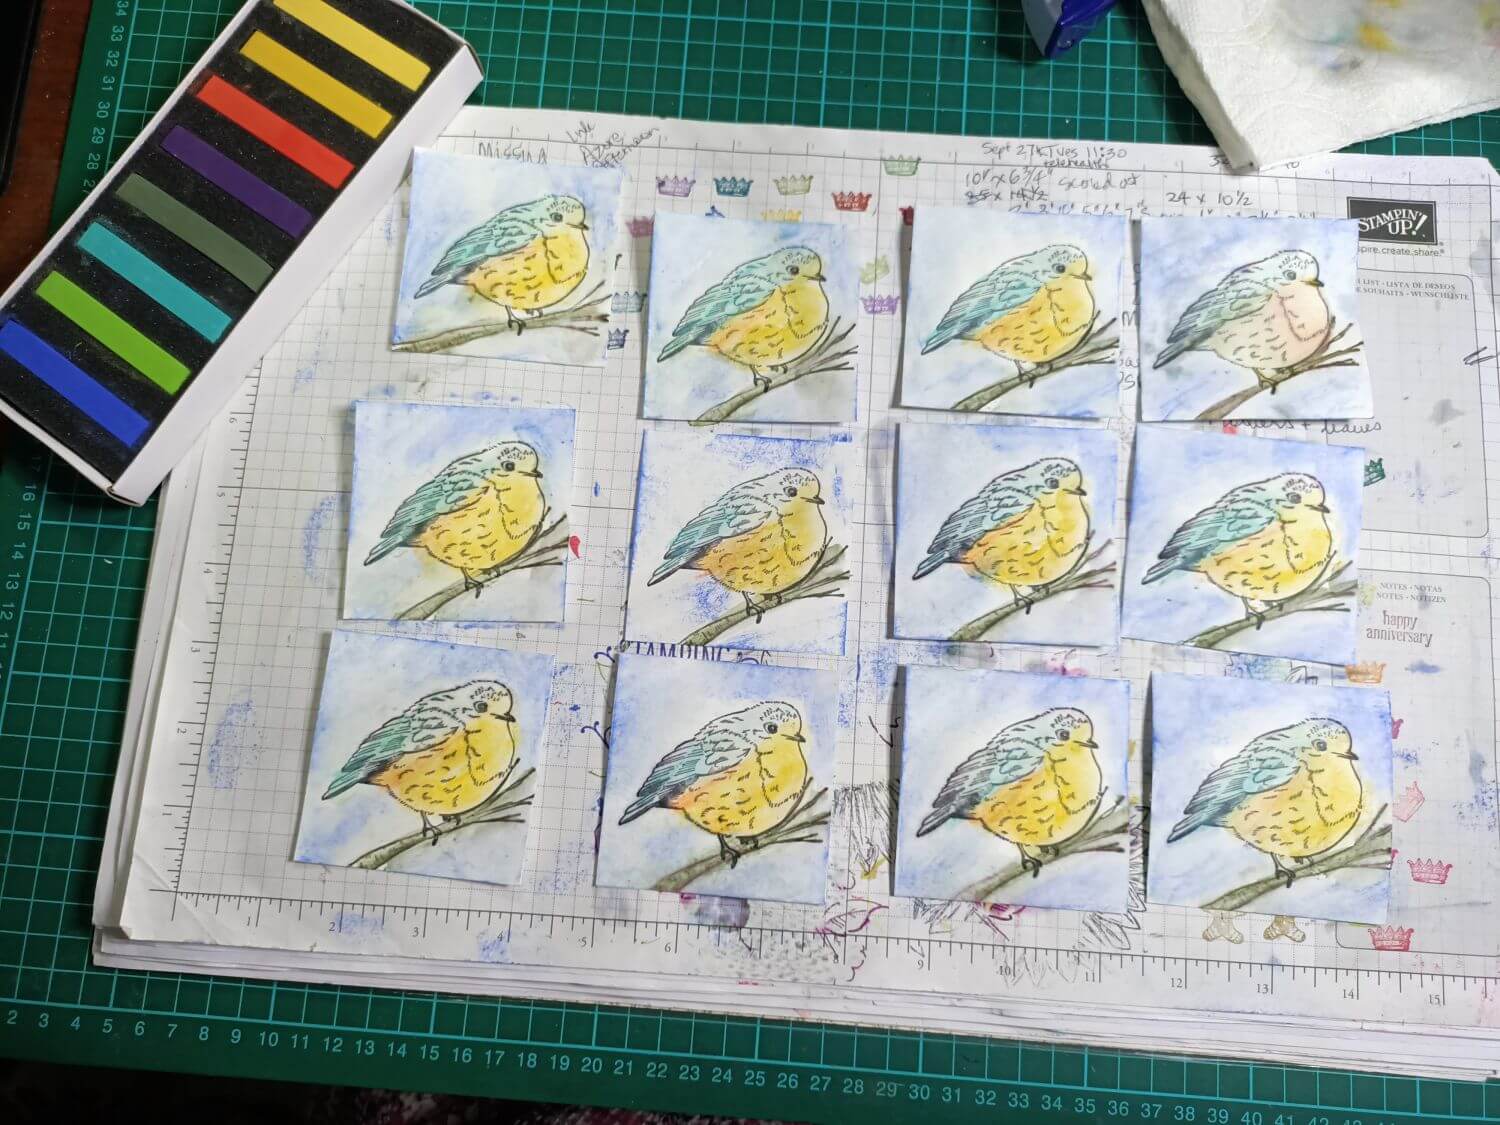
Here is the step for making the main image of all the cards. I stamped them all at once then I used my Soft Pastels to colour them all.
Next I glued all my layers together so I had a whole lot of finished cards at once.
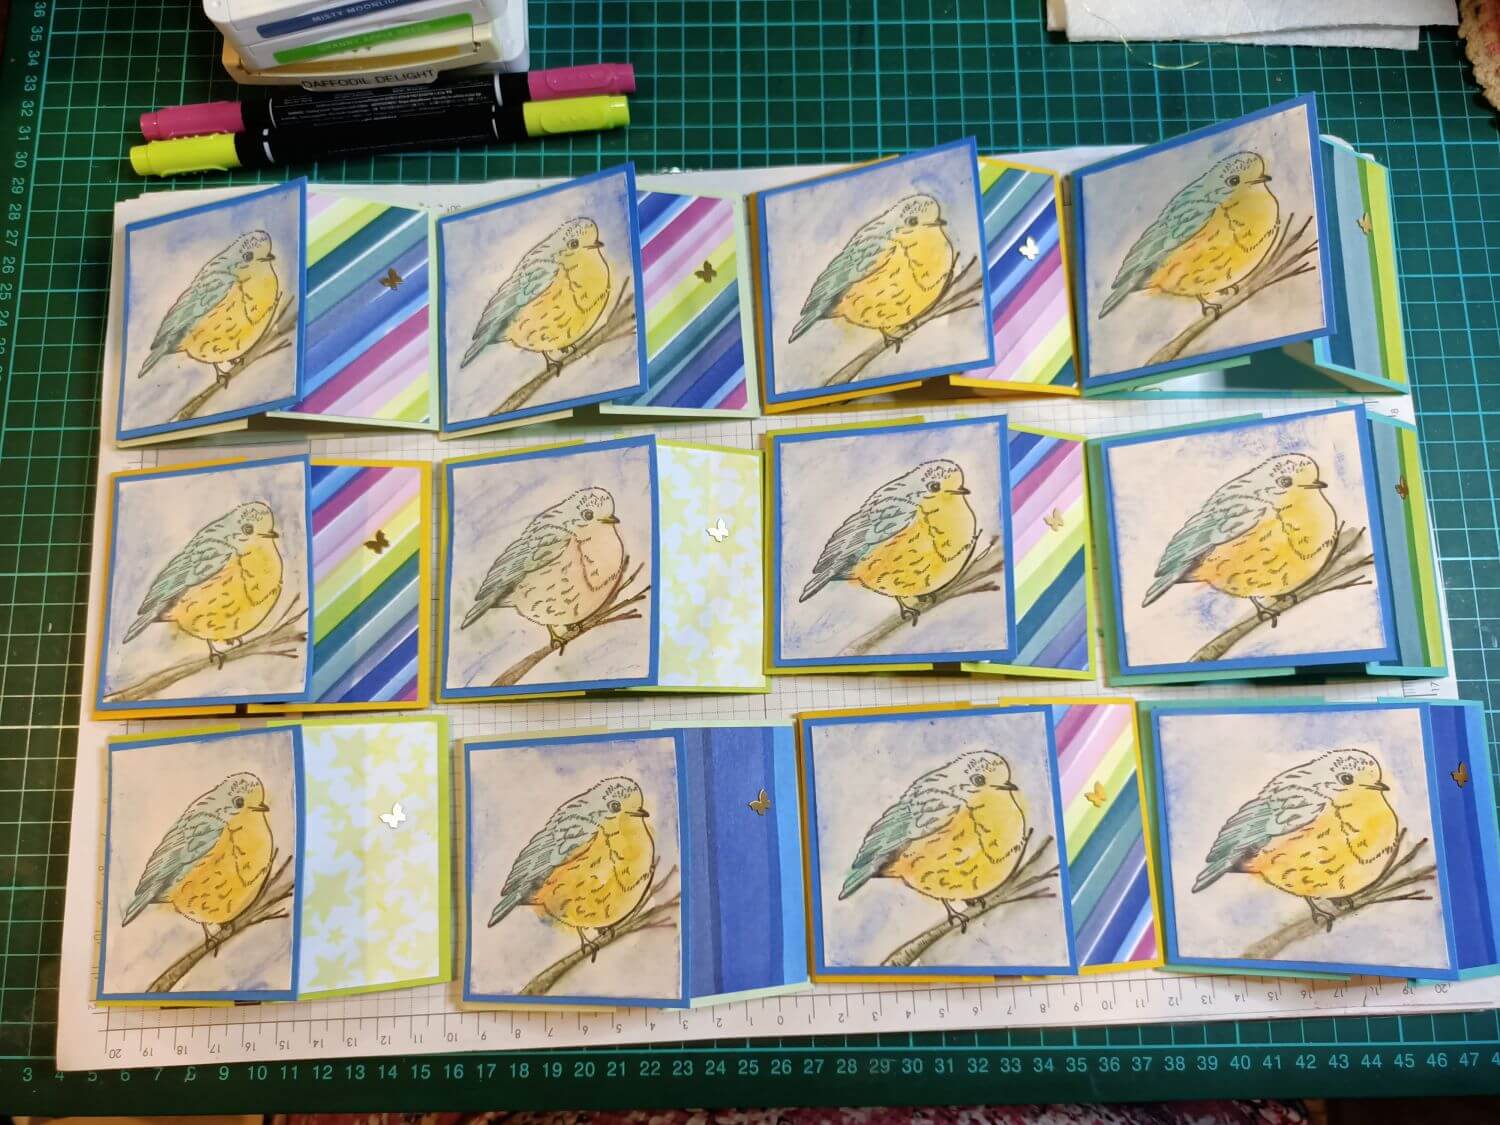
I opened one of the cards to show how the front gate panels overlap. Then I didn't need to tie them shut.
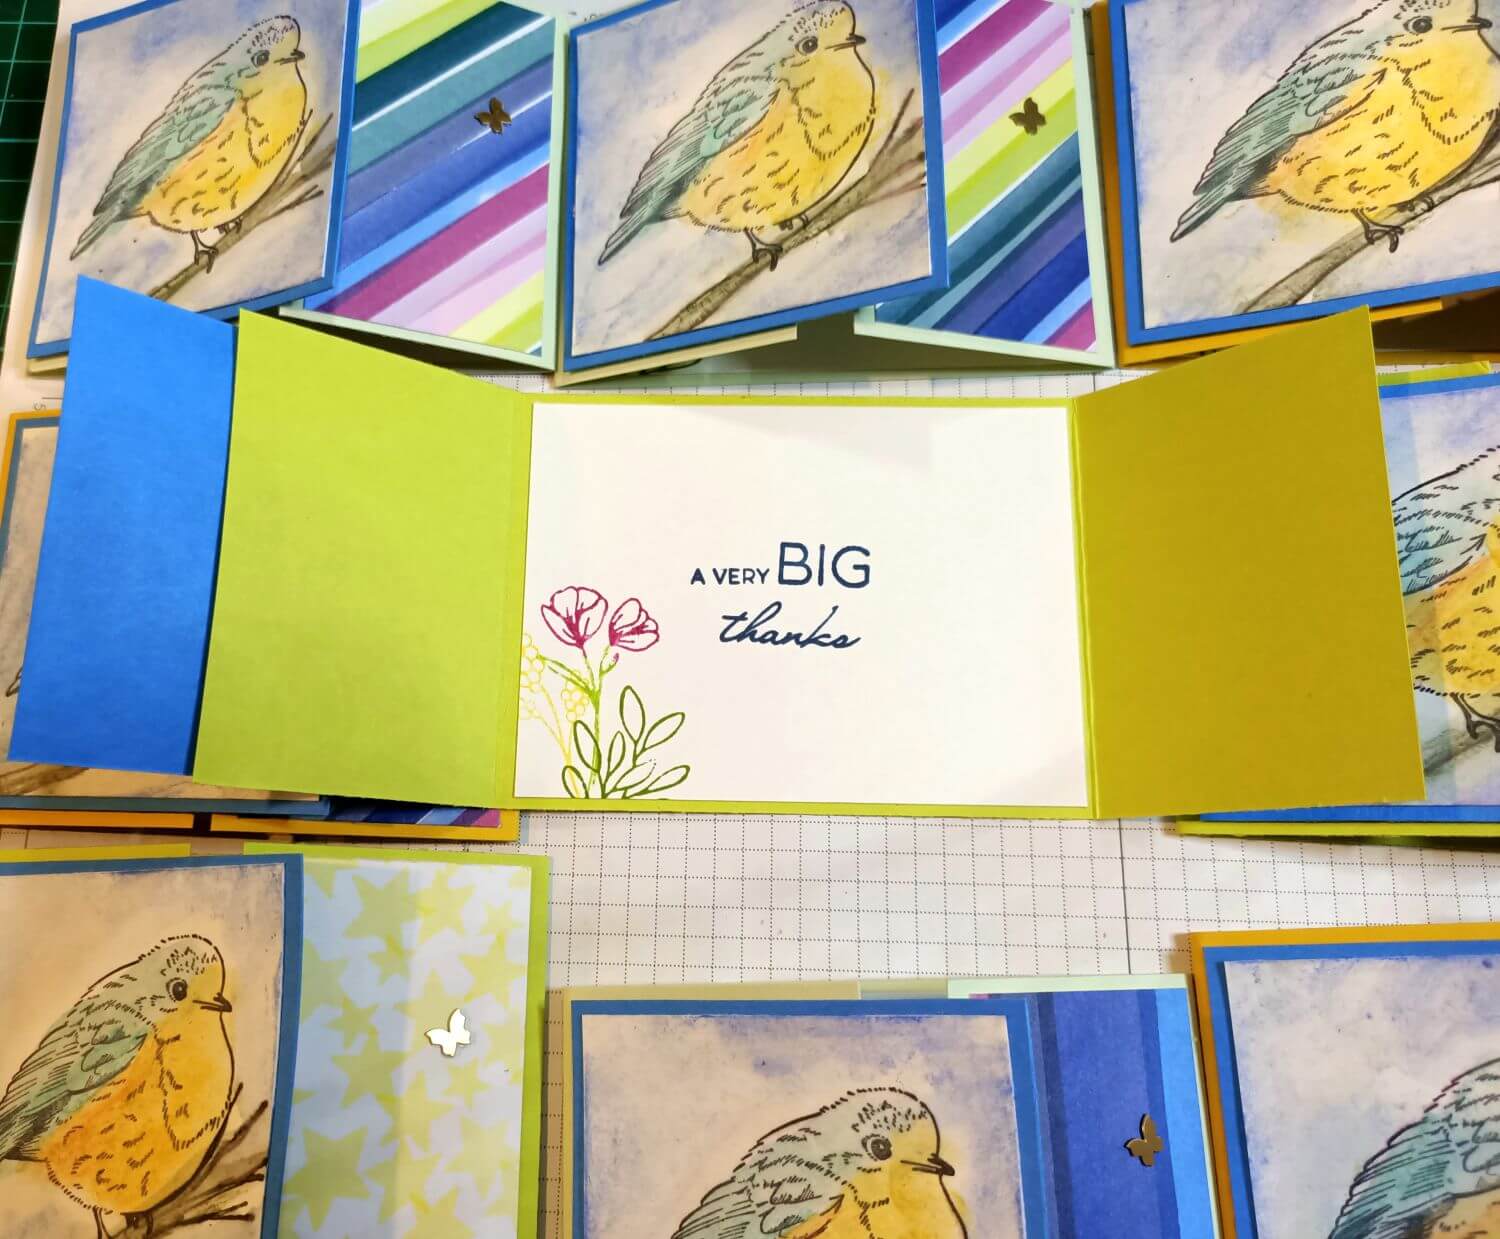
Have fun making your gatefold cards!
If you make one or if you try bulk card making, I would love to see your projects.
Do You Have A Favourite Handmade Card to Share?
Do you make greeting cards? Please do share it with me.
What Other Visitors Have Said
Click below to see contributions from other visitors to this page...
Folded Card when open Not rated yet
Hi Susan
As promised here is a picture of our folded cards, open.
Desire
*
Hi Desire
Thank you again - I enjoy seeing how the cards …
Folded Card Not rated yet
Hi Susan
This folded card is one that can be used over and over and with variations.
This is one of the cards our group did as a project in the …
If you liked this tutorial, you might like to try making a stair-step card, or an explosion card as well.


New! Comments
Have your say about what you just read! Leave me a comment in the box below.