- Home
- Papercraft Adhesives
- Page Protectors
Page Protectors
Written and Created by PaperCraftCentral Susan
Page protectors are nifty things that can help preserve your special layouts from being disarranged, accidentally stained or mishandled by enthusiastic viewers (like our sweet children!) They can be wiped clean if anything spills on them and you can remove fingerprints easily.
"Scrapbooking is cheaper than a therapist".
~Author Unknown
How to Use Page Protectors
If you are like me, once I have made a lovely new scrapbook, I want to show it off, and it helps my peace of mind tremendously to have sheet protectors in place. They can keep fingerprints and smudges off your photos and stop delicate embellishments from being rearranged or damaged. Memorabilia is more secure behind them as well.
These days page protectors come in many sizes, from the 12" x 12" (30cm x 30cm) page protector down to 6"x 6" (15cm x 15cm) ones, plus the Memories and More 6" x 8" Photo Pocket pages are also very effective.
A problem often arises when you are finished your 12" x 12" layout and at last try to put the covering sheet on your page. There is a tendency for its edge to catch on your photos and embellishments, especially when you have decorated both sides of the page. This can undo some of your good work and be very frustrating.
You can also notice dust collecting on pages over time, or fingerprints, or heaven forbid if someone spills water or something worse on the page!
What can you do? Don't worry! Help is at hand!
Other scrapbookers taught me this simple tip and I want to pass it on to you.
You will need:
- Two page protectors slightly larger than the size of the page you want covered. NOTE: You are going to sacrifice one but it will become a tool for you to use over and over instead
- A pair of scissors or craft knife
- A completed layout that you want to cover
- A metal ruler or straight edge
- A cutting mat
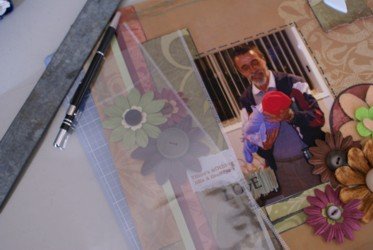
Here's what to do:
- First be willing to sacrifice one of your page covers so you can use it every time you want to put a sheet on a page this size in the future. You can add the altered sheet to your tool kit afterwards.
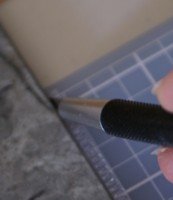
- Carefully cut or slit open one of the sealed sides of one of the sheets with your craft knife and metal ruler and cutting mat, or use your paper snips. Make sure the page is able to be opened up all the way down that side and the sheet can be opened right up.
- It does not have to be perfect but it helps to stick as close to the sealed edge as possible when you are opening up the sheet. (I think I need a better metal ruler. That one in the picture is a disgrace! I had temporarily mislaid my good one that I got from Officeworks in Australia.)
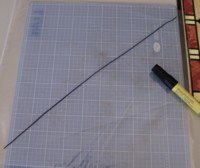
The next steps are:
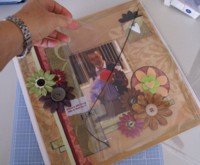
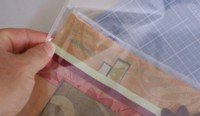
TIP: Remember to remove the protective sheets when you want to photograph your layouts for the web. Otherwise light bounces off the shiny surface and makes your pictures very hazy.
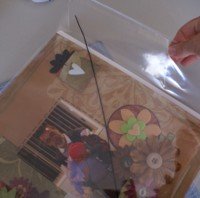
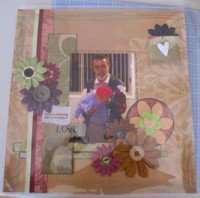
More tips:
- Be sure to store the cut sheet with your papercraft tools for next time you want to quickly cover a completed page without tears
- Use your cut sheet to temporarily protect layouts you are still working on, to avoid having to remove an uncut sheet over and over again. I find this keeps my layouts nicer until I actually get them into an album
- Remember you can use this tip for any sized layout as long as you are willing to sacrifice one of your protectors for each sized album layout. I used a 12" x 12" layout here, but it would work for an 8" x 8", 10" x 8", or a 6"x 6" sized page as well if you have sheets in that size, or you can cut a larger sheet down to the size you need
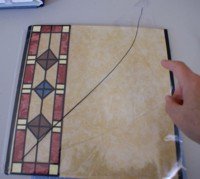
Now you can let people enjoy your albums without being concerned that they will be marked or accidentally damaged because you cleverly used page protectors!
You might also like:
- How to make paper butterflies
- How to use brayers
- Make your own Rub Ons
Return from Page Protectors to Scrapbooking Tips | Return from Page Protectors to PaperCraftCentral Home Page


New! Comments
Have your say about what you just read! Leave me a comment in the box below.