- Home
- Papercraft Adhesives
- St Patrick's Day Ideas
St Patricks Day Origami Shamrock
Written and Created by PaperCraftCentral Susan
St Patricks Day Origami has to mean Shamrocks, right? That's what I thought of anyway and why I decided to make a shamrock for a card I am sending to a friend.
But it won't end there, to be sure, to be sure...
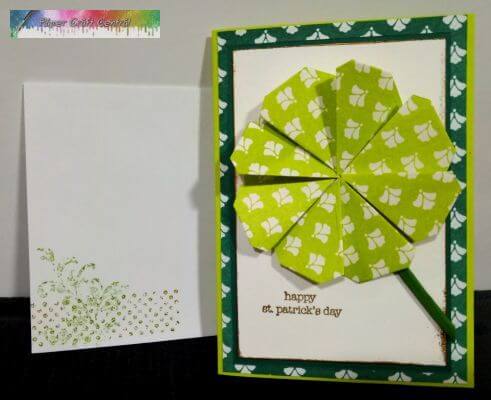
How to Make a St Patricks Day Origami Shamrock
I found a tutorial that showed me how to make my Shamrocks.
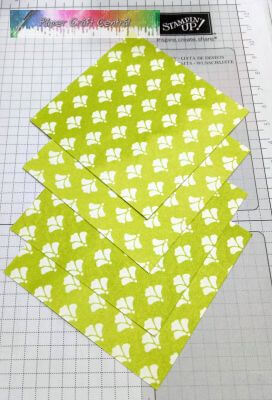
So following their tutorial steps, first I cut my Stampin' Up! Fresh Floral Designer Series Paper (or DSP, now retired) into 3' squares. I chose Lemon Lime Twist as my colour as it seemed the most like a shamrock to me at the time, but Tranquil Tide would work well too, both retired colours. These days I might choose Lemon Lime Twist or Granny Apple Green. Search your stash to find the right shamrock colour for your project. Maybe you think of them as a darker colour than I did.
This project is a great one for using up scraps of paper.
I needed two squares of Designer Series Paper per shamrock. So I made a few more.
I also needed to practice making them before I used my good DSP, so I started with copy paper by cutting out 3" (7.5cm) squares.
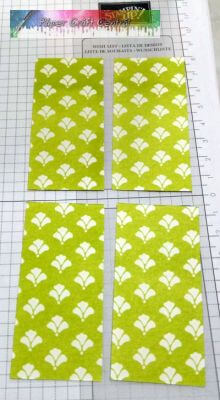
Next I needed to cut the squares in half to make two rectangles. So I did that, which made them 1.5" x 3" (3.8cm x 7.5cm):
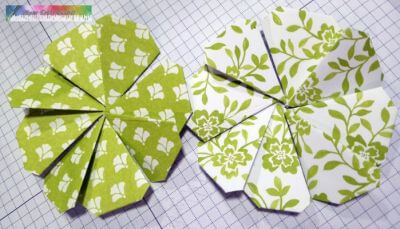
Next I needed to start folding them. I folded each rectangle in half lengthwise, then folded the folded edge in like it shows on the diagram in my tutorial.
I didn't keep a copy of the diagram in the original tutorial, but I can show you how mine looked. My finished folded rectangles looked like this when I was using my scrap paper as a practice go:
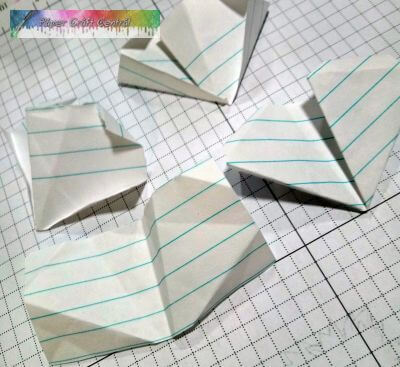
Once I got the fold right with the scrap paper, I folded my leaves out of the actual DSP and that's when I started to see if I could make four leaf clovers out of them. I added four folded pieces of DSP to one shamrock. Their centres all touched like this:
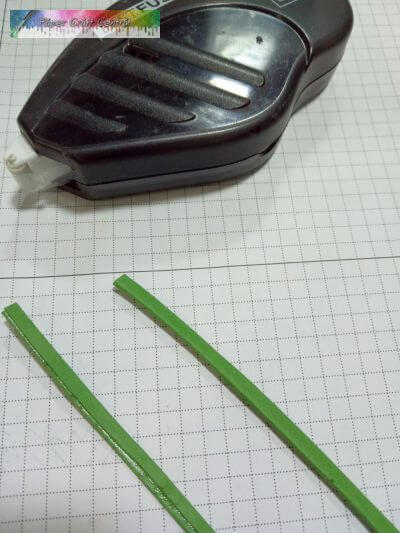
I think shamrocks need a stem so I cut out some thin pieces of Old Olive cardstock, scored them twice length-ways and used my Stampin' Seal to glue them together. This way my stems had more dimension than flat cardstock strips do on their own.
You can see how I did that in the next photo as some Stampin' Seal is showing in the bottom stem. That doesn't matter in this case as I plan to flip that stem over and glue it down anyway:
I liked the look of the stems with the Shamrock, then I started wondering if everything was the right size for a card?
So I made a card.
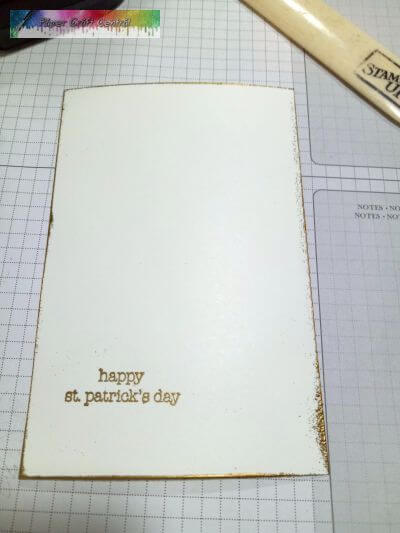
I stamped my greeting in Versamark ink and heat embossed it in gold embossing powder. Then I ran the edges of my Basic White cardstock along the Versamark ink pad and then through some gold embossing powder, heat set it, and voila, I had edged my card stock in gold.
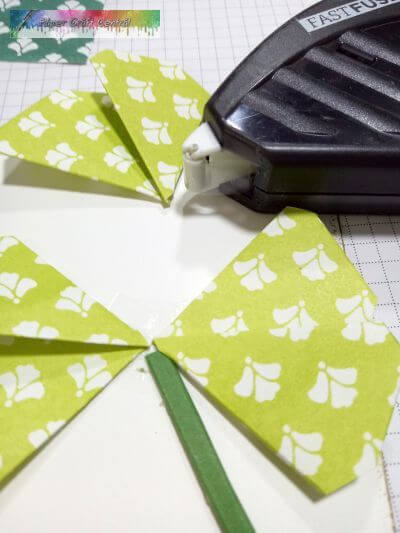
Then I took my Stampin' Seal and laid some down where I wanted the middle of my shamrock to be. I added the stem piece first, then fit the leaves evenly around the middle, adding more Stampin' Seal if I needed to.
I layered my Basic White on some Tranquil Tide card stock, then some Tranquil Tide DSP, then onto a Lemon Lime Twist card base. Of course, Tranquil Tide is retired but you could choose something like Pretty Peacock cardstock instead.
And to be sure! I had my card finished.
Then I started wondering how my St Patrick's Day Origami Shamrock would look on a scrapbook page....
I told you it wouldn't end with me making just a few paper shamrocks, right?
Shamrock Scrapbook Page
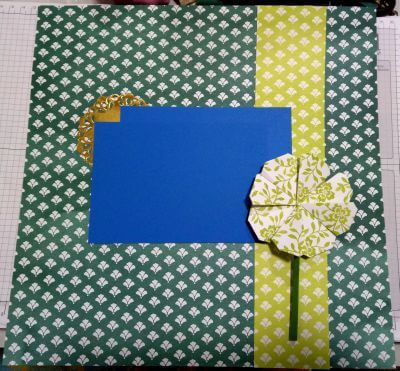
With just a little playing around, I could see that the shamrock was going to fit well on a 12" x 12" page.
This shamrock was made out of 3" x 3" square paper, so you could make them smaller or larger to suit your own project. Just be sure to start with a square for each petal, making them all that same size.
Shamrock on a Box
You can see that the St Patricks Day Origami shamrocks will look great on the top of a box too.
When you assemble them, you can cut a small square of cardstock to place your Stampin' Seal on. Then you will be able to place them where you want on a box lid or side. This is a 3 1/2" (9cm) square box with the same shamrock I made gracing the top.
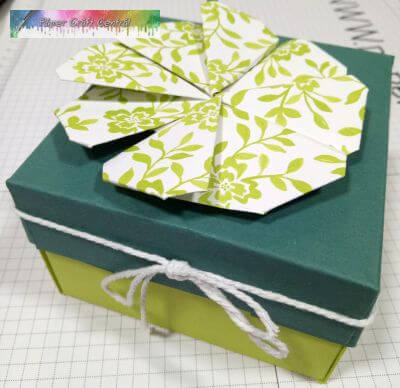
I hope you make lots of St Patricks Day Origami Shamrocks now.
What else would you like to see made for St Patrick's Day? Let me know below. And I would love it if you would show me your own four leaf clover projects!
Do you have some suggestions for how you would like to see this site grow?
Do you have some ideas about ways PaperCraftCentral could grow and be more useful for you?
Would you like to see a Stampin' Up! papercrafting technique, product or tool that I haven't featured yet?
Help me build this site by submitting your ideas.


New! Comments
Have your say about what you just read! Leave me a comment in the box below.