- Home
- Papercraft Adhesives
- Christmas Cards
Christmas Cards
Written and Created by PaperCraftCentral Susan
The pleasure of making handmade Christmas cards starts early at my house.
"I will honor Christmas in my heart,
and try to keep it all the year".
~Charles Dickens.
Some papercrafters I know literally start making their new supply right after New Year's Day. Generally I start making mine up in about July. I love to give a special greeting to each of my family members and friends, and that means making quite a few cards. When I am part of a Christmas Cards for the Troops drive I make even more.
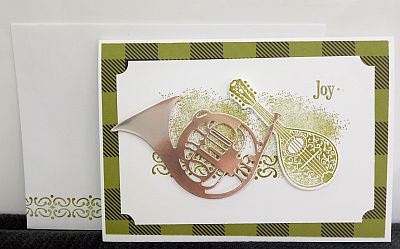
This card was made with the Musical Seasons bundle. I love it. I CASEd this idea from the seasonal catalogue.
Christmas Card Ideas
Noel 2017
I made quite a few different Christmas cards this year. I will show you some of them here.
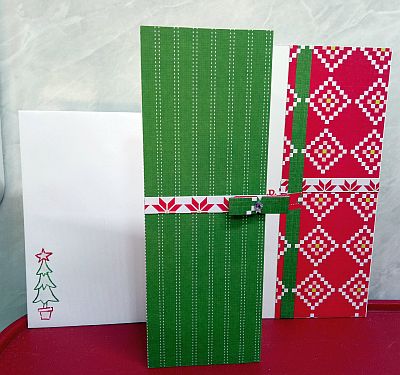
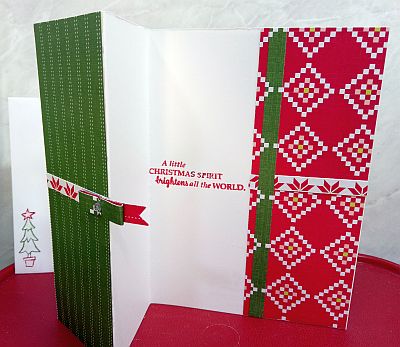
The one above is made to look like a present. Just score the front of the card in the middle horizontally and fold it back, then cover it with dsp. I used a Glamper Greeting image for the envelope. Here it is opened out:
I liked the colours of the QUilted Christmas designer series paper stack so much I used them a lot this year, even using the whole stack for once!

The card shown above was made with the Good Tidings stamp set. I hand cut the holly and berries after stamping it. I used some retired framelits to make the tags. You could make them without framelits. I just like to use framelits so I can centre my sentiments before I cut them out. The dsp is from Merry Little Christmas.
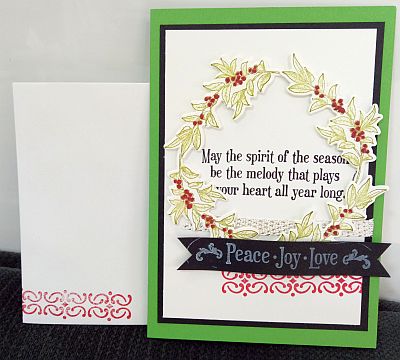
The card above was made using the Musical Season stamp set. I used four of the leaf and berry shapes to make a wreath.
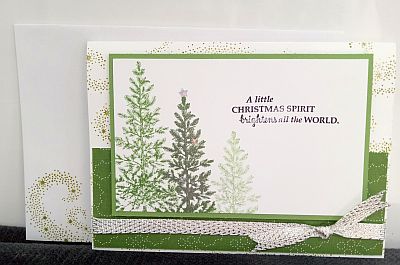
Such an easy card to make! I have to use my Lovely as a Tree stamp set each year. I just have to. This one has a background image made with the Star of Light stamp set.
Noel 2016
I discovered Magic cards this year. This card was made with the Star of Light stamp set:

Do you get the trick? If not, here's Stampin' Up!'s way to make a Magic card:
All of my supplies are from Stampin' Up! for this year's cards and supplies are available at my online Stampin' Up! SusanSalutations store.
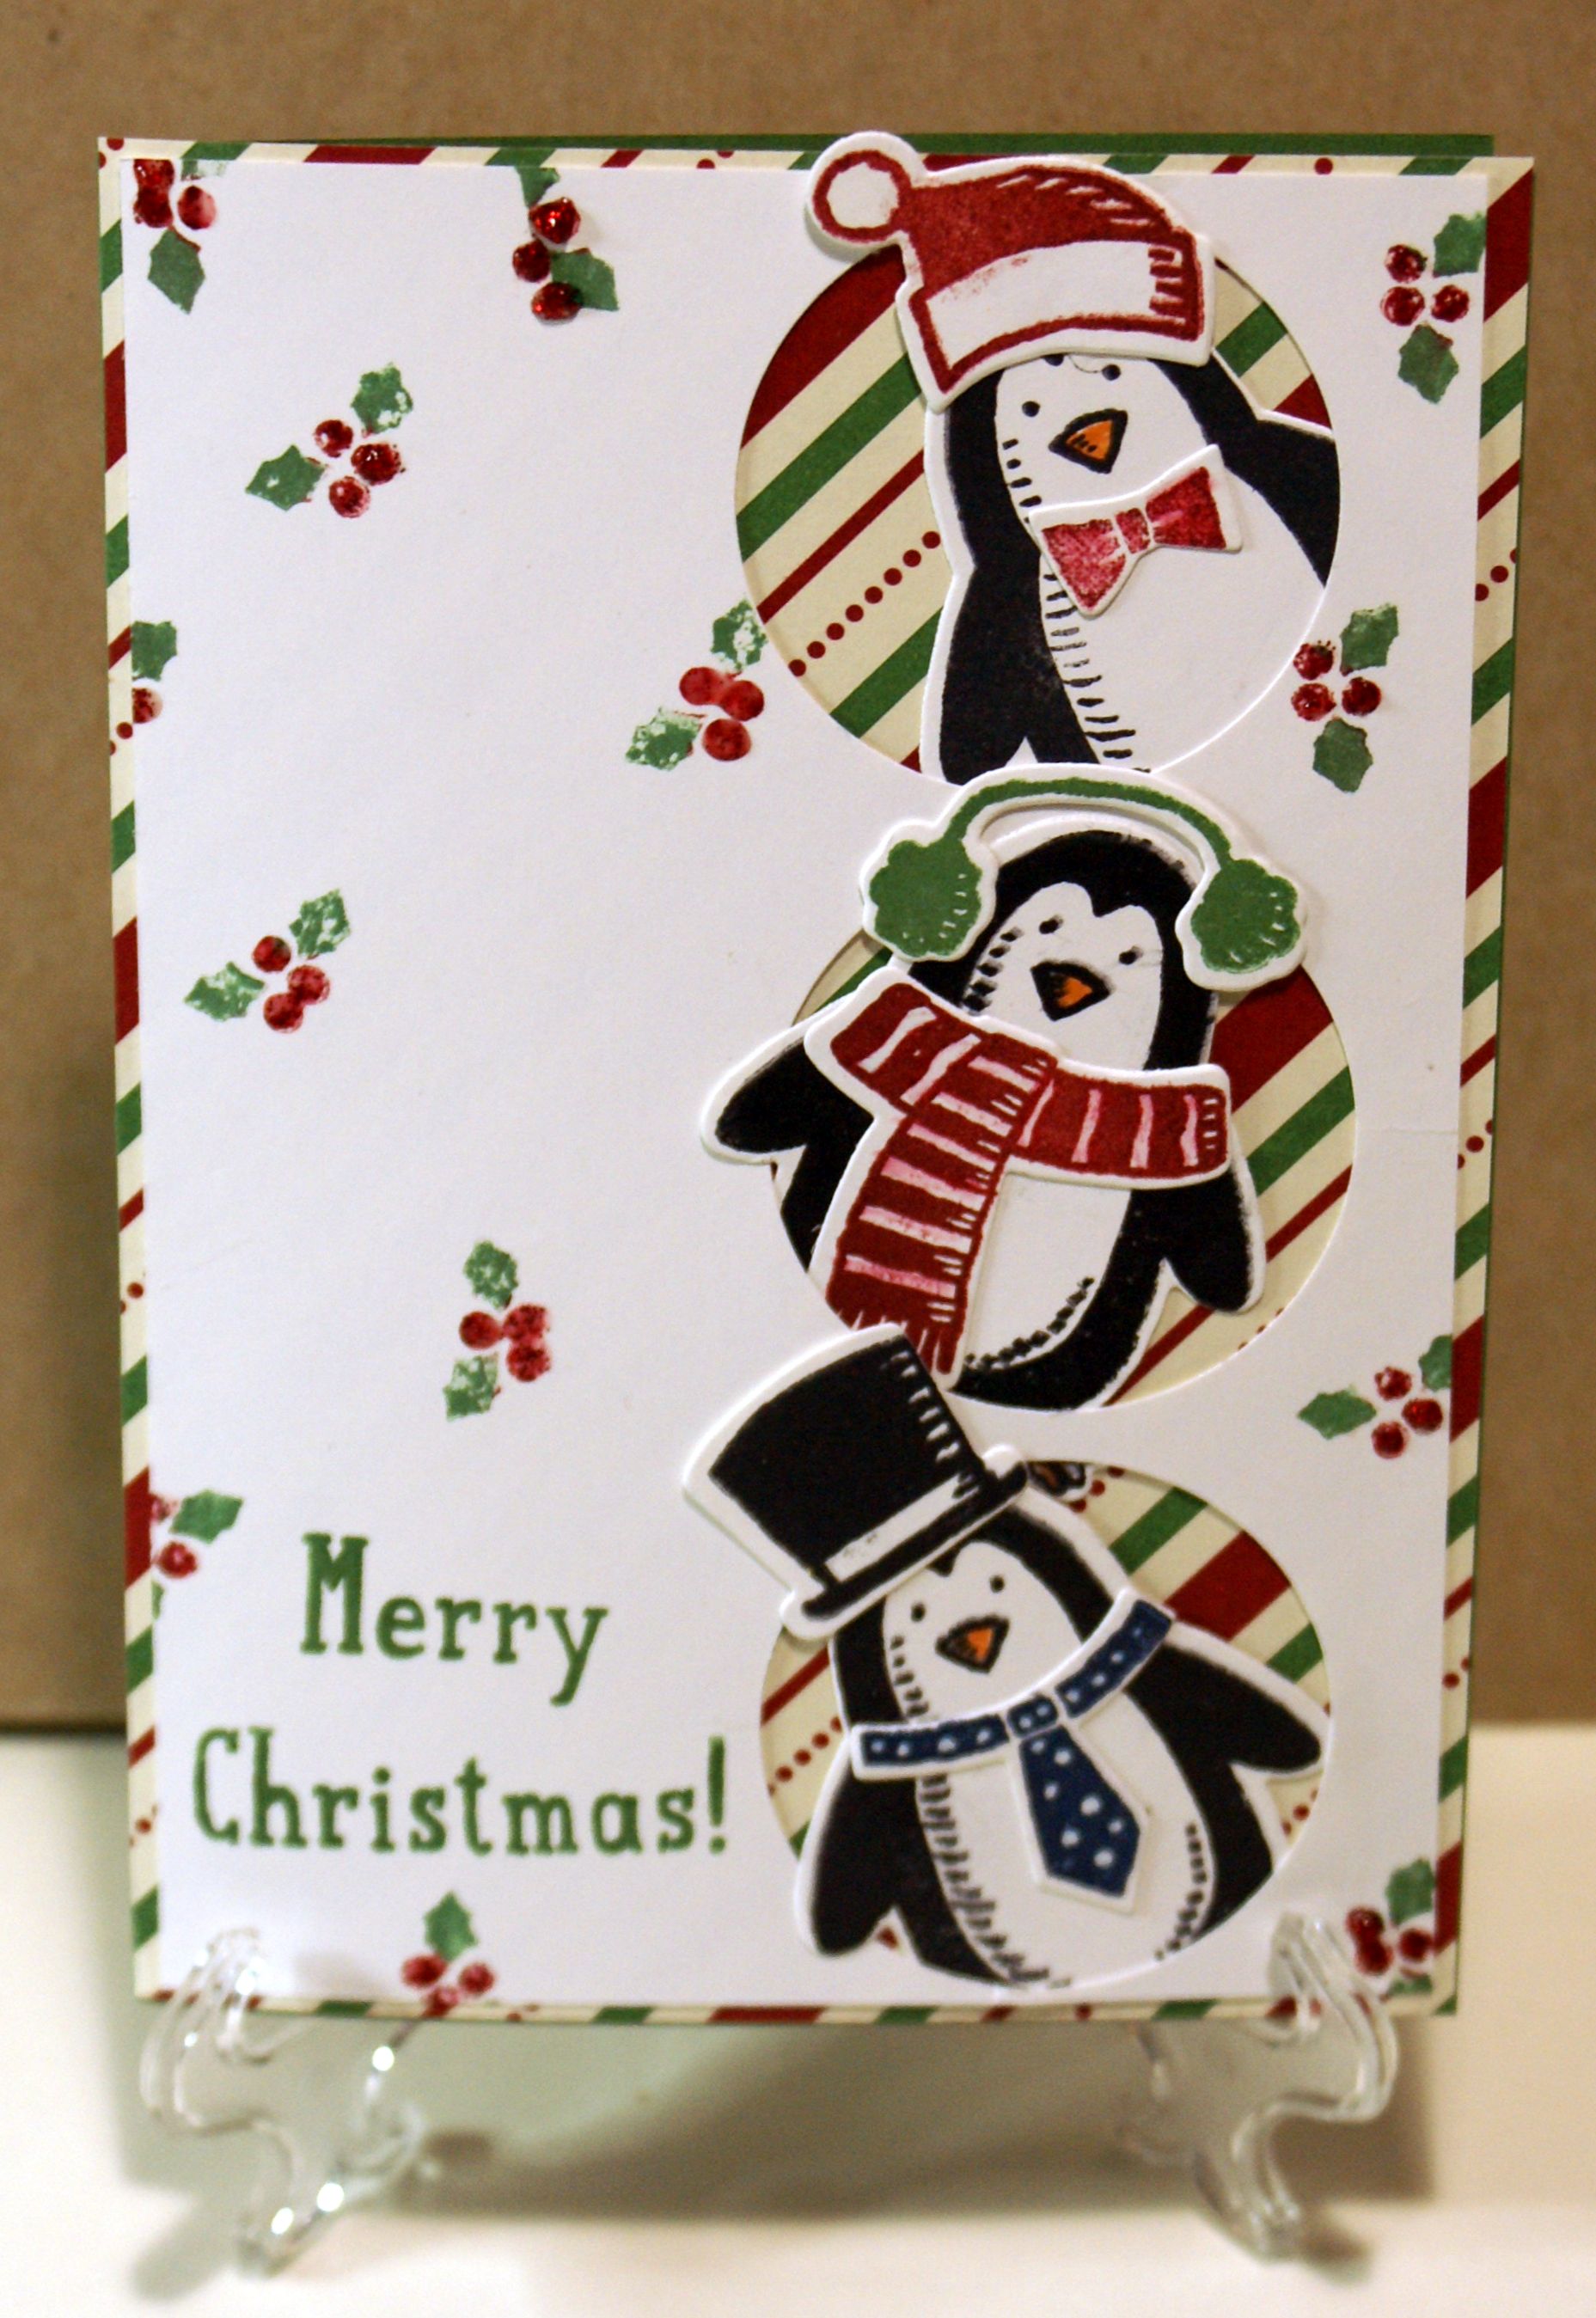
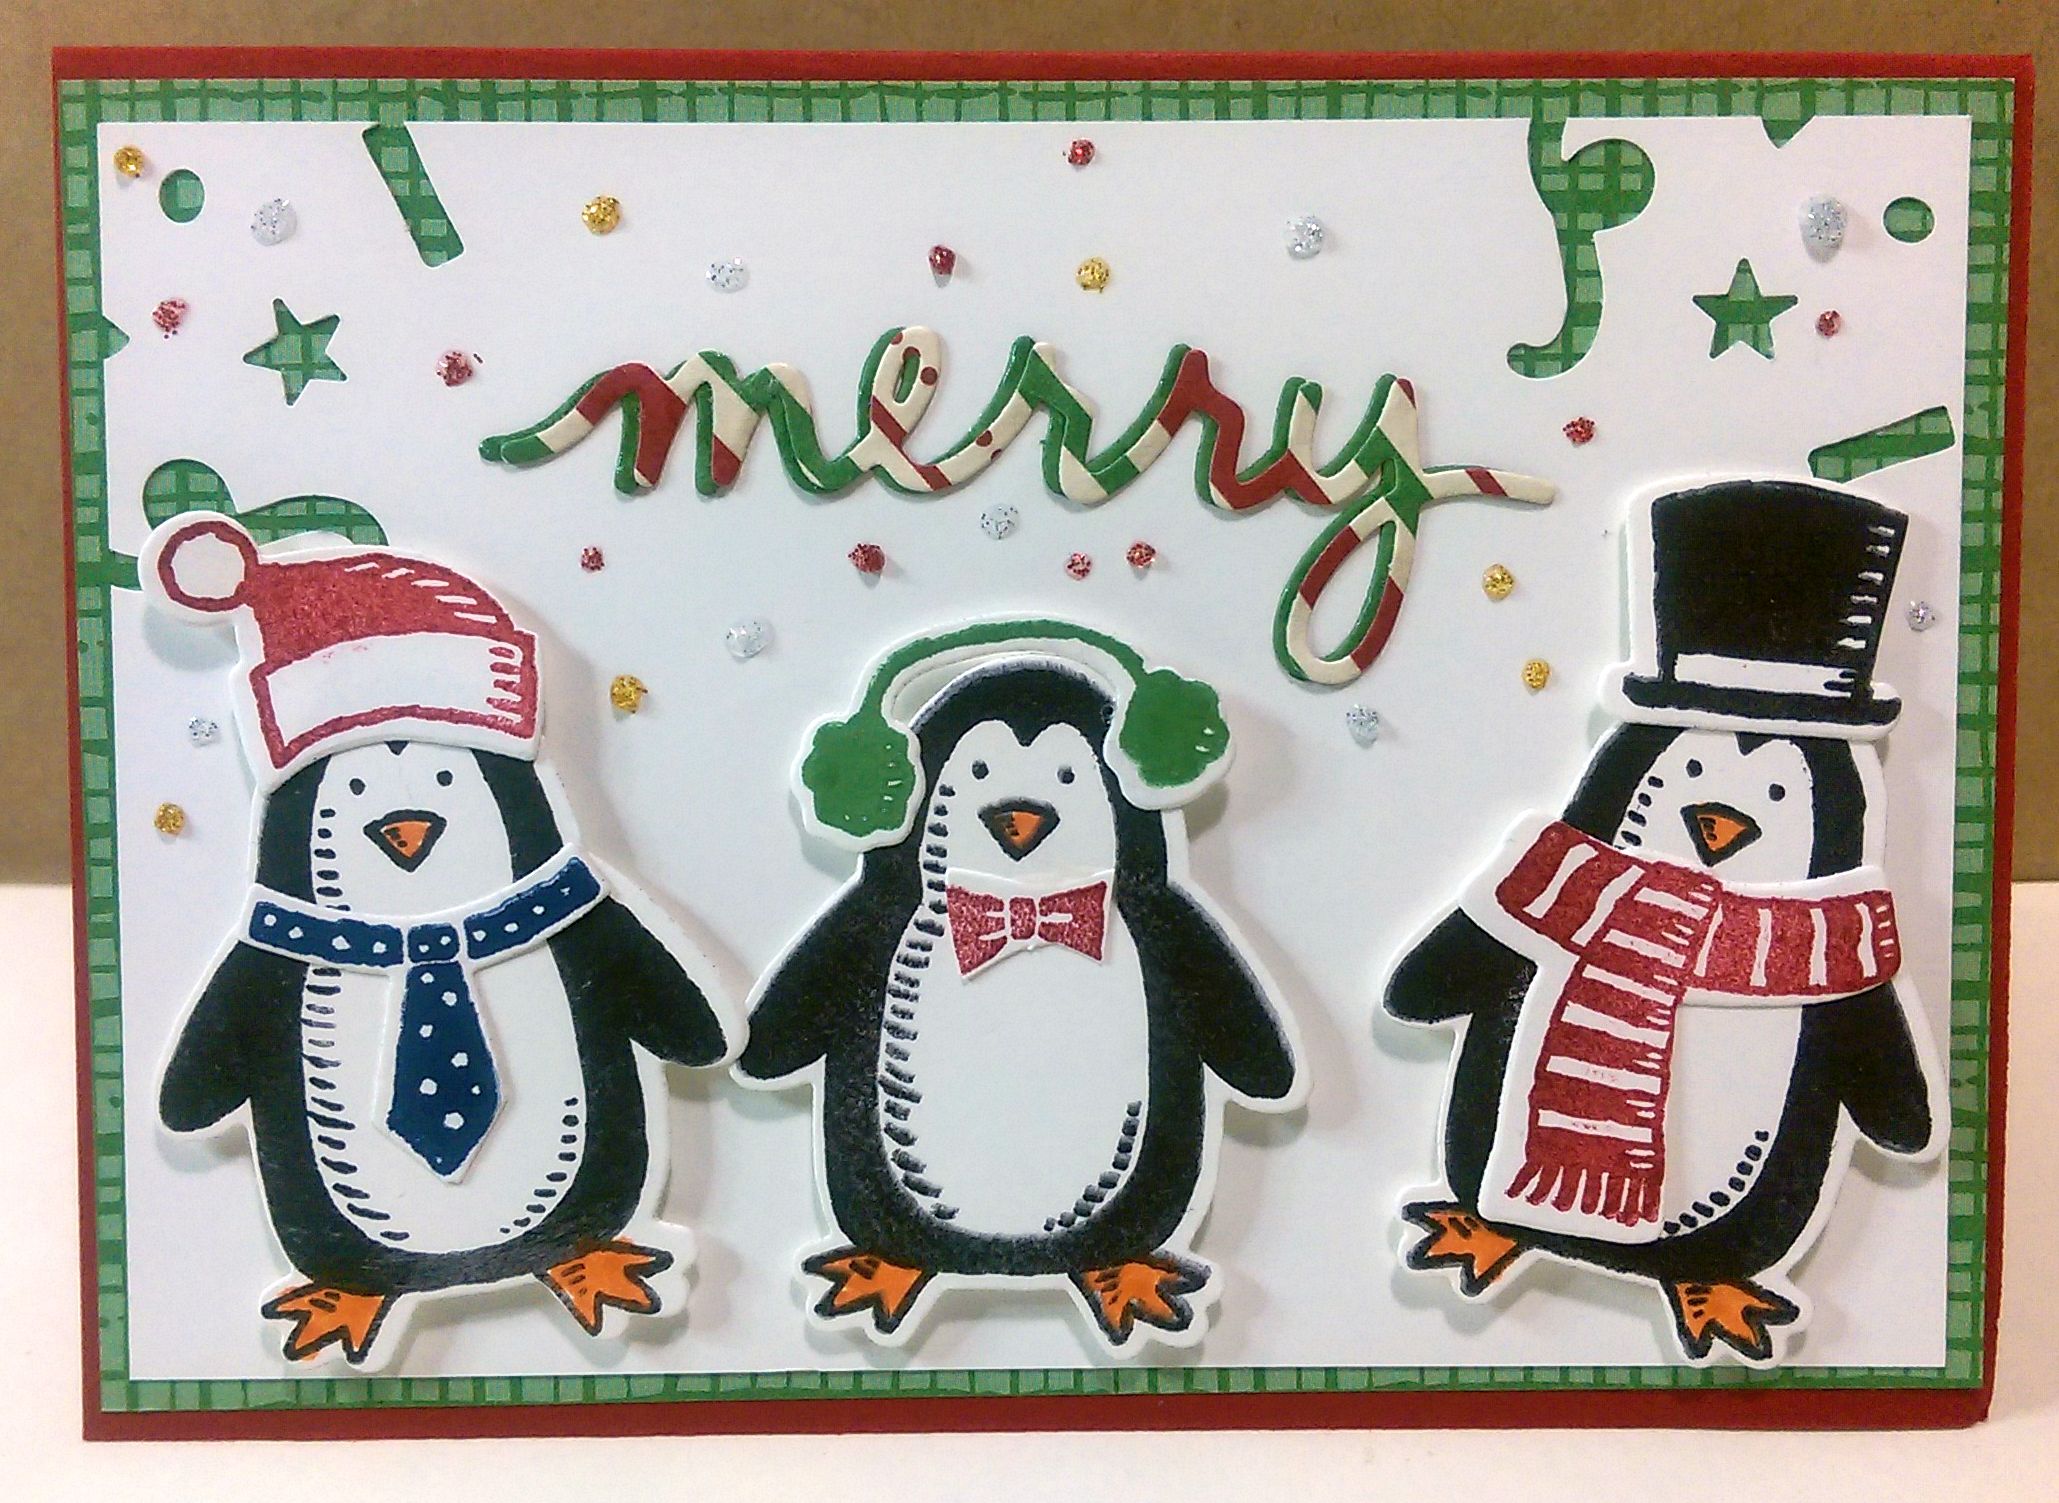
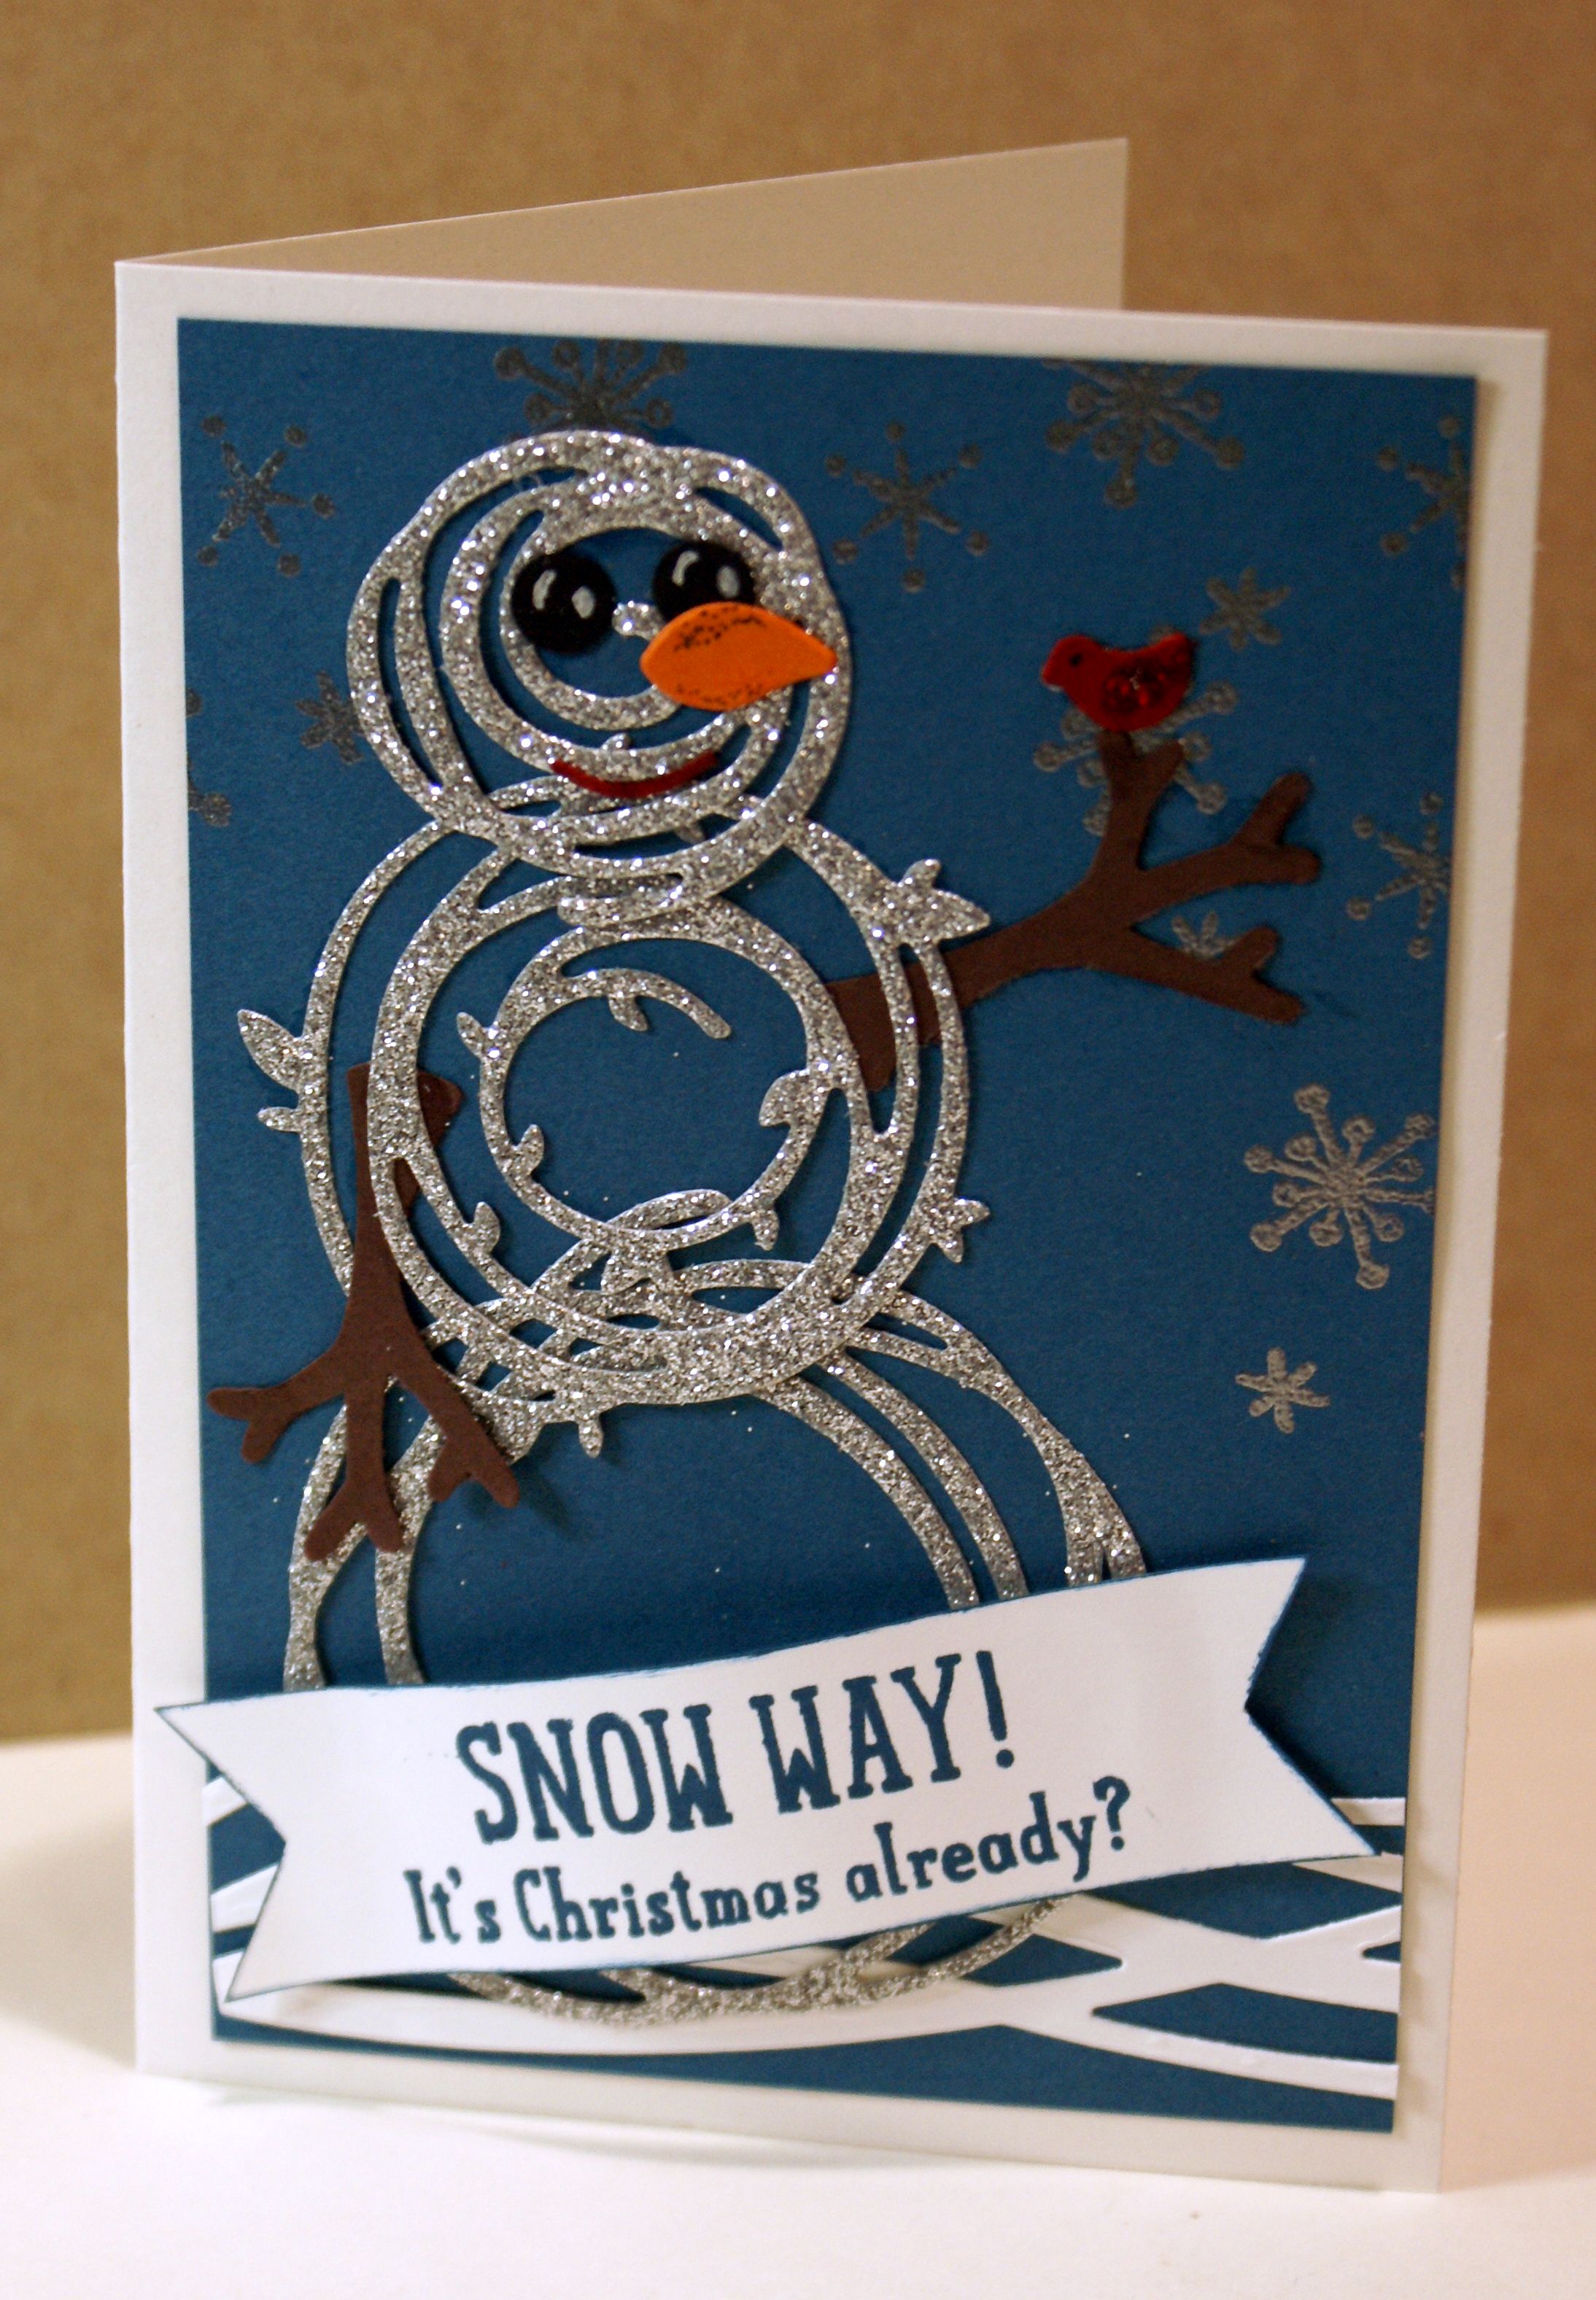
I've been making penguin and snowman cards with the Snow Place and Swirly Birds stamp sets, CASEing ideas from all over the web:
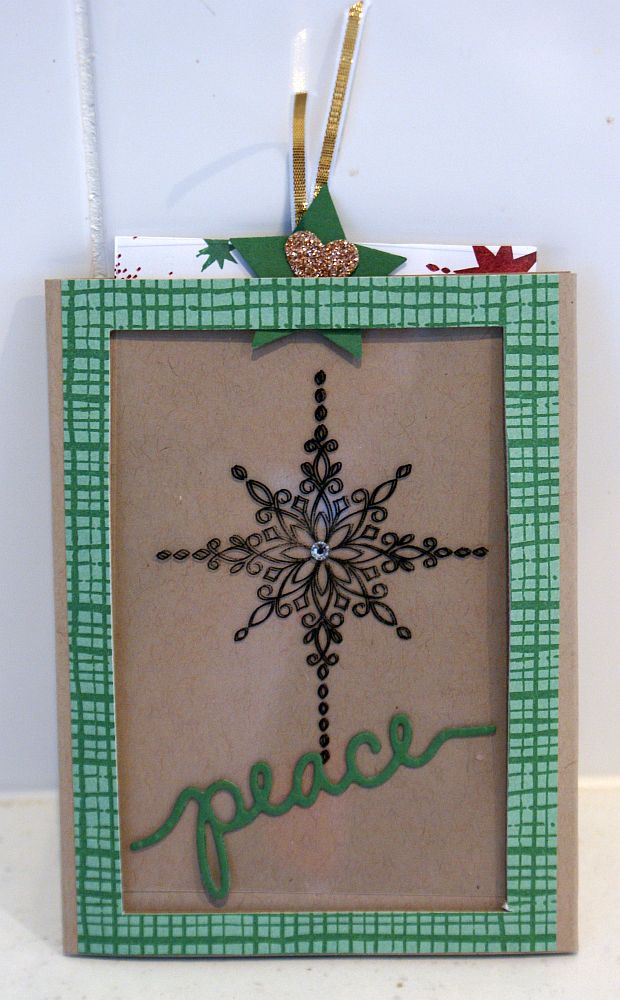
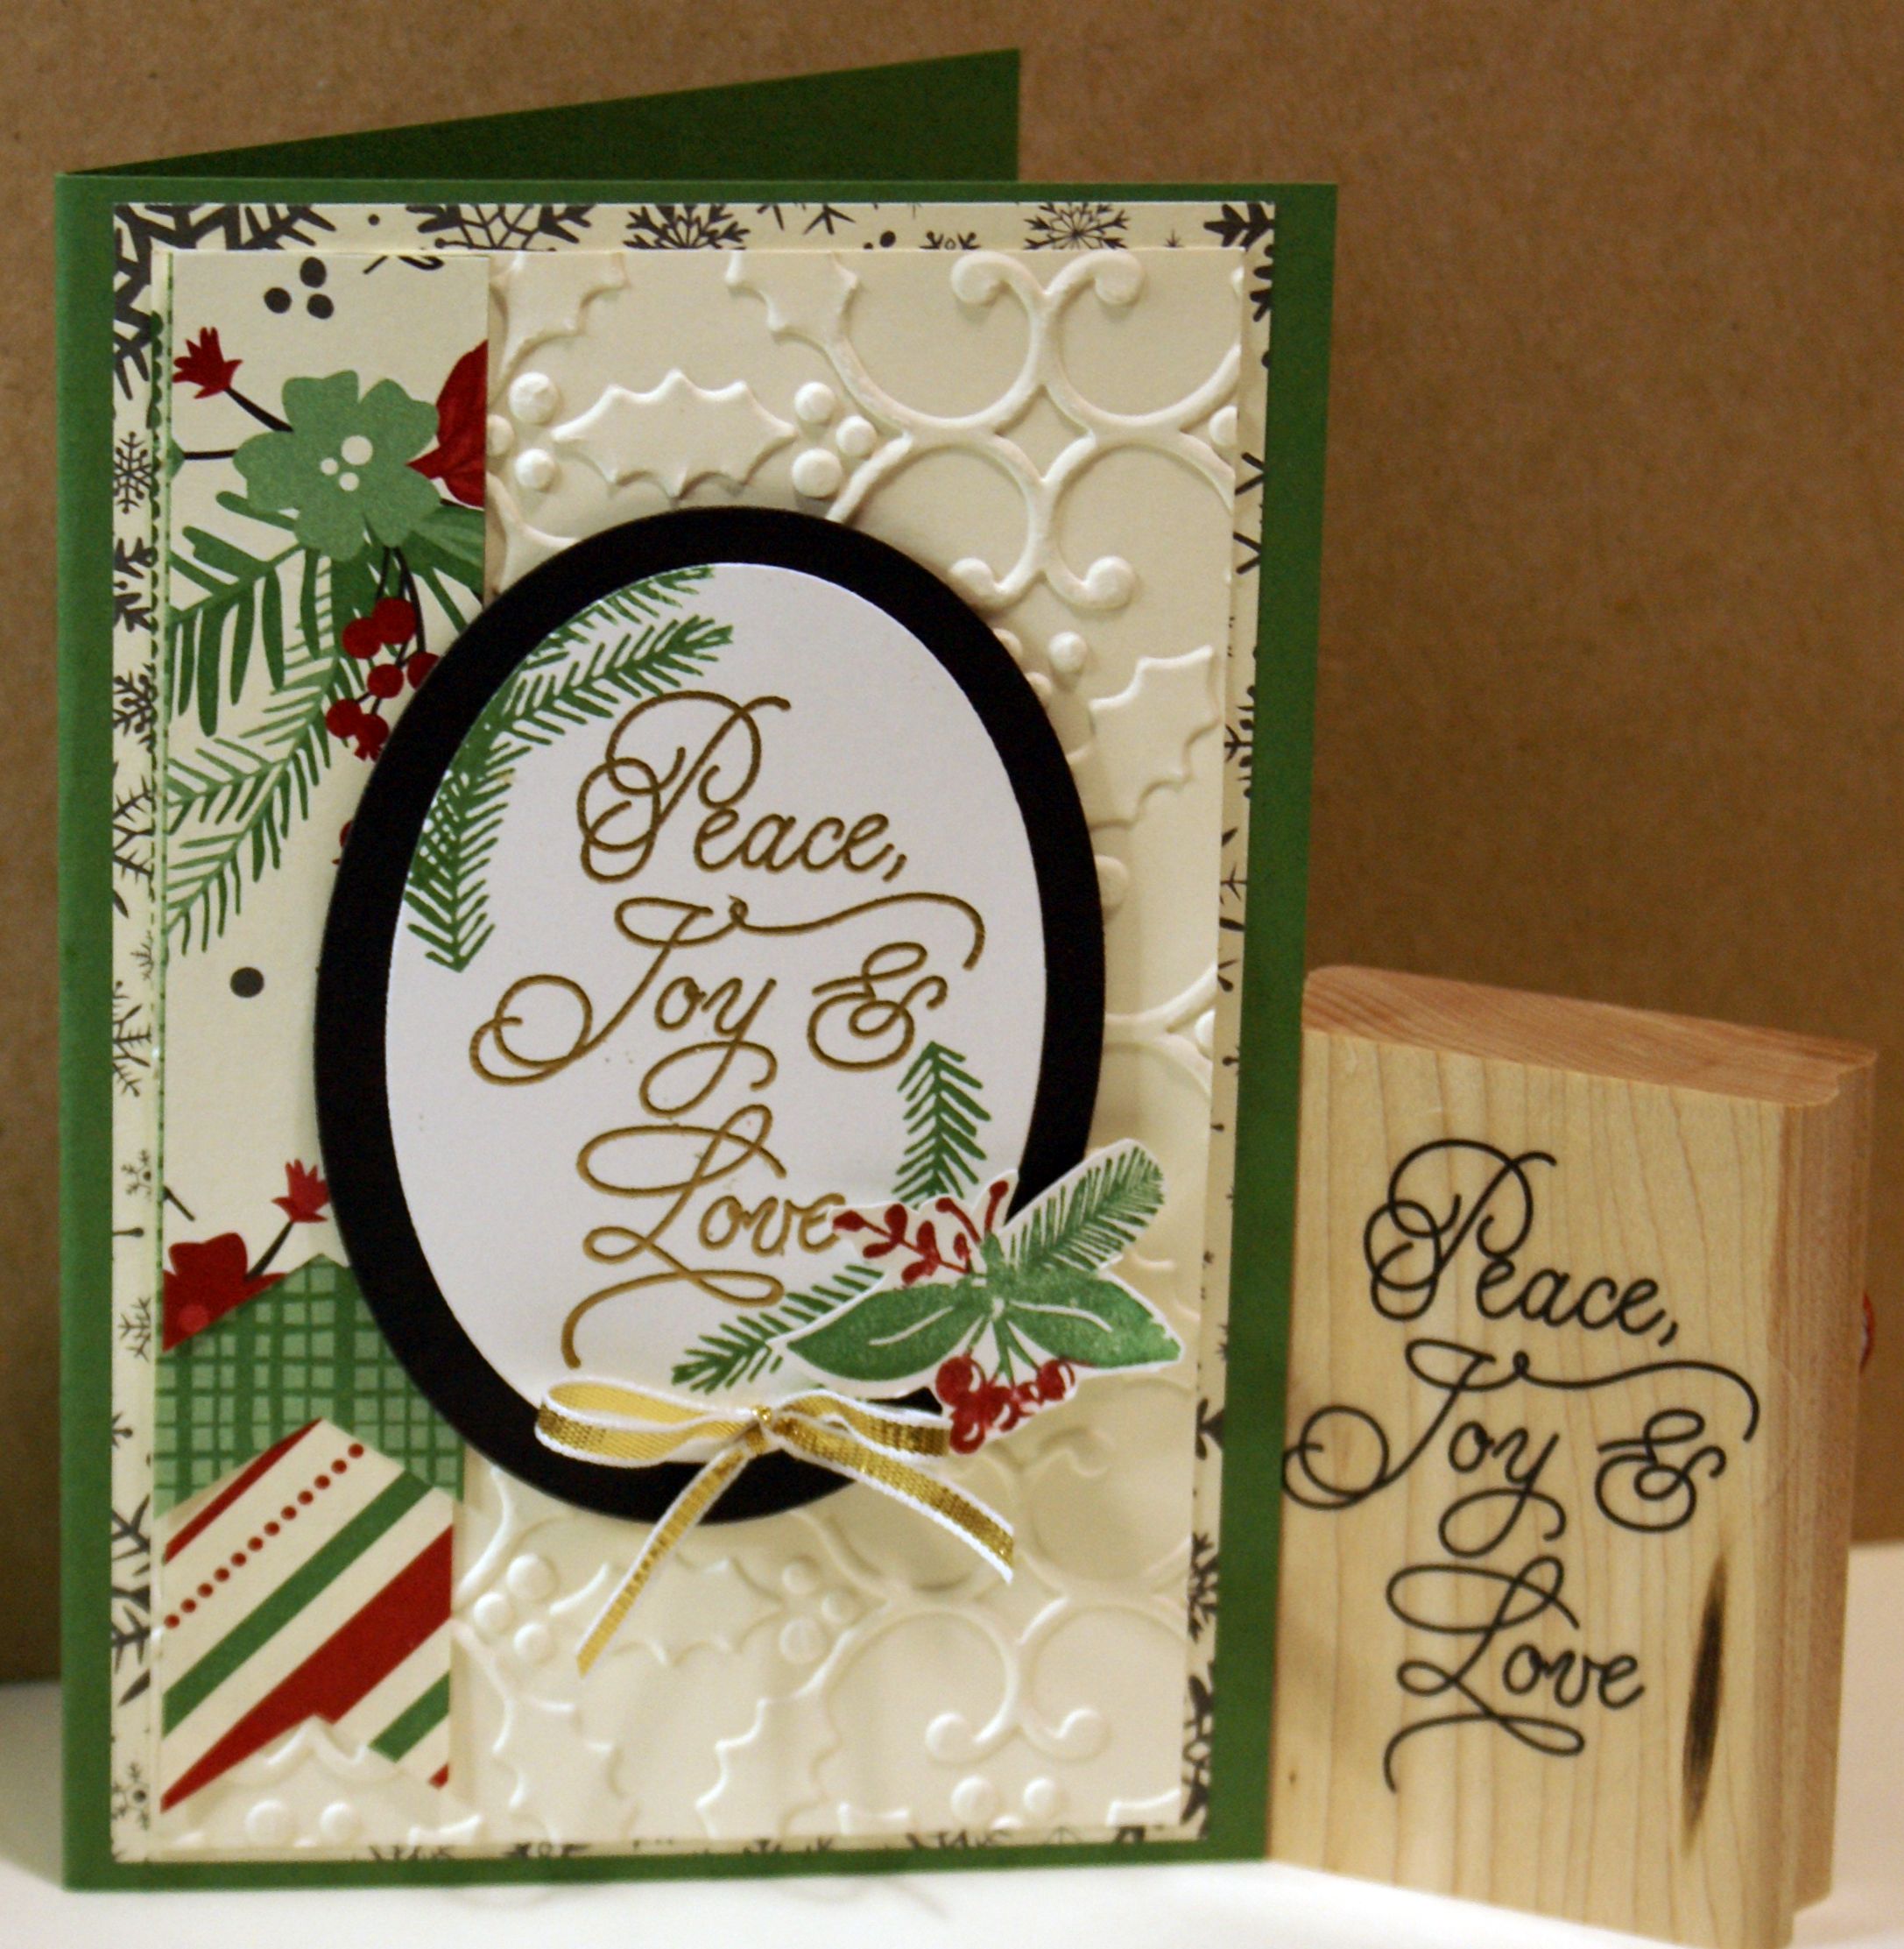
This one is made with the lovely Peace This Christmas stamp set and was not a CASEd card.
Noel 2015
This year I seemed to be going for whole card images. And sometimes colouring. Colouring is in, right? I love that beautiful Dove stamp that Stampin' Up! had in its seasonal catalogue this year. It's gorgeous.
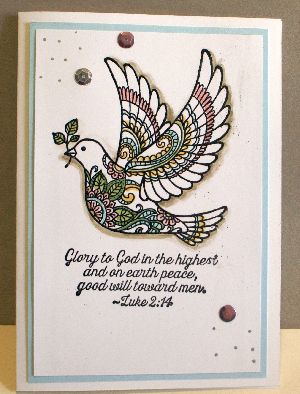
See what I mean? She really is gorgeous. Heat emboss the image to make it easier to colour.
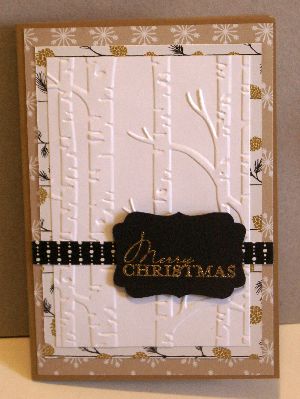
I'm loving the Woodland Textured Impressions Embossing Folder too, and it's still current! Here I just used it simply. If you want to know how to put an image behind the trees, you can read about it on Susan's Saga.
So spectacular. So easy! You could make a heap of these pretty cards in a hurry.
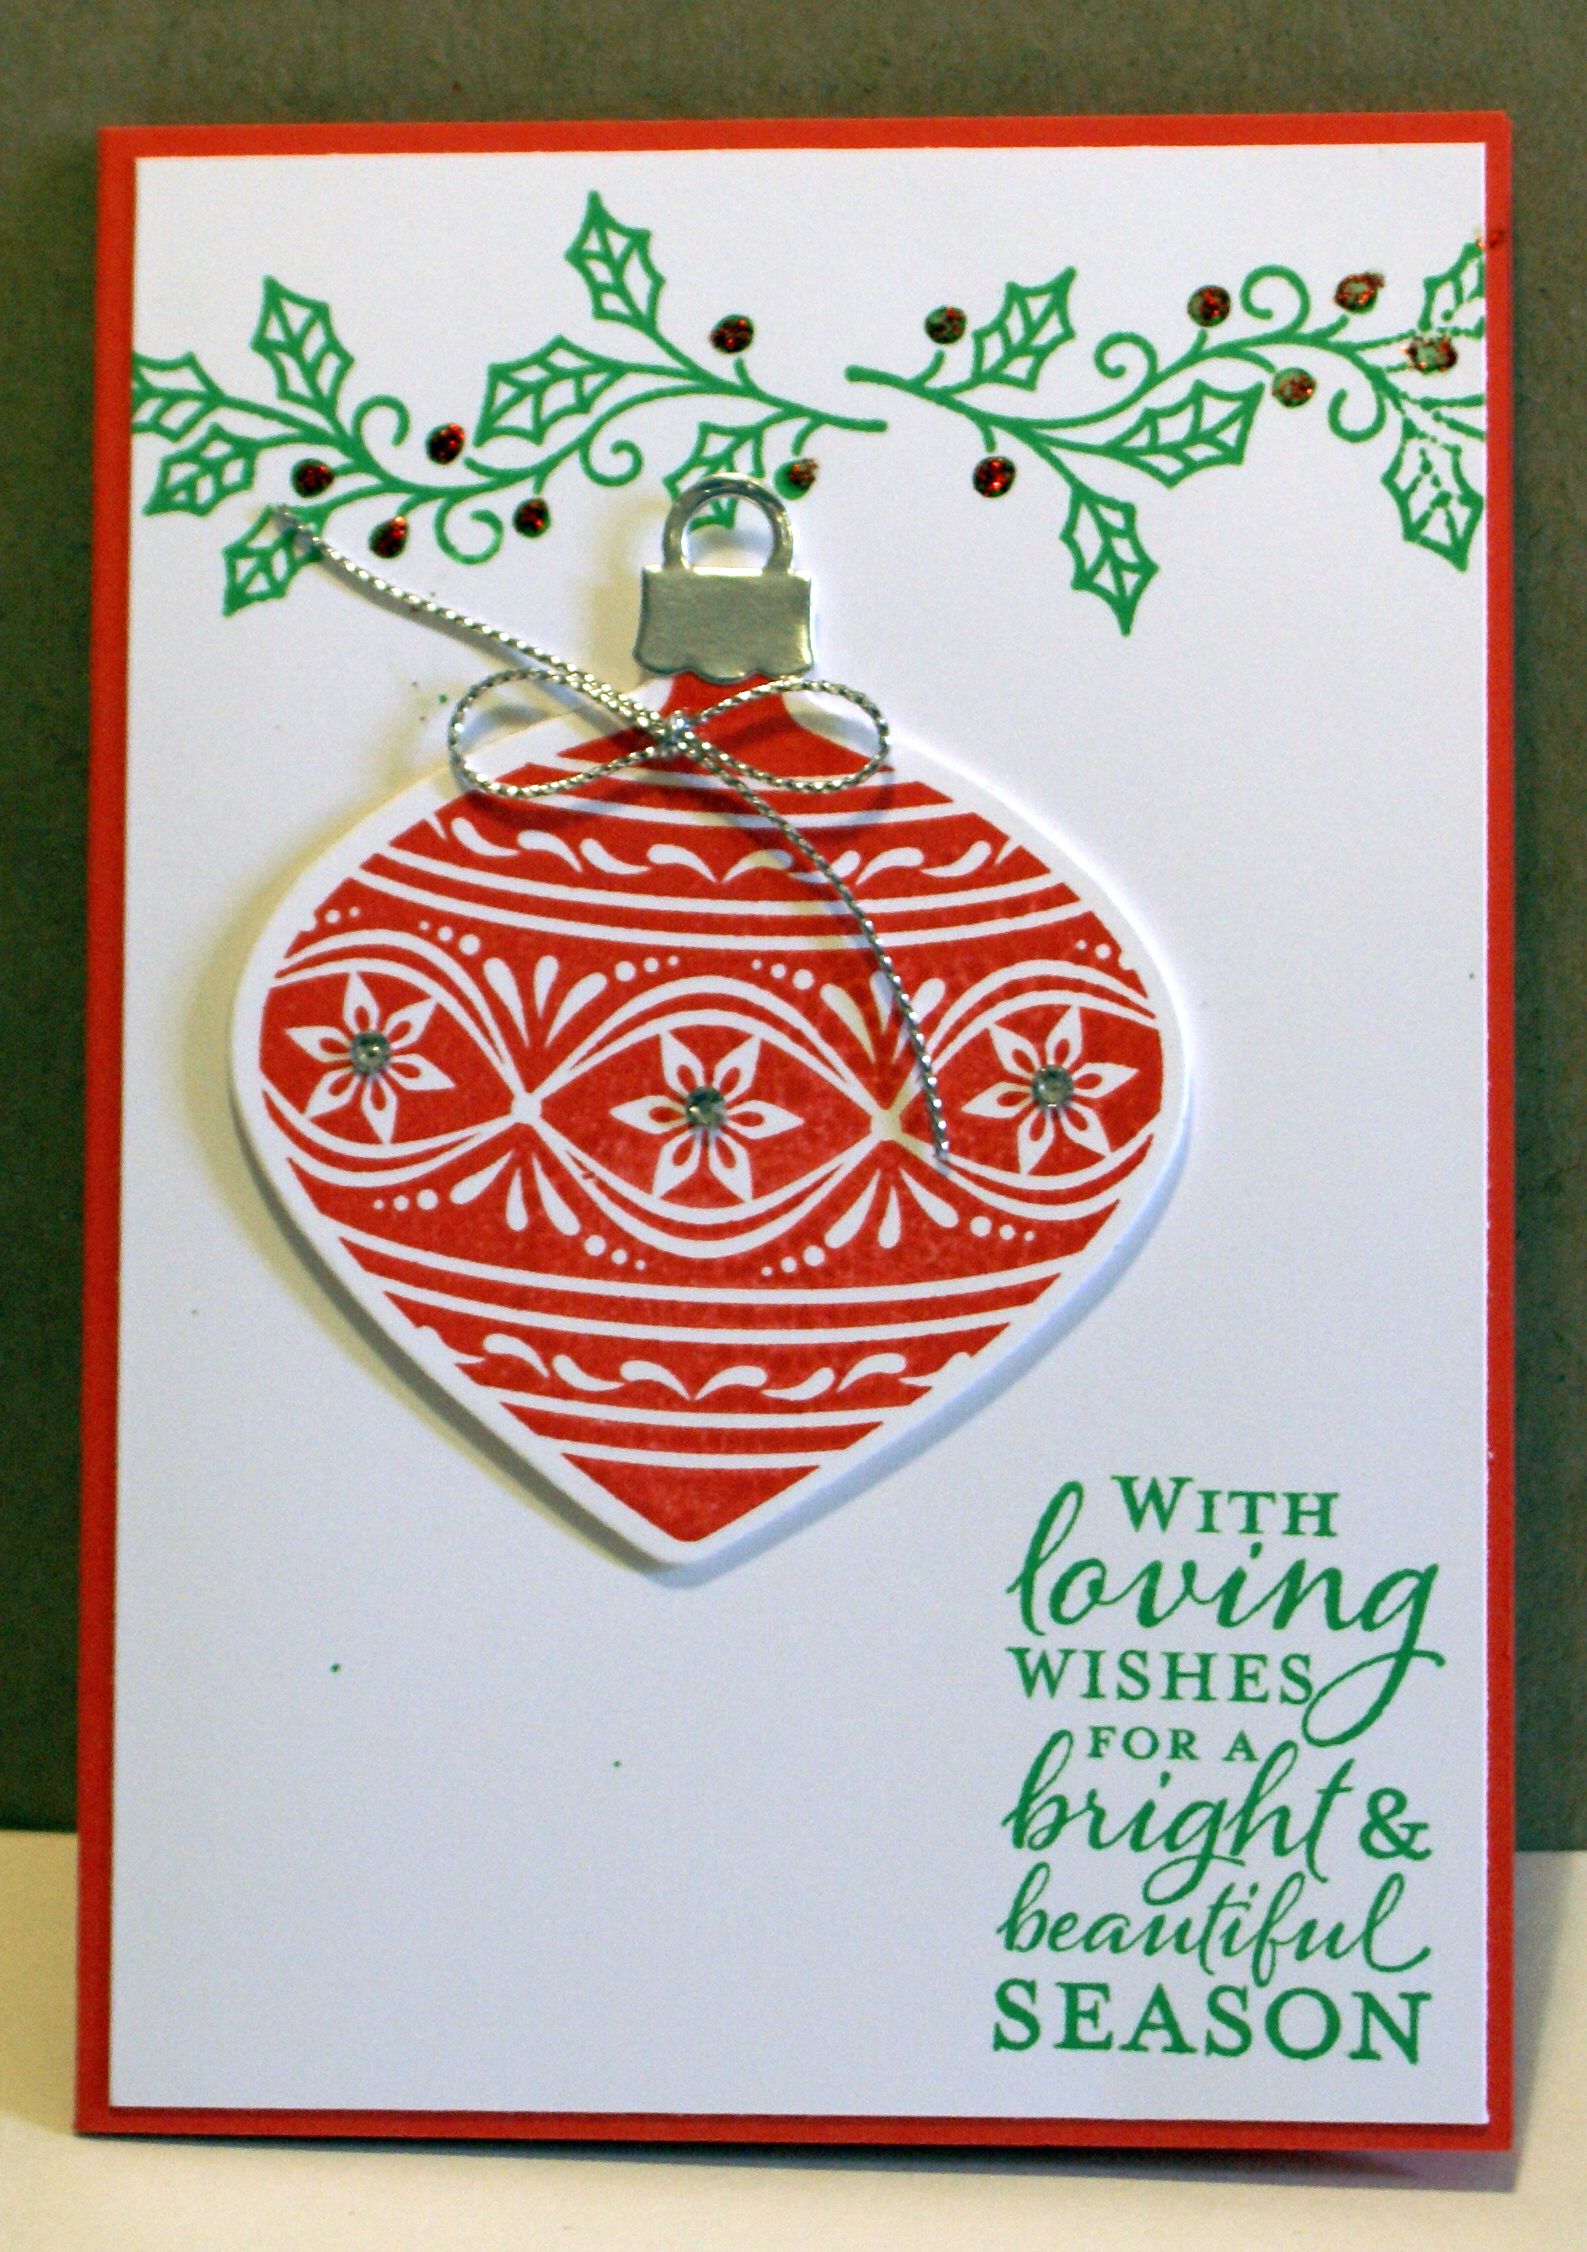
Here's one made with the Embellished Ornament stamp set, silver embossing powder, a little red glitter glue, rhinestones and silver twine. The ornament dies are still current:
Now here are some cards I made in previous years.
Noel 2014
Maybe you will be inspired by something here and make some too. If you do use one of my ideas, I would appreciate a link back to PaperCraftCentral.com. Thank you for your kindness!

There are so many styles to choose from when making seasonal greetings. Traditional salutations are the ones many of us are familiar with - the rich greens, reds, silvers, golds and purples or royal blues are natural winners for reminding us of the season. We also have favourite images to use - think stars, trees, baubles and angels like the one I made above. There is no mistaking the purpose of these cards.
But what if you don't have a stamp or die cut or punch with traditional Christmas images on it? Improvise, I say! Here I have used a small palm tree punch to build my own Christmas tree. For me this card has a humorous angle to it as Christmas occurs in summer in Australia, where I live, and palm trees are much more likely to be seen here then than snow. You could of course substitute any other small stamp or punch to make your tree.

A card like my palm Christmas tree may take a little more time to make, which is fine when you have started making them early, but what if you would like to make a card quickly? Again you can use some basic shapes to make a lovely card. Here is a card I made from an idea inspired by Kristina Werner. It uses circle punched from Christmas designer paper and a few metallic pens to dress up the baubles. I've punched little holes in the designer paper background to thread the cords through and tie them off in front. This way the cord can show through on the other side of the card front. You could use any other colour scheme that appeals to you and substitute the cord for ribbon. I hope you can see how you could make a number of these cards quickly.

Traditional is not the only way to go when making your Christmas cards. Many designs are made with soft pinks and yellows like I used for my angel card at the beginning of this section, or shades of rich brown, or very dramatic and sophisticated black and white. The choice is yours.
Here I have used a tree stamp and added a little star to the top of each one to make them Christmassy.

If you would like to make this card or use some of the techniques shown here, I have written some instructions for how to make it.

Stepping it up: Make Punch Art Christmas Cards
If you want to be even more adventurous, try using your paper punches to make shapes for your greetings. I CASEd an idea from Vicki Hodges to make these Christmassy Koalas from circles, scallop circles, oblongs, little flowers, leaves and stars. Their hats are made from a banner punch (triangle shapes) and I just cut one down to size for the little guy. (All supplies for this card are from Stampin' Up!)

If you have not used your punches in imaginative ways before, I'd like to encourage you to take an extra step with them and try making some new images. It's a fun thing to do!
However you decide to make your Christmas cards this year, I hope you enjoy this special season with your friends and family. And if you have a special greeting to share, I would love to see it. You can upload it using the form below.
Do You Have A Favourite Handmade Card to Share?
Do you make greeting cards? Please do share it with me.
What Other Visitors Have Said
Click below to see contributions from other visitors to this page...
Christmas Cards Not rated yet
Hi
I got these made tonight.
Jo
****
Hi Jo
Thanks for sending these in :) They look great!
I love Christmas time and the chance to …
Return from Christmas Cards to Special Occasion Cards | Return to PaperCraft Central Home Page


All brand names and product names used on this website are trade names, service marks, trademarks or registered trademarks of their respective owners. Also mentioned products or brand endorses this website. no mentioned products or brand endorses this website. Go to Privacy Policy to read more
PaperCraftCentral.com is a participant in the Amazon Services LLC Associates Program, and affiliate advertising program designed to provide us with earn fees to link to Amazon.com and affiliate sites.
Powered by Solo Build It!
New! Comments
Have your say about what you just read! Leave me a comment in the box below.