- Home
- Papercraft Adhesives
- Colouring Ribbon
Color Ribbons
Written and Created by PaperCraftCentral Susan
Did you know you can color ribbons to match your project?
"Come and curl some ribbon"
Maid of Honor
Stampin' Up! has some great tips to change ribbon colours. At one of
Stampin' Up's amazing Conventions held in Australia they revealed the
secret.
Incidentally, I felt very blessed to be able to attend that
Convention for all the fun and the chance to try out new products, and
of course for the friendship and the tips we all exchanged. If you ever
get a chance to attend a Stampin' Up! event, I highly recommend it.
Even though we cannot always meet in person, we have virtual company wide events these days too. They sure are fun and informative!
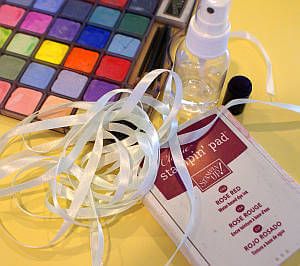
How to Color Ribbons
I love to have white ribbon on my stash. That's because I have learned how to customise it by making it any colour I want it to be!
There are quite a few ways you can alter the appearance of your ribbons and cords. Here are some of them:
1. If you choose to use the retired or current Stampin' Pastels, simply spritz down your white ribbon with water to dampen it first.
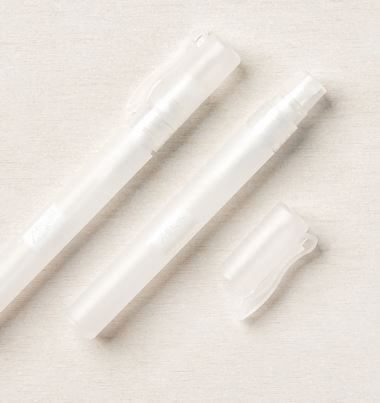
Hint: I keep water in a small bottle with a spray cap just for such purposes. It's amazing how useful a bottle of water with a fine spray nozzle can be in papercrafting!
Then use a sponge dauber to apply some chalk to your ribbon. Load up the sponge dauber with some chalk and start lightly sponging your length of trimming. Keep sponging until you get the depth of colour that you want.
You can let the wet chalk and ribbon dry naturally or carefully dry it with a heat tool to speed things up. Be careful not to scorch the ribbon though as it will begin to warp and curl if it gets too much heat.
Then go back and deepen the colour further if you like. Allow to dry again before using your freshly coloured ribbon on your project.
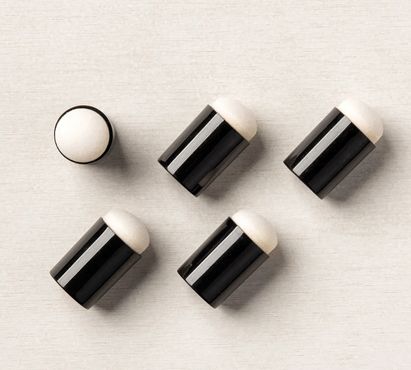
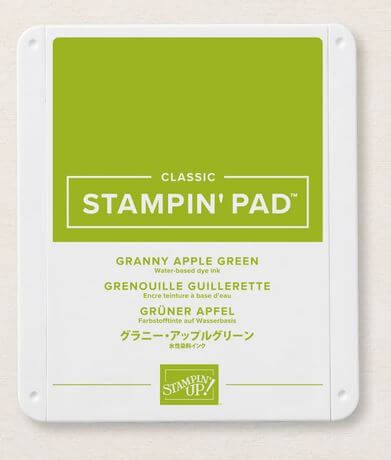
2. Another way to try colouring ribbon is to press the ribbon itself onto an inkpad (I chose Granny Apple Green for this project) and carefully pull it through under your finger or a Popsicle stick or sponge dauber, then let it dry. Try to keep the pressure on your ribbon even so the colour is laid down evenly unless you want a variation in the tone.
3. You could try lightening or achieving a stained effect by spraying some of the ink you put on the ribbon with your water spritzer containing bleach.
4. Try using several colours of ink on the one ribbon for another effect. You can make variegated color ribbons that way.
Try spraying watered down ink onto it with a colour spritzer, or sponge daub it with different hues of ink.
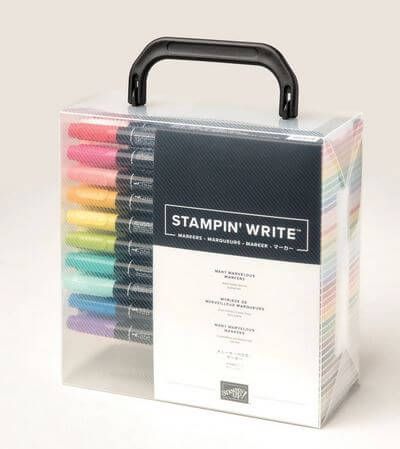
5. Another variation is to colour the edging of the white ribbon with your Stampin' Write markers to get a two-toned effect. Make sure you let the colour dry well before you put the ribbon on your card or you will run the risk of inking your card where you didn't want some ink to be.
Did you know you can get all the permanent line of Stampin' Write Markers in one pack? They're called the Many Marvelous Markers pack.
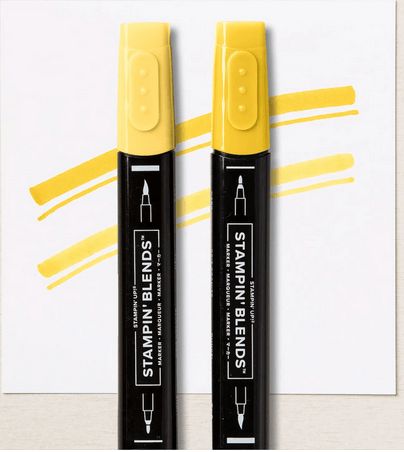
6. The Stampin' Blends color ribbons beautifully. They are alcohol markers so you can get a very even colour with them. Simply use the broad brush tip on its side to run colour along a length of ribbon. These are the Daffodil Delight blends.
7. Try inking already coloured ribbons to get a darker effect.
8. Take a small lidded container and add some drops of reinker to it. You can use it neat or water it down a bit with alcohol or water. Then place the ribbon or cord inside, cap the container and shake. When it looks as evenly coloured as you want it to be, carefully remove the ribbon or cord with tweezers and allow to dry on a paper towel or similar.
Again, you can hold it down with a heat proof implement and carefully speed up the drying time with your heat tool.
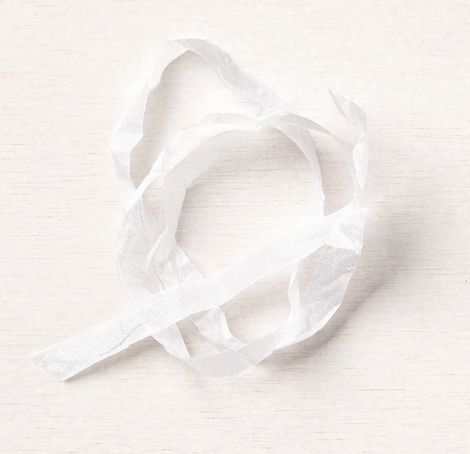
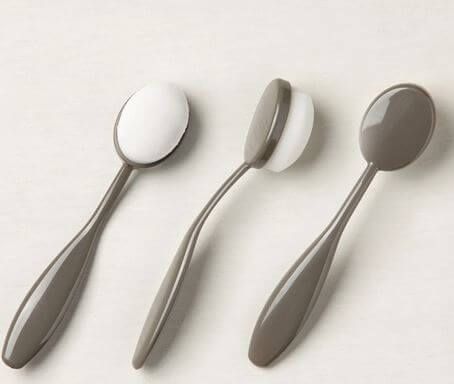
9. Use Stampin' Blending Brushes to brush colour onto your ribbon or cord. Hold the ribbon down on some Grid Paper or scrap paper and pick up some colour with your blending brush by tapping it onto an open ink pad or drop some reinker on an acrylic stamping block or inside the lid of your Stampin' Up! inkpads and pick it up from there.
Then tap or brush the colour onto your ribbon till it is covered to your satisfaction.
This is an instant and easy way to color ribbons.
Now you know many ways for how to color ribbons. Enjoy getting inky. Remember you can always get ink off your fingers with shampoo afterward!
If you have customised your own ribbon or cord and used it to make a scrapbook page or a card or any other paper craft project, I would love to see it.
Do You Have A Favourite Handmade Card to Share?
Do you make greeting cards? Please do share it with me.


New! Comments
Have your say about what you just read! Leave me a comment in the box below.