- Home
- Papercraft Adhesives
- How to Use Daubers
Daubers
Written and Created by PaperCraftCentral Susan
Have you ever used ink or paint daubers?
"I don't paint things.
I only paint the difference between things".
~Henri Matisse
Paint vs Sponge Daubers
These are different tools that serve different purposes. This is the basic difference:
- paint ones are usually on top of bottles with a roller-ball or an applicator that applies thick paints and stains though they can also be used for thinner substances such as glitter suspended in a solution, while
- sponge ones are small sponges made to go on a finger or handle. They are often used for detailed dabbing, inking, and blending.
Paint ones are often used for large areas, while sponge ones are better for stenciling and creating softer, streak-free finishes.
For now, I am talking mainly about sponge ones.
Stampin' Up! Sponge Daubers

Sponge daubers are a very useful tool in the paper crafters stash.
As I said above, they are great tools for applying ink to small areas.
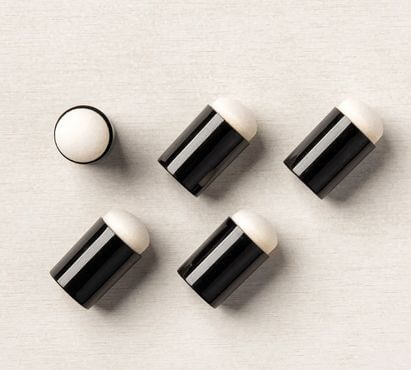
The ones I use are the ones that are attached to a small hollow cylinder of plastic that allow me to put them on my fingertip. They are like an extension of my finger that way and are far less messy to use than if I used my actual fingertip to apply ink!
The sponge makes it possible to work with the ink, applying heavier or subtler applications at will and are also good for blending ink colours together.
You can tap the sponge on ink pads and transfer colour to cardstock to make all sorts of nice effects.
Stampin' Up! makes the little guys pictured above.
They are easy to use and really extend your cardmaking and scrapbooking techniques!
Things to Try with Daubers and Ink
Here are some things to try with your sponge daubers.
You might want to get out your ink pads and ink refills too. These things go together like peas and carrots (in the words of Forrest Gump!)
- Ink up your dauber in an ink pad and gently run it along the edges of a cardstock piece. You can create the illusion of depth by adding a little border to a piece like this.
- Ink up your dauber and, starting on a scrap piece of paper, brush colour onto cardstock in a wider band. Starting to brush with the dauber off the cardstock will help you avoid making ring marks with the dauber. Think of the sponge as being a small stamp so remove a bit of the ink before applying it to your piece if you don't want a round stamp on your project.
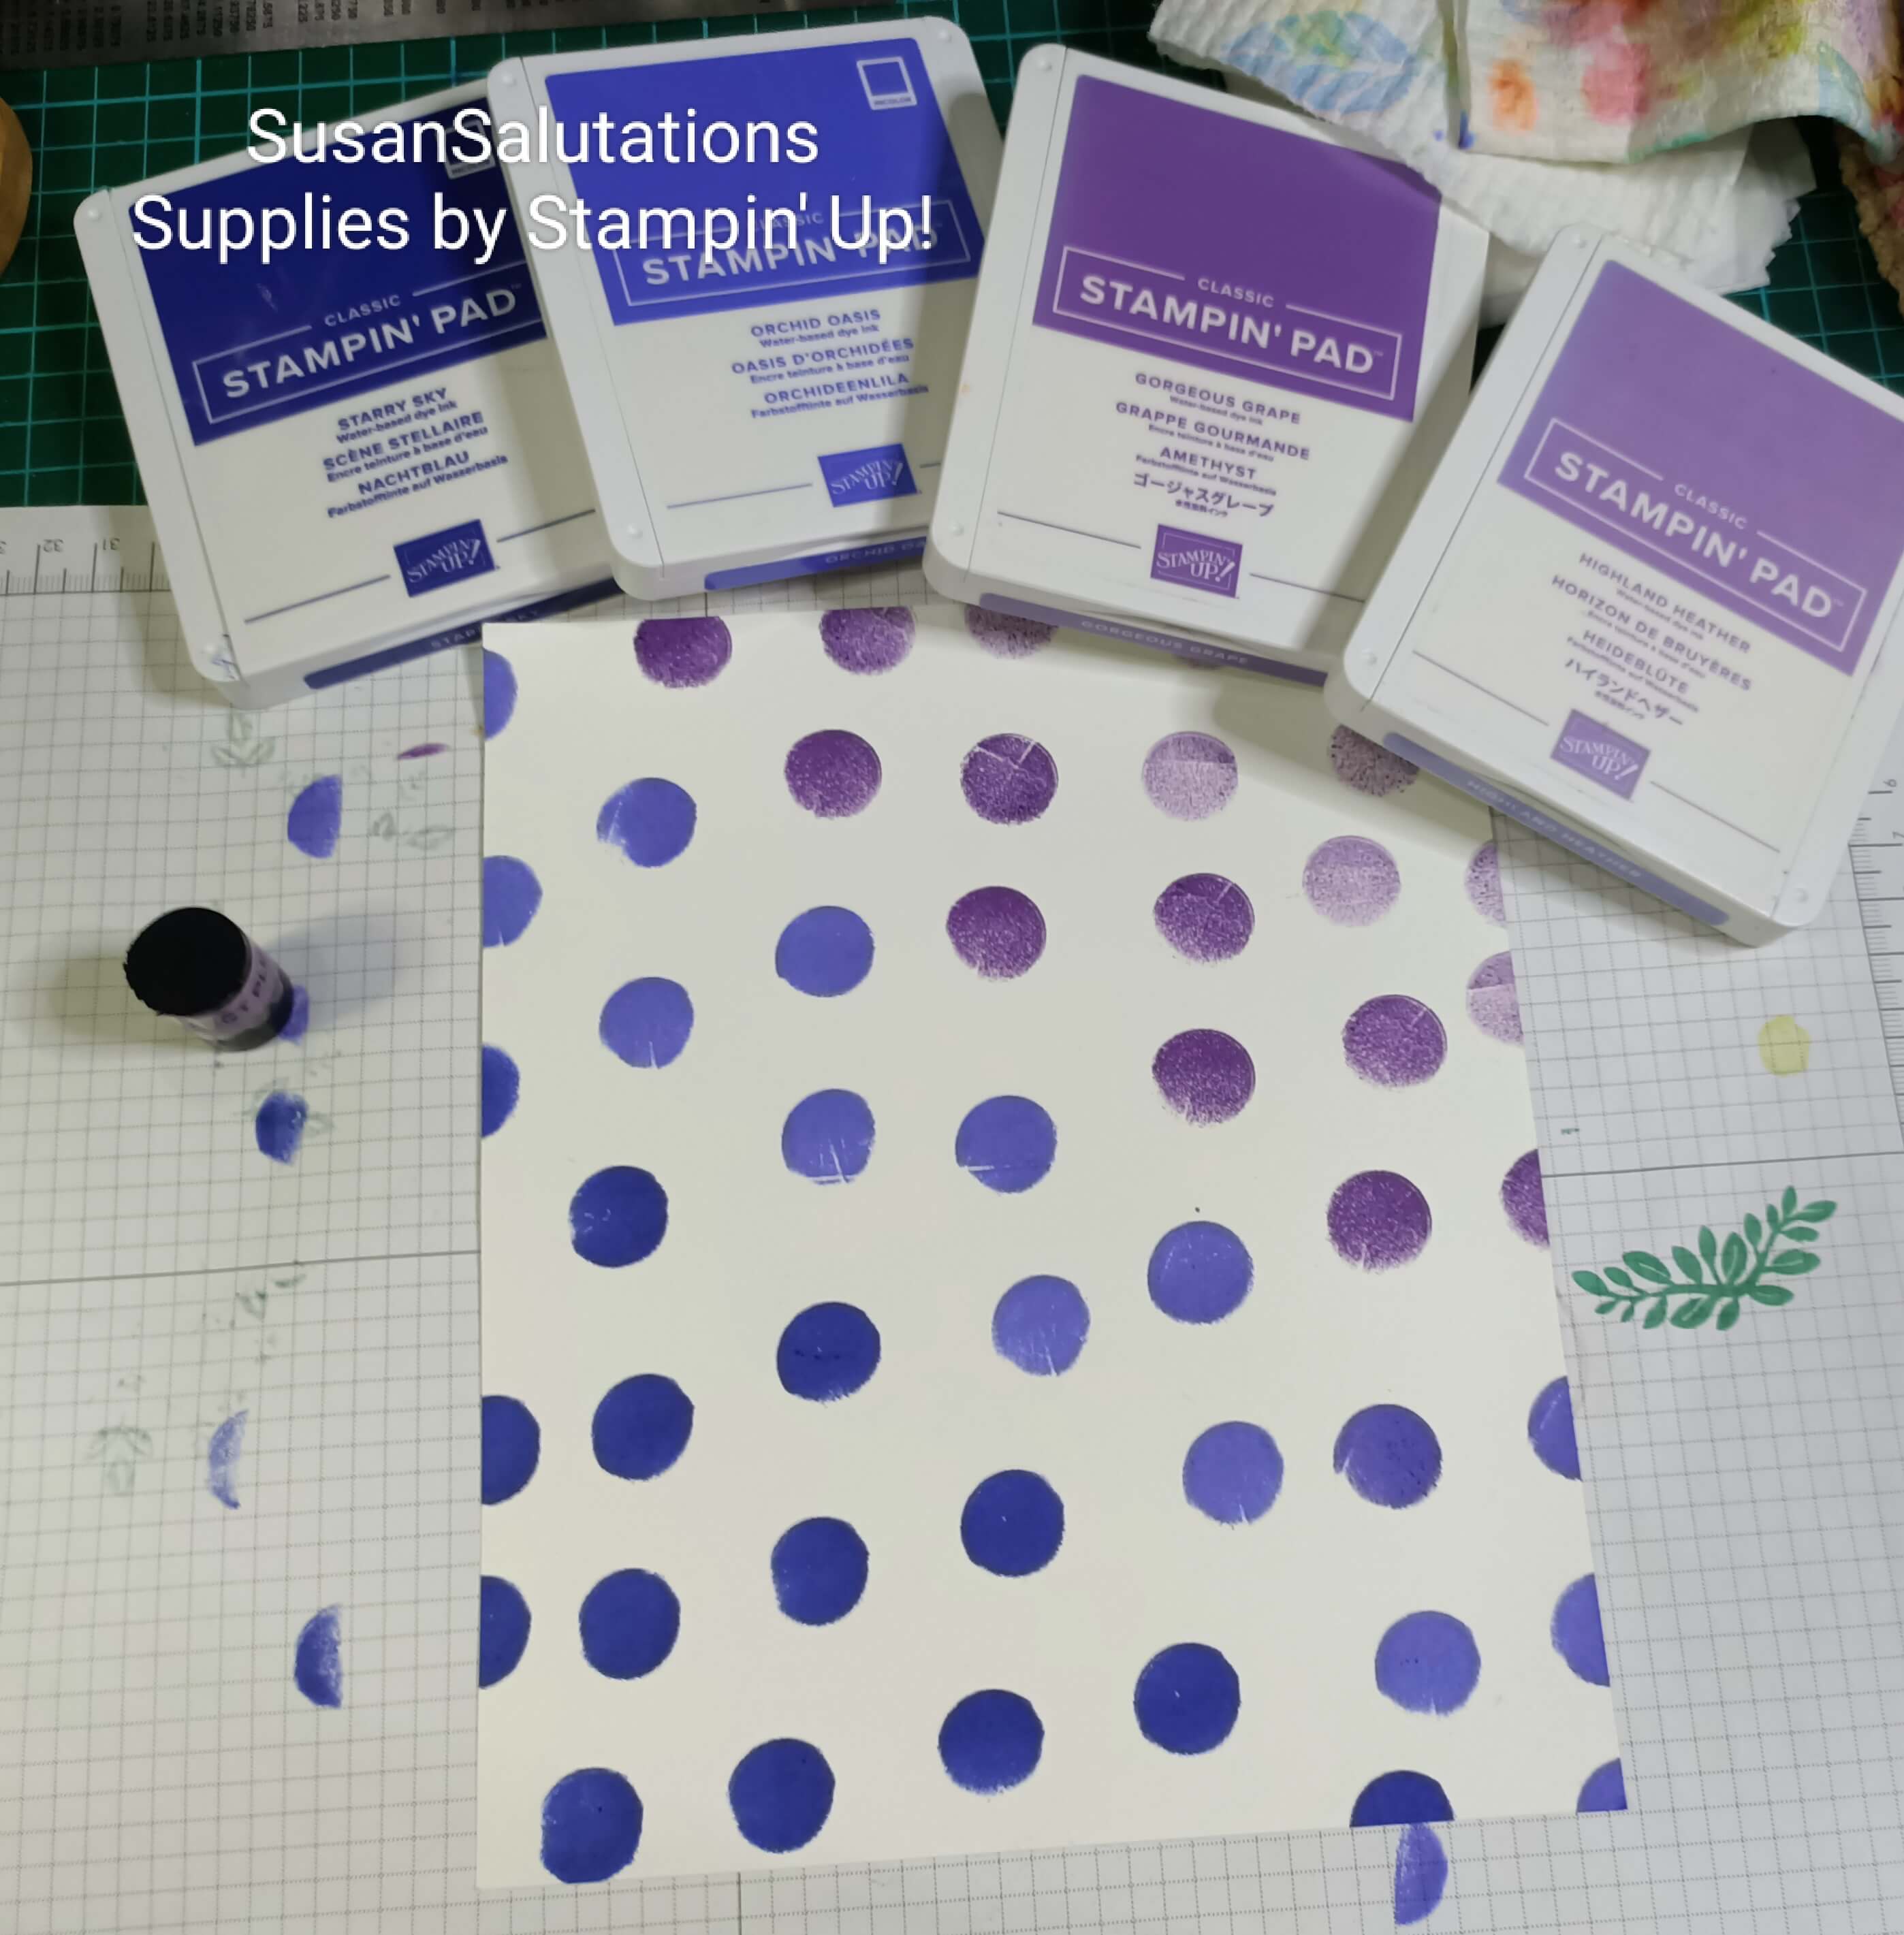
- An inked up dauber can make polka dots on your cardstock just like a stamp could. Just use the dauber a bit like a stamp, but use a slight twisting motion to make polka dots.

- Use several daubers with several colours of ink to create a rainbow of brushed colour on cardstock
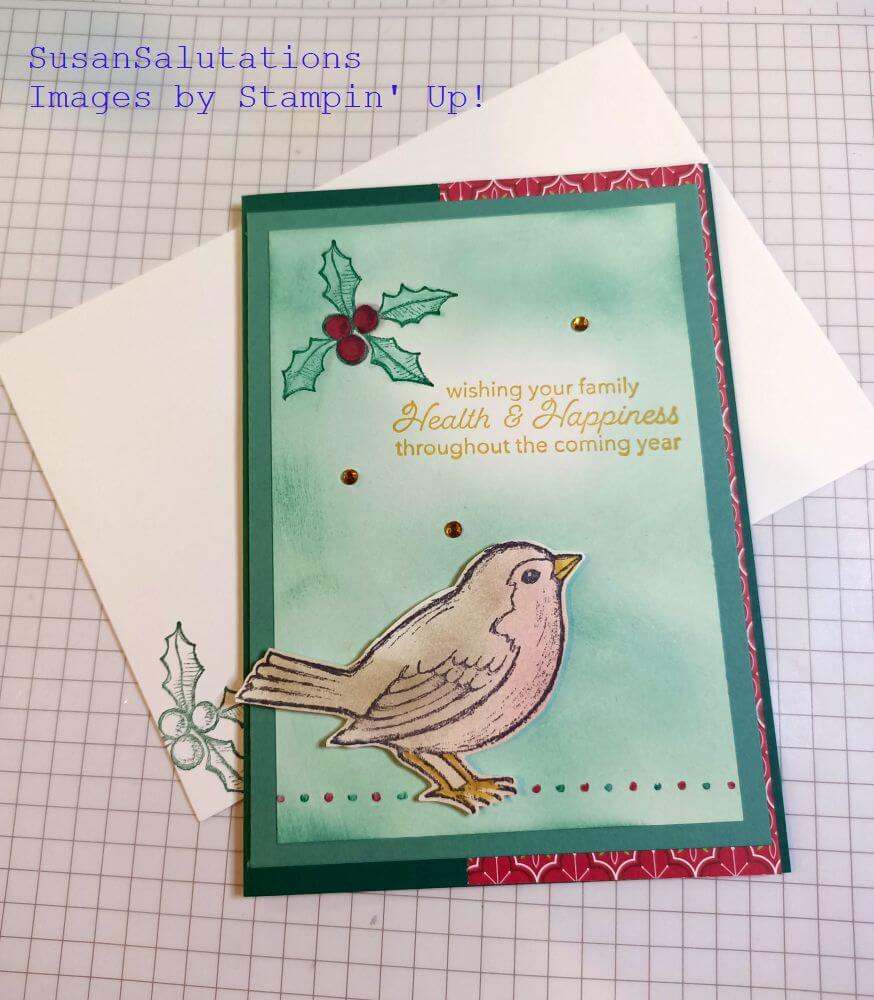
- Softly colour stamped images with them. Gently tap colour into the desired area. You won't stay in the lines too well but it creates a softer, less precise look. I find it great to do this with stamped flowers and leaves.
- Create an ombre look by brushing a single layer of colour onto cardstock, then building up the same colour by adding layers of ink to one end of the piece. You leave the other end with just one layer of ink and keep colouring till you get the depth of colour where you want it.

- If you want a shimmery effect, add it to your daubered piece with a little misting bottle containing rubbing alcohol and a few drops of Shimmer paint. Or go over them with a Wink of Stella pen afterwards.
- Use the daubers to ink up an embossing folder. Then run the folder through your machine with some cardstock in there. You can ink up both sides of the folder or just one. Try it with both sides first and see which side of your finished piece of cardstock you like the best. Select different colours of ink for flowers and leaves with a dauber. If your ink dries a bit whle you are adding it to the folder, breath warm air on it to rehydrate it, or mist it lightly with water for a more water coloured effect,
- Ink up your stamps with them - use different colours of ink for different parts of the stamp, if you like
- Ink up little die cuts with them or ink some cardstock first before you cut out die shapes.
- Did you know? These little sponges can fit on your fingertips! They protect your hands from getting inky and give you the control you would have if you inked up your finger.

- Use them to apply chalk to a stamped image or background piece.
In case you would like to see exactly how to use daubers, here is a little video showing just that! The crafter uses daubers to select images to ink up from a mask.
(If you want to, you can watch it on Youtube).
If you enjoyed reading about daubers (and hopefully playing with them) you might like to learn more about these papercraft tools:
- Die Cut and Embossing Machines
- Embossing Folder Techniques
- How to use a Brayer
- Embossing with heat


New! Comments
Have your say about what you just read! Leave me a comment in the box below.