- Home
- Papercraft Adhesives
- Decorating Candles
Decorating Candles
Written and Created by PaperCraftCentral Susan
Decorating candles with your stamps for special people in your life can be a lovely way to show you care about them.
"Lamps make oil-spots and candles need snuffing;
it is only the light of heaven that shines pure and leaves no stain"
Johann Wolfgang von Goethe
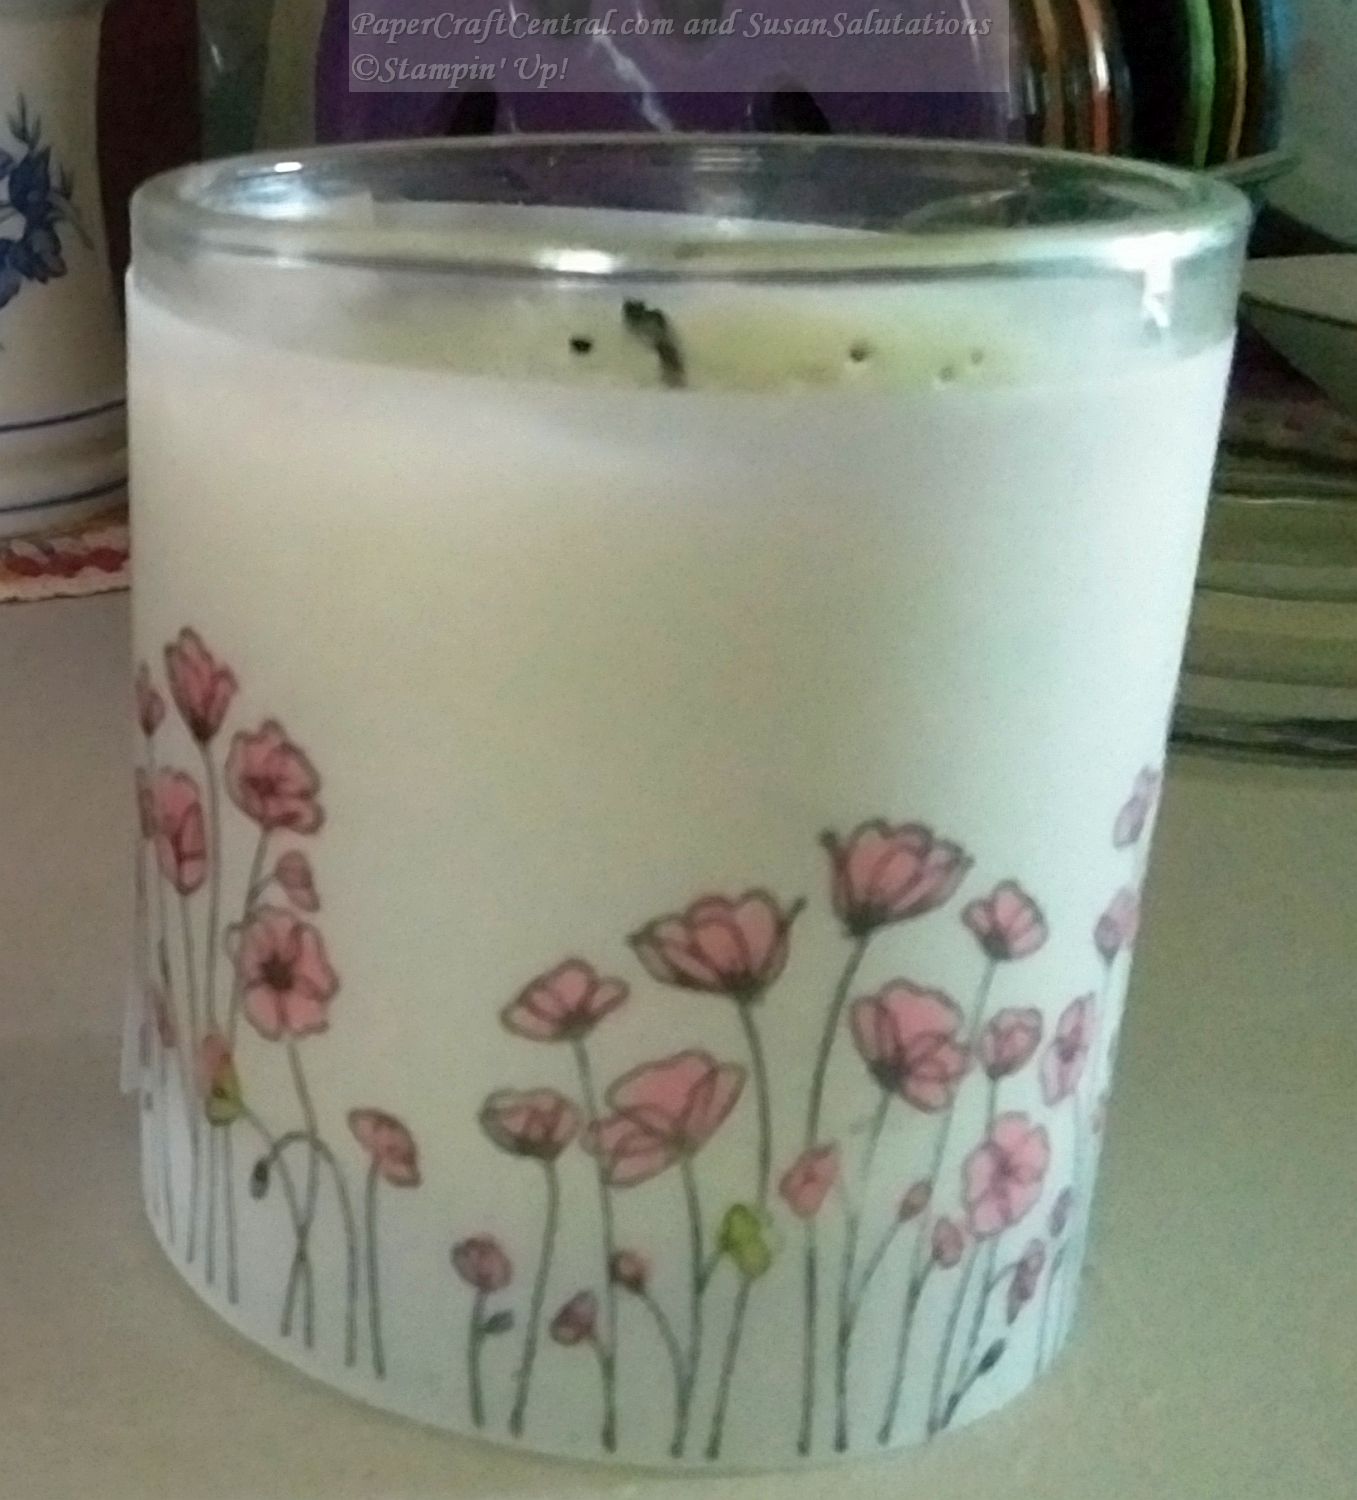
Decorating Candles with Vellum
One of the easiest ways of decorating candles is to wrap them in stamped vellum.
Stampin' Up! has a beautiful vellum cardstock. I chose this semi- transparent paper to create sleeves for some candles for an Anzac Day celebration. It was a quick and easy way for hubby and I to have candles for the Light Up The Dawn commemoration service we took part in.
I'll tell you how I did it.

Gather Your Supplies
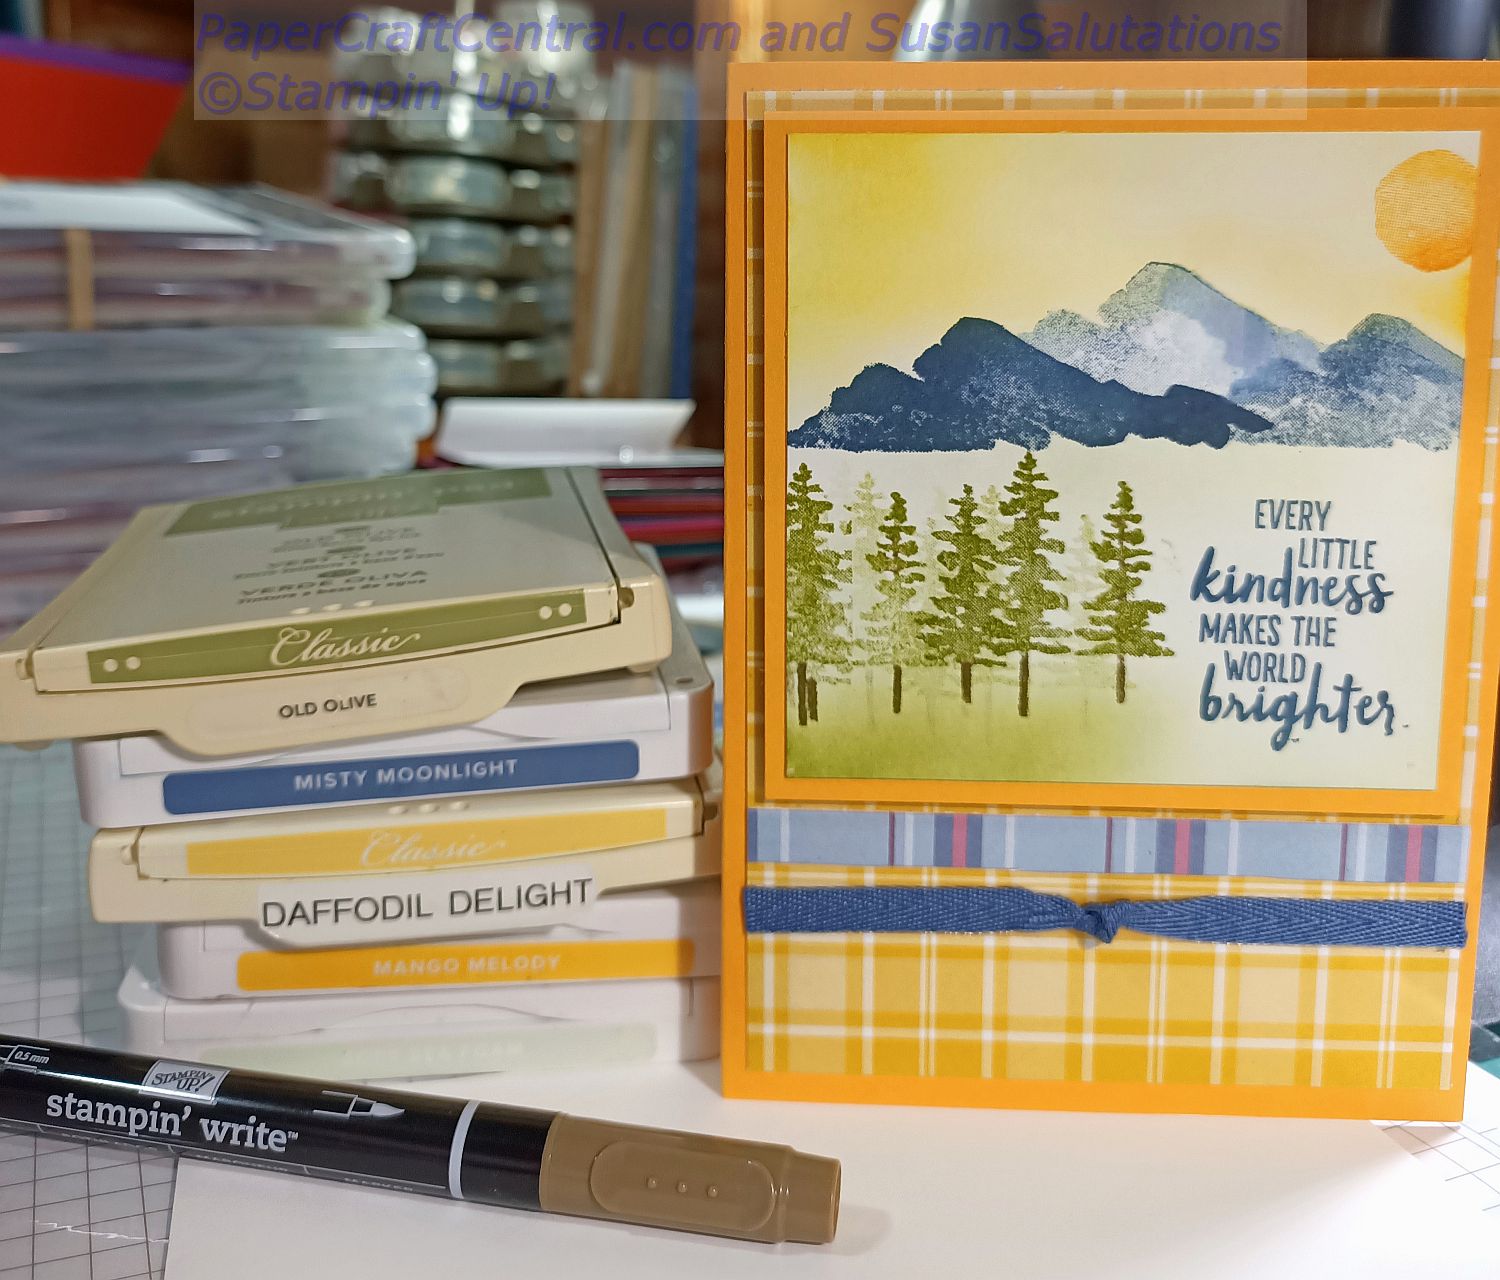
You will need:
- A candle and Vellum cardstock cut to measure your particular candle. Be sure to make it slightly shorter than your candle to avoid allowing vellum to come in contact with flames. I actually chose a candle that was poured into a glass receptacle and one in a pottery container, then covered the containers. I cut my vellum about a centimetre (1/2") shorter than the actual receptacle depth. Ensure you can wrap the vellum around the entire candle/receptacle with a little bit of overlap for your adhesive
- Black Memento Archival ink pad
- Stamp set of choice
- Heat tool
- Adhesive. I used glue dots
- Stampin' Blends or Stampin' Write! markers for colouring your images
- Paper snips
Here's What to Do:
- Stamp images of choice in Memento Black ink (or other permanent, indelible ink) on one side of the vellum piece. I chose images that were outline stamps so I could colour them in with my Blends. In this case, the stamps are from Peaceful Poppies
- Heat set the ink with your Heat Tool. Otherwise the ink might smudge as it takes a long time to dry on vellum. This is because vellum is less absorbent than ordinary cardstock or designer series paper so the ink tends to sit on top of it
- Turn the vellum piece over. Colour images with Stampin' Blends
- Wrap the finished vellum piece tightly around your candle or candle holder
- Secure ends with glue dots
- If your receptacle or candle is tapered, the overlapped ends may be uneven. Trim the ends to be even especially if there is any chance the vellum is too close to the candle flame
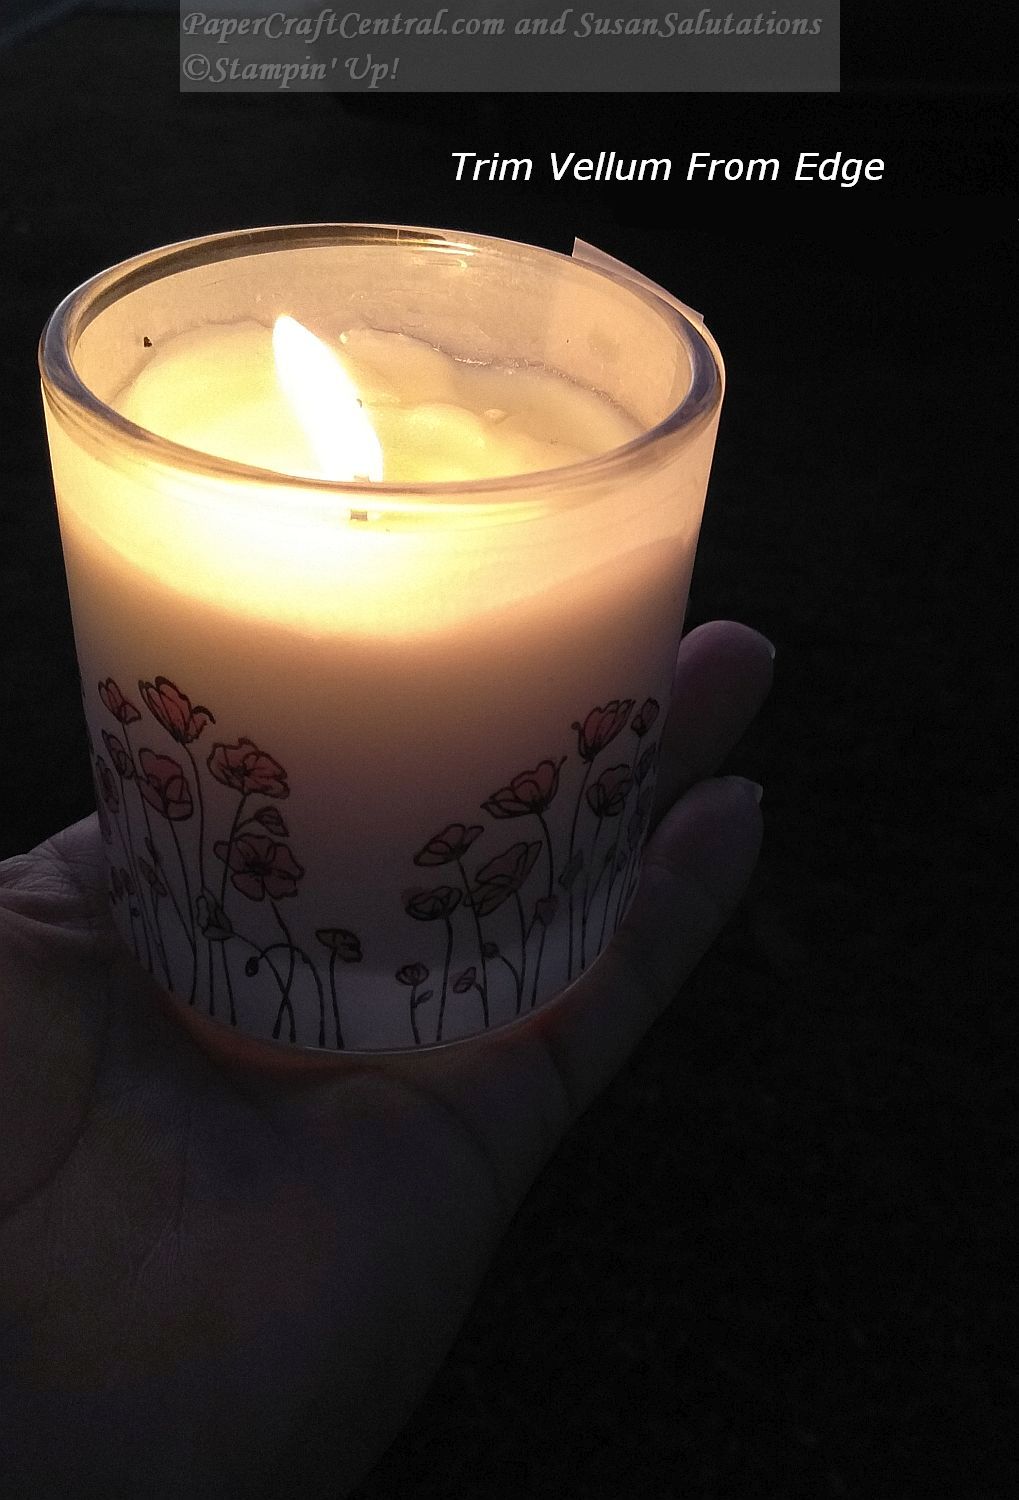
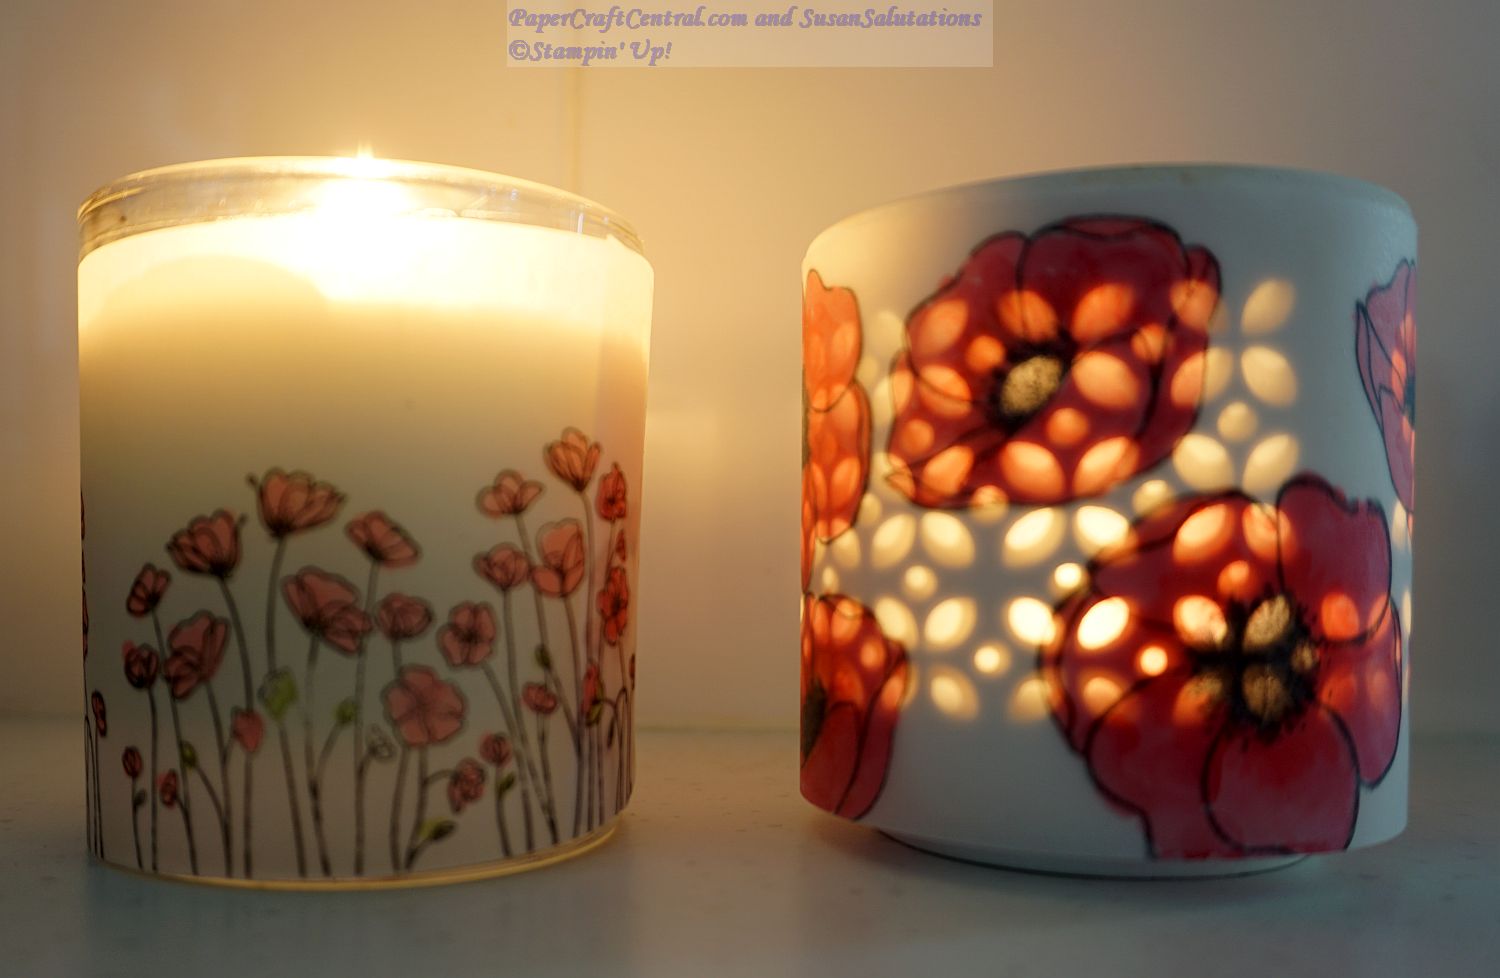
Enjoy!
PS: If you liked this project, you may like to make an Anzac Day Wreath for this special day too.
Adding Stamped Images to Candles
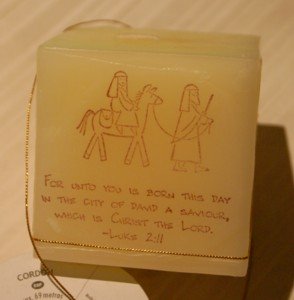
Who can resist a gift candle that has been especially made just for them? If you are a stamper, embellishing a candle could be one of the easiest Christmas or special occasion crafts you may find. It takes very little time and money to create such a home-made masterpiece.
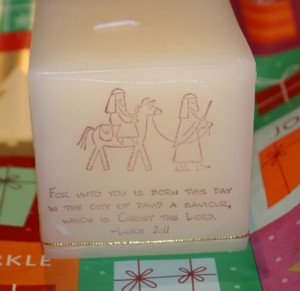
WARNING: I assume you probably know all this, but just in case.....Candles decorated with tissue should not be burned unless you place them in a hurricane lamp or similar for safety in the event that the tissue catches on fire, and please, NEVER burn ANY candle and leave it unsupervised!
Safety comes first, always.
There is an inexpensive candle-safe product available
for stamping on. Do not be tempted to use ordinary tissue paper or
similar as it will catch fire as the candle burns down. Special decal
paper will not. Search the Amazon store or a nearby craft store for some.
Stay safe! Do only use specially made candle paper for transferring and applying your images if you intend to burn them, or clip the wick right down to stop people burning the candle if you use ordinary tissue.
Now let's start decorating candles!
Here's what you will need for decorating candles:
- One candle with enough space to show your images. I chose a square one for this example but you may choose a curved or a conical one
- Stamps of your choice or a way of making a picture on tissue, such as pens, paints, etc
- Candle decal paper
- Ink, coloured markers, glitter glue, paint, or other medium of choice that will work on the decal paper
- Scissors
- A heat tool
- A bone folder or something heat-proof to use (instead of your fingers) to hold your decorations in place while heating the image to adhere it to your project. (Note: Some bone folders are made of plastic and will melt with too much heat. You need a real bone or teflon one for this project, such as Stampin' Up!'s bone folder)
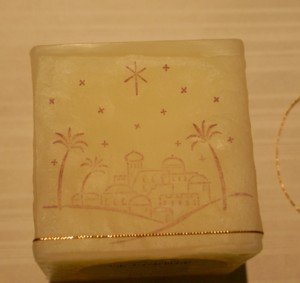
Here's what to do:
- Stamp, draw or paint your images onto decal paper, making sure they will fit in place on the side of the candle you are going to decorate
- Carefully cut out the images you have made, leaving a small border of decal paper
- Hold the image in place where you want to adhere it, using the bone folder, a wooden skewer or the like so you won't burn your fingers
- Use the heat tool on the image to melt the wax under your image. The wax will soak through the decal and meld the image with your candle
- I allow the wax to cool slightly, then turn that side down onto a piece of waxed paper so the table underneath will help flatten out the image and create a smoother surface
- Allow wax to cool and harden completely before finishing your embellishments
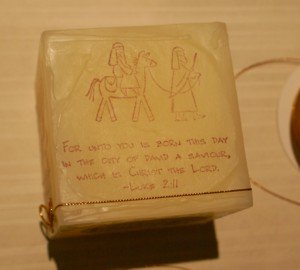
Some More Tips and Warnings
- Be sure to heat the wax only briefly. If you overheat it, the shape of the decorative candle will be distorted quickly and you may wind up with a crater-like effect instead of a pretty, smooth surface
- Heat embellishments like ribbon only briefly. They tend to melt if overheated, and that is probably not the look you want while decorating candles
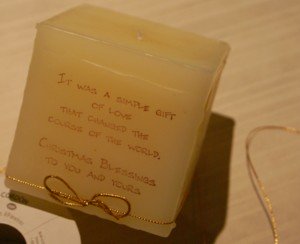
Other things to try:
- Try adhering other small, flat objects to the sides of the candle like little gold or silver stars, beads, shells, leaves, feathers, even buttons, sand or glitter, but be aware that some of these could catch fire
- Use different coloured decal paper for a different effect in the background, even wrapping an entire decal around the whole project
- Get creative with different coloured inks and pens and make a very colourful image for your gift
Are you surprised how easy this is? I hope you enjoy your new-found skill for Decorating Candles. You could make one for almost any special occasion.


New! Comments
Have your say about what you just read! Leave me a comment in the box below.