- Home
- Papercraft Adhesives
- Gift Box for Valentines Day
Gift Box
Written and Created by PaperCraftCentral Susan
Have you ever wanted to make a Gift Box to show someone you care and are thinking about them? Valentines Day, Birthdays, Christmas, all sorts of occasions call for special gift wrapping and treats.
What about making a special token of appreciation for your workmates?
These little containers can be made to fit any small-sized, flattish treat. You could fill yours with wrapped chocolate thins, coffee bags, or in one case, I chose five herbal tea bags for a gift.
"The greatest gift is a portion of thyself".
~Ralph Waldo Emerson
Valentines Day Gift Box
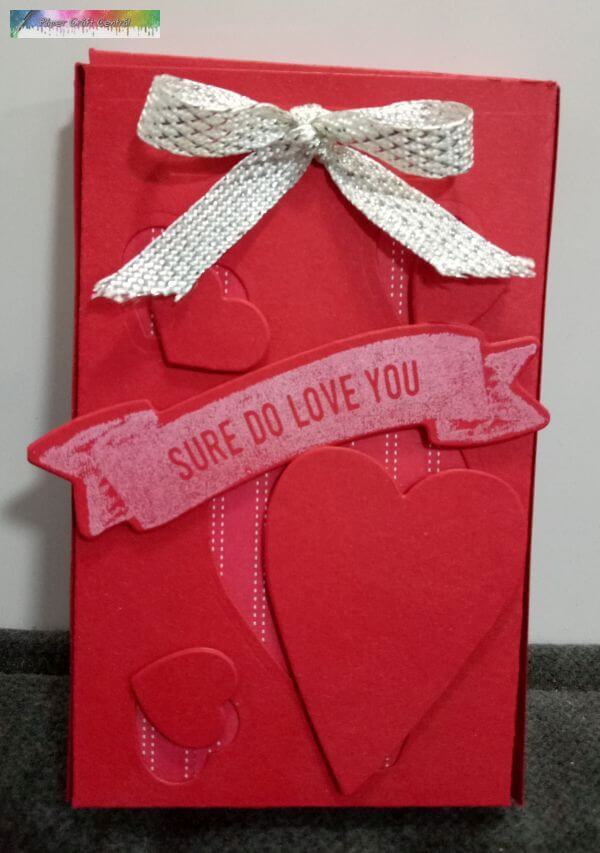
Make a quick and easy Valentines Day present with the Sure Do Love You Big Shot dies and stamp set (now retired).
Relationship Hint: Why not start a new tradition, giving inexpensive paper favours to each other every day from the 1st to the 8th of February? How romantic that would be.
I discovered a few hints and tips while using the dies for this project, including two different option for closures, so made a video to show you how to take advantage of them, just in case you have a set of these dies:
Here's a close up of the tab closure:
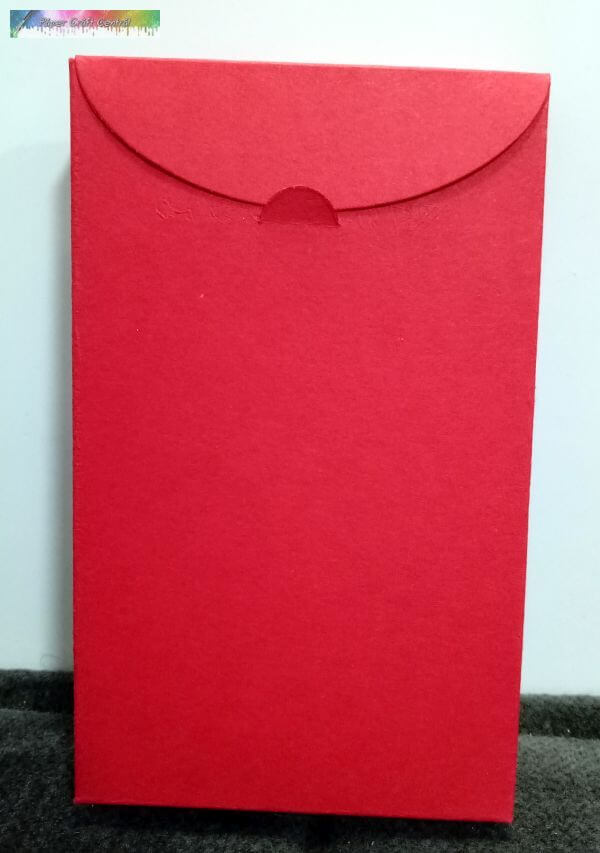
Let me know if you make one of these boxes. I would love to see some all decorated!
Heart Shaped Gift Box
Here's how to make a heart shaped chocolate box.
I think it would be great for Valentines Day or Mothers Day
Handmade Gift Box for Tea Bags:
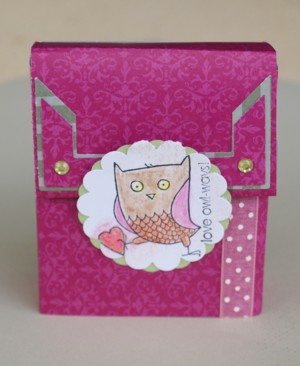
The first project I made I followed Beate's instructions over at SplitCoastStampers
Then I decided to adapt those instructions to show you how to make this little gift box fit your own brand of candy or whatever it is you want to give.
How to Make a Gift Box for Tea Bags
- 1 piece cardstock 107mm x 203mm (4 1/4" x 11 3/8")
- 1 piece 76mm x 210mm (3" x 11 3/8") of designer series (patterned) paper
- Additional Cardstock
- Tea bags or inserts of choice
- Strong adhesive like Tear and Tape
- Foam Adhesive Strips or mini glue dots
- Scissors
- Stamps, punches, ink of choice
- Paper Trimmer
- Simply Scored Tool or Bone Folder
Here's what to do:
- Measure the width of one of your tea bags or other favour, place one tea bag in the centre of your cardstock strip (on the bottom of one short side as shown) and score the short side of the cardstock to match that width.
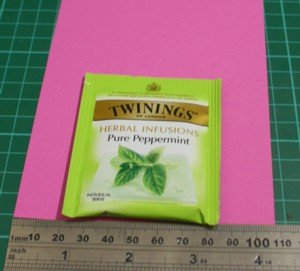
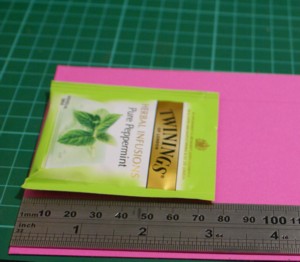
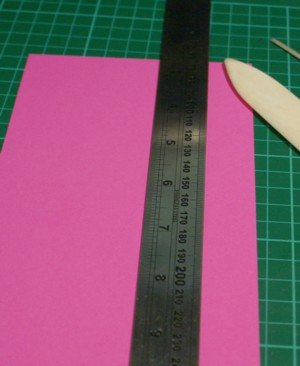
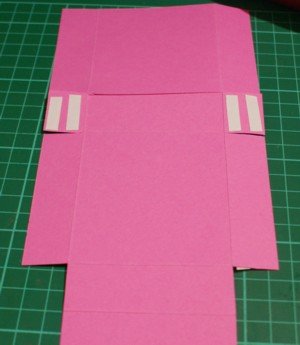
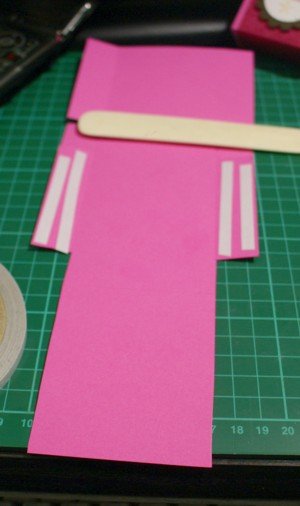
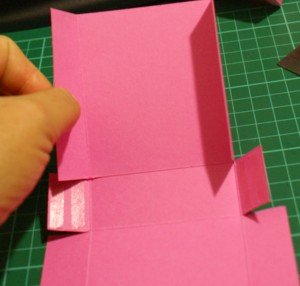
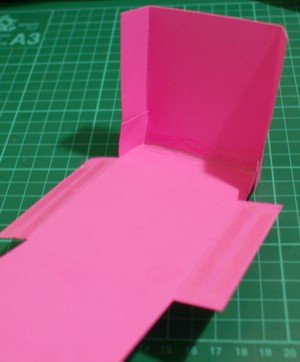
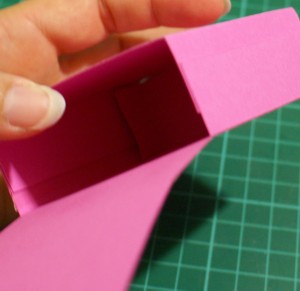
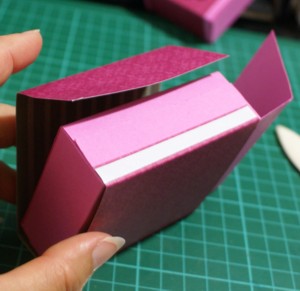
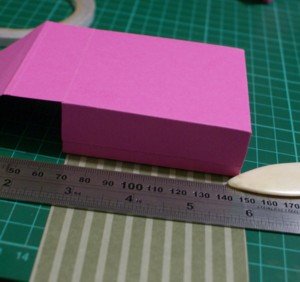
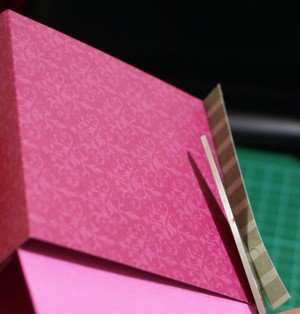
This time I decided to cover the rest of the lid with patterned paper as well. It's up to you how to finish your box off, of course. It would still look nice if you left the lid uncovered and decorated the edge of it instead, for instance
I then stamped and punched some images for the catch and used some ribbon to make the front even prettier.
I popped the punched image up on two Stampin' Dimensionals, leaving the top free so it could act as a catch, as shown below.
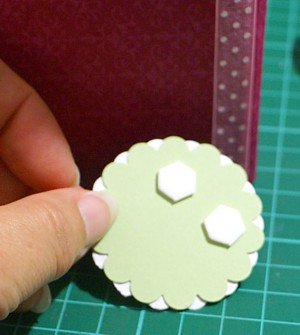
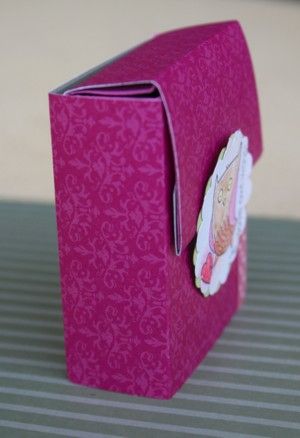
I finished off with some more corner punches and rhinestone bling.
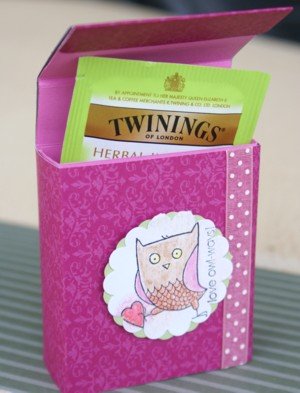
Hmmm. I think I'll go give this little Gift Box to my sweetheart right now.
How will YOU use this idea? Please do share with us if you make a box, especially if you decide to make it a Valentine!
Enjoy!
Do You Have A 3-d PaperCraft Project To Share?
Do you make 3-d PaperCraft items? I'd love to see your work. Please do share below.
What Other Visitors Have Said
Click below to see contributions from other visitors to this page...
Card Box Set Not rated yet
This is a gift box set that I made for all the pre-school teachers.
Leanne
***
Oh, Leanne, you would have made all the Teachers feel so …
Other Valentine Ideas:
- Make a Handmade Heart Box and fill it with handmade chocolates
- Make a handmade card and fill it with love
- Make a Chipboard Album Tag and add a new one each year
Return from Gift Box to 3-d Papercrafts | Return to PaperCraftCentral Home Page


New! Comments
Have your say about what you just read! Leave me a comment in the box below.