- Home
- Papercraft Adhesives
- How to Seal Paper Projects
Sealant Products
Written and Created by PaperCraftCentral Susan
Sealant products can be used for all sorts of paper craft projects to ensure they stay fresh looking and also make them more attractive and durable.
"A sealant is a viscous material that changes state to become solid, once applied, and is used to prevent the penetration of air, gas, noise, dust, fire, smoke or liquid from one location through a barrier into another." ~Wikipedia
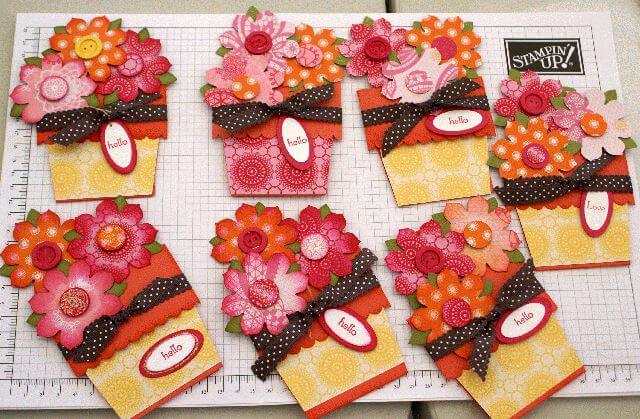
Or in this case, to make handmade paper buttons shiny!
How to Use Sealant Products
Many papercraft projects work better and are more durable when they have been sealed to repel moisture (not to be waterproof) and/or to strengthen your work. Your choice of coating will be determined by what you want to seal.
Most craft and hardware stores have cans of aerosol sealer that could be suitable for your paper craft projects, but if you do not require your project to be water proof, you can strengthen your work with products like Mod Podge.
Craft stores will also have a range of suitable supplies and you can often obtain good advice from staff about how to use them and what mediums they will work best on. If you have very large areas to seal, for example, it may be best to find an aerosol product for the job.
WARNING: It is a good idea to carefully read the labels of products offered in hardware stores to make sure they are suitable for your papercraft projects.
It would be a shame to ruin all your hard work!
Mod Podge
Mod Podge is brushed on with a foam or hair brush. When I use a paintbrush, it
seems to leave brush marks, however, so I usually apply a couple of coats
to the project to be sure the seal is strong and protects my paper work,
by applying it horizontally, allowing that layer to dry, then applying
another layer vertically. I like the texture it adds to my work.
I have also been known to use my fingers to apply Mod Podge to my projects. I get a thinner, flatter layer that way.
Depending on the humidity and even the ambient temperature, Mod Podge can take awhile to dry. Cold weather makes it take longer to dry. If it is still tacky, it is not yet dry. Allow it to sit another day or so before adding another layer or using your project.
Below I have an altered notebook I sealed with Mod Podge. I wanted the paper to be able to withstand regular handling so I used several coats of this sealant product:
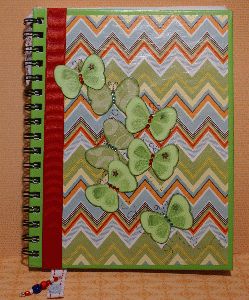
You can buy Mod Podge in a satin finish as well as a glossy one. In fact there are several choices of texture and finish with these sealant products.
Fine-Tipped Glue Pen
Another good sealant that leaves a super glossy and clear finish is in the Fine Tip Glue Pen bottle from Stampin' Up! You can order some of this wonderful product from me if you live in Australia. You can order it from my Stampin' Up! store.
The Fine Tip Glue Pen can be used to make resin like embellishments. I like to use it when I am making name badges and pins. It sets clear, hard and glossy.
You can cover added items like pearls and rhinestones etc and incorporate them into your projects. They stay embedded in your project better.
It goes well over stamped images too.
Be careful when you use it as the glue comes out of the nozzle easily and you can get more than you bargained for. I keep a straight pin handy to pop any bubbles in my finish before it sets.
It is critical to allow this glue to dry overnight at least, sometimes longer if you have added a thicker layer.
Once dry, it will protect your project well against everyday handling. Be careful not to bend the product though as it will crack!
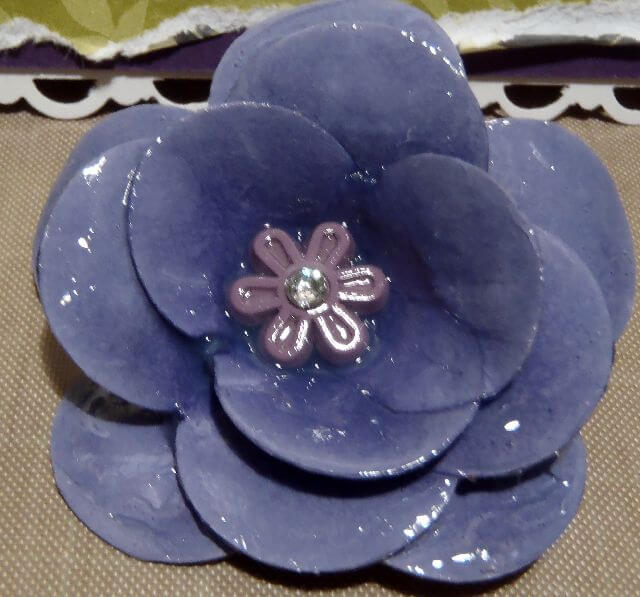
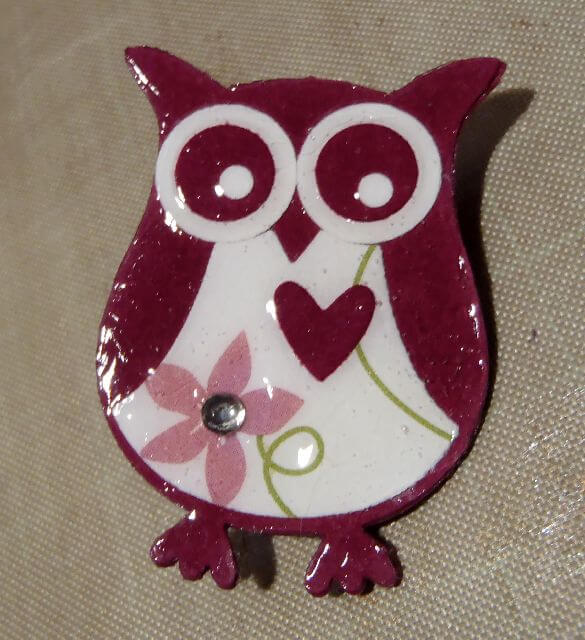
Here are a couple of pins I made with punches and cardstock treated with the Fine Tip Glue Pen as a sealant product:
Chalk Stabilising Tip
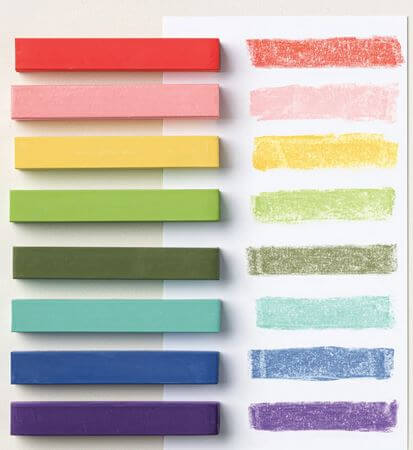
When I use Stampin' Pastel chalks (now retired but Soft Pastels aren't!) on my hand made cards, once I have finished using the chalks, I place clean paper over my artwork and press down with my fingers while keeping the paper steady. This will blot excess chalk off the page and give the medium more stability.
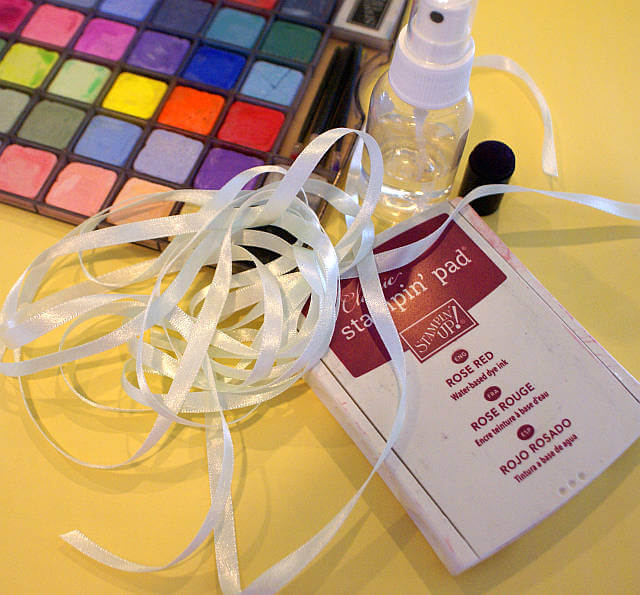
If you must seal a chalk image, remember any moisture will darken the colours you have used. I would tend to choose sealant products that are in aerosol form. I spray it lightly on my project from a fair distance of about 30cm/12":
- Spraying up close can make the colours run.
- You may still find the definition of chalk projects will be somewhat softened by using spray sealants, so try a light coat first and let that dry.
- Then follow up with more layers if you want to.
With aerosol sealants, always be sure to use them out of doors where there is plenty of ventilation. I place my projects on a cardboard sheet to protect surrounding areas from the sealant.
If you have tips of your own or questions about sealant products, please do add them here.
Do You Have a Papercraft Hint or Tip to Share?
Do you have a hint or tip to share about papercrafting? Please do share it below.


New! Comments
Have your say about what you just read! Leave me a comment in the box below.