- Home
- Papercraft Adhesives
- Sticker Making
Xyron-150 Sticker Machine & Stampin' Up! Adhesive Sheets
Written and Created by PaperCraftCentral Susan
I think the Xyron-150 sticker machine is a perfect tool for making stickers of delicate scrapbook and card embellishments. Make your own embellishments with ribbon and paper, flowers and more. There is also the option of using Stampin' Up! Adhesive Sheets though. Scroll down to find out a few more uses for this clever little machine and also find some tips for using Adhesive Sheets.
"Once I got into card making, I forgot how to tell time"
~Susan of PaperCraftCentral.com
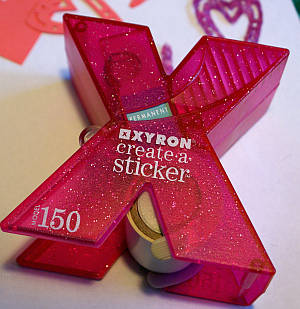
Making Stickers out of Delicate Materials with a Xyron-150 Sticker Machine vs Stampin' Up! Adhesive Sheets
If you want to make stickers for cards and scrapbook pages, a Xyron-150 sticker machine is a suitable tool to make small-ish embellishments easier to handle and adhere. You can get one of these machines from lots of craft stores and stationery supply shops. They aren't very expensive, or they weren't when I bought mine awhile ago.
Of course, you can always use Stampin' Up!s Multipurpose Adhesive Sheets (item no 120805) in your Big Shot or Stampin' Cut and Emboss machine as well. This is great for making bigger stickers and making adhesive backings for fabrics or punch outs too.This is what they look like:
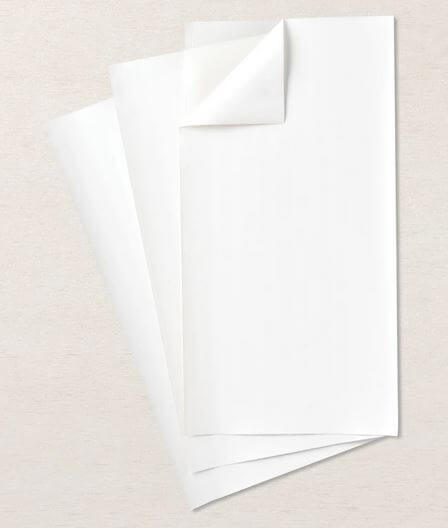
Adhesive Sheets are easy to use. Peel away one side of the protective paper from the sheet and add it to your image or even to a whole piece of cardstock etc, then when you have cut something out, peel up the other protective coating and stick your new sticker down!
Adhesive Sheets are particularly good for intricate die cuts. You just prepare your cardstock with adhesive on the back (leave the protective film on the back) and run it with a die through your Die Cutting and Embossing Machine. When the die is cut through, remove the protective sheet to reveal the stickiness Add it evenly to your project. No messy glue seeping out or drying shiny clear to peek through your die cut.
You can add it to cardstock you want to emboss, too. Again, prepare your cardstock for embossing, place it in the embossing folder you chose, run it through your Die Cutting and Embossing Machine and then remove your protective backing. The whole embossed piece will be evenly sticky and able to be pressed onto your project evenly.
It's also good to use on Vellum cardstock. You know how a lot of adhesives show through Vellum? With the Adhesive Sheets, you can add adhesive evenly to the whole piece of vellum. The vellum will stick down evenly to your project and all of it will look the same - as though there is no glue under it at all. No more having to place Glue Dots strategically under embellishments! No more flapping edges!
Now back to the Xyron-150 sticker machine. The next two pictures show me punching a shape from some hand made gauzy paper.
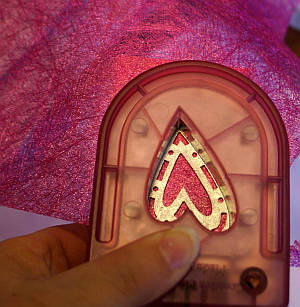
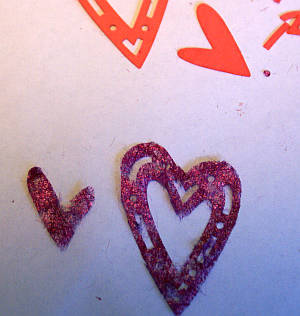
To glue down delicate materials can be a hassle. Some glues will cause the item to shrink and curl, some will not be clear when dried, some will be pretty messy to use.
You could use a fine tipped glue pen like the one from Stampin' Up! but another way to flatten the item out and make it easier to handle and completely adherable (is that a word?) is to use the Xyron150 sticker machine to make it into a sticker.
Once you have punched or die cut your shapes, it is easy and quick to make it into a sticker. Just feed the item into the top of your Xyron tool:
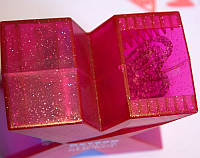
Now find the end of the roll of tape in the bottom of the tool and give it a steady pull to allow the shape to be fed through the middle of the machine. Adjust the item to ensure it feeds through straight. Mine managed to creep a little to one side but it still turned out OK.
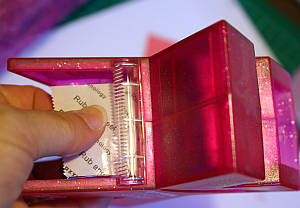
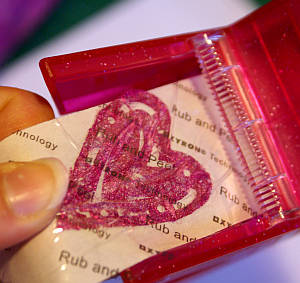
Now tear the tape off just as though it were a sticky (scotch?) tape dispenser.
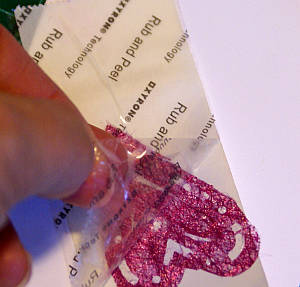
The next step is to rub the item to ensure all the backing has adhesive on it. Use the back of your fingernail, a bone folder, a flower shaping tool or the back of a spoon to rub over the embellishment firmly.
See how it even says to do that on the clear layer of adhesive tape?
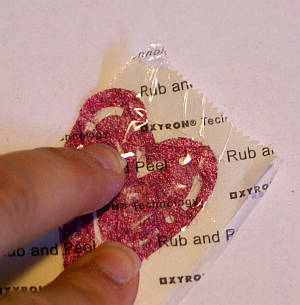
Now peel up the clear layer of tape and discard it. Finally, peel up your new sticker embellishment and adhere it to your card or scrapbook page.
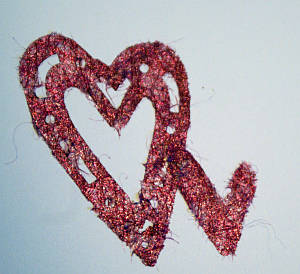
I hope you will find using either the Xyron-150 sticker machine or the Stampin' Up! adhesive sheets a useful tool when you want to make stickers for your paper craft projects. You can also use it to make stickers out of such things as:
- Buttons
- Brads/crystals
- Ribbons
- Netting/Tulle/other sewing material
- Felt
- Cork
- Toothpicks
- Cardstock
- Feathers
- Dried flowers (but be careful with these as they may crumble a bit when being removed from the backing sheet)
- Any other material that is flat enough and sturdy enough to fit through the machine and be peeled off the tape on the other side
- There are a few more ideas and larger Xyron machines at Hub Pages.
Have fun!


New! Comments
Have your say about what you just read! Leave me a comment in the box below.