- Home
- Papercraft Adhesives
- An Annual Explosion Box
How to Make an Annual Explosion Box
Written and Created by PaperCraftCentral Susan

Make an annual explosion box to highlight the special memories of the year!
You can use this as a cute way to build a collection of small box albums for display on a shelf or as a coffee table conversation starter.
If you need a tutorial, find out how to make these little gems here at PaperCraftCentral.
How I Made my Annual Explosion Box this year
For me, it is important to decorate in coordinating colours. Stampin' Up! makes that easy to do as they make cardstock and designer series paper in all their colours!
First, I started with a base colour. If you need instructions, follow the directions on the Explosion Box page to make the parts of your album 9linked for you above in the first paragraph).

Remember to cut your annual explosion box lid at the same time. Make it the tiniest bit bigger than your closed box. It will fit better and not be too tight that way.
The box lid is an important part of your creation. It holds the sides up until someone takes the lid off.

Then choose some Designer Series paper to make mats to decorate all the faces of your base album.
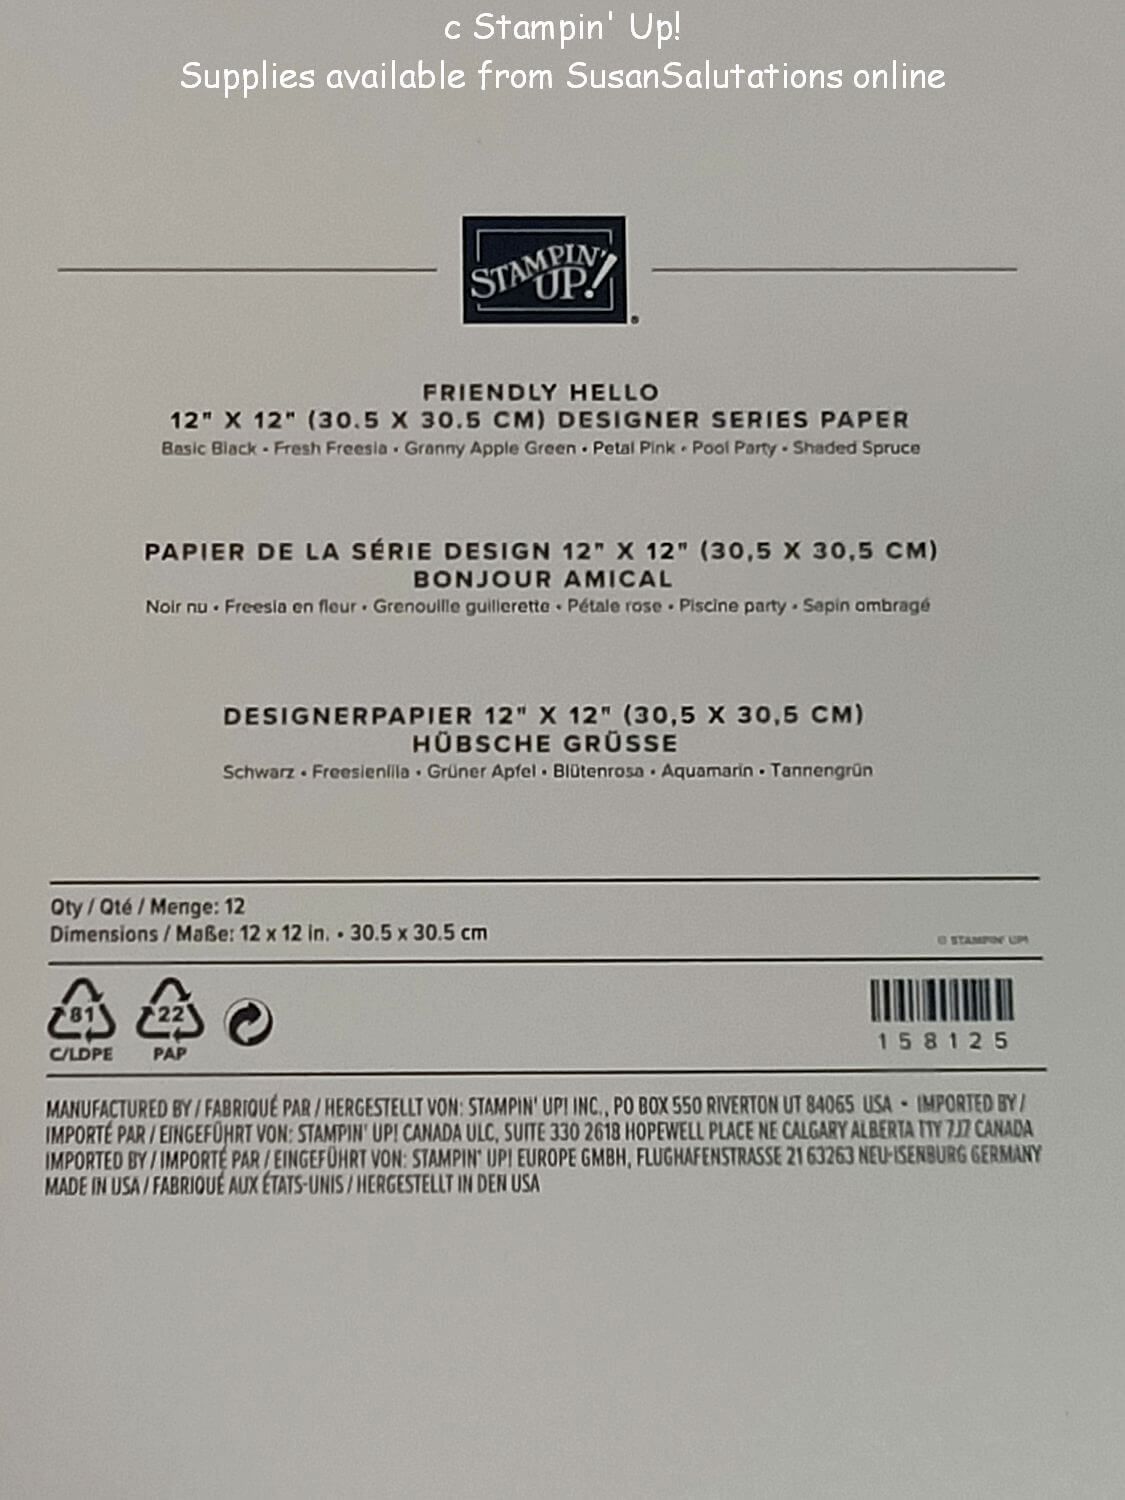
I chose this pretty DSP from Stampin' Up!

These are the details of the DSP I chose. Check to see if it is still available in my SusanSalutations store.
Then, I measured the panels of the annual explosion box album and cut pieces of DSP to cover all the box faces I wanted to decorate.


Then I decided how to decorate the inside to show the year it is going to represent. I plan to choose special photos from 2021 to add to the album.You may need a memory jog about 2021 from Wikipedia.
As I have 24 spots at least, I can choose two photos from each month to add to my album, with small strip journaling tags added somewhere to each picture and show why those pictures are significant.
So adding the year to the middle of the opened box made sense to me.

To make the tag in the middle of the box, I chose a card from a Stampin' Up! Memories and More pack and cut it down to suit my space.
Then I chose a Stampin' Write! Marker to write the year in.
I actually used the other half of the same Memories and More card to decorate my annual explosion box album lid.
As a finishing touch, I added these cute little brass butterflies, also from Stampin' Up!
You will find some butterflies on the central inside panel too.

And that's the story of how I made my 2021 annual explosion box album.
What do you think? Could this be a little tradition you might like to start?
It didn't take too long for me to complete this project. The only thing I still need to do is to choose and print the photos I want, then write little journaling strips, and adhere them inside my box.
Remember the main part of the box will spread out flat for mailing. You will have to pack material around the lid to avoid crushing it if you want to mail it, so you could add double sided to your lid instead and tell the recipient how to glue it together when they receive it.
Then your project would be totally flat for mailing!
What to try next?
You may like to check out a few more 3-d papercraft projects, such as:
Last edited by PaperCraftCentral Susan on 16th January 2022


All brand names and product names used on this website are trade names, service marks, trademarks or registered trademarks of their respective owners. Also mentioned products or brand endorses this website. no mentioned products or brand endorses this website. Go to Privacy Policy to read more
PaperCraftCentral.com is a participant in the Amazon Services LLC Associates Program, and affiliate advertising program designed to provide us with earn fees to link to Amazon.com and affiliate sites.
Powered by Solo Build It!
New! Comments
Have your say about what you just read! Leave me a comment in the box below.