- Home
- Papercraft Adhesives
- Candy Bar Favor
Candy Bar Favor
Written and Created by PaperCraftCentral Susan
Making a candy bar favor that is designed especially for your favourite person is a certain way to impress. These little gifts are easy to make. You may need to do some stealthy 'research' first to find out what kind of chocolate bar your friend likes, then it's a simple matter of going to the shops to buy a chocolate bar, then you are probably going to be all set to make your favor. More instructions follow below.
"Thanks for showing me how to make
a Candy Bar Favor for my friend's birthday!
I love PaperCraftCentral!"
~PaperCraftCentral reader
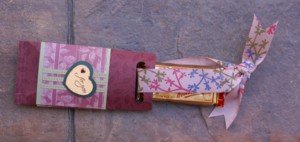
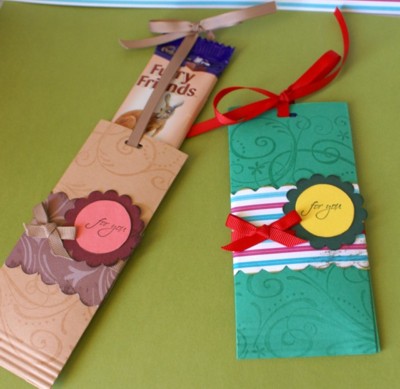
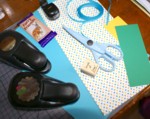
Here's what you will need:
- A chocolate bar. A flattish one works best
- Some plain cardstock and some designer series (patterned) paper
- Embellishments of your choice. I used stamps and ink and punched elements on mine but be as imaginative as you like with this
- A length of ribbon that can wrap around your chocolate bar lengthways and have tails left over to make into a bow
- A slot punch or small oval punch
- A ruler, a pencil, double-sided tape, scissors, a paper cutter, a bone folder, some deckle-edged scissors and other papercraft tools of choice such as a paper crimper
Before we go on - would you like more Paper Craft Ideas? Subscribe to Paper Twists!
Want to know when a new idea becomes available on PaperCraftCentral? How about being among the first to see a new party favour idea?
When you subscribe to Paper Twists, you will receive news about this PLUS many other benefits:
- Papercraft hints and tips
- New ideas in the papercraft world
- Reviews of new products and tools. What works….and what doesn’t!
- How to save money on paper crafting supplies
Subscribe today! It's free!
Now let's continue on with the Candy Bar Favor instructions:
Here's what to do to make a pouch for the chocolate bar:
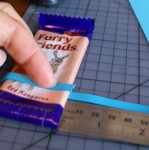
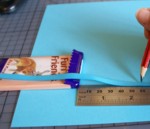
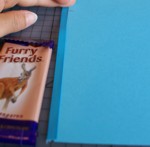
- First take a length of ribbon and measure all the way around the width of your chocolate bar, then add 2 centimetres (1") to this length. This is how wide your pouch must be. Mark your plain cardstock with this measurement
- Now use your ribbon to measure the length of the chocolate bar and add 5 centimetres (2.5") to this length. This will be the length of your pouch. Transfer this measurement to your plain cardstock. Draw lines to show where to cut the pouch out and then cut it out
Here's how to make a Belly Band:
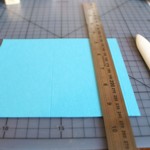
- Cut a piece of designer series (patterned) paper the width of your chocolate bar and wide enough to go all around the pouch that forms the candy bar favor sleeve with 1 centimetre (1/2") to spare
- Score the belly band at the 1 centimetre (1/2") mark and measure in from that to score again where the band will fold around the pouch
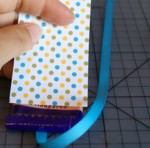
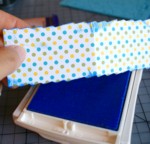
How to insert the chocolate bar inside your Candy Bar Favor:
Cut
a length of ribbon long enough to wrap around your candy bar from
bottom to top, with about the same length as the candy bar overlapping
at the top
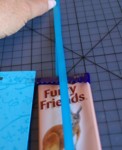
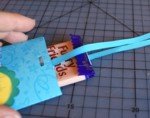
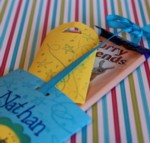
Now your Candy Bar Favor is complete!
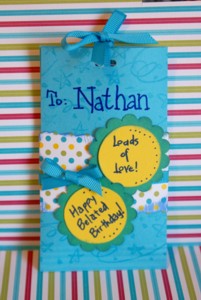
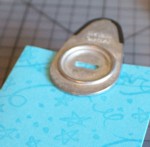
But what if you want to give a thicker, bigger chocolate as a gift? No problem! All you need to is not choose a bar that is longer than the width of your cardstock, plus allowing a few centimetres for the bottom to be joined and the top to have a punched shape to thread your ribbon through.
Here I chose a Cadbury bar and selected a piece of plain A4 cardstock to make the slider part. I thought Elegant Eggplant went very well with the Cadbury purple
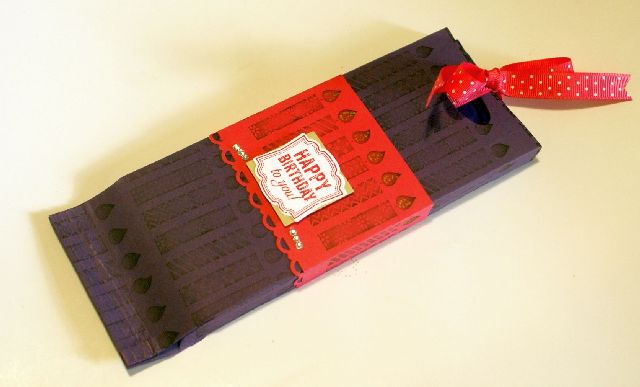
I used my Simply Scored Board (available from Stampin' Up! through my SusanSalutations online store) to add a little tab on one end of my cardstock, then I laid my chocolate bar along this line and scored another one on the other side of it, then turned my chocolate on its side and scored along the bar, then laid it flat and scored again, then stood it on its edge and scored again. I cut my A4 cardstock at the last scored line. You are effectively making a shallow box for your candy bar.
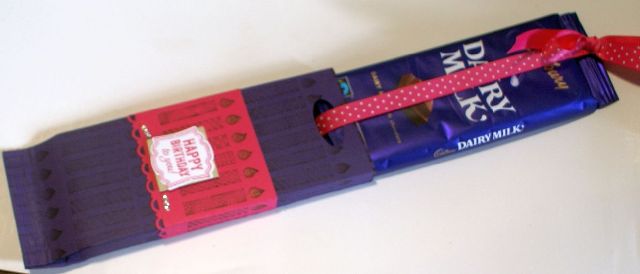
So now you have the key to make a candy bar favor, from the tiniest to pretty good-sized, for birthdays or Christmas or even special occasions like weddings. Imagine the sleeve being made out of vellum and embossed! Or glitter paper! Yes! Give one for a friend who invites you over for dinner, or just to say thank you to someone who did something lovely for you.
If you make a candy bar favor, I would love to see how you decorated it. Would you leave me a comment below and upload a picture of your own work?
Happy crafting!
Do You Have A 3-d PaperCraft Project To Share?
Do you make 3-d PaperCraft items? I'd love to see your work. Please do share below.
What Other Visitors Have Said
Click below to see contributions from other visitors to this page...
Chocolate Slider Cards Not rated yet
Hi Susan
Here's another one of the chocolate slider cards we made at our church craft group.
Desire
****
Hi Desire
I really like the …


New! Comments
Have your say about what you just read! Leave me a comment in the box below.