- Home
- Papercraft Adhesives
- Make a Topiary Tree with your punches
Artificial Topiary Tree
Written and Created by PaperCraftCentral Susan
Beat the drought! Make your own Artificial Topiary Tree! No water required!
That should get people in Australia's attention, or anyone who lives in a hot dry climate!
I had never considered making an artificial topiary tree until I was asked to make one and handed a whole file of paper scraps to do it. In my early days of papercrafting, I hadn't seen such a 3-d paper craft project before, but I was willing to give it a go. I think the results speak for themselves.
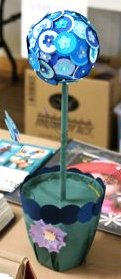
Would you like to know how I made the little tree shown below?
"Scrapbooking fills my days -
not to mention my living room, bedroom and closets!"
~Author Unknown

How to Make an Artificial Topiary Tree
Here's what you will need:
- Scraps of paper in coordinating colours. I used shades of blue but you could use any colour combination that pleases you
- A box of pearl-headed or decorative pins, though plain ones or even brads would do. I just like the look of the pearl ones. You could dress them up further by threading a sequin on each one or covering the heads with rhinestones or beads.
- A Styrofoam ball to suit your purposes.
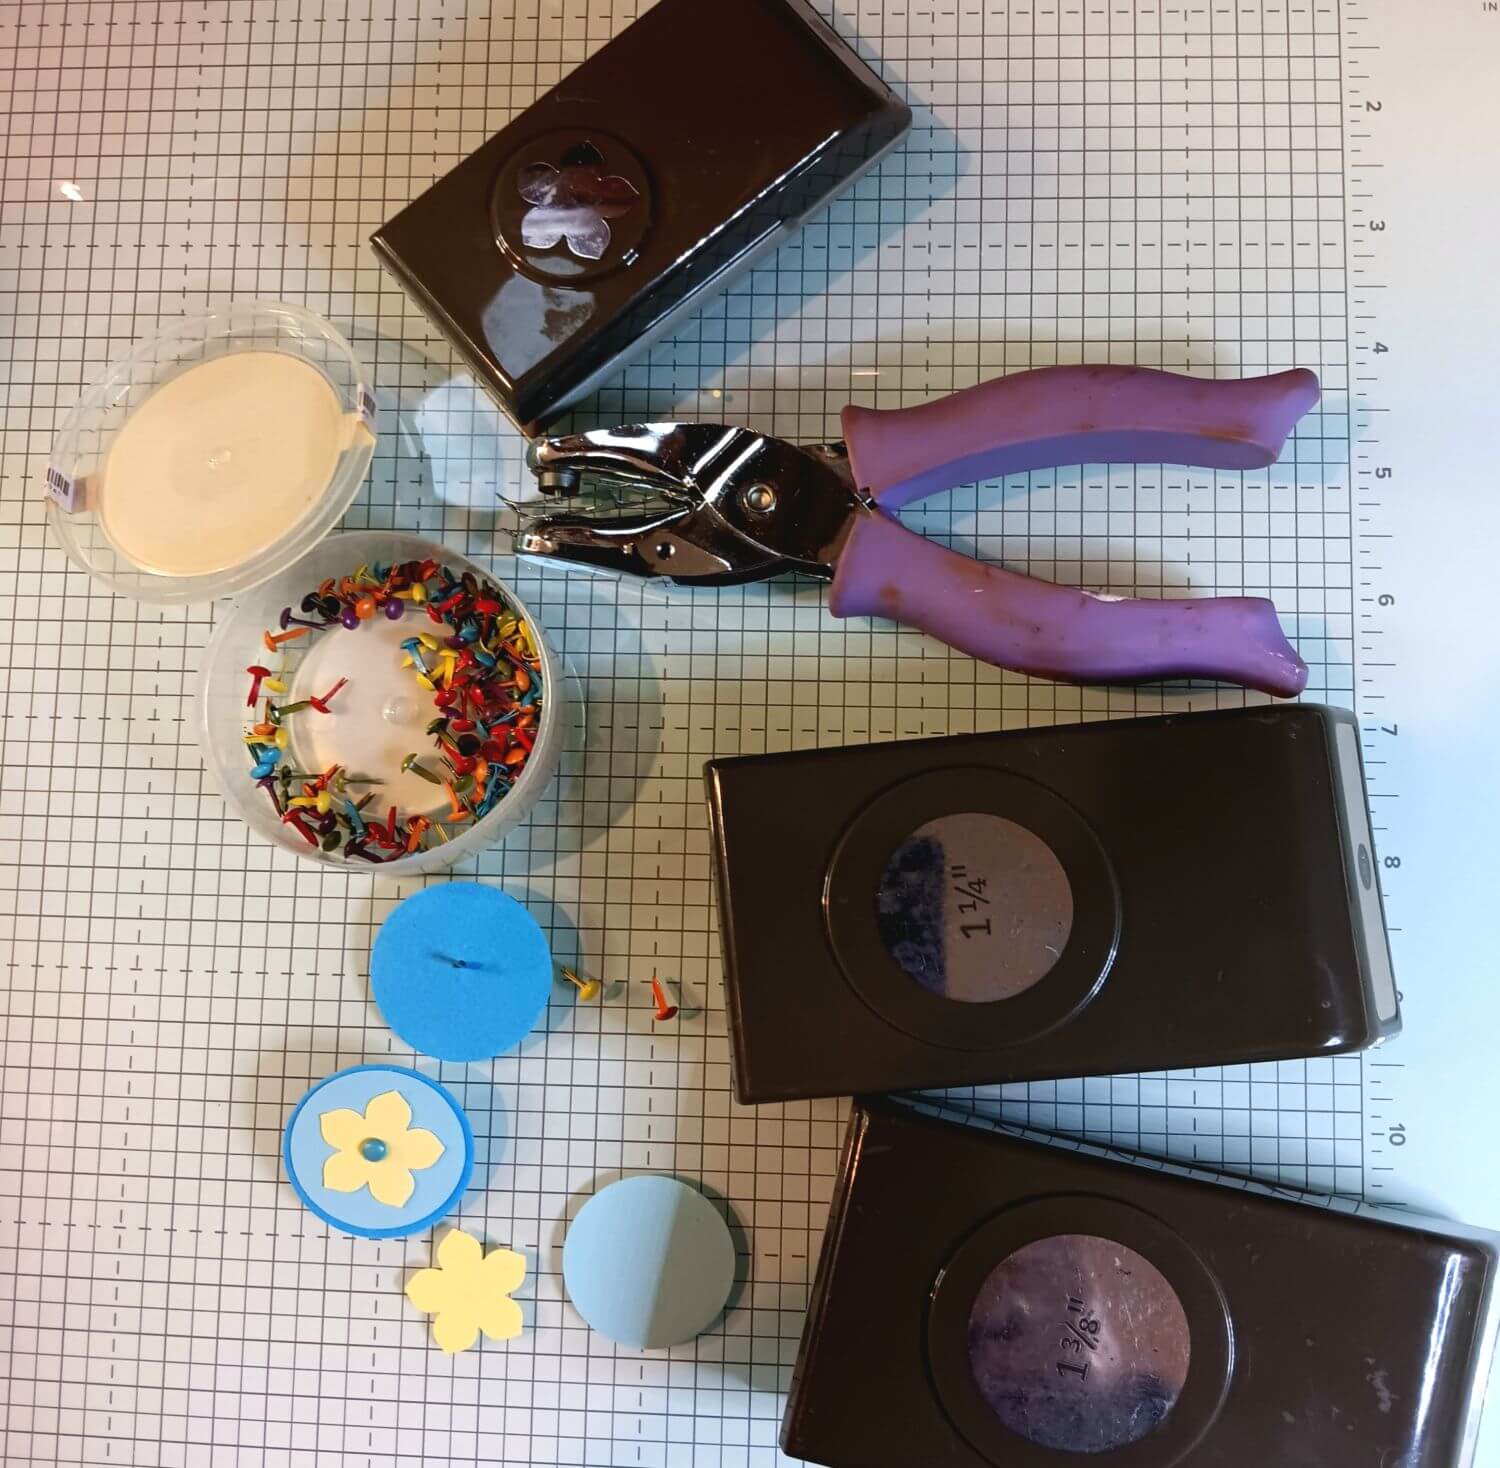
- Circle paper punches in at least two sizes that will allow you to punch out two colours and layer them as illustrated. I also used a small flower punch and layered that on top of the circles.
- A length of wooden doweling for the stem.
- A terracotta flower pot or similar, and sand or rocks/gravel/something heavy to fill it with. It needs to be in balance with the size of Styrofoam Ball you choose. If it is too small, the project will tip over. If it is too large, your finished tree may look a little forlorn and insignificant. Use your artist's eye to decide on sizes.
- Some wrapping paper, designer series paper, fabric, foil or card stock to cover the flower pot.

Here's How to Make your Tree:
It's quite simple to decorate your artificial topiary tree.
- Punch out two sizes of circles and stack them together in sets of two
- Pin the stacked circles together and push them into the Styrofoam ball. Make sure you overlap them enough to hide the Styrofoam, and space them as evenly as you can. You may find it easier to pin in a pattern. Pin a whole row of circles at once, then stagger the next row so your circles fit between the first row of circles. Leave a small space at the bottom free of circles so you can add the doweling stand
- When the whole ball is covered in pinned circles except for a small space at the bottom, cover the length of doweling with a long paper spiral. Then push the doweling into the uncovered part of the otherwise circle covered Styrofoam ball and set it aside
- Turn your flower pot upside down on a piece of cardstock or wrapping paper and trace around the wide top. Cut this circle out and punch a doweling sized hole in the middle
- Cover the flower pot with the wrapping paper and fix it securely with adhesive. I would use strong, double sided tape.
- Decorate the outside as desired with cut out shapes or embellishments of choice
- Stand the circle ball and doweling in the flower pot, thread the cut out disc onto the doweling so it will sit in the top of the flower pot when assembled, and fill the pot with your choice of ballast (sand, rocks, gravel, marbles), keeping the doweling balanced in the middle of the pot until it can stand alone
- Fit the cut out paper disc down into the pot to cover up the rocks/sand/ballast
Your artificial topiary tree is basically finished now. You can keep adding embellishments to it till you are happy with it. I added some butterfly cut outs fixed on coiled florist's wire to the 'stem'.
Sometimes I add smaller gems or buttons or sequins to any small
gaps on the ball as well.
Other Ideas to Try:
- Tie some ribbon bows and pin them into the Styrofoam as additional decorations
- Use seasonal colours - make a Christmas topiary tree in red and green or gold and silver or an Easter one in pink, yellow and purple
- Use lengths of tulle and pearl headed pins to decorate the Styrofoam. Add some heart punch shapes (instead of flowers) and you would have a Valentine's Day table centrepiece
- Use small trees decorated in wedding party colours to decorate wedding reception tables, or large ones to decorate the reception hall or church itself
I hope you will let me know if you make one of these trees by telling me about it using the form below. I would love to know how you used your artificial topiary tree idea!
And I could feature your project on PaperCraftCentral too.
Do You Have A 3-d PaperCraft Project To Share?
Do you make 3-d PaperCraft items? I'd love to see your work. Please do share below.


New! Comments
Have your say about what you just read! Leave me a comment in the box below.