- Home
- Papercraft Adhesives
- Buckle Cards
Buckle Card
Written and Created by PaperCraftCentral Susan
Make a buckle card as a new way to showcase your cardmaking skills
"A buckle is a great addition to an old shoe"
~Irish saying
A buckle card is a delight both to make and to receive. It adds
a special pizzazz to a handmade greeting that may be long remembered by
the recipient.
If you have not tried this cardmaking technique before, why not go ahead and try one now? I'll show you how.
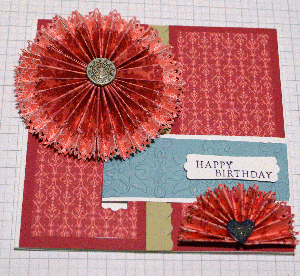
How to Make a Buckle Card
You will need:
- A card base made from 1/2 an A4 sheet of cardstock, cut lengthwise (15cm x 30cm)
- A piece of cardstock to form the buckle. This can really be any width you like, but make it long enough to allow a 1cm fold to attach the back to the card base, and enough on the other end to insert in the window you will punch. I used a piece about 4cm x 10cm for the card shown above
- A bone folder
- Word Window punch (retired) or similar
- Designer paper and embellishments of choice
Here's what to do:
First, score your cardstock base into a gate fold card
shape and punch a window in the left hand foldover side with your paper punch.Or you can cut a window in your card freehand using a paper trimmer.
I actually used the Modern Label Extra Large punch (retired) from Stampin' Up! in the card shown but you could use any type of rectangular Punch or a banner punch, as long as it is going to give you a slot. Even a rectangular Die Cutting and Embossing Machine die would work. And if you have a self healing cutting mat and a scalpel tool, you could neatly cut one out free-hand.
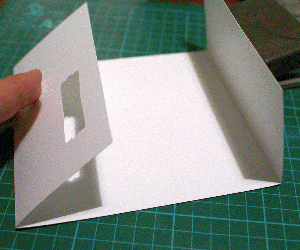
Now take the smaller piece of cardstock and score it 1cm in on one end.
You can finish the other end (the one that will slide into the slot you punched or cut) by rounding the corners with the Detailed Trio punch (retired) or any corner rounding punch if you like.You can even round corner by finding a bottle cap or similar small enough to fit into the corner you want to round, drawing around it lightly with a soft pencil and then scissoring along the line you drew.
Go ahead and slide the smaller piece of cardstock into the punched slot, then align it straight across your card. Adhere the 1cm scored part to the back of your card base.
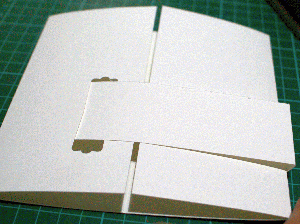
Now go ahead and decorate your card the way you want to.
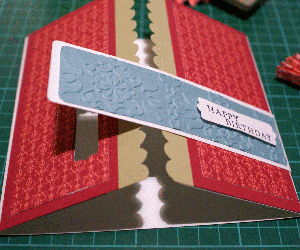
Here I embossed the strap with the Vintage Wallpaper embossing folder (I love that design but it is retired) and used designer paper to create the fan fold flowers and decorate the card fronts with it too.
I used the punched shape I created when I made the strap window to stamp a greeting on and popped it up with Stampin' Dimensionals. I used Regal Rose and Marina Mist cardstock (both retired). The brad was a Vintage one from Stampin' Up! and the heart for the half flower was made with the small heart punch from Stampin' Up! (retired) and glittered.
I added some Sahara Sand (retired) paper strips to the opening edges that I finished off with the Scallop Border punch, also retired.
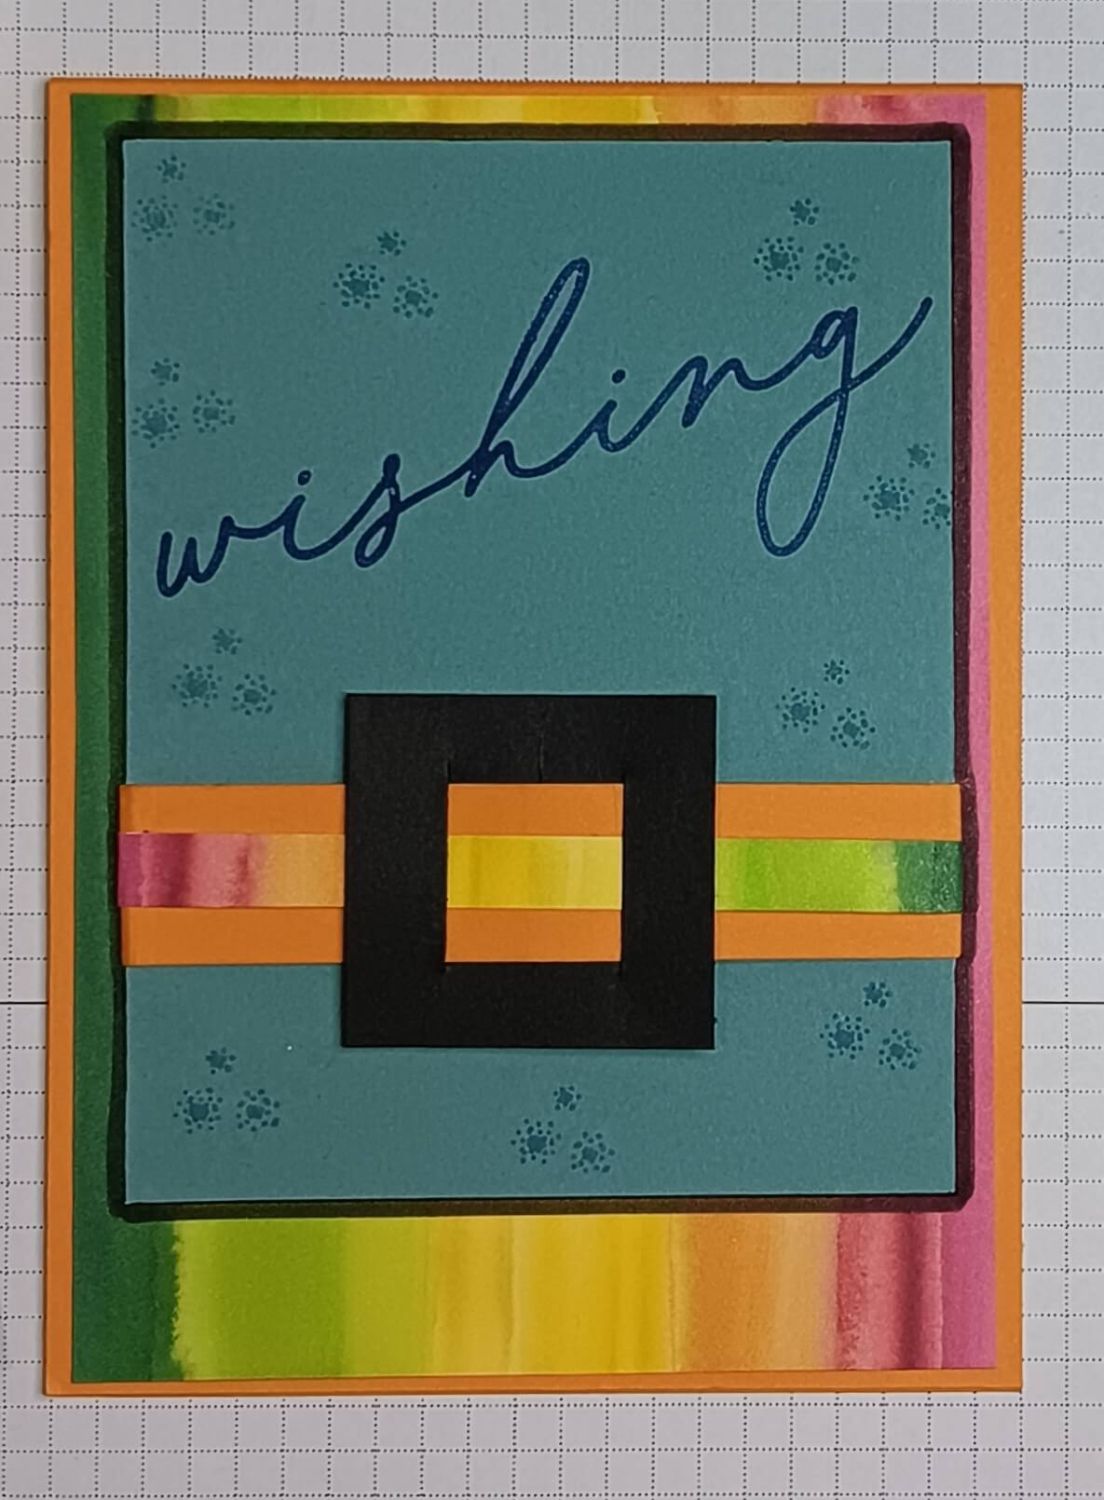
Making a Buckle Embellishment
You can also make a faux buckle strip to embellish your card. Here's how:
- Cut a strip of cardstock the length and width you want for your card. My example buckle embellishment is 2cm wide and 11cm long. I scored the ends at 1cm and folded them under so they can be glued to the underside of my card layer.
- Die cut a (larger than your strip) square, circle, oval or heart shape from cardstock to make your buckle shape.
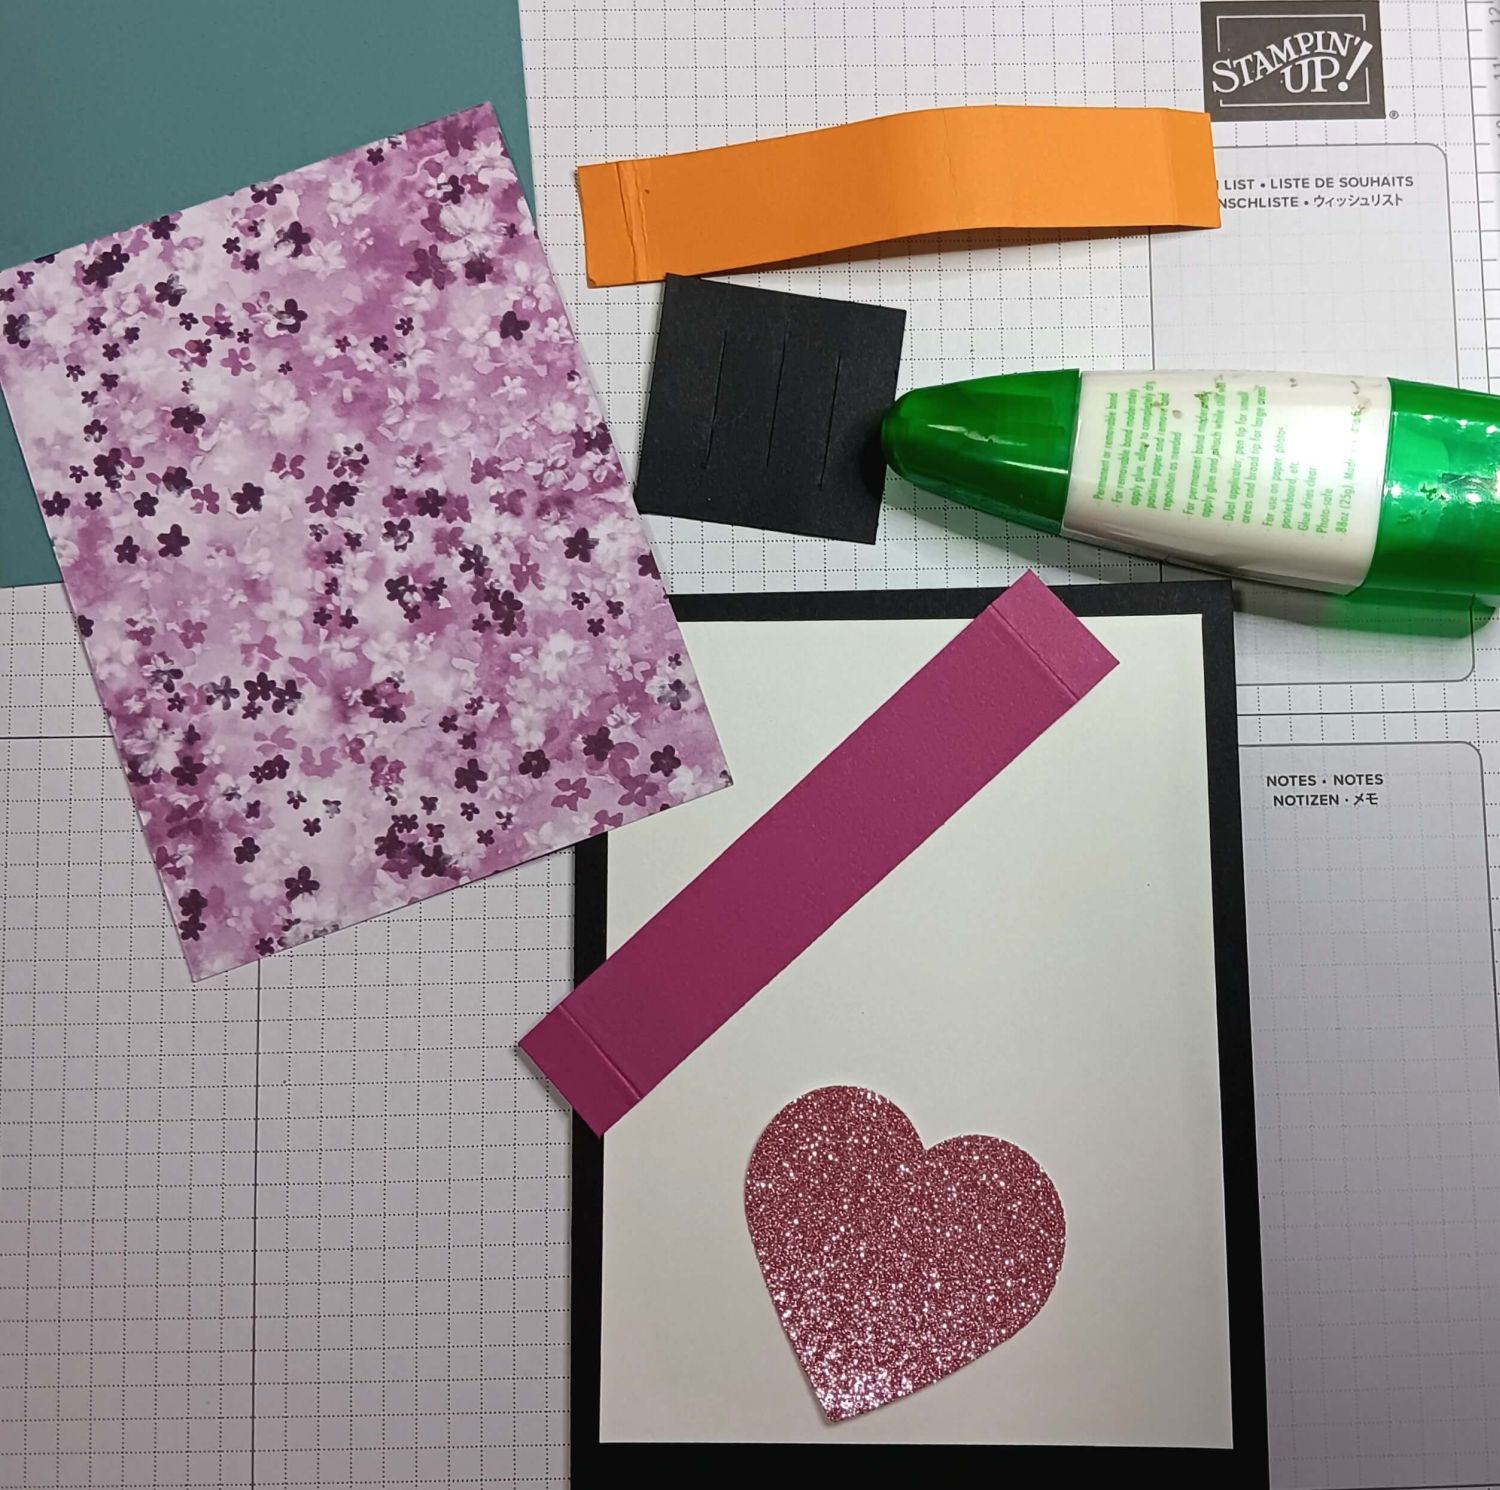
- Cut slits in the shape to create a way you to weave your card strip over and under.
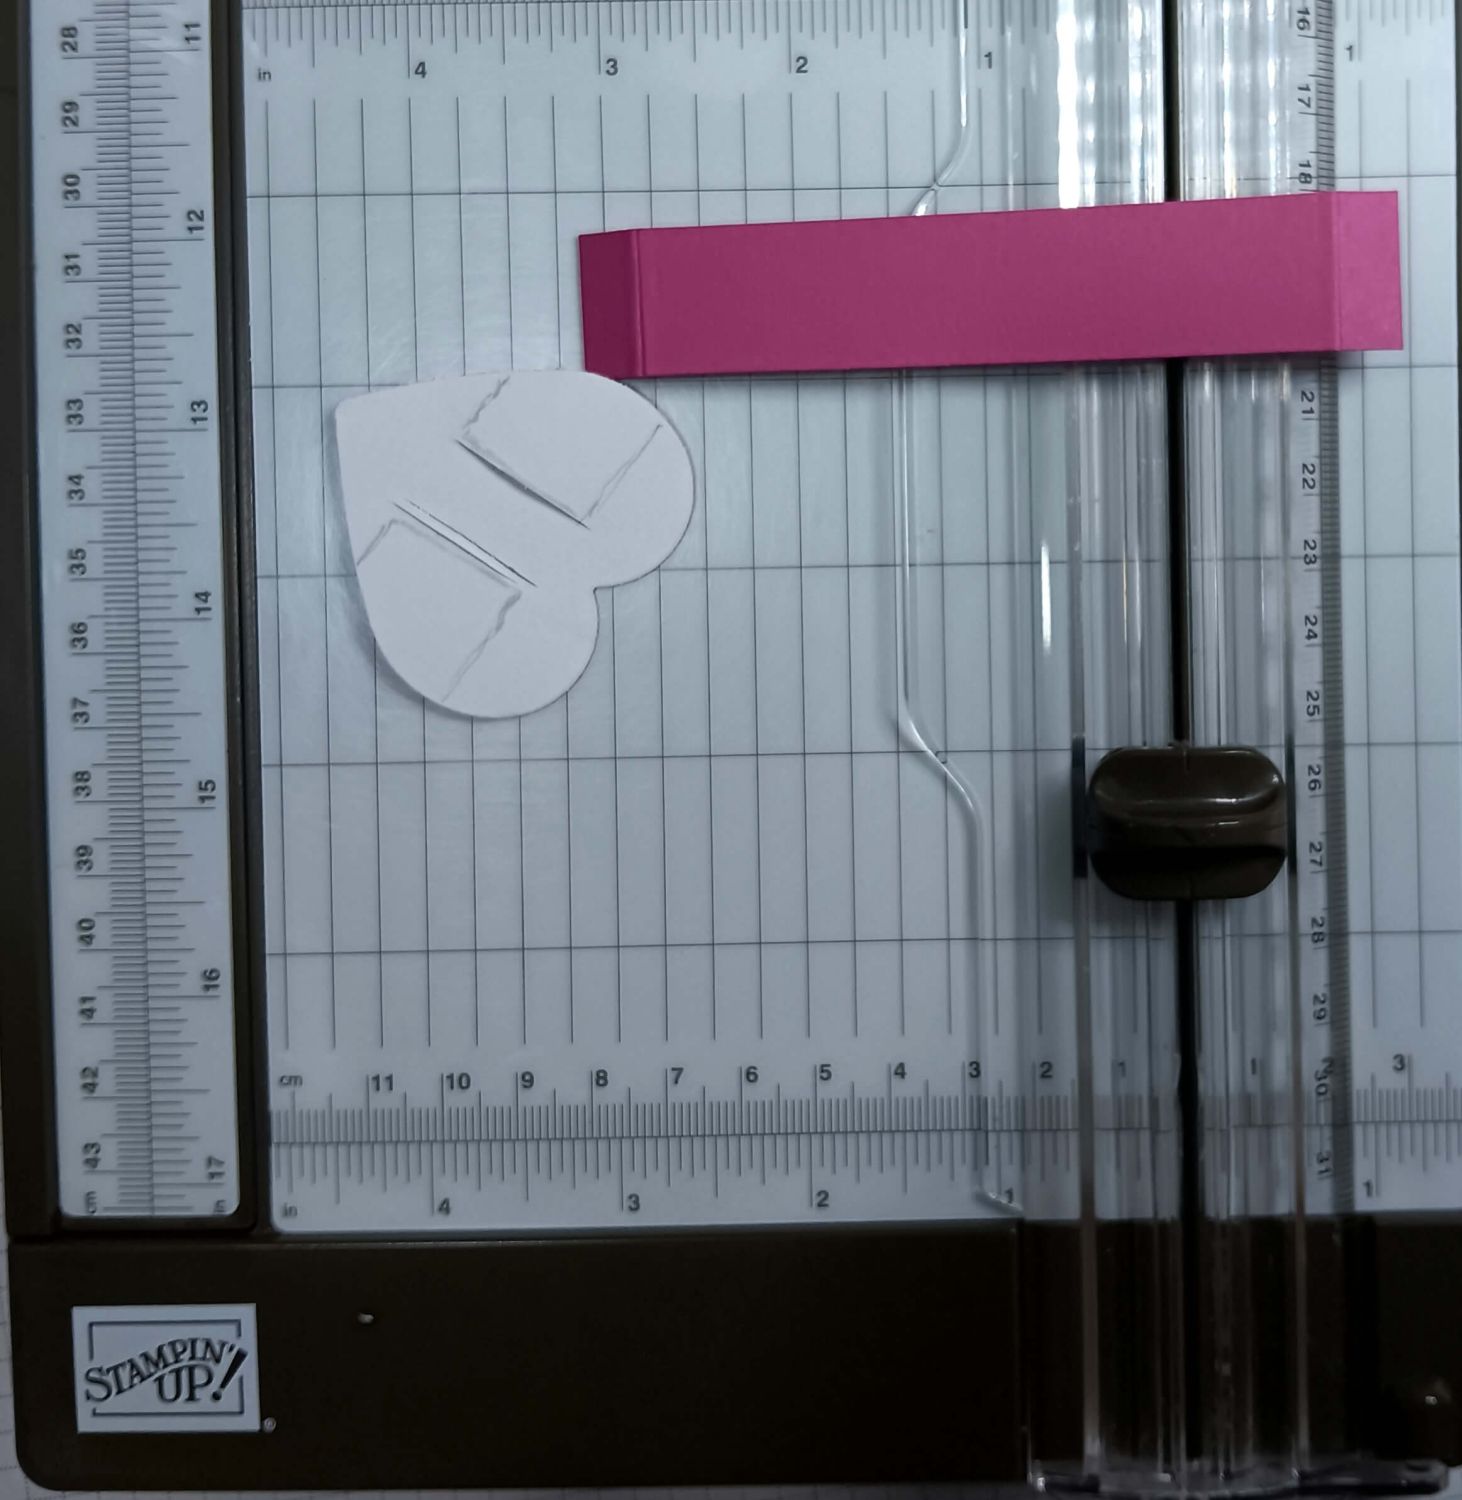
- Now weave the 2cm x 9cm strip of cardstock through the buckle
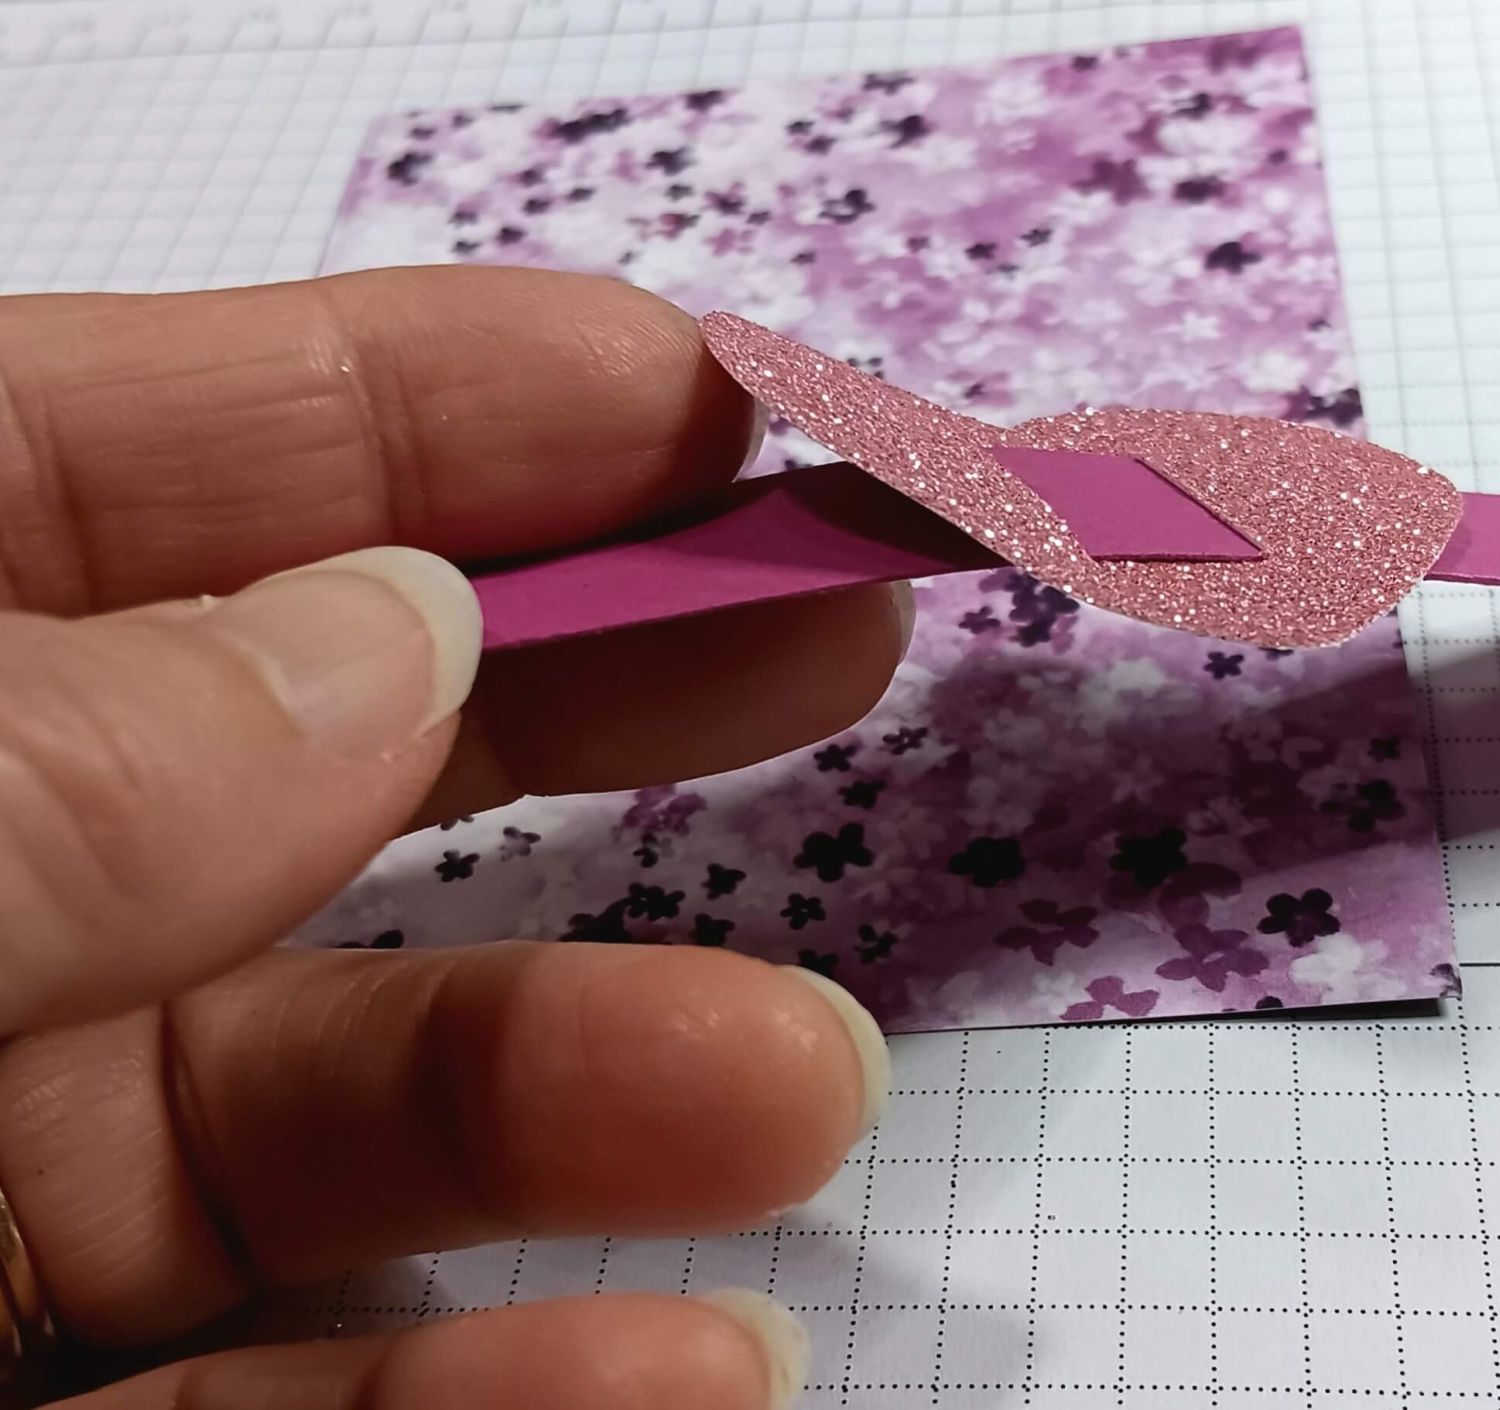
- Add your new embellishment to your card front, and slide your buckle along to the place you want it to be.
- You can leave the buckle as a fun sliding element or you can fix it in place.
- Hint: Make your buckle out of glimmer cardstock or foiled cardstock or even heat emboss it in a metallic colour to make it look like metal.
Imagine making a wide black and silver Santa buckle or elf buckle for Christmas cards, or a cowboy buckle or just a buckle element for a masculine or formal card.
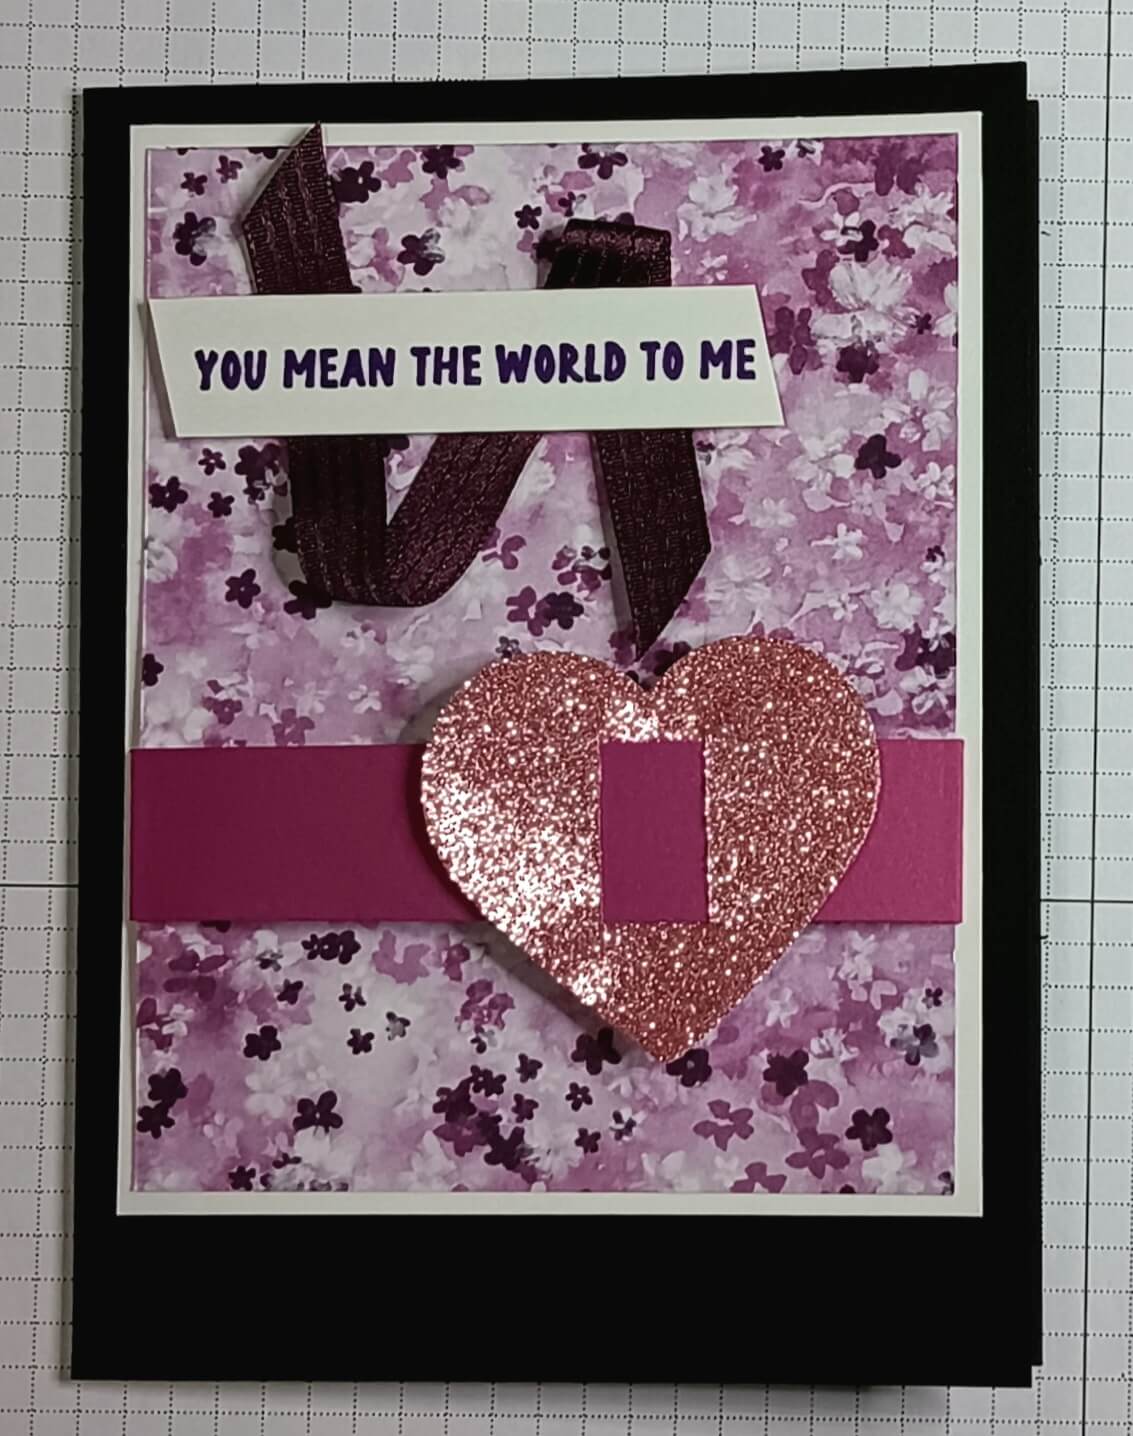
I hope you will make a one of these and show me what you have made. If you don't have any of the supplies I used, you can still adapt what you have to make this project your own. It would be nice to see your version of a buckle card.
Show me your card below:
Do You Have A Favourite Handmade Card to Share?
Do you make greeting cards? Please do share it with me.


New! Comments
Have your say about what you just read! Leave me a comment in the box below.