- Home
- Papercraft Adhesives
- Faux Silk Technique
Faux Silk Technique
Written and Created by PaperCraftCentral Susan
Have you heard of the Faux Silk Technique?
It's great for making lovely backgrounds for your cards and scrapbook pages. You can even decorate handmade boxes using this idea.
"You can't make a silk purse from a sows ear"
~American Proverb
"But you may be able to make some from paper using the faux silk technique!"
~PaperCraftCentral Susan
Have you ever wanted the look of silk on your handmade greeting cards
but thought it was too expensive to buy the real thing? Or maybe you just can't find any suitable fabric to suit your papercraft project.
Get ready to find out how to easily mimic this look with things you probably already have in your house or in your stash.
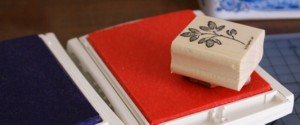
Here's how to Create using the Faux Silk Technique
You will need:
- Ordinary tissue or Kleenex
- A patterned stamp
- Some ink (pigment ink or permanent ink is fine for this technique)
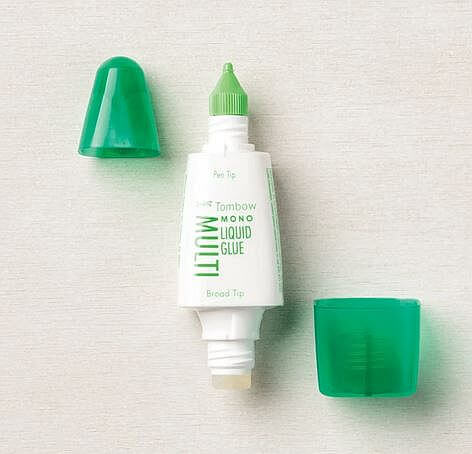
- Glue paste or Tombow Multi
- Cardstock of choice
Here's what to do:
- Take a tissue or Kleenex and separate the layers out so you just have one layer of tissue only to work with
- You could probably also use the white layer of paper serviettes (napkins) if you have separated their layers for a craft project before
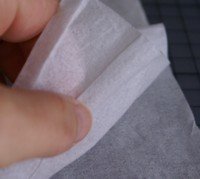
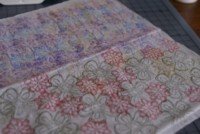
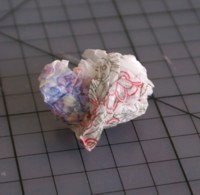
- Once you have finished stamping, crumple up the tissue and then flatten it out again.
- You want the creases you formed by crumpling the tissue to remain once it is flattened out. Real silk fabric has a crumpled look about it quite often.
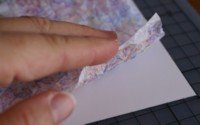
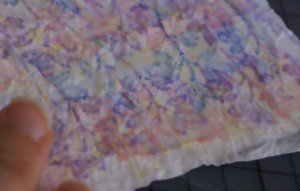
Once the glue is quite dry, you can cut the tissue and cardstock to size and use it to embellish your card or other papercraft project.
TIP: Sometimes the tissue will curl when drying so be prepared to place it under a heavy object, such as a big book, to flatten it slightly before you use it. You should probably place a piece of baking paper or waxed paper between it and your heavy object to stop it sticking to said object. Then it will look like ironed silk!
Now you can see how my project turned out. I added some more pieces of coloured and folded seam binding to be my borders, and I distressed the edges of some of my cardstock layers.
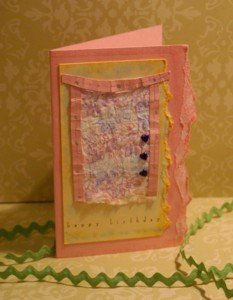
I think it looks a little Eastern influenced, don't you?
Ideas for Using Faux Silk Elements
I think faux silk would make a lovely element for a scrapbook page, or for decorating a handmade box. In fact, you can add crumpled tissue paper layers to the inside of a plastic lid to make it look amazing on the outside.
If you have a stamped image of a person wearing clothing or an image of a teddy bear or other toy, you could use faux silk to fill in the clothing or toy pieces. I have also cut out designer series paper shapes to do this but a tissue fabric element would add so much more texture.
Try making paper flowers using faux silk elements, especially the ones you cut out petal by petal with a paper punch or die.
If you liked this technique, you might like to make faux metal or faux suede embellishments next.
If you make something with the faux silk technique, do show me what you have made. I would love to see it!
Do You Have A Favourite Handmade Card to Share?
Do you make greeting cards? Please do share it with me.


New! Comments
Have your say about what you just read! Leave me a comment in the box below.