- Home
- Papercraft Adhesives
- Giant Paper Flower
Giant Paper Flower
Written and Created by PaperCraftCentral Susan
Make a giant paper flower for your next big party or event, or to add to your home decor just because.
"All things by immortal power. Near of far, to each other linked are, that thou canst not stir a flower without troubling of a star".
~Francis Thompson
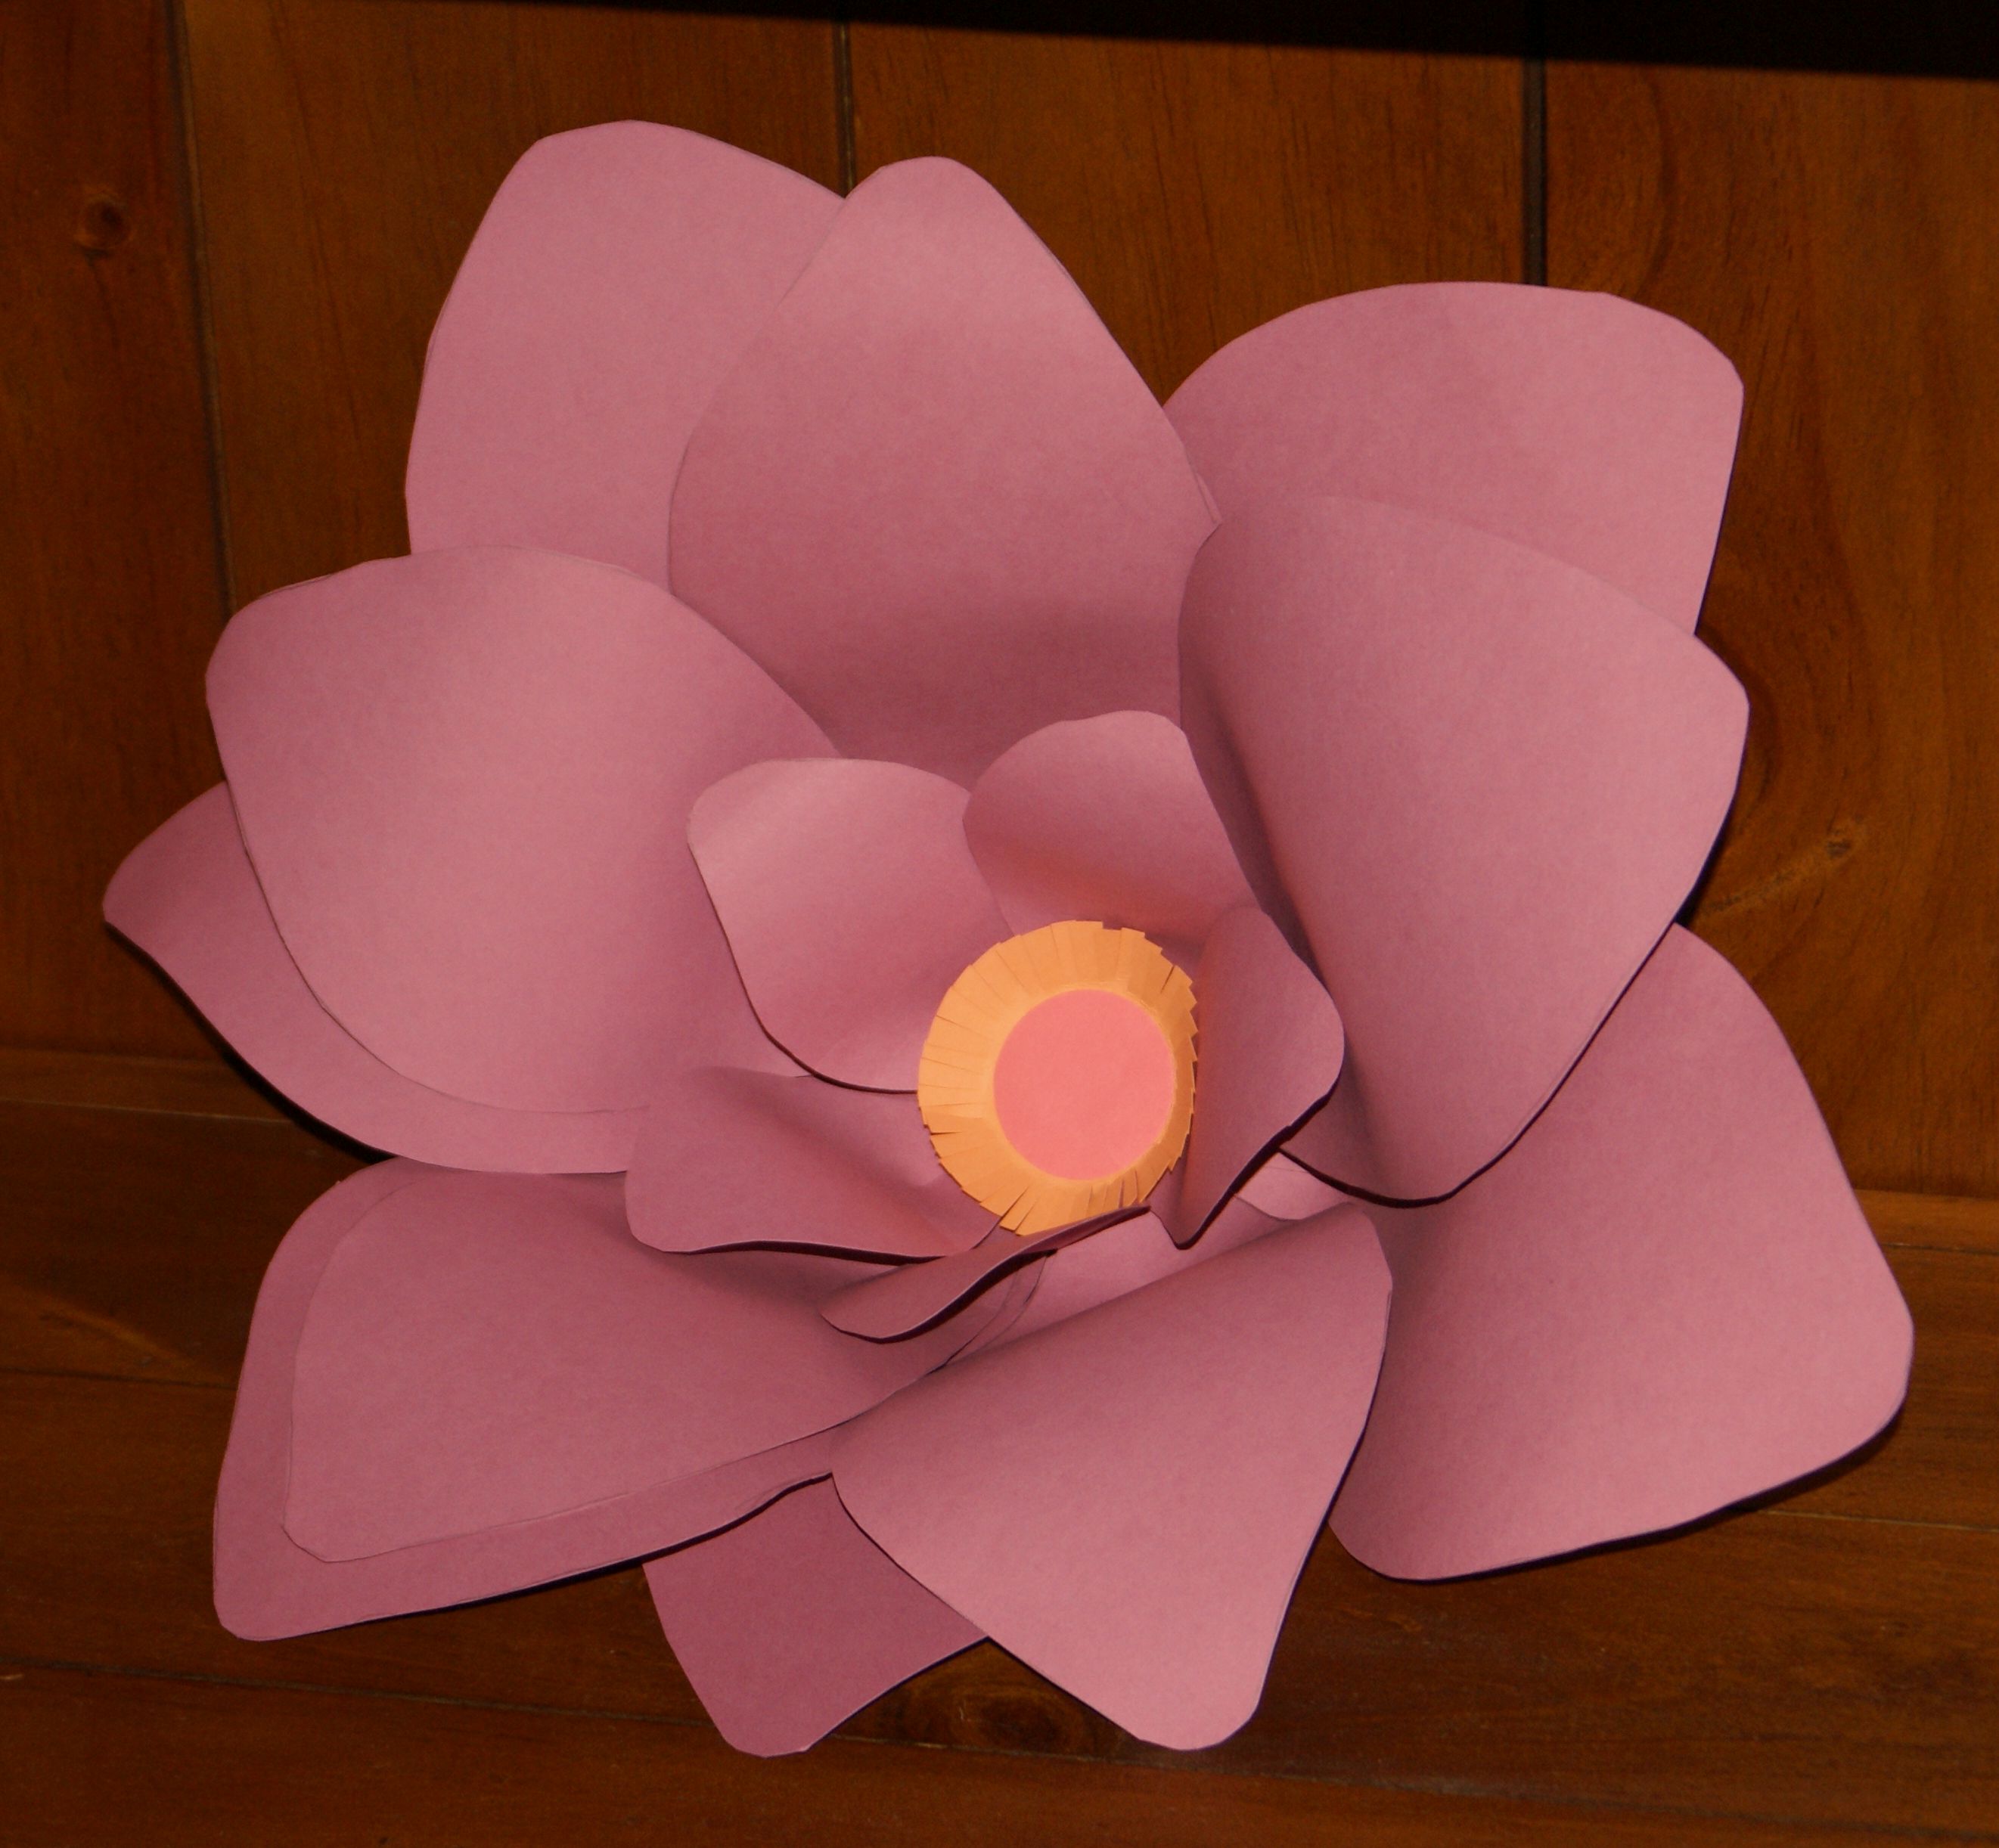
A giant paper flower makes a pretty big impact in a room! Imagine a whole bunch of these together and what you could do with them. They would be great for a fine outdoor garden party, or for a welcome spring party in your dining room, or for a special birthday or anniversary. Imagine flowers like this in your favourite colours lining a room or winding up a stairway. The possibilities!
By the way, I am sending out a huge thanks to Pink Buckaroo for her inspiring tutorial for making these large blooms. You can find her video on Youtube for more ideas about how to make these and hang them with wire.
How to Make a Giant Paper Flower
For this project, I chose two framelit petals from the Stampin' Up! Flower Fair Framelit Die set. They make gorgeous small blooms for cards, gift boxes and scrapbook pages, but on this occasion I wanted something much bigger.
So I scanned the framelits (shown upper left) into my computer, added the scanned images of the petals to a Word document, and increased their size. Then I printed out the larger images on copy paper and cut them out to use as templates for my cardstock petals.
Just trace around the templates and cut out the petals from cardstock.
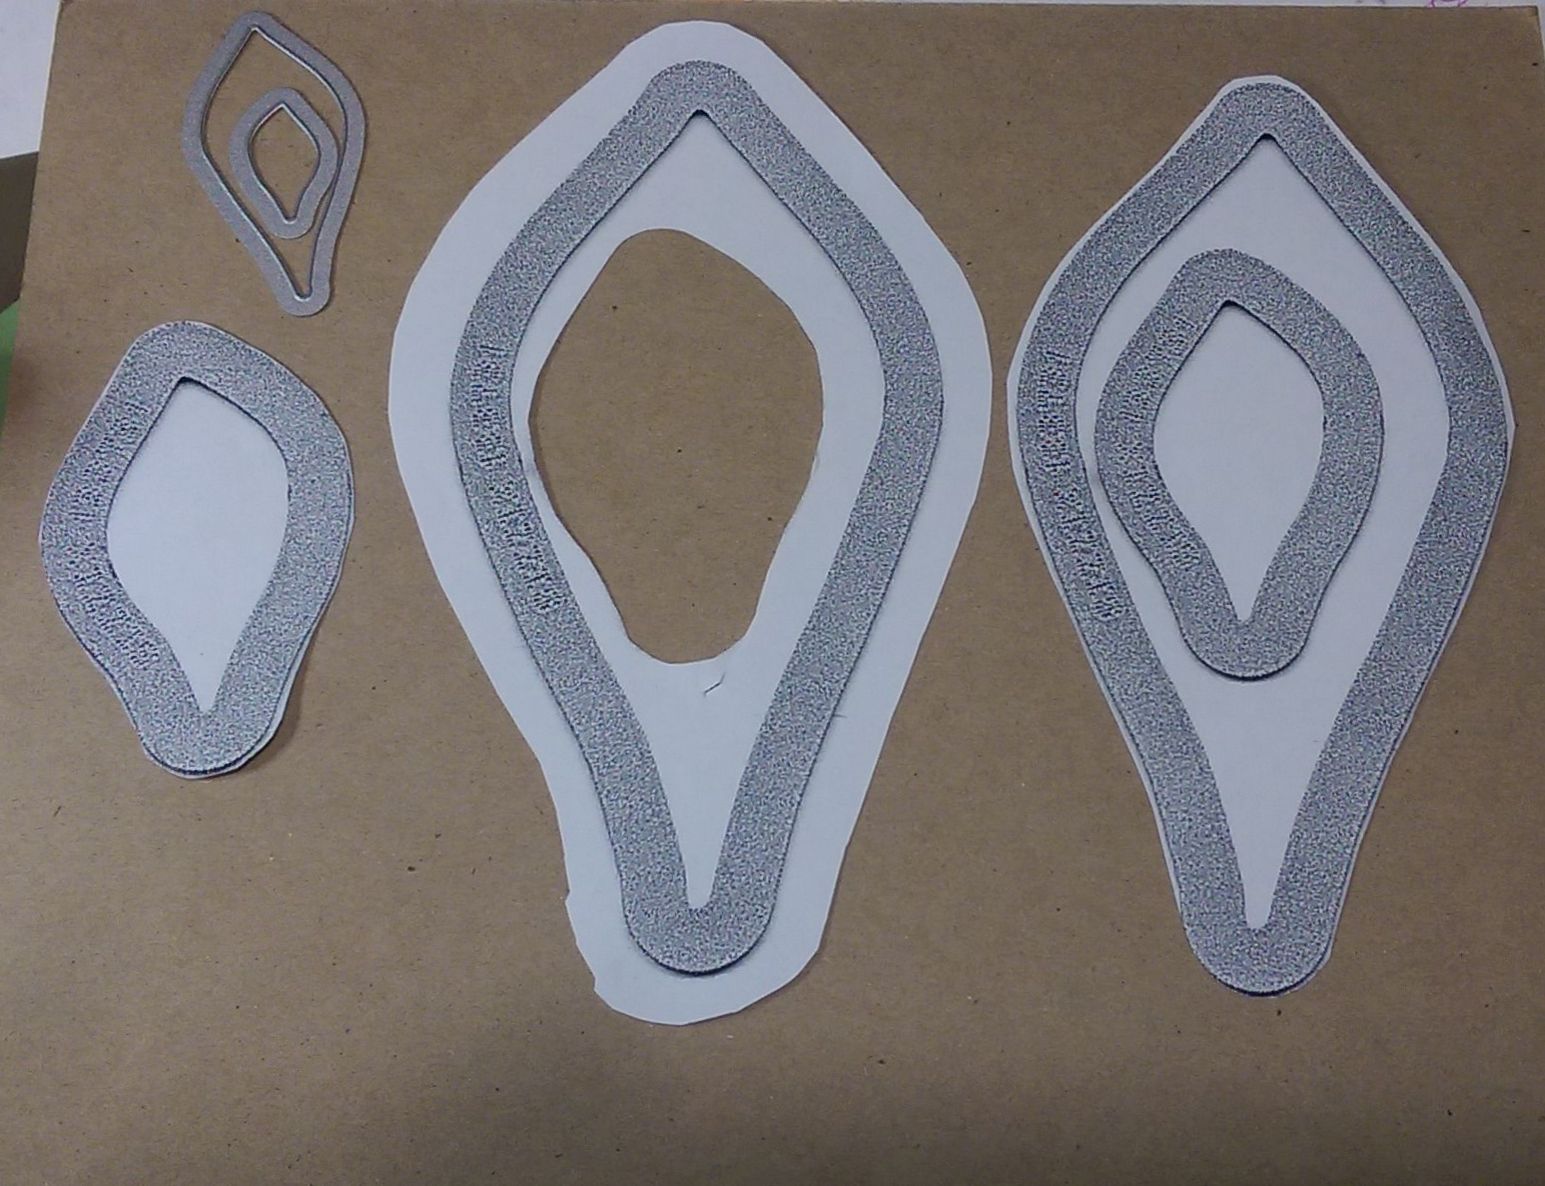
For this project, I wanted three different sizes of petals, so I made sure I had three different sized templates.
Then I cut out five petals in each size from my Stampin' Up! Sweet Sugarplum cardstock. Later I punched a 1 3/4" circle from So Saffron cardstock and a 1" circle from Flirty Flamingo cardstock to use in the centre. More about that later.
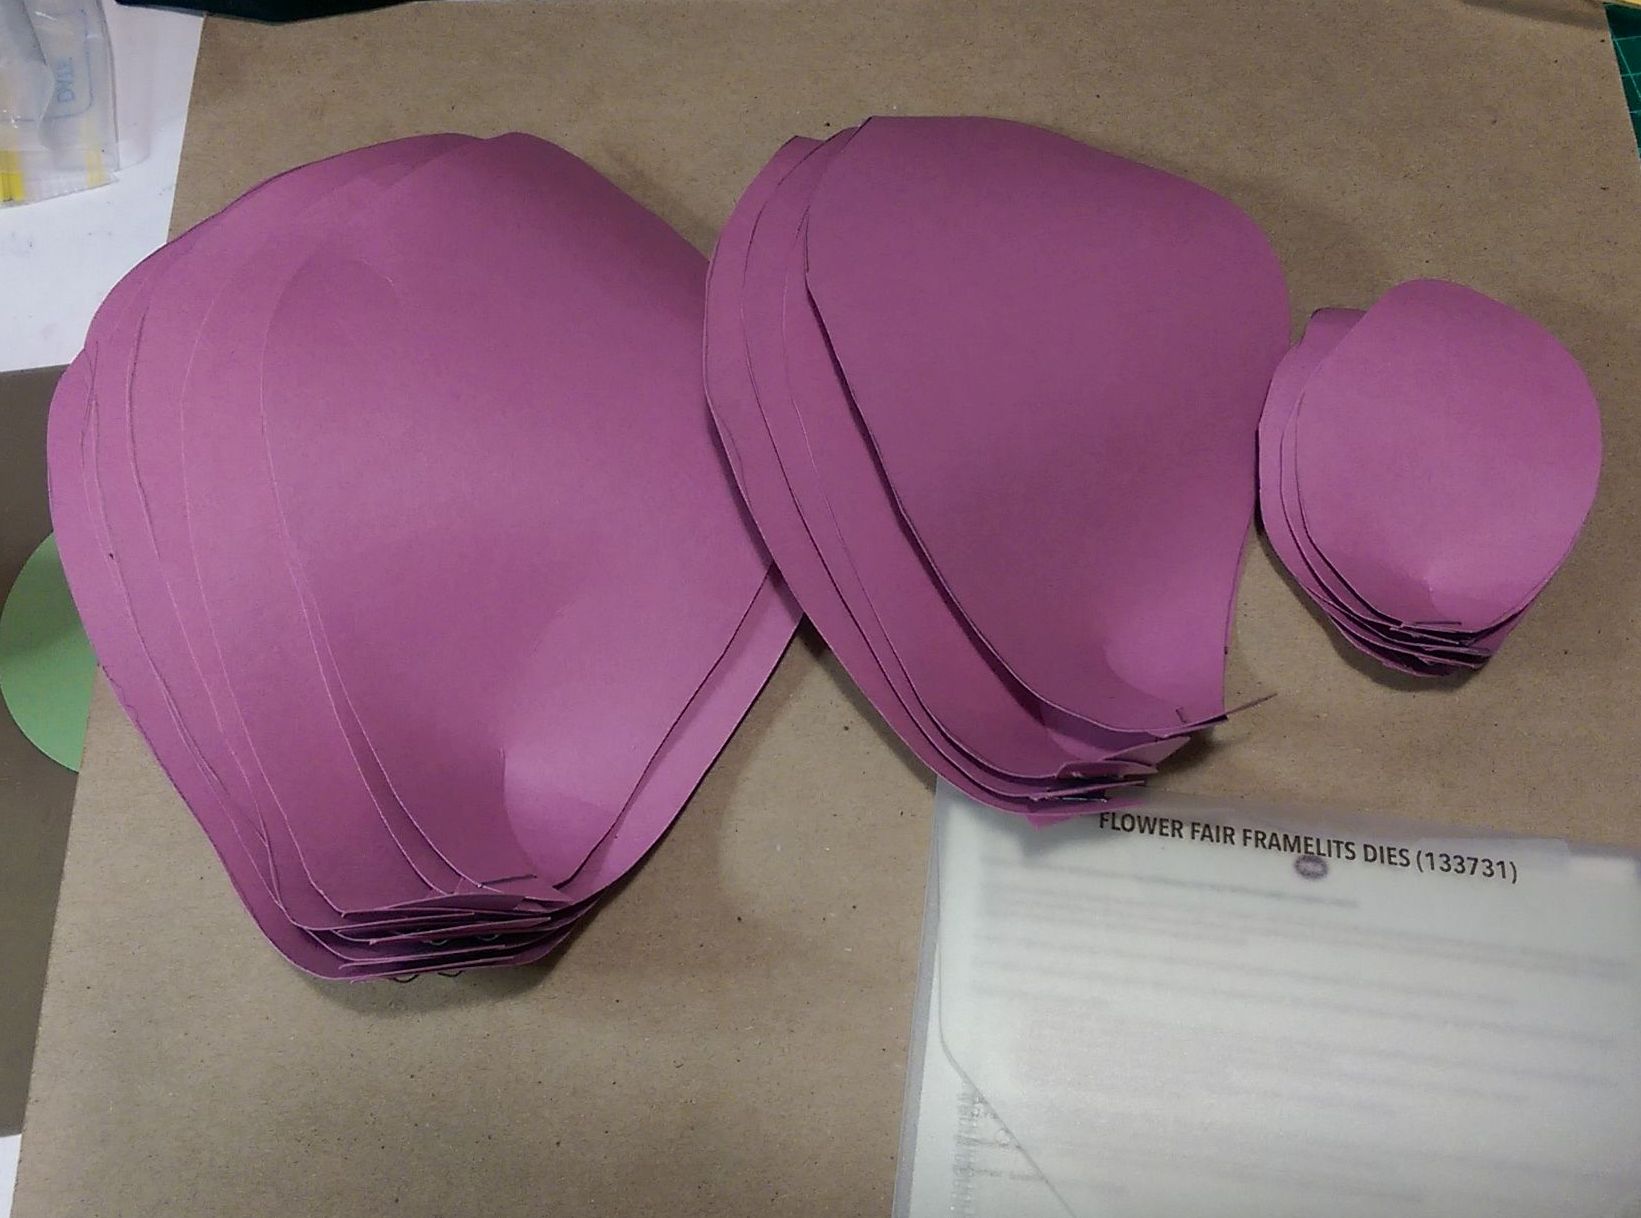
Once my petals were cut out, I used my bone folder to curl the top half of each outwards and the bottom half inwards.You want to make the petals curve softly out and in as they would if they were real flower petals.
Then I slit the bottom of each petal up about 2" (5cm) with my paper snips and overlapped the cut edges, then stapled them together, as shown in the picture above.
I did that for each of the three sizes of petals.
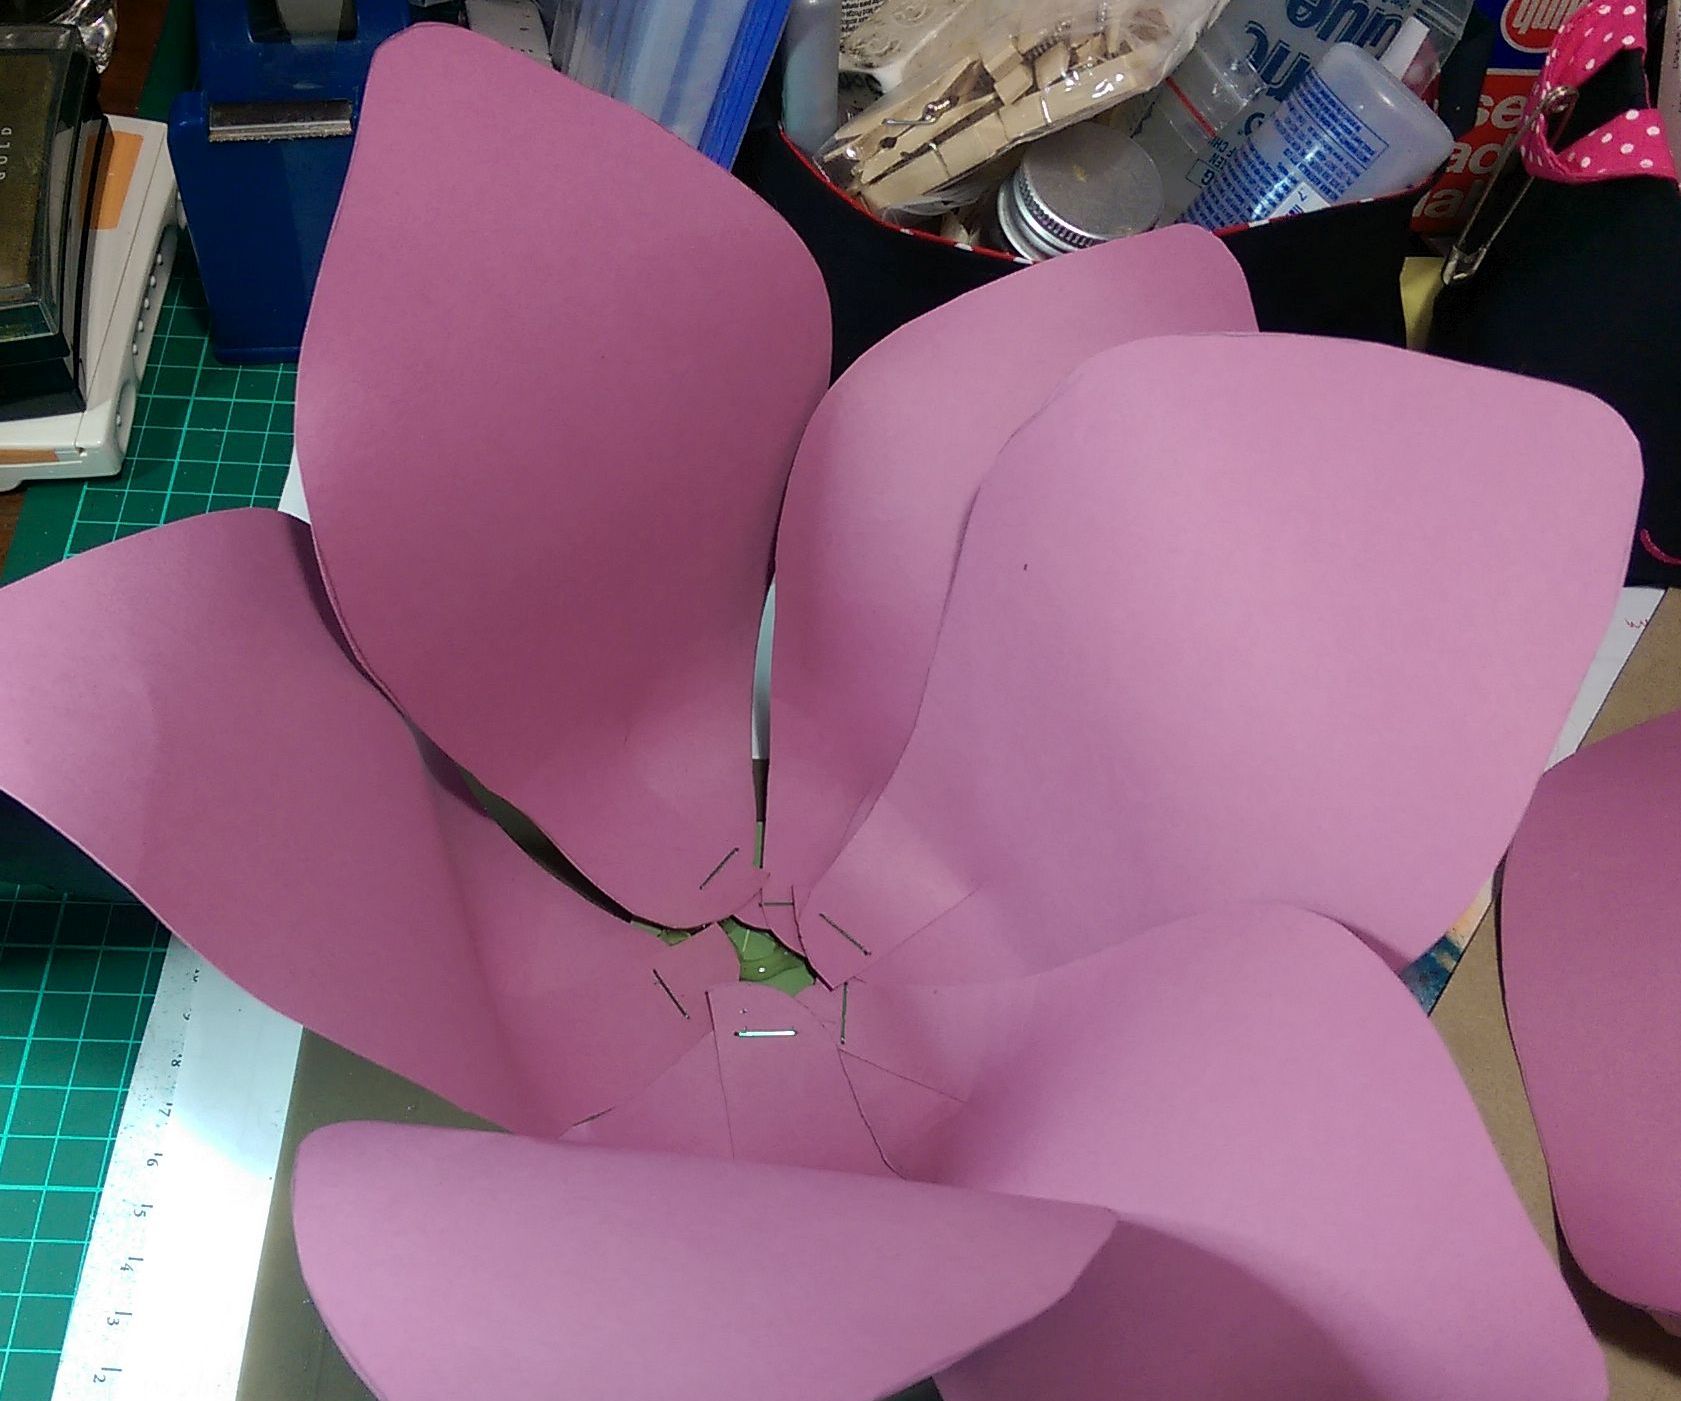
Next I punched out a 2" circle of Wild Wasabi cardstock to form a base for my flower. I fired up my glue gun and started adding the largest petals around this green circle, so they formed a bowl shape and overlapped each other.
For safety, I made sure my flower was sitting on a surface that could take the heat from the glue. You can see my Stampin' Up! Silicone Craft Sheet underneath the project in some of these photos.
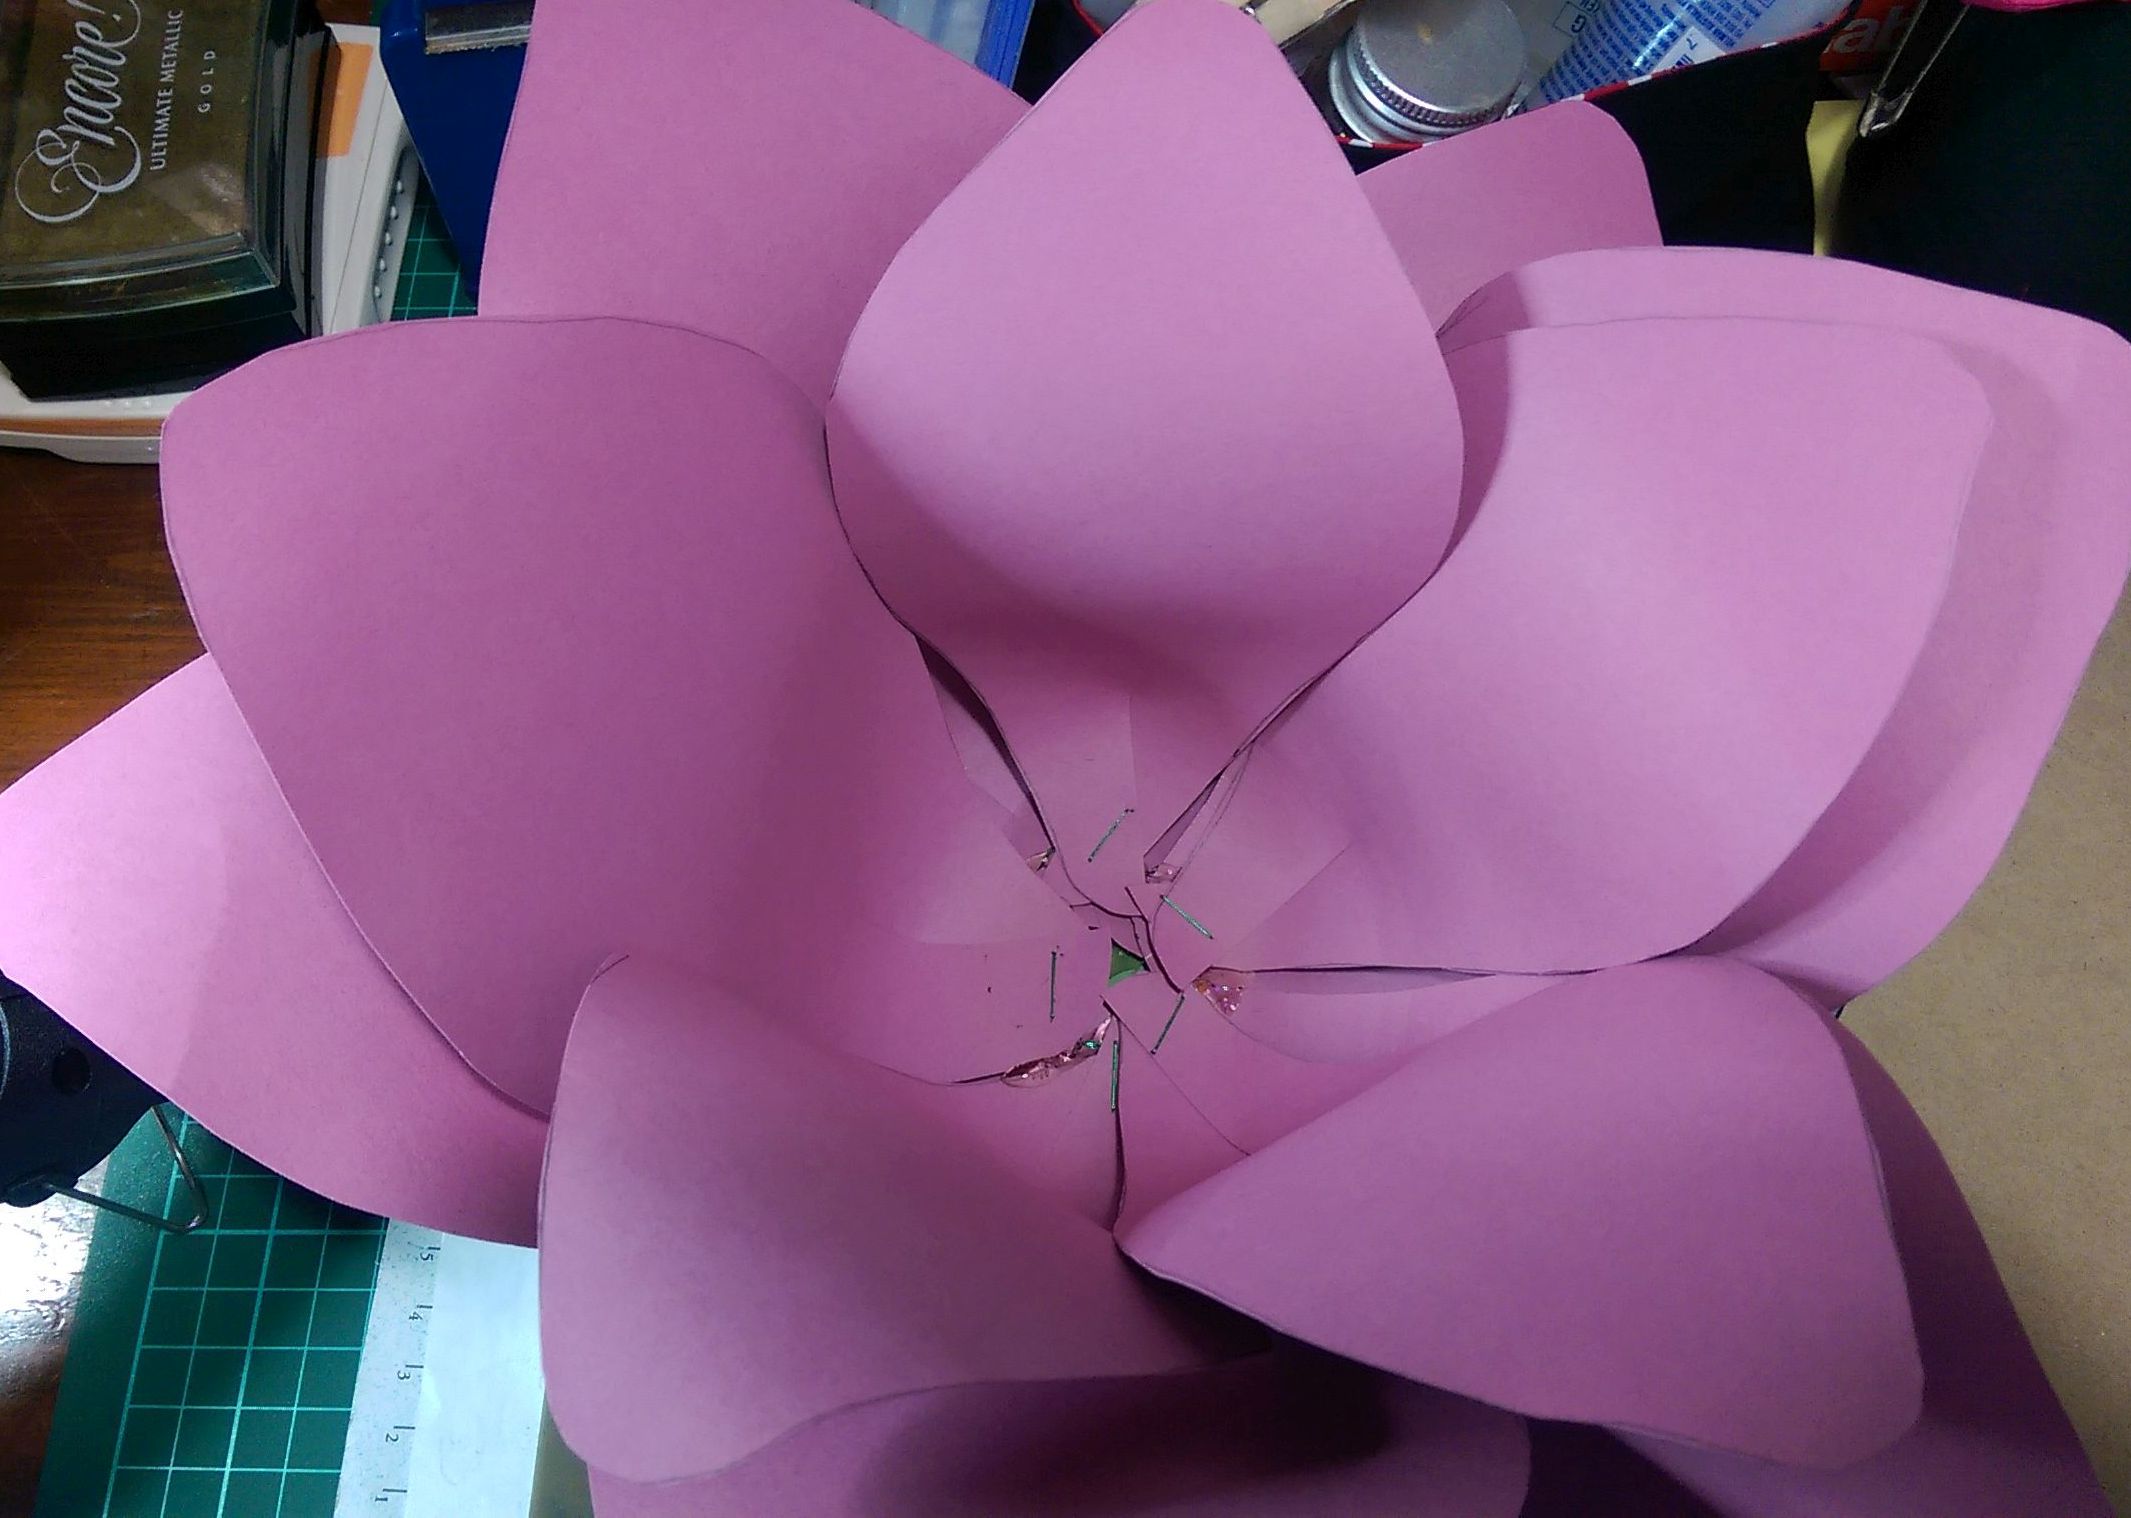
Then I added a second layer of petals with the middle sized ones, overlapping them and off-setting them from the first layer of petals.
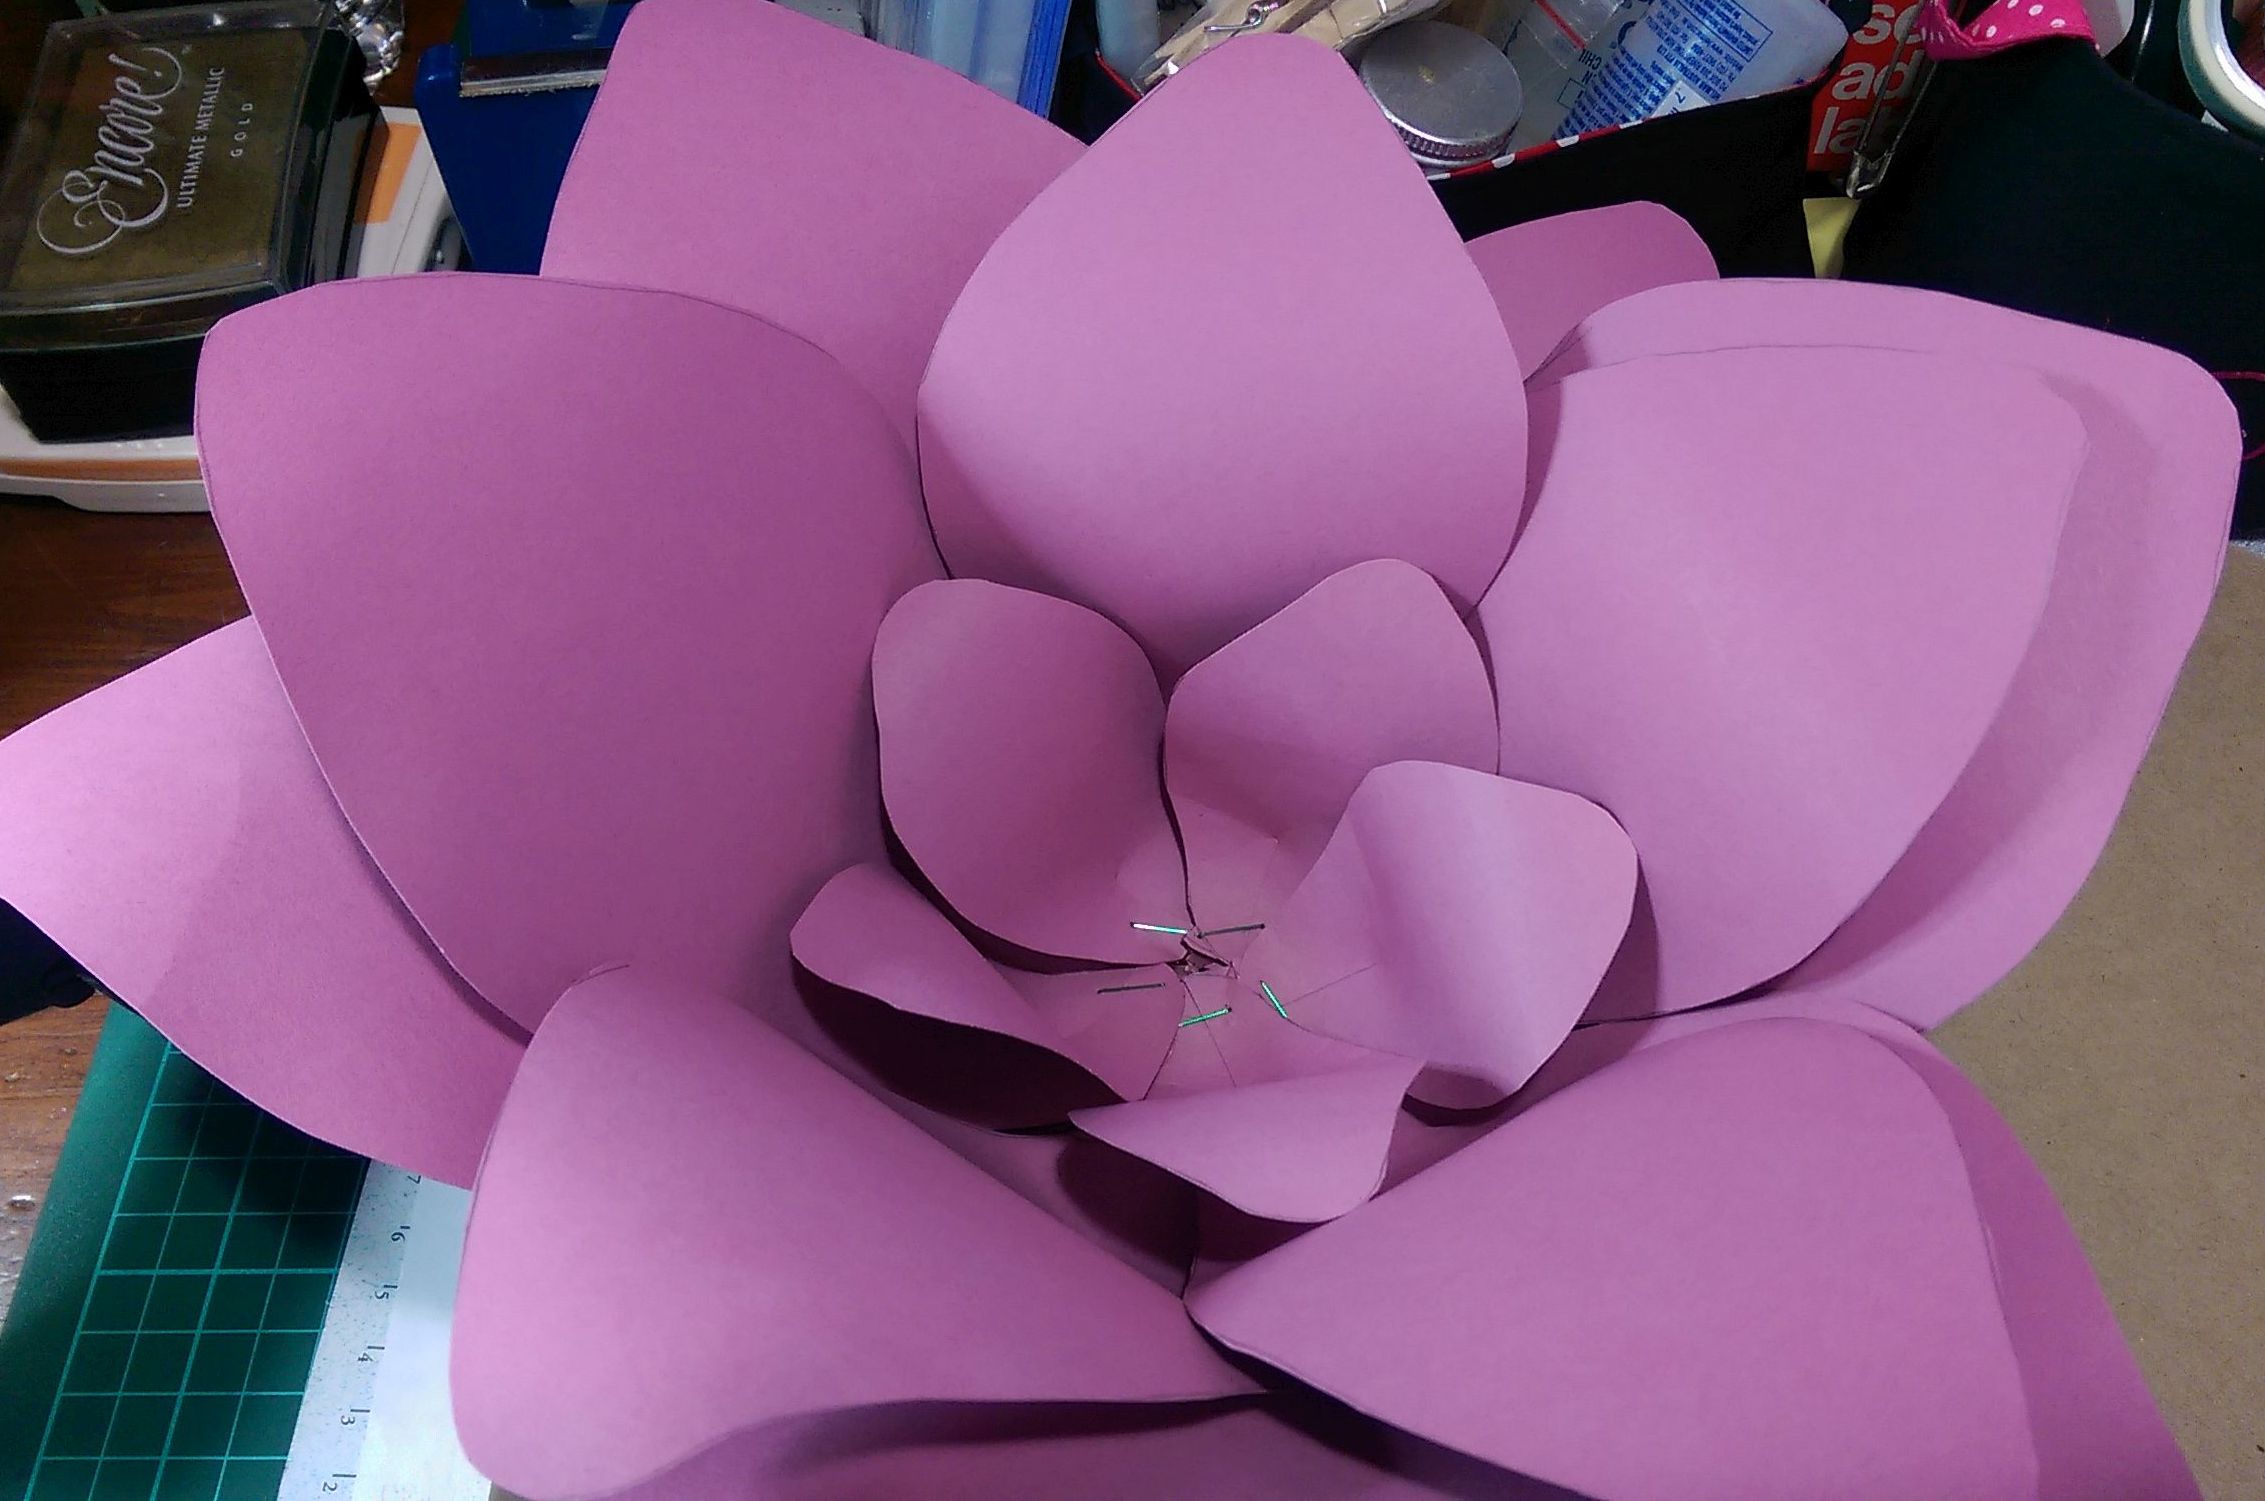
Then I took the smallest petals and made a third layer of them, gluing them into the centre of the flower in the same way, overlapping and off- setting them from the other layers.
The staples looked a bit ugly and the flower unfinished, so then I then took the So Saffron circle and adhered the Flirty Flamingo circle to its centre with .
I took my paper snips and cut from the outer edge of the So Saffron circle to the Flirty Flamingo circle, fringing the yellow cardstock all the way around.
I added this embellishment to the centre of my bloom with Stampin' Dimensionals.
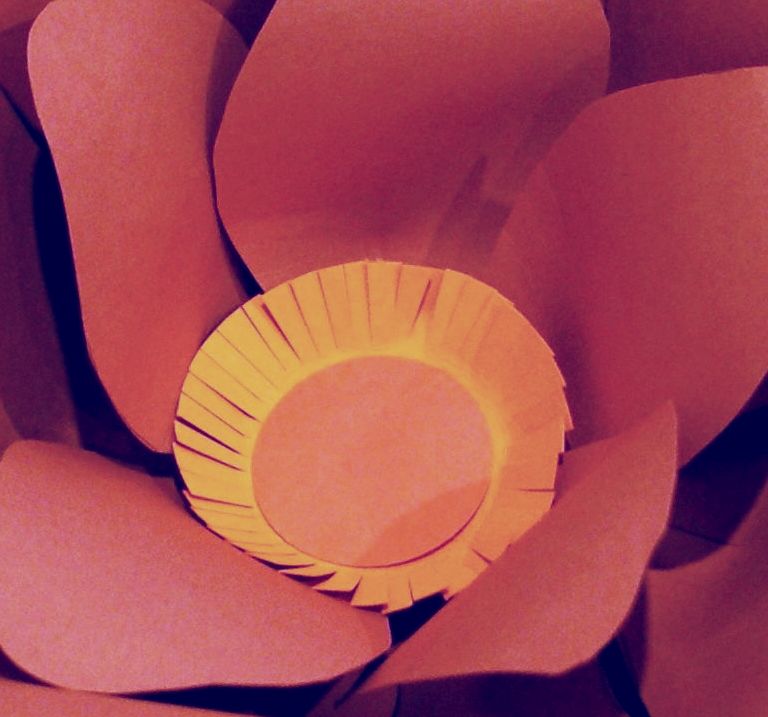
My flower was done!
Later I thought I could have heat embossed a sentiment like 'hello' to the centre before I adhered it down.
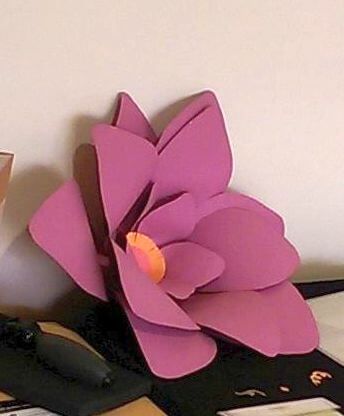
I used my giant paper flower to help decorate the table for my New Stampin' Up! Catalogue launch. First I had plans to tie it to the front door to help people find my house but the day was wet and rainy and I was afraid the cardstock would droop, so I brought it inside instead.
You can see how large it was next to the packets of cardstock and the Big Shot framelit packages.
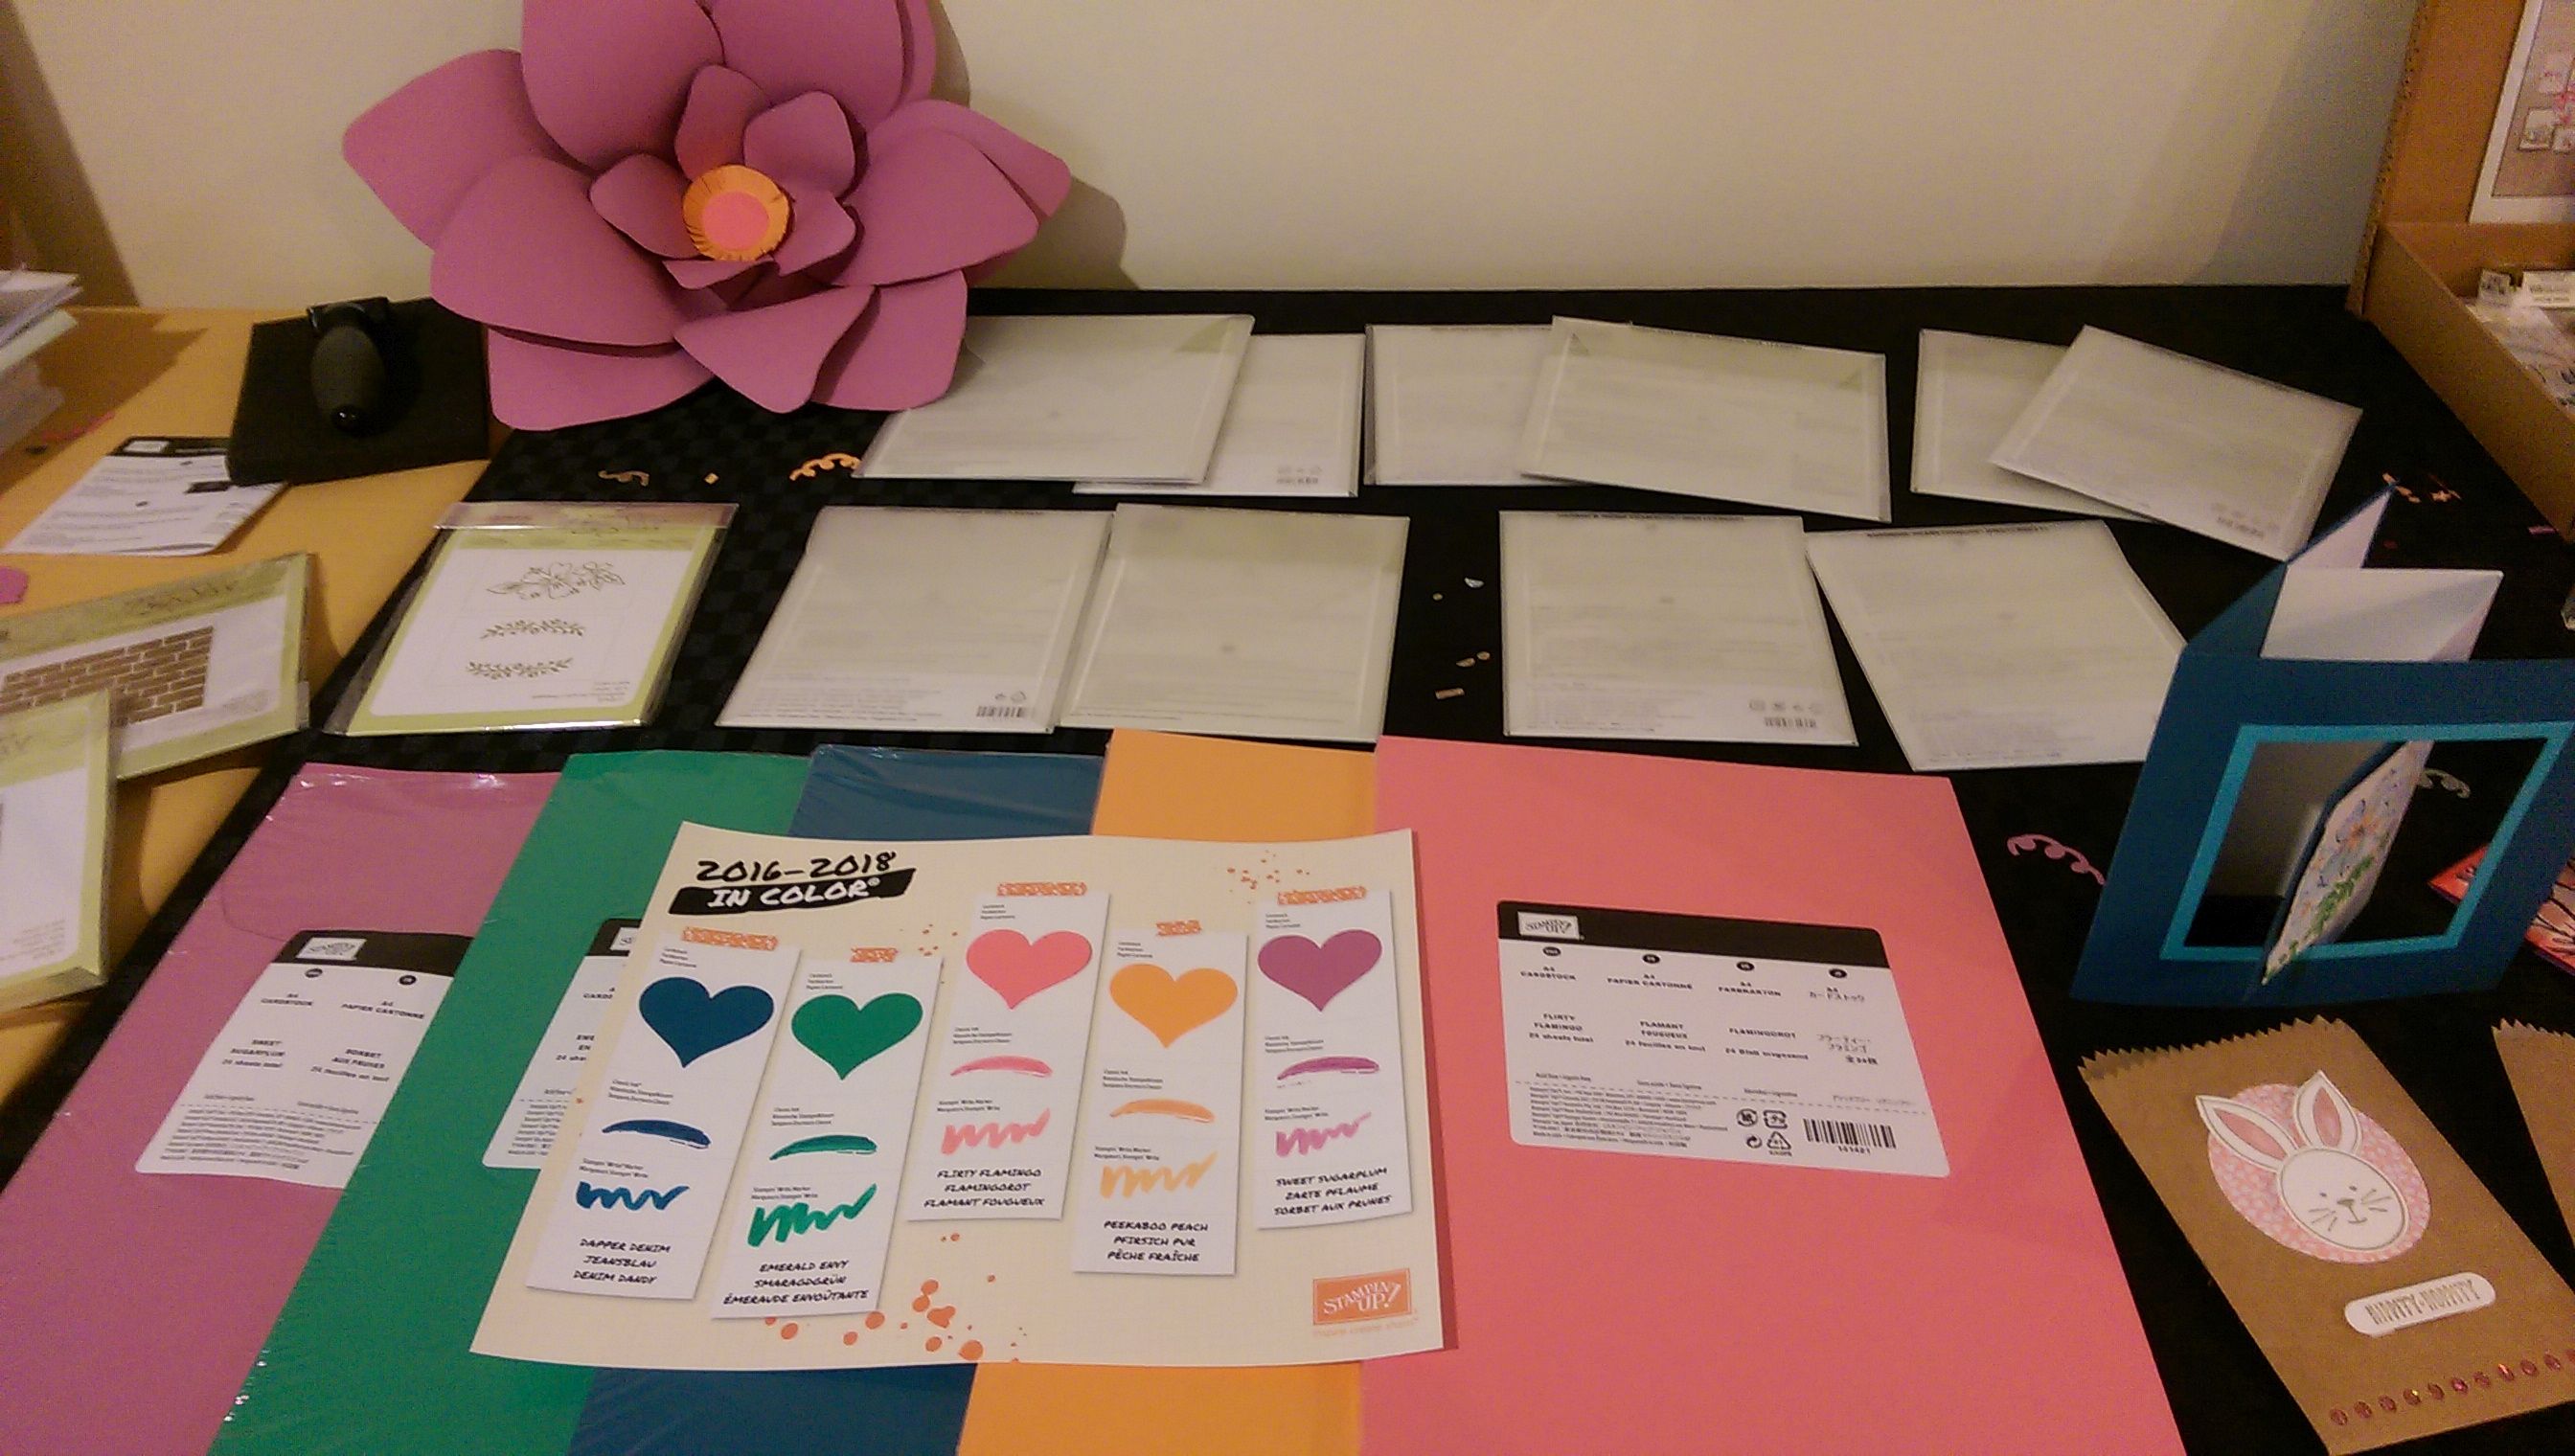
So what do you think? Is there a giant paper flower in your future? Or have you already made a few versions of this bloom? What else would you do to the flower? Add ink? Add glitter? Crumple the petals before making them into a flower? Alter the look completely by using several different colours of cardstock?
I'd love to see your work or hear what you think.
Do You Have A Paper Flower Idea To Share?
Do you have a paper flower idea? I'd love to see it!


New! Comments
Have your say about what you just read! Leave me a comment in the box below.