- Home
- Papercraft Adhesives
- Stamp Positioner Tool
Stamp Positioner Tool
Written and Created by PaperCraftCentral Susan
A Stamp Positioner, also known as a Stamp-A-Ma-Jig, is a tool that allows you to place your images exactly where you want them to be on your projects.
"Definition: A tool
for positioning rubber stamp images"
~Vintage Image Craft Glossary

I don't know about you, but the red rubber stamps and even the acrylic blocks backing some red rubber stamps are very difficult to see through, especially when you are trying to place words and letters accurately. You almost need X-ray vision to do it!
Never fear! Help is here!
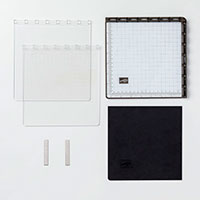
A stamp positioning tool (sometimes know as a Stamp-A-Ma-Jig) consists of two pieces, a handle and a clear, flat sheet of acrylic sheeting. With it, you can place images accurately and easily, using either rubber or acrylic stamps. It also works with the older Stampin' Up!'s Clear Mount stamps too.
I like to use this tool when I am masking my images as well, as it gives me so much more accuracy with my images. I think cards look much more professional without images overlapping where they should not, or images that are wildly, or even just noticeably, out of place.
For example, I have a stamp set of little people (Stampin' Up!'s All in the Family, now retired) and it would be impossible to accurately place their little arms, legs, heads and bodies without using this tool.Yu will find the same with any stamps where you are putting expressions on a face, wanting to make a bunch of flowers, creating a landscape and so on. It's amazing how often I want to overlap images without it looking messy.
It is equally important to place single flowers, leaves or almost every image accurately, especially when you want to use two step stamps, such as those featured in the video.
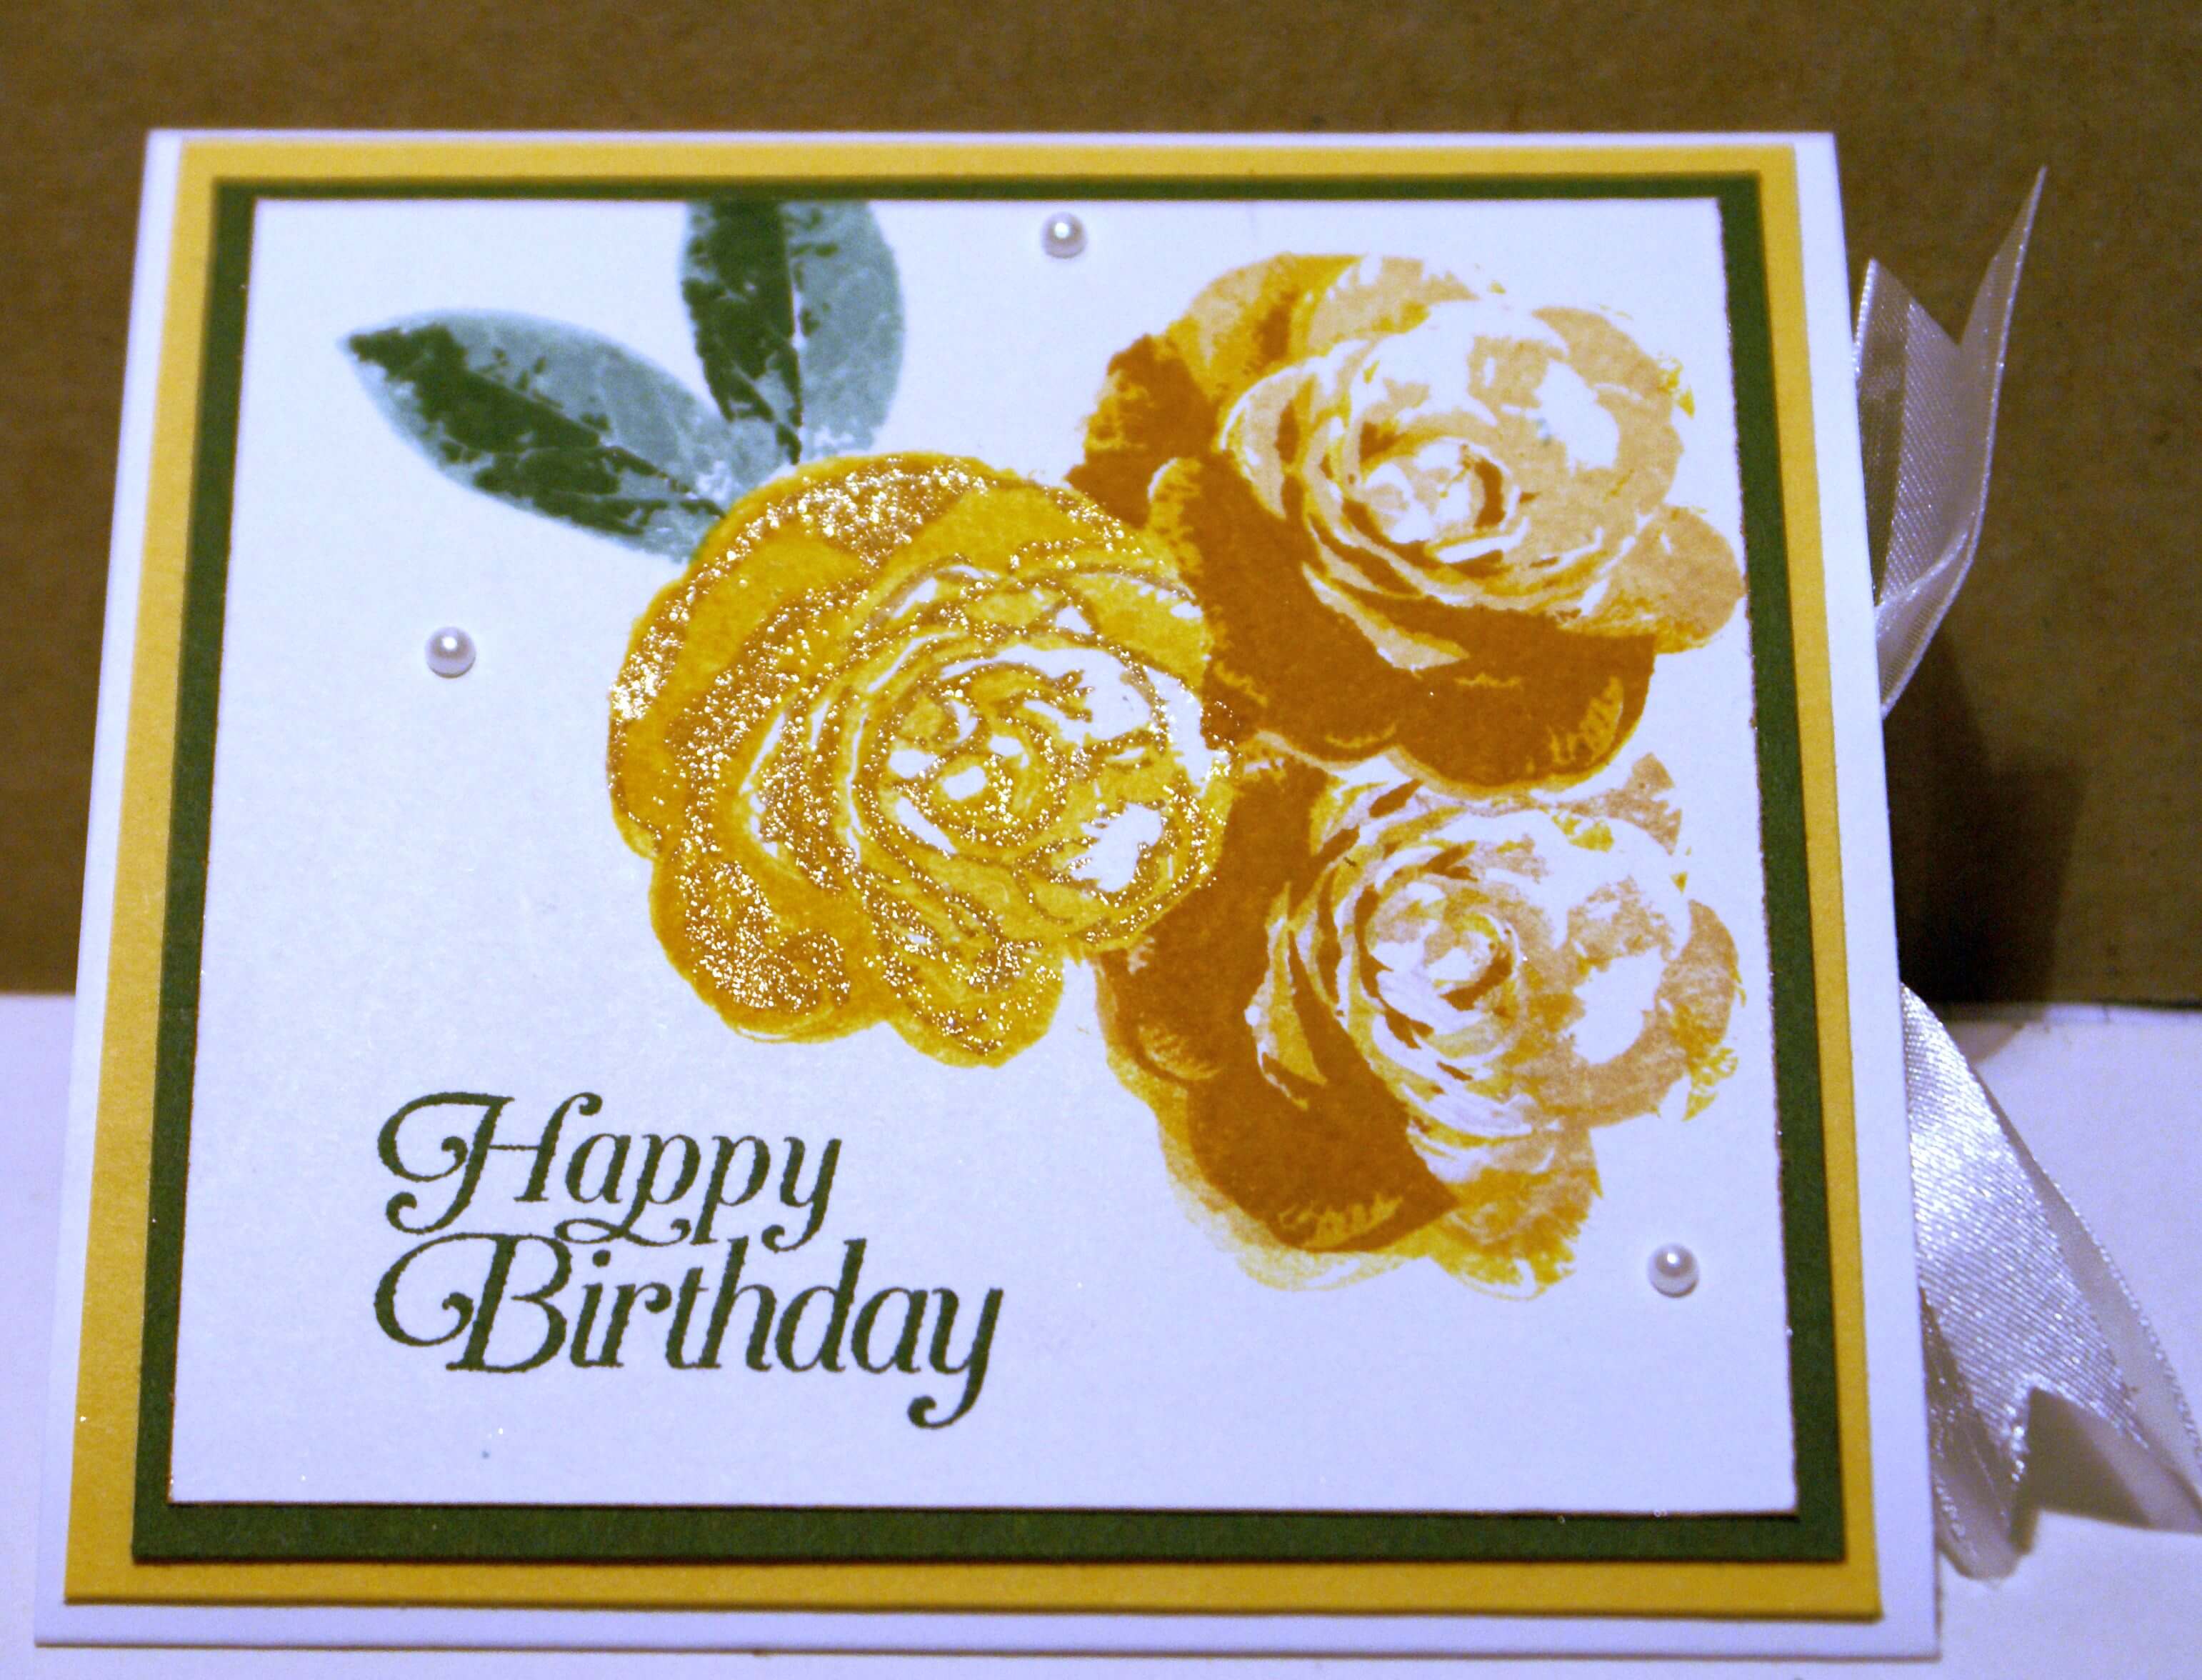
Here's an example of how masking and the Stamp-A-Ma-Jig helped me make a Picture Perfect stamp set card:

Just talking about this tool does not show you how to use it though. See how to use this tool by watching a short video made by Elaine of Elaine's Creations (thank you for showing us how, Elaine!)
Making your Own Stamp Positioner Tool
tool
All you need to make your own stamp positioner is a square of Window Sheet and a small set square ruler. You can even use a piece of clear, heavy plastic cut from an old shirt box or similar. Just be sure it is not too thick, but not too thin either.
Cut a square of Window Sheet or clear, heavy duty plastic approximately 6" (15cm) square. Round the corners if you like with a corner punch or rubber scissors. Any ordinary scissors will do, but I do not recommend using your paper snips or ribbon scissors.
Use the set square in place of the black plastic tool shown in the video below. You can find a set square at a stationery shop like Office Works in Australia.
You can remove ink from the Window Sheet with your Simply Shammy or Stampin' Mist, or if you use an indelible ink, try using Stazon Cleaner.
How to Use a Stamp Positioner
Another useful tip about this tool is to use vellum or clear acrylic (such as Over Head Projector film or acetate or a Window Sheet) in place of the plastic sheet you are provided with when you purchase the tool.
Stamp images in permanent ink like Stazon on these extra sheets and store them with that stamp set. You will always be ready to accurately place your stamp with that set then, and not have to re-create an image sheet over and over again as long as the stamp is mounted permanently on a wooden block. Of course, if you use acrylic blocks for stamping, you will position the stamp in a different place each time so a permanent stamp positioning sheet will not be possible...
After you learn how to use this handy tool, you will wonder how you ever stamped without it!
And it is a much cheaper option than the beautiful Stamparatuus tool. I tell you but more about the Stamparatus in the next section.

The Stamparatus
The Stamparatus is another stamp positioning tool that allows for greater accuracy and flexibility in creating projects.
Unfortunately, this more sophisticated tool is no longer part of Stampin' Up!'s inventory, but you might find one by searching. When Stampin' Up! announced it was no longer going to stock this tool, the remaining inventory sold out within days.
That shows how popular it is/was!
Fortunately, a determined and inventive crafter can still achieve similar results by making their own stamp positioning tool.
And to read about more papercraft tools I have reviewed for you, you can go to this section.
Return from Stamp Positioner to PaperCraft Tools | Return to PaperCraftCentral Home Page


New! Comments
Have your say about what you just read! Leave me a comment in the box below.