- Home
- Papercraft Adhesives
- Masking Techniques
Masking with Stamps
Written and Created by PaperCraftCentral Susan
Masking is a cardmaking technique that allows you to protect a desired area from change while you are stamping over it.
"Clowns wear a face that's painted intentionally on them so they appear to be happy or sad. What kind of mask are you wearing today?"
~Anonymous
This stamping technique allows you to add a three dimensional or depth effect to
your images as it can appear that the images overlap. All you need is an
image that you want to show repeatedly, such as would happen with a
bouquet of flowers like this:
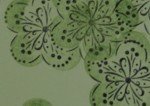
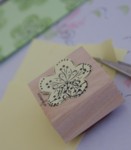
Follow my easy step-by-step tutorial for how to create masked images for your handmade cards, just using stamps, ink and of course, your hand created mask.
You will need:
- A flower stamp or other stamp of choice
- Some cardstock
- Some ink
- Post-It notes
- A pair of scissors
- A Stamp-A-Ma-Jig or Stamparatus (stamp positioner) of any kind can help
Stamp Masking Tutorial:
Step-By-Step!
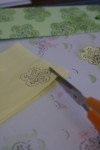
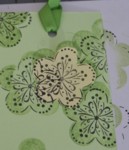
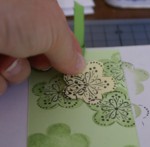
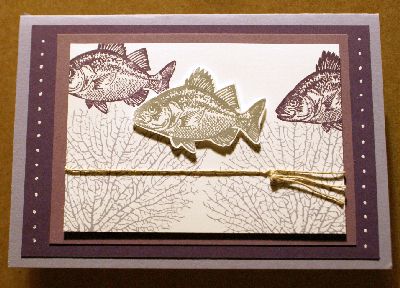
Here's an example using the Stampin' Up! By the Tide stamp set (retired). The background fish have been stamped then blocked off with a Post-It note fish cutout to allow the sea fans to be stamped on top of them, thus making it look as though the fish are swimming in front of the sea fans.
More Masking Tips
Create Blank Spaces with a Mask
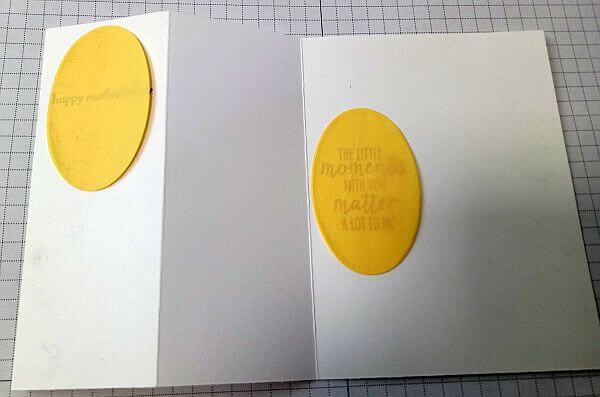
Now stamp leaves or branches, dots, whatever you want to choose, over the mask(s). I chose little stamped butterfly shapes with lace and roses here.
I also left an unmasked blank space on the lower right so I could sign my card.
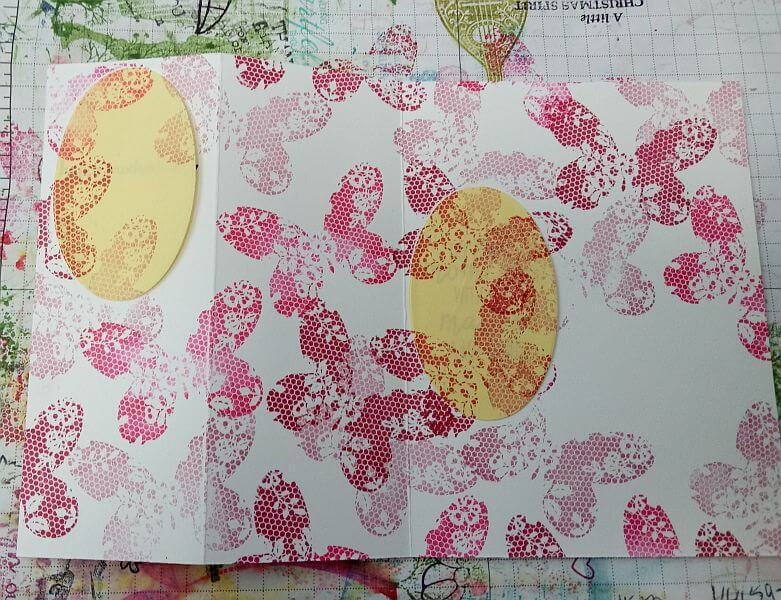
When you lift the yellow masks up, the stamped images will surround your masked shape but not be IN the blank space.
Now you can stamp your sentiment in the space you created.
This is nice to do if you want a wreath effect on your cards at Christmas, for a sympathy card, or just want a burst of colour that doesn't interfere with your sentiment space. I chose to use this technique on a Mother's Day card though.
Here is my finished card:
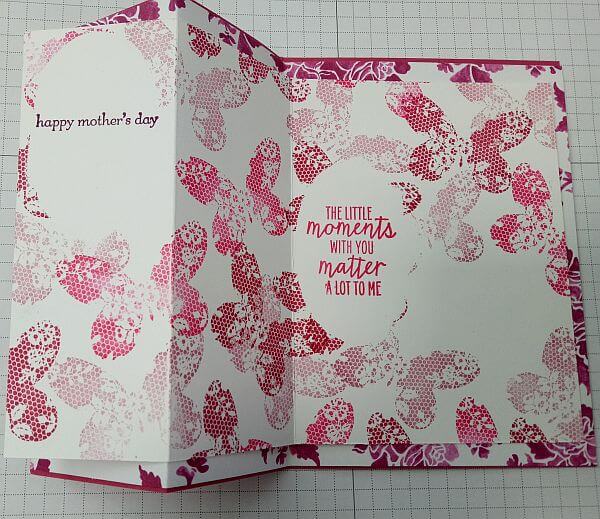
Note: I placed Designer Series Paper beneath my stamped layer.
Masking with Blending Brushes
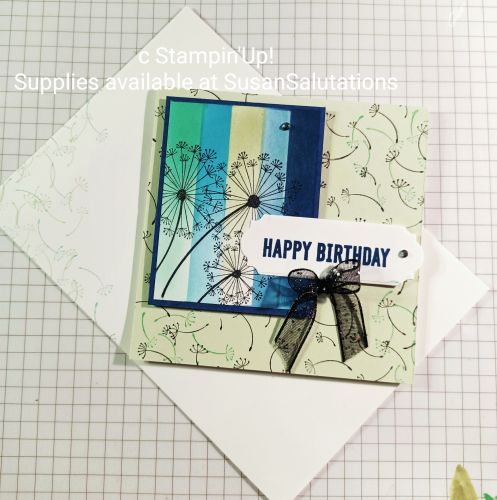
You can also use a mask to protect a spot on your card from blended ink. Make a mask, place it on your card, then blend ink over it with blending brushes to create a soft cloud of colour behind the shape.
I used strips of paper as my masks to make this card, creating strips in different colours as a background with my blending brushes.
Then I stamped the dandelions in Memento Tuxedo Black Ink on the blue strips. Tuxedo Black ink won't run on top of the pigment inks that I used for blending.
They look like they are another layer in front of the coloured stripes, right?
If you have a handmade greeting card or scrapbook layout you have stamped using this technique, I would love to see it.
You can have your work displayed here on PaperCraftCentral.com by posting it here:
Do You Have A Favourite Handmade Card to Share?
Do you make greeting cards? Please do share it with me.
If you liked this technique, you might like to try the stamping with bleach technique, or you might like to find out how to CASE projects and fire up your mojo!


New! Comments
Have your say about what you just read! Leave me a comment in the box below.