- Home
- Papercraft Adhesives
- Craft Room Makeover
Craft Room Makeover Part 2
Written and Created by PaperCraftCentral Susan
My Craft Room Makeover Part 2 is an exciting stage! As you know if you have been following me for awhile, we started to re-do my overcrowded and inefficient craft room in January, making plans, buying second hand wooden furniture to restore, and beginning the huge packing up job that had to take place before anything old could be moved out and replaced.
Well. I kept my end of the bargain. While hubby was restoring the furniture in our shed, I got busy emptying the space. It took an entire day to do it. It looked so much bigger without lots of stuff in it:
Craft Room Makeover Part 2 - Emptying the Space
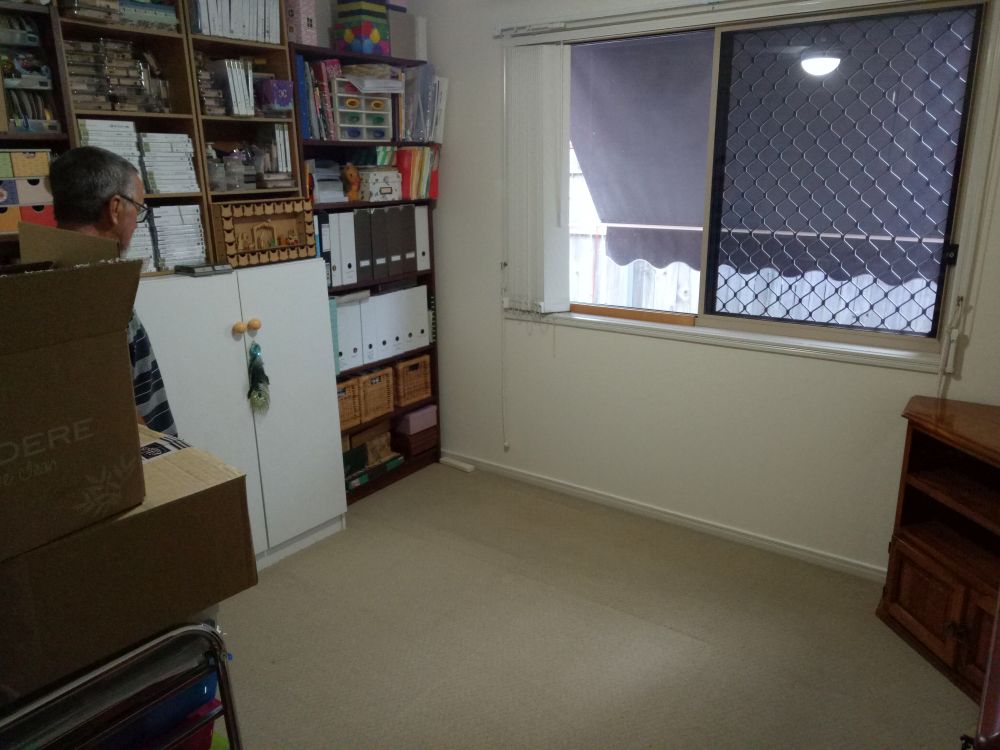
The plan was to move my craft desk out from under the only window in the room to allow for me to have a large hutch placed on the desk with plenty of shelf space. The light would then be able to keep coming in to the room and I could put a nice sideboard with more cupboard space and drawers where my desk used to be.
The sideboard could provide another work space too.
On with my Craft Room Makeover Part 2!
New Space for my Desk
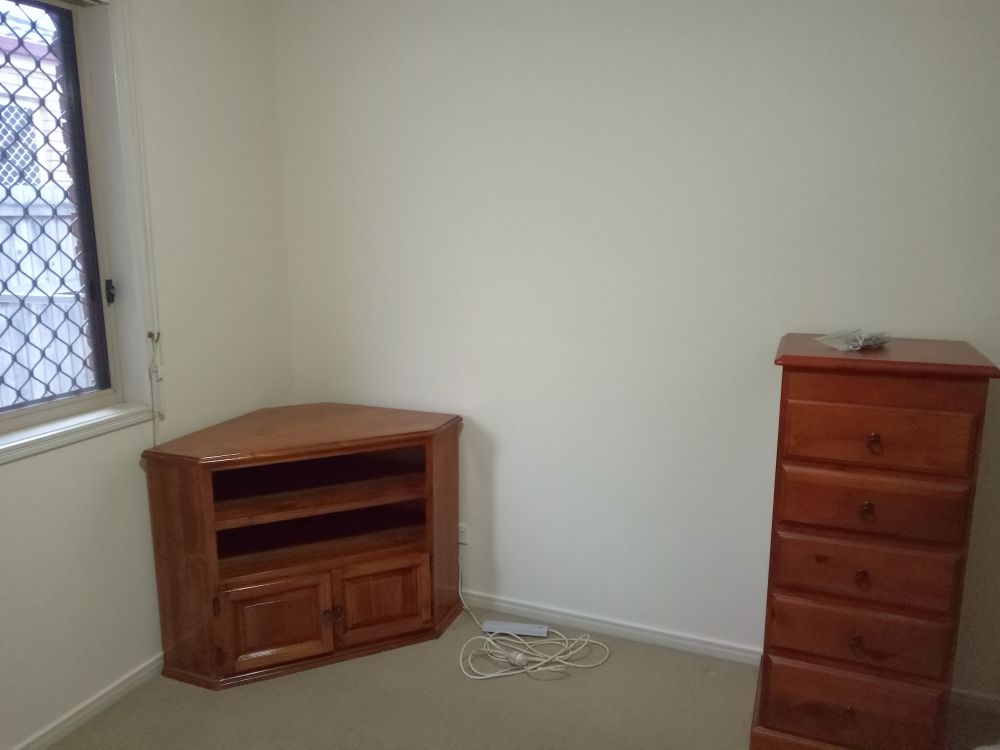
The corner unit my husband restored for me looks so good! I already owned the chest of drawers on the right and a lot of the new/old furniture is being made to look more like this piece. None of it will be perfectly matched, mind you, as I wanted the natural wood of the pieces to show through.
Next, we brought in the restored sideboard piece and placed it under the window.
New Sideboard under the Window
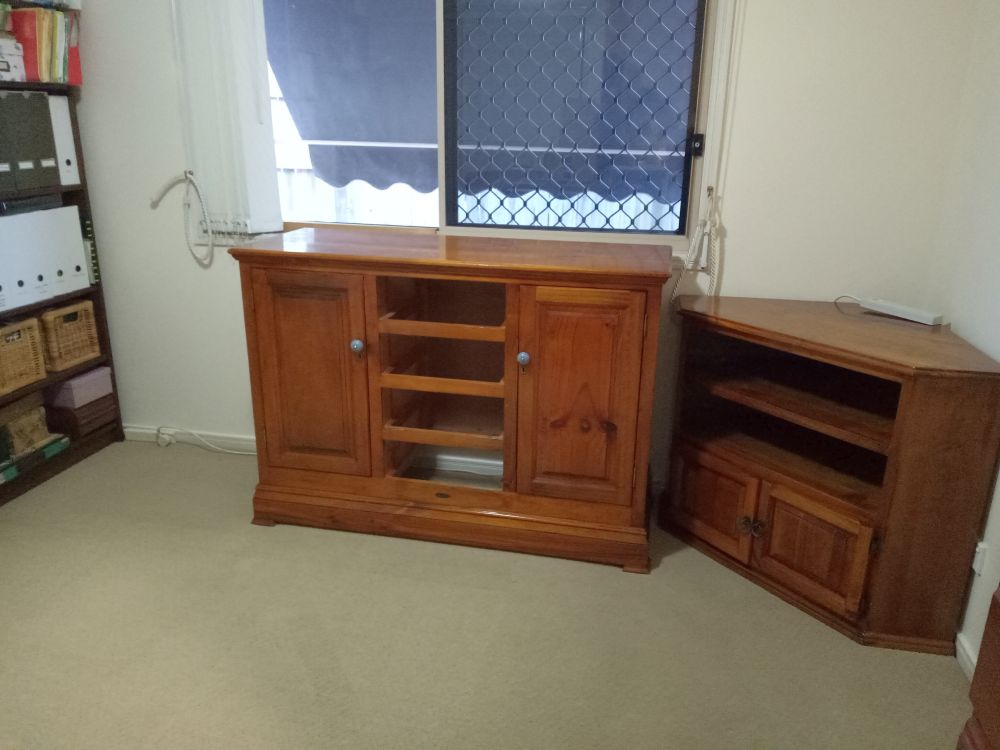
With the drawers in place, this unit looked so beautiful. I really love it. I was wondering if it would be the hero piece in my craft room in fact. The remake wasn't over yet though. We were just starting! The sideboard was a critical part of my Craft Room Makeover Part 2.
I got to work putting things into the new units. I had been thinking about what to do with this unit, and decided I would pack it with the contents of some dilapidated plastic drawers I had. The contents fit perfectly. I still had drawer space left, but I knew there would be plenty of choice about what to put in them.
But first, there was more unpacking to do.
White Chipboard Cupboard Gets the Boot
I had wanted to replace the white chipboard cupboard I had for years. I think I got it when our teenage children outgrew it. Now they all have children of their own, so it had been doing duty for me for a significant period of time.
Recently I noticed the chipboard was growing soft in some areas, and the bottom supports were crumbling away.I think it was one of the surviving pieces we had after experiencing a category 5 cyclone in Far North Qld in 2006. It definitely needed replacing.
So, as part of my Craft Room Makeover Part 2, we found a new wooden cupboard with drawers and shelves. It was only a little bit wider than the old cupboard, so after I unpacked the white one, we removed it and shifted the book cases over.
Then it was time to install the new wooden cupboard.
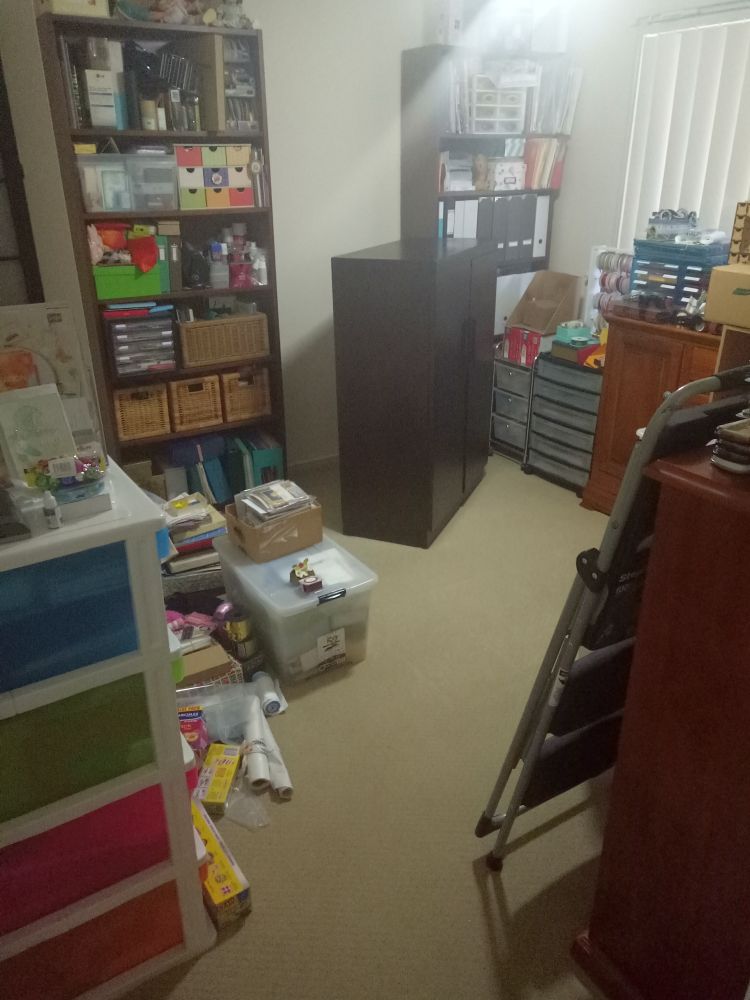
The 'empty' craft room started to look over crowded and full again as I emptied the white cupboard's contents onto the floor.
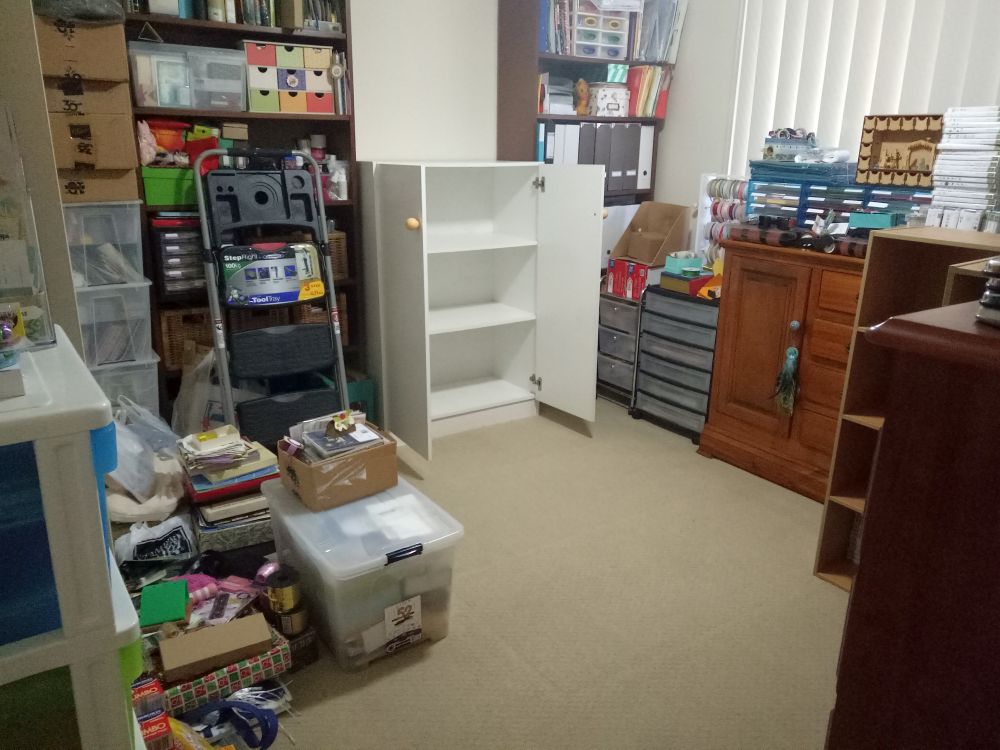
I had to unpack the two stamp storage units on the top as well.
Install Wooden Cupboard
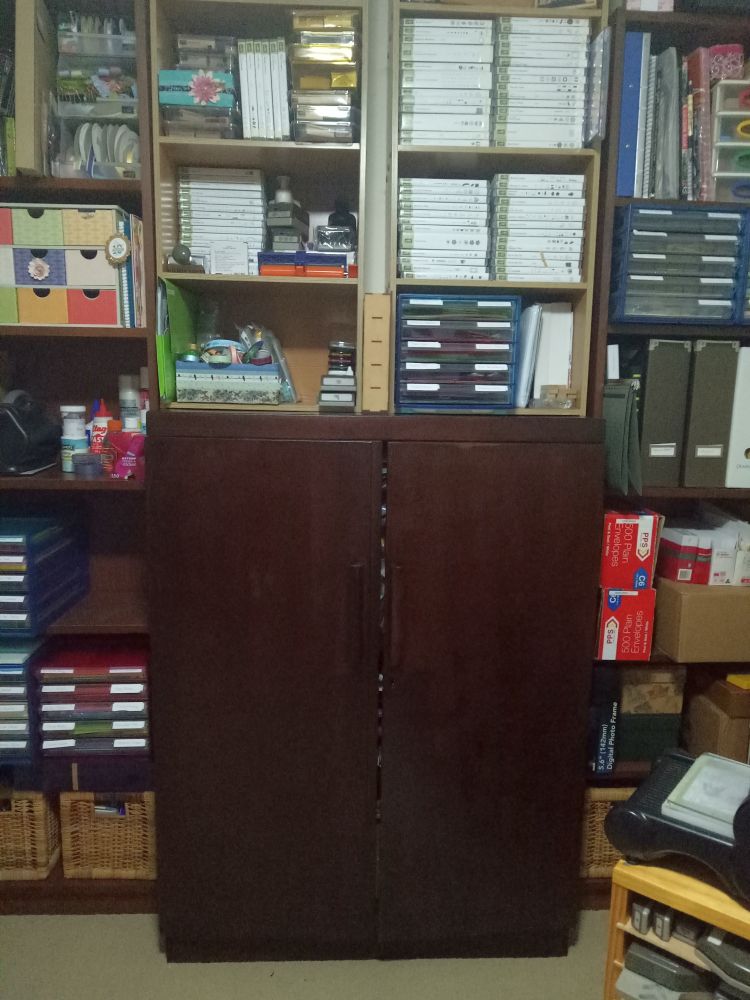
Next we brought in the restored wooden cupboard. It coordinated beautifully with the other restored pieces, even though it was a darker colour than they were.
While unpacking the old cupboard, I discovered there were lots of things not related to papercrafting stored in there. So part of Craft Room Makeover Part 2 was to find some other places to store those things in the house, not in the craft room.
Once that was done, I started to pack paper craft items into the brown cupboard, and was delighted to find places for some of my 12 x 12 paper as well as a number of other things that belonged together.
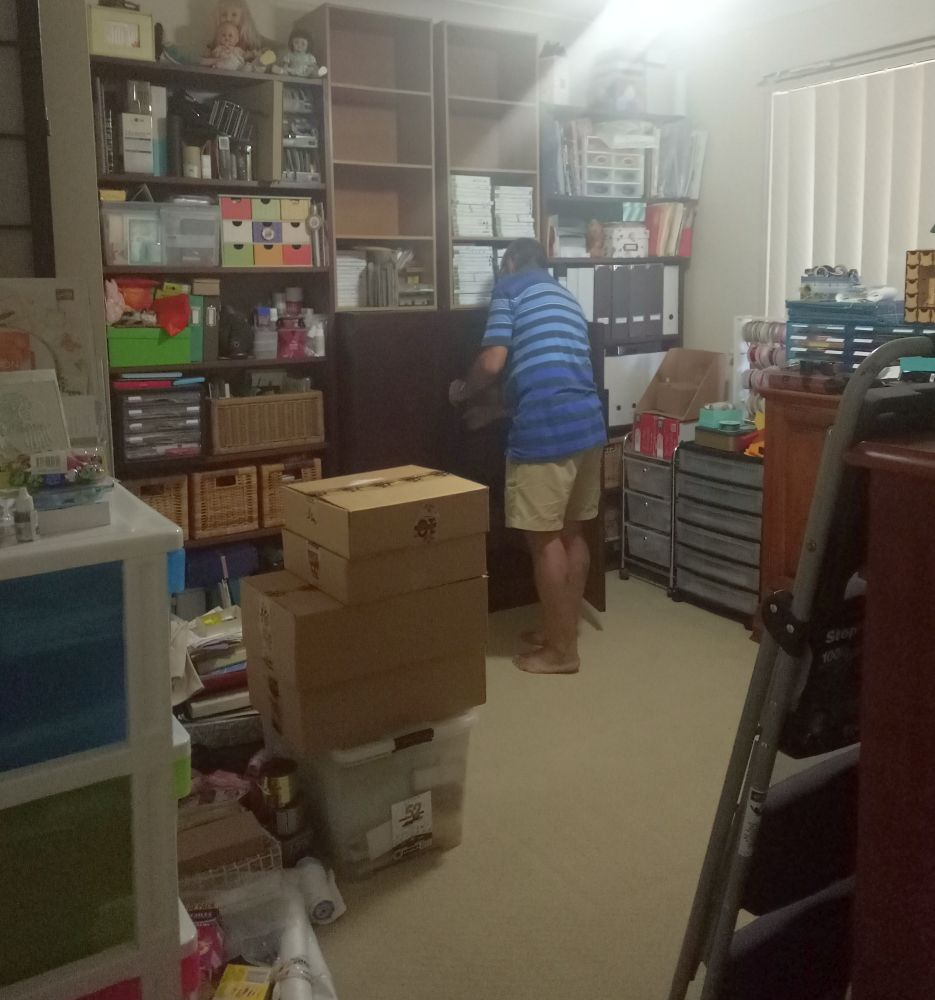
You may notice some little storage units have been placed to the right of the brown cupboard. I may replace them some other time, but for the moment these stronger plastic units will continue to serve as storage units. At least they are on wheels so can be moved out of the way of the book case and also come closer when I want to craft.
See how the stamp cupboards have been placed on top of the brown cupboards? I think I have too many stamps! Lol!
What's Next? The Hutch!
The next step was to bring in the restored desk hutch.
I had been waiting for this moment.
My desk was in place, still needing a couple of days for the varnish to cure before I could take possession of its space again, but hubby thought the hutch could be brought in and put in place.
The only thing was, I could help bring this unit in from the shed, but my strength failed me when we tried to lift it to desk height.
I could clean the glass doors though, and I found something I could not remove on the glass, so hubby came to the rescue to get it off the glass.
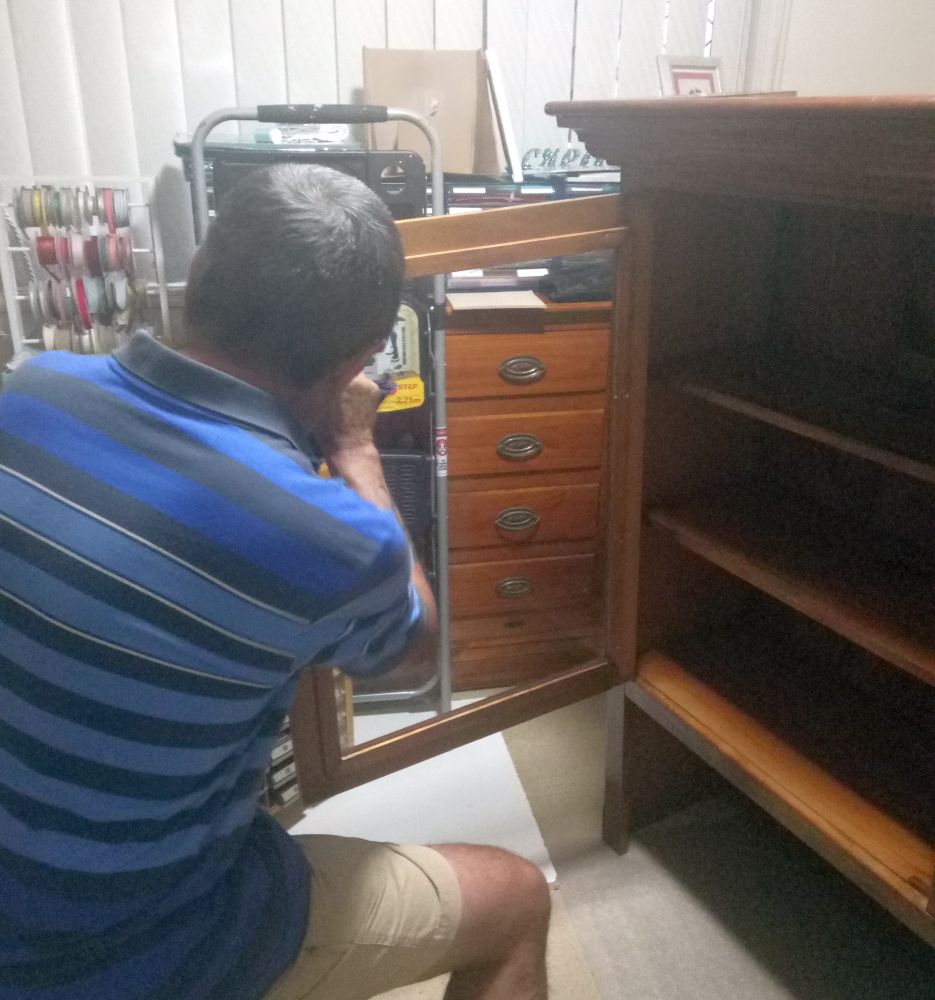
Enter a Heroic Friend!
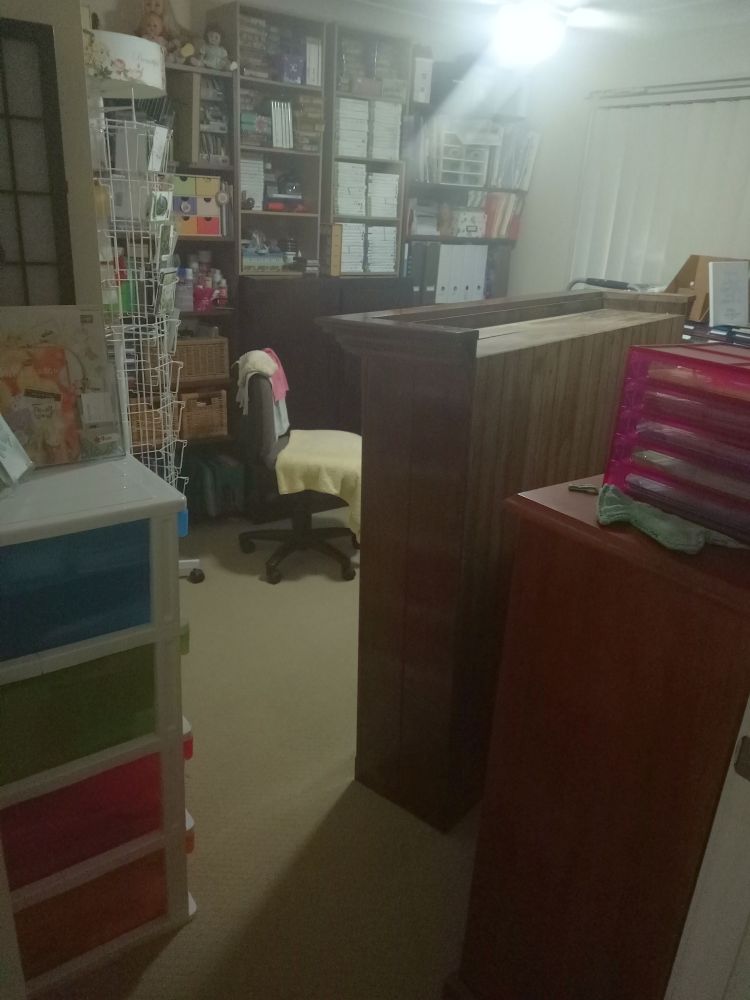
When the hutch glass was all clean, we then asked a good friend to come and help us lift the unit onto the desk, and he was only too pleased to help, bless him.
Within half an hour, he had come by and helped lift the hutch into place on my newly restored desk.
Craft Room makeovers take team work, alright. Hubby has been amazing.
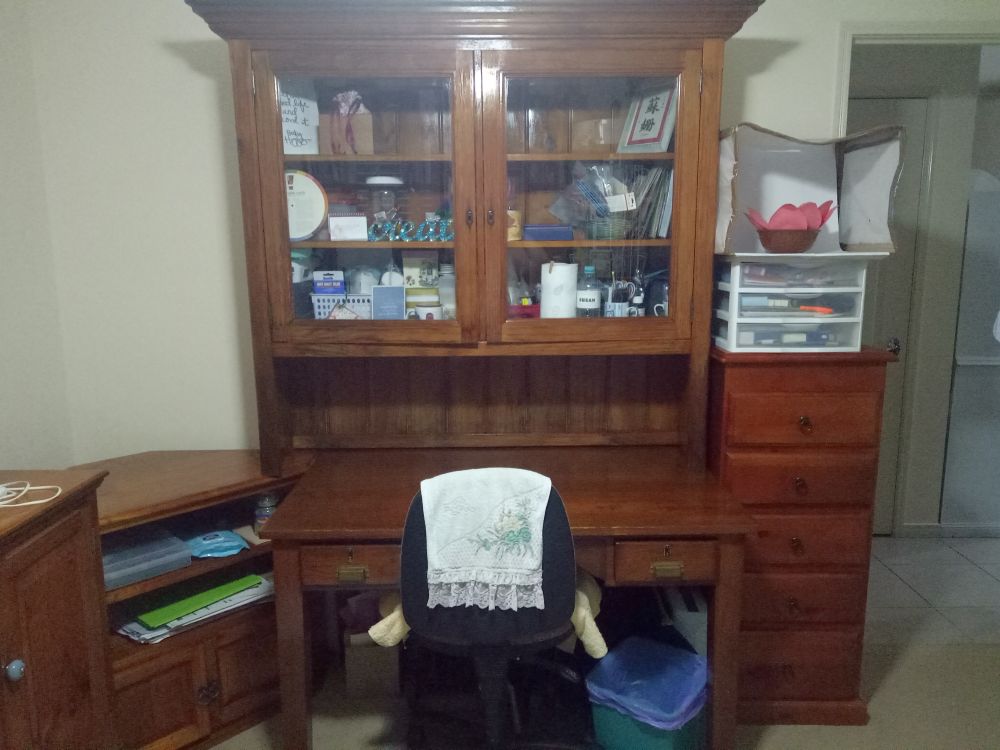
I lost no time moving some things into the cured hutch. I have to wait to use the desk a few more days. It needs more time for the finish to harden.
That's OK. I have plenty to keep orgainsing!
For example, I no longer like that light box on top of the cupboard to the right. I'll have to figure out something else for that. And I know hubby is restoring a couple more pieces for me....
Continuing to Move In
There are still some things that need to be done to finish my craft room makeover part 2. I will have to move on to part 3!
I'll continue to work with my husband on this project. I keep re-thinking where I want things and how they will best fit in to the new spaces.It might take awhile before I am settled in to the new space, but it will happen
There's still one big thing that is going to happen, but it will have to happen in part 3.
Thanks for reading about my Craft Room Makeover Part 2. I tell you more about the final steps here.
Happy crafting!
PaperCraftCentral Susan

PS: How are you doing with your own makeovers, those of you who accepted the challenge I threw out to you in Part 1? I would love to see your before and after photos. Thanks to Colleen for posting her after photos!


New! Comments
Have your say about what you just read! Leave me a comment in the box below.