- Home
- Papercraft Adhesives
- Craft Room Makeover Part 3
Craft-room-makeover-part-3
Written and Created by PaperCraftCentral Susan
My craft-room-makeover-part-3 is the final installment in my 2019 improvements to my craft space. You can read about part 1 and part 2 by following the links.
If you have been following along, you will have seen the major steps we took and why to re-do my craft room. It had become a crowded, disorganised space that did not inspire creativity!
As the picture below shows, my craft room is definitely a space I can create in now. One of the first things I did once the major pieces of furniture were in place was to set up my craft desk.
Joy! It works!
Craft Room Desk and Overhead Bookcase
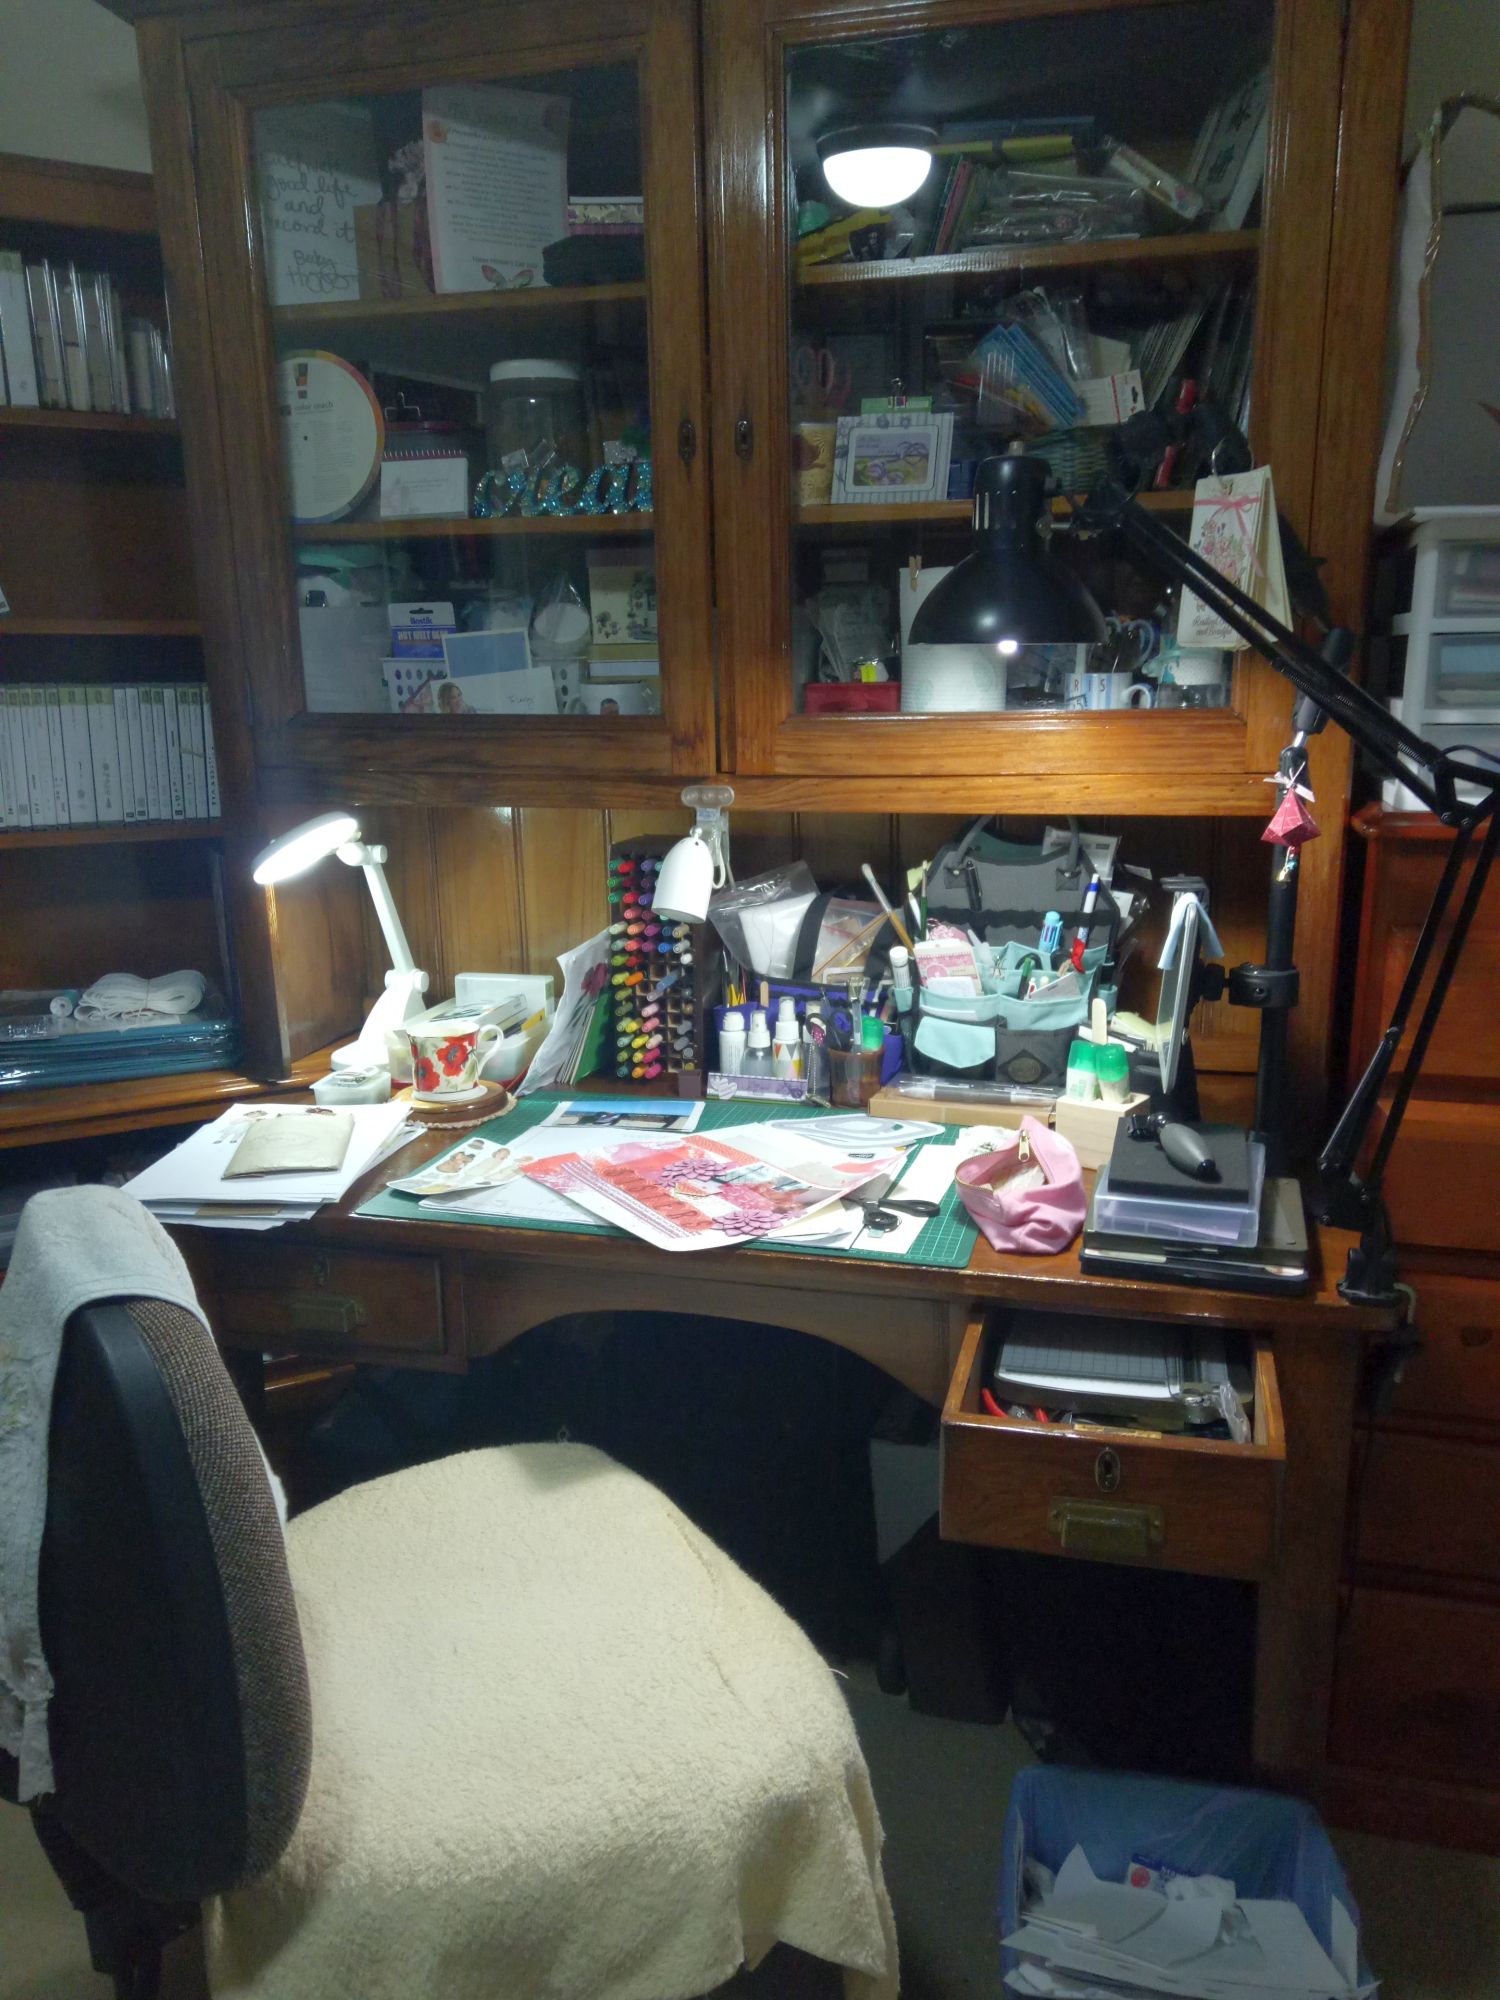
The lighting is good here. I might tweak it a little when I start making videos again, but for crafting it is good.
And the bookcase takes so much stuff off my desk! I have space to craft.
I love that the desk drawers pull out and hold most of my tools and stamp blocks. It's easy to put them back out of the way once I use them.
Testing Things Out
To test out my new craft desk after craft-room-makeover-part-3 , I decided to make my swaps for OnStage Live! in Auckland at this very desk!
It felt good to know where everything was, and to have the space I needed to move around my craft room comfortably.
It was a pleasure to sit at my newly refurbished desk and have so much OFF the desk.
I don't know about you, but when I craft I take up all the available space!
This time, I didn't need to hunt for space.
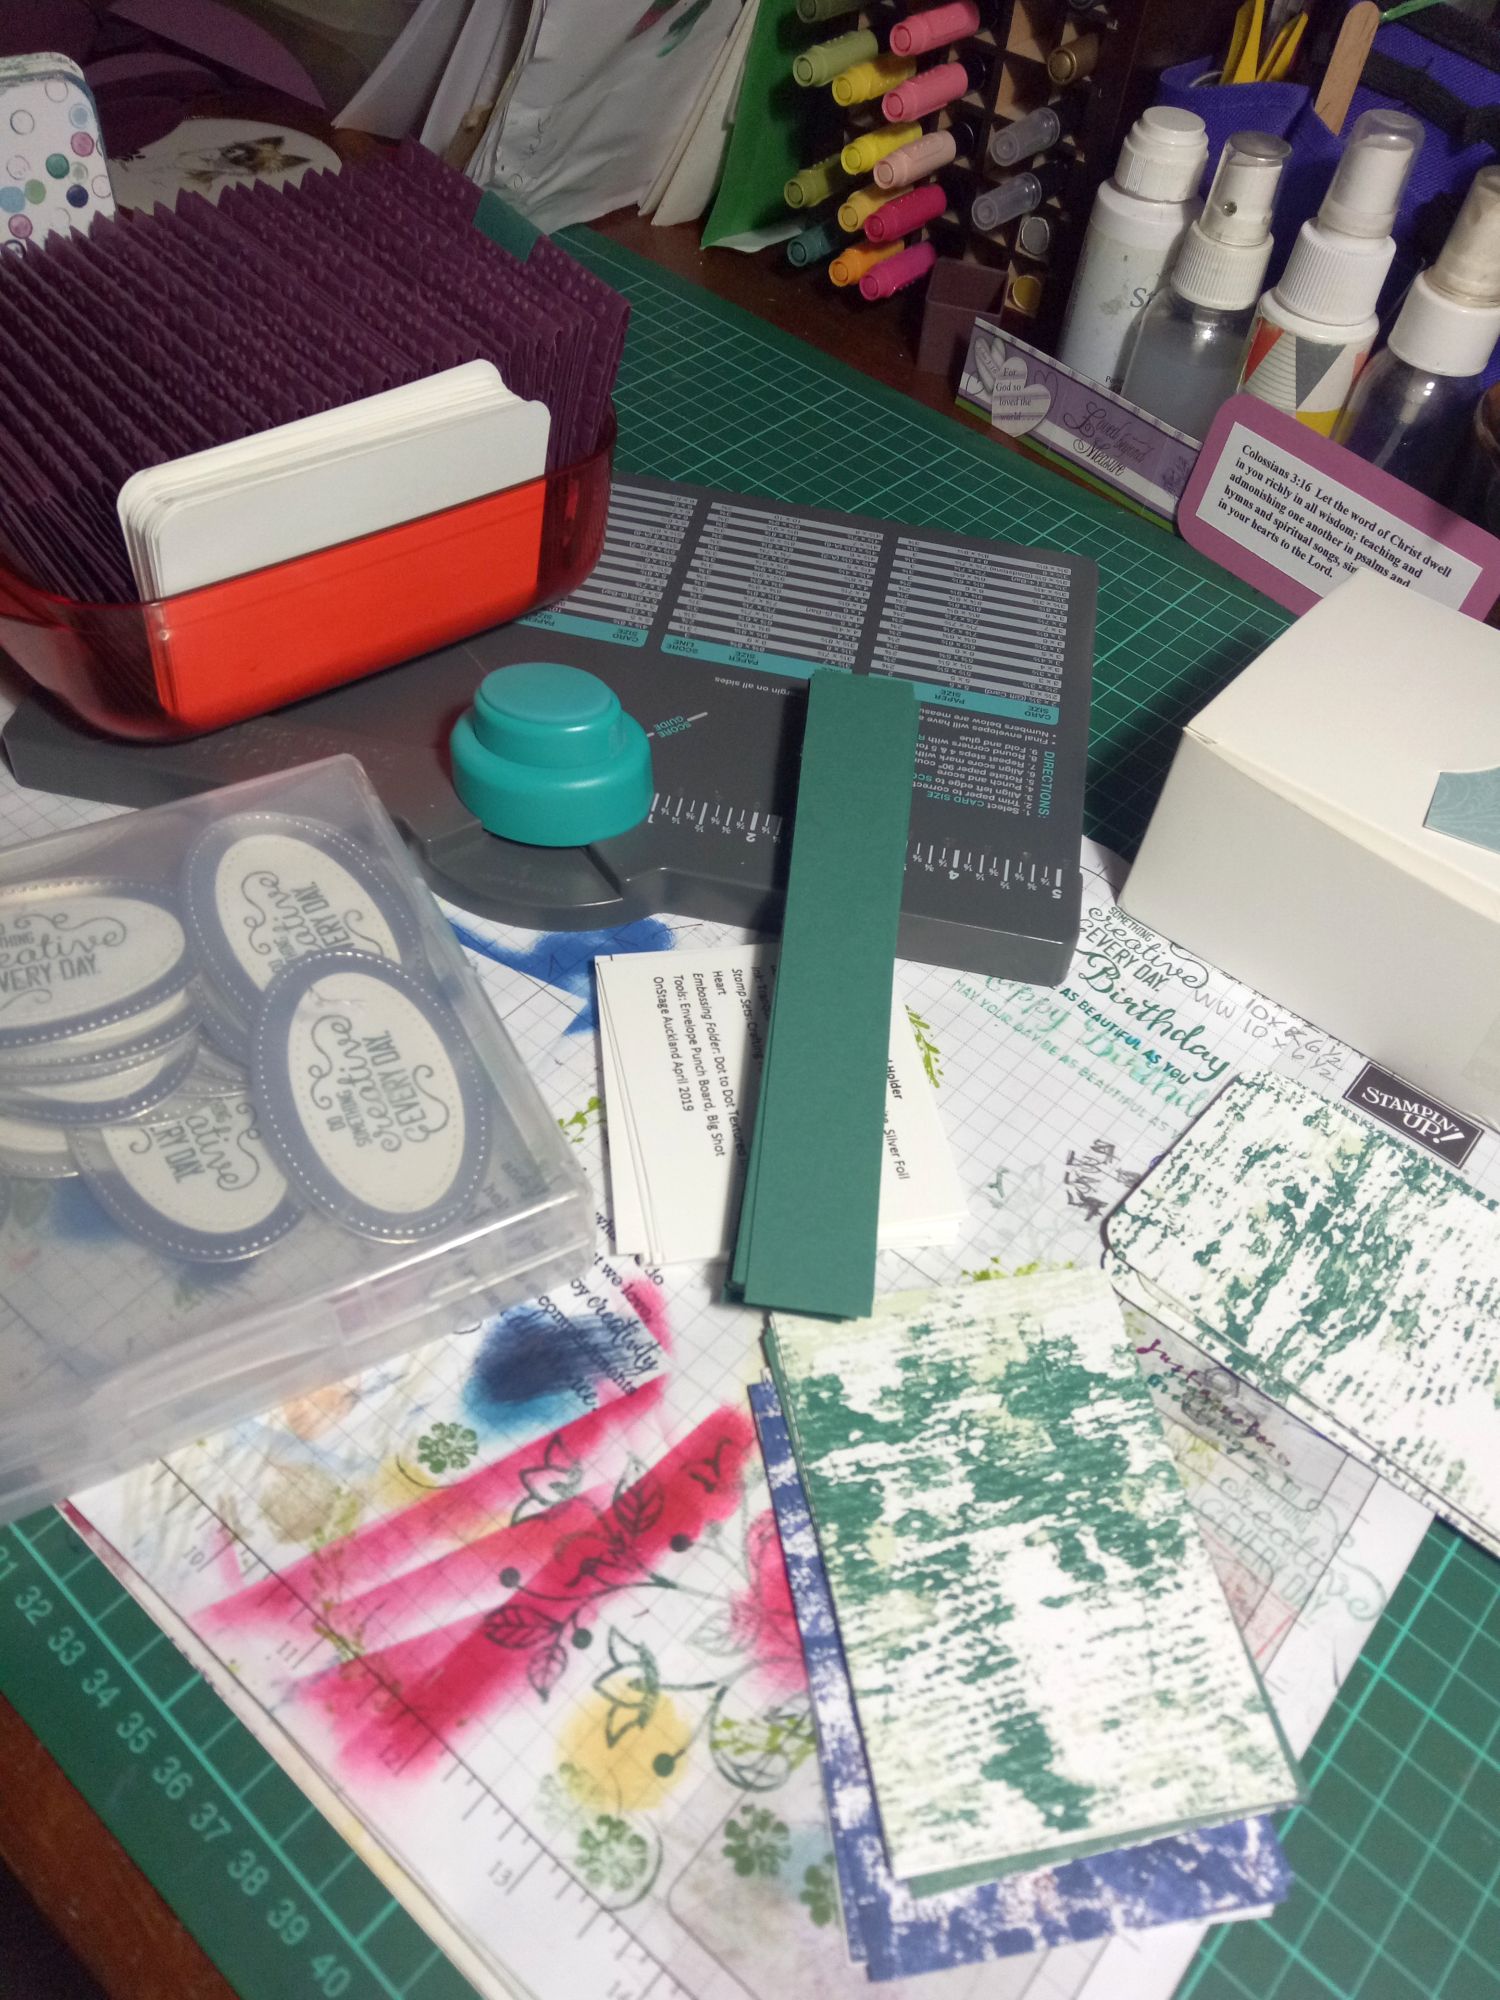
I made 30 of these cute little wallets with my contact details in them, with no trouble at all.
In the picture above, they are all neatly filed in an orange container. That helped with keeping my space organised too.
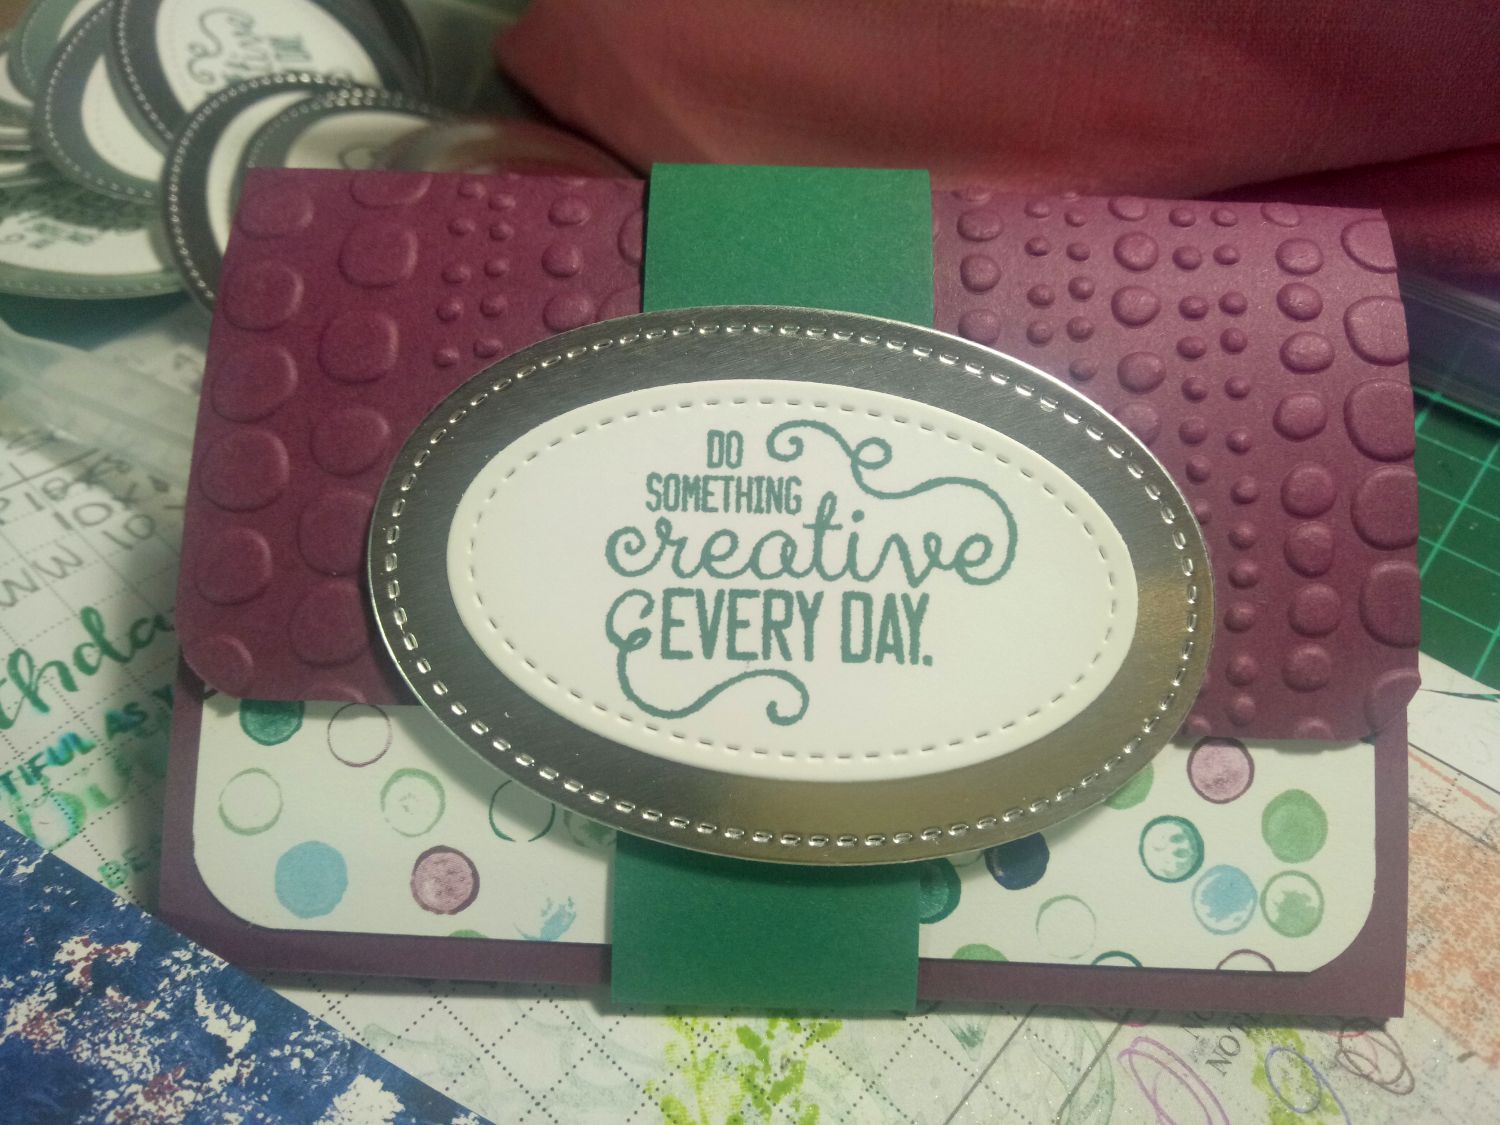
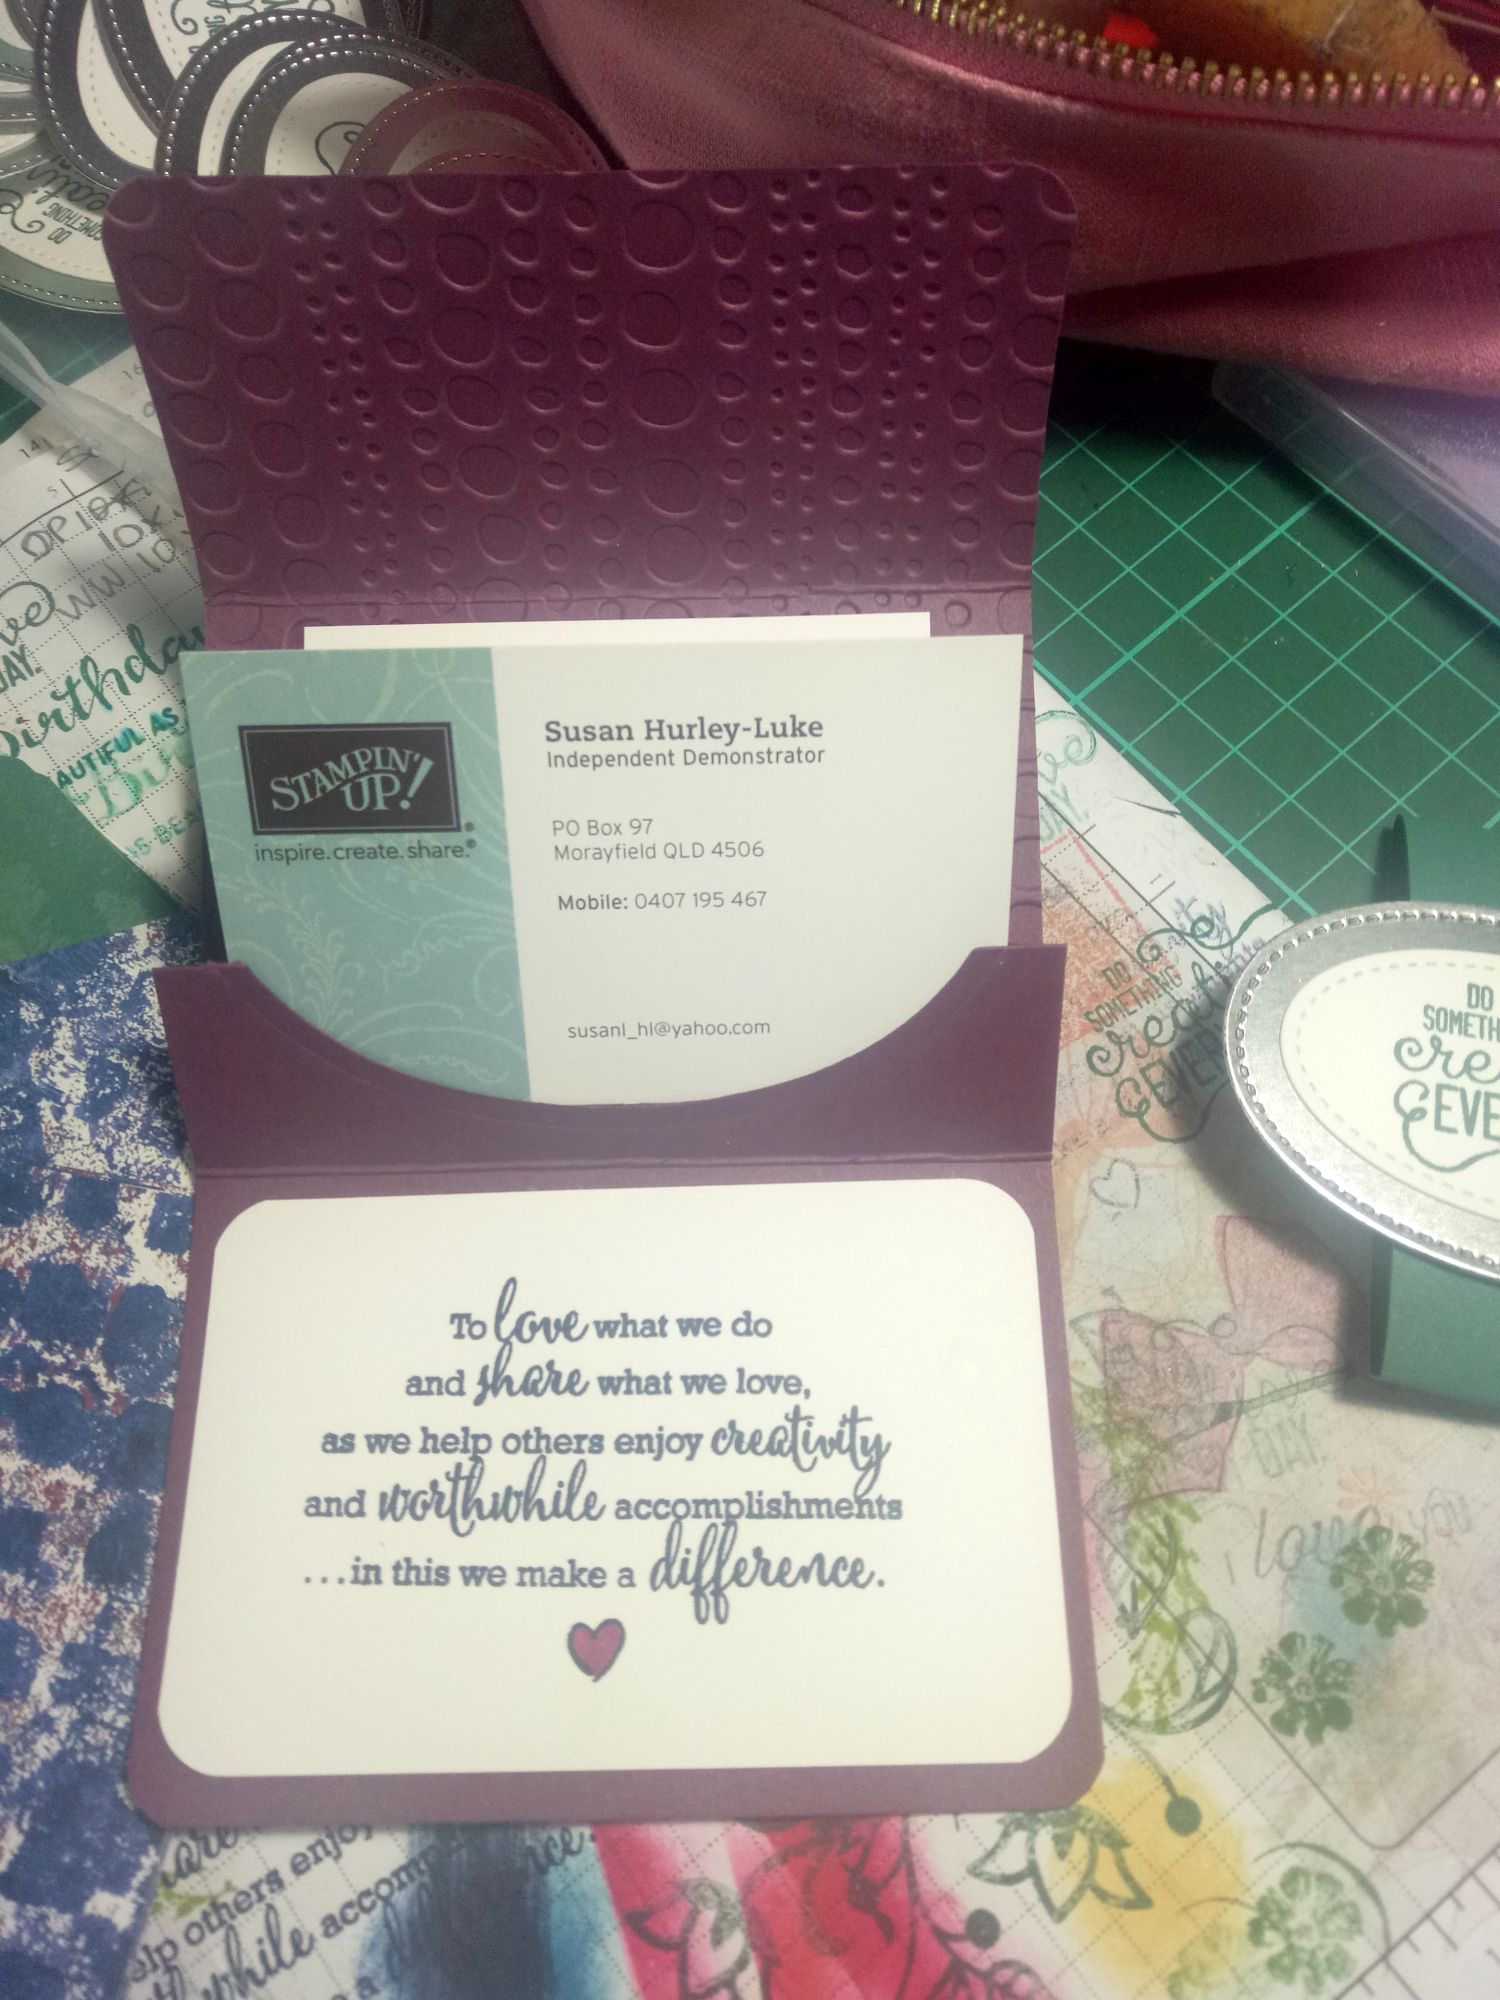
Craft-room-makeover-part-3 : Make it Useful and Pretty!
In craft-room-makeover-part-3, I added some finishing touches to my space, like the couple of shelves to the unit under the window. My stamp pads fit there too, as did my display board for my 12" x 12" layouts.
And my new Stampin' Up! Storage containers look good there too.
I plan to make some curtains for the window as well but only ones that can be fully opened and hooked back to allow light to come in. They will be turquoise in colour.
You can see some hand made art hanging from the cupboard door handles. More inspiration!
You can also just see my ribbon storage to the left. It works too. And my punch storage unit is on wheels so I can spin it around and bring it close to my desk across the now empty floor. Bonus!
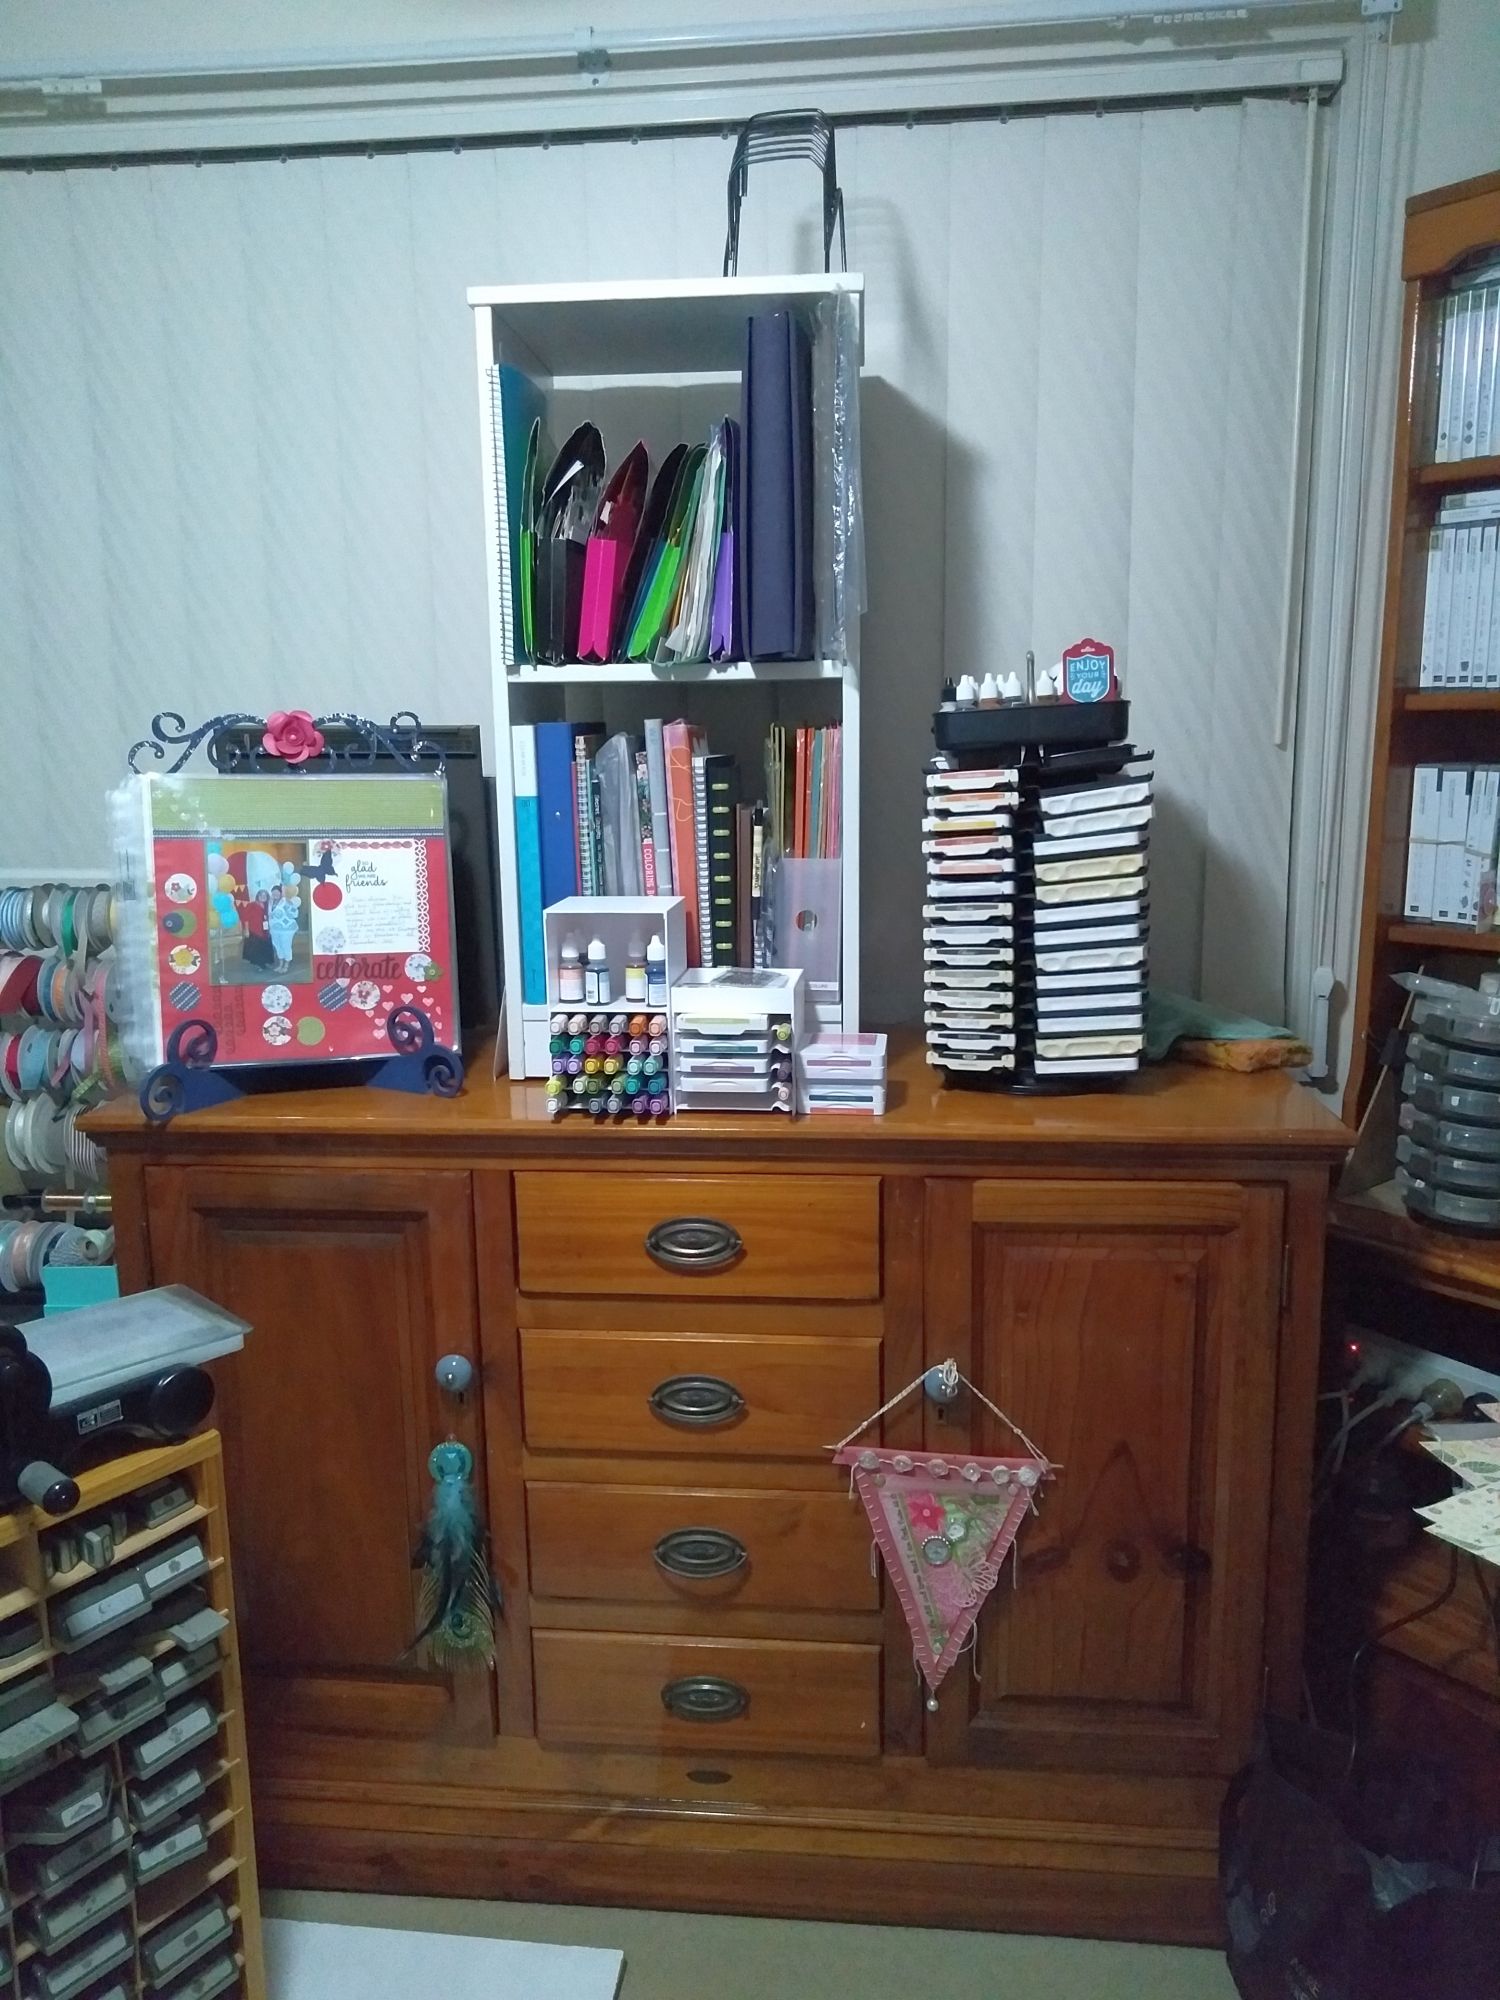
I put all my stamps in the corner book case. The top row holds my Christmas stamps, and the other rows have my current stamp sets.
There is a carousel of embellishments on the bottom shelf, and my curtain materials are to the right. You can sneak peek at the colour they will be when I can hang them in the window. They won't be laying there long!
Everything is so conveniently at hand now!
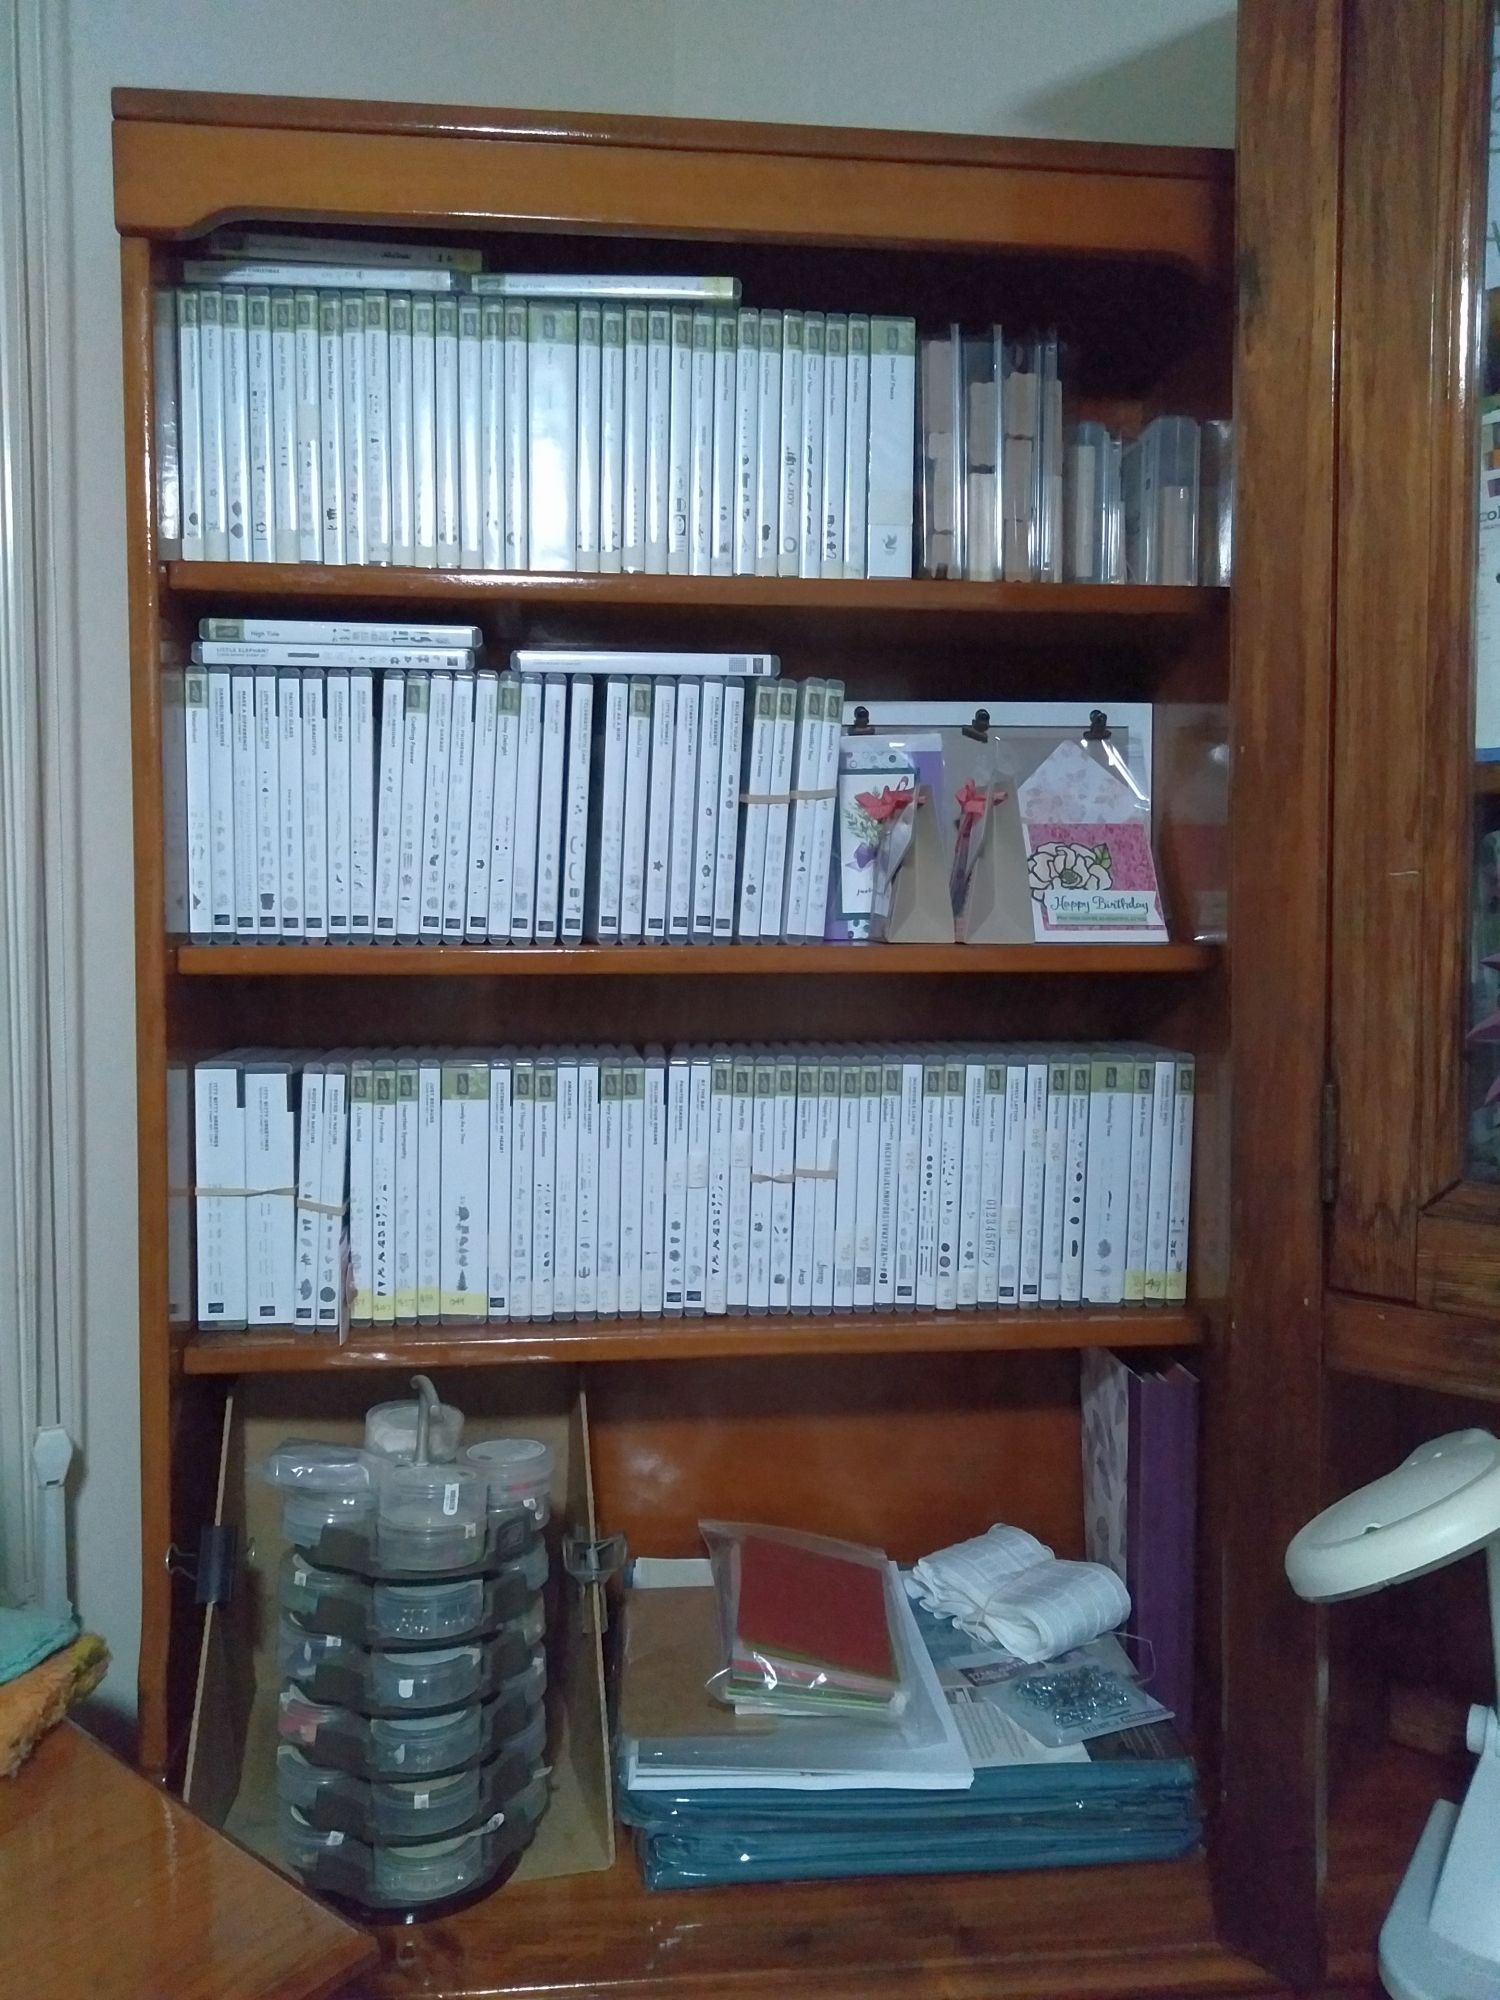
Underneath the corner bookcase, I put my guillotine on one of the shelves along with my spare craft mats and grid paper for classes.
There's a power board too for my lights and various tools like my heat tool and glue gun. When I am at my desk, these things are within reach to my left.
How practical, right?
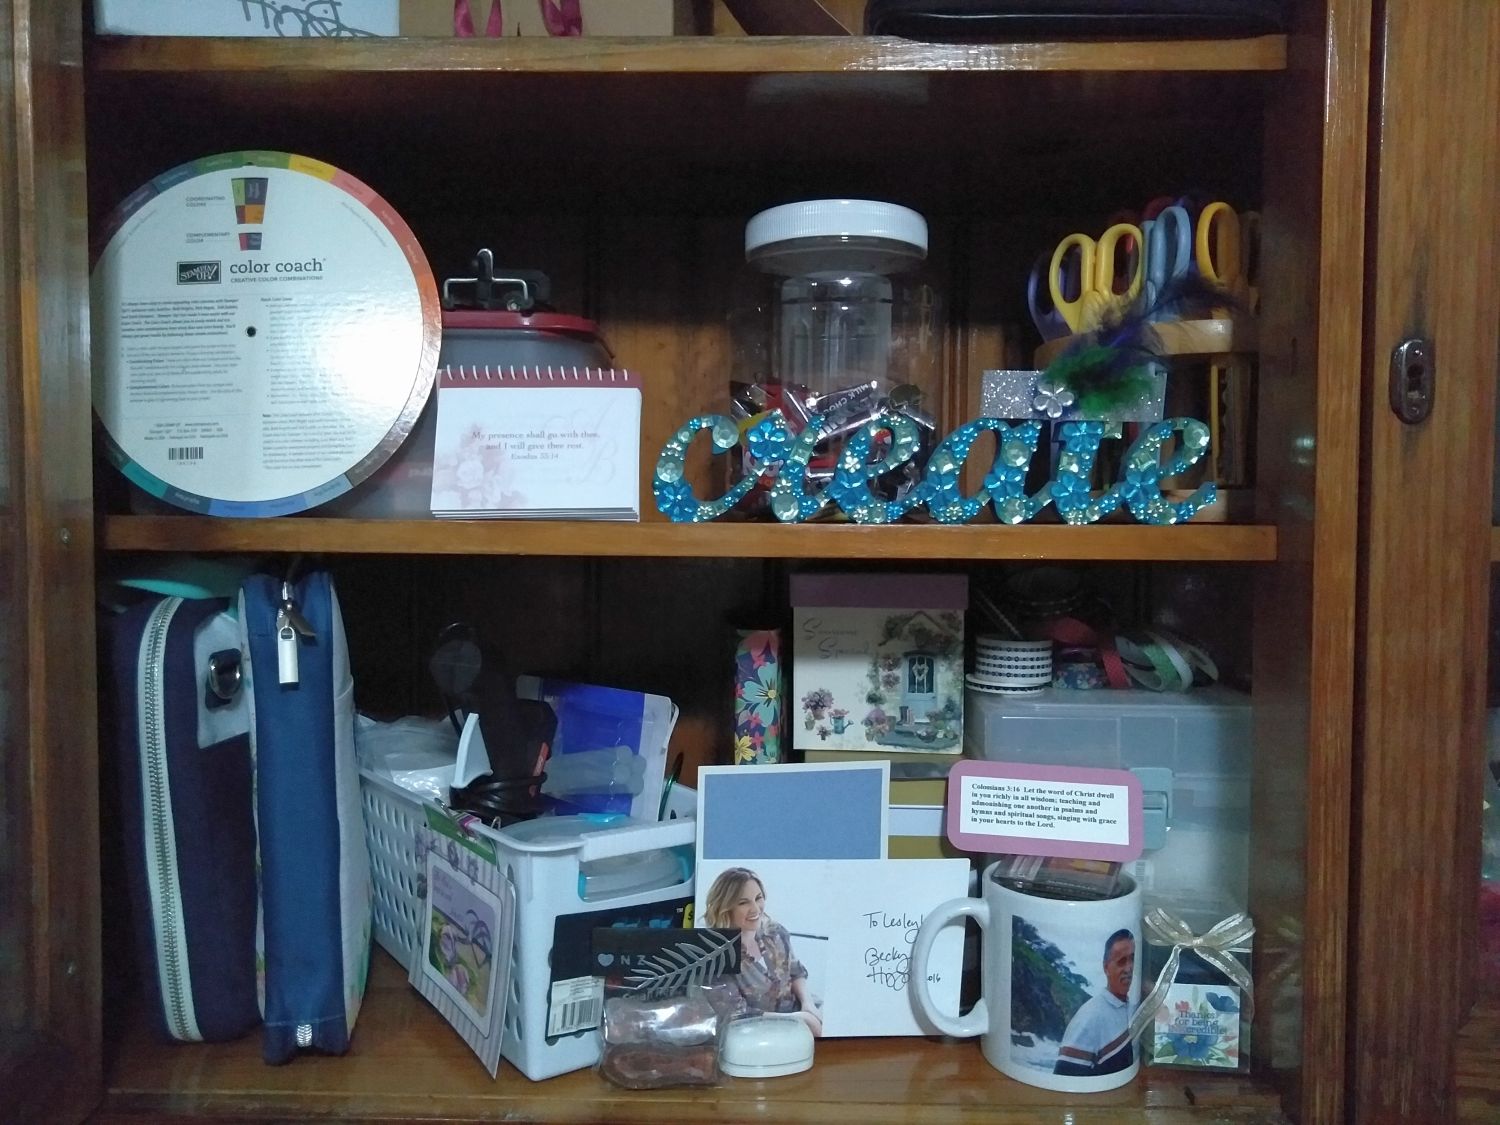
Now to make it pretty, I have a bejeweled sign that tells me what to do when I am in my craft room, in case I forget. Lol! I put it right in front of me in the overhead desk book case.
There are other pretty and inspiring things in there, like favourite verses, photos and things that mean something to me.
See my loving hubby on the mug at bottom right? Yes, that's Mr Inspiring!
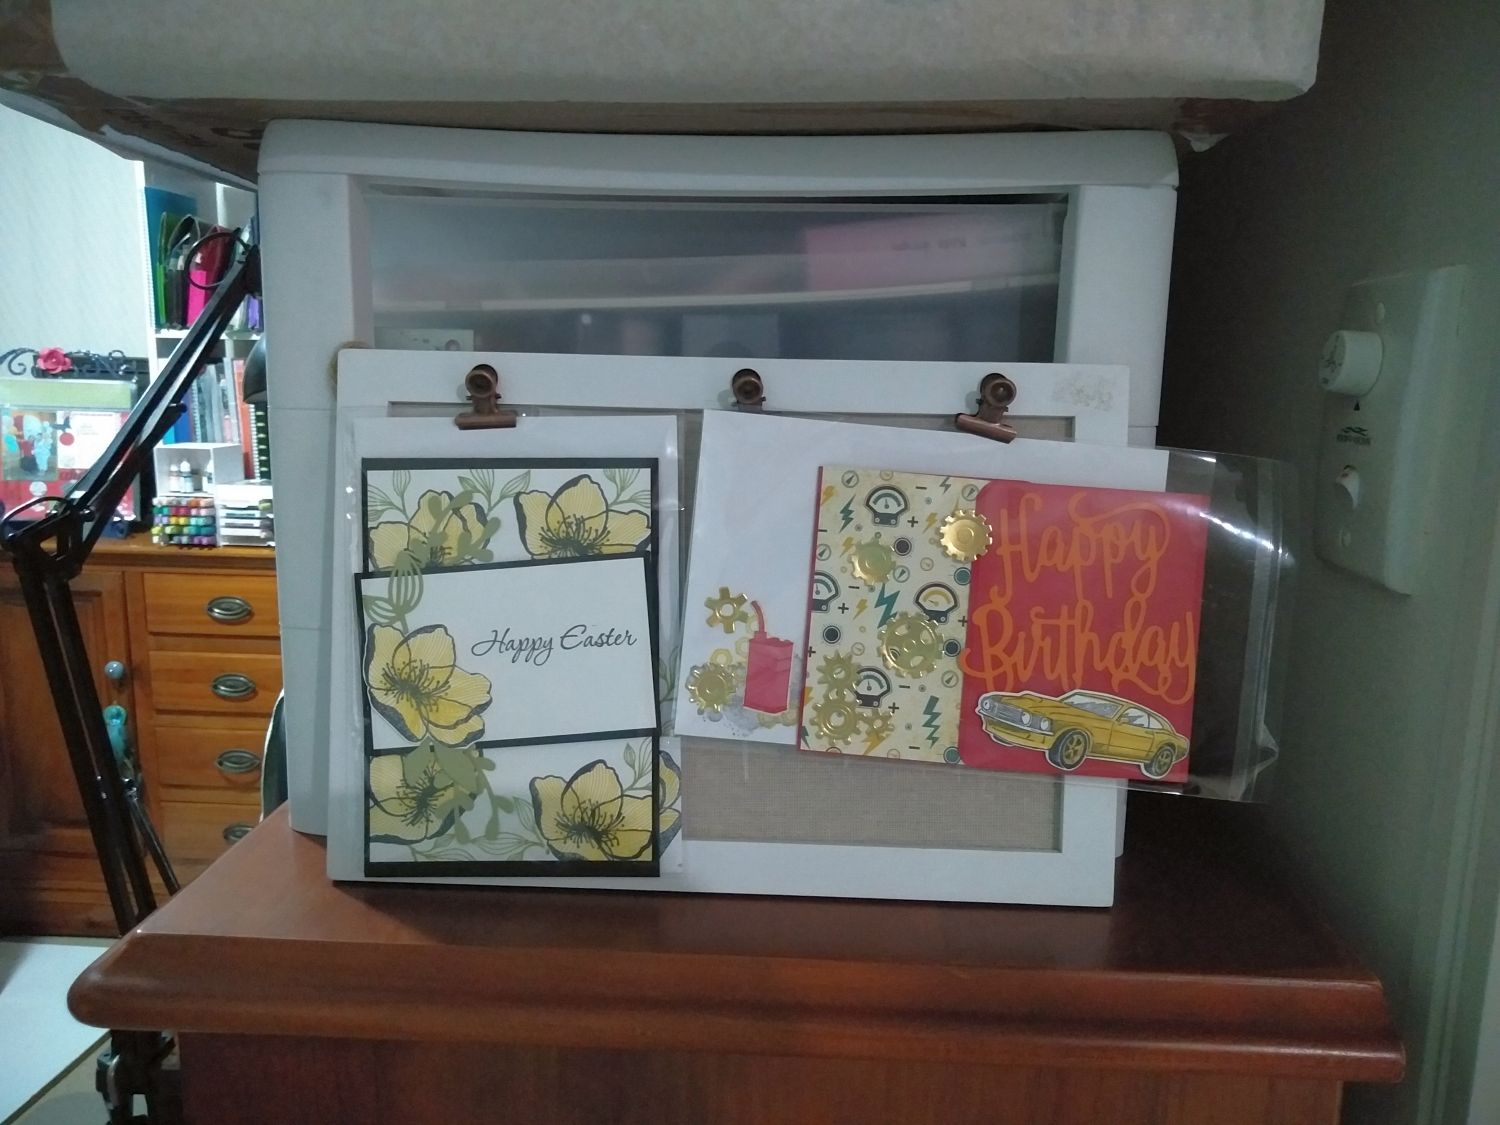
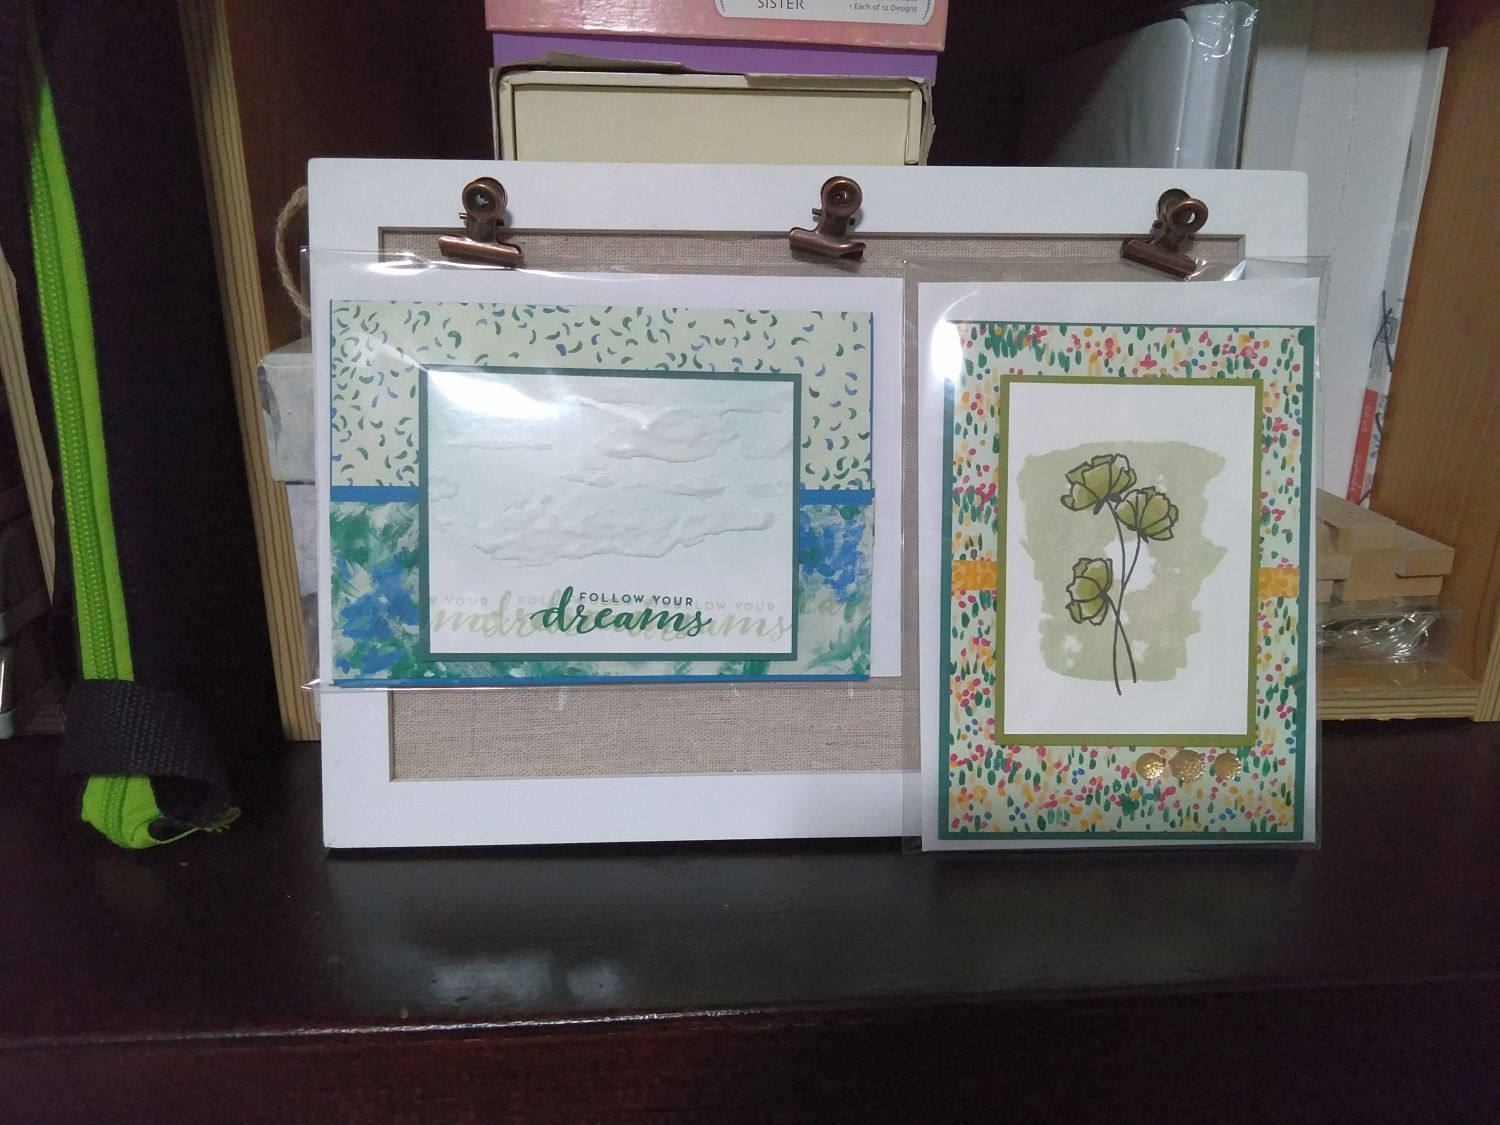
A sweet friend gave me these cute little clip boards that are just perfect to hold my latest card creations. I put three of these boards in my room in different places. I love that I can just change out the cards as I make new ones.
I put one right at the door of my craft room, so anyone entering in has something crafty to focus on immediately.
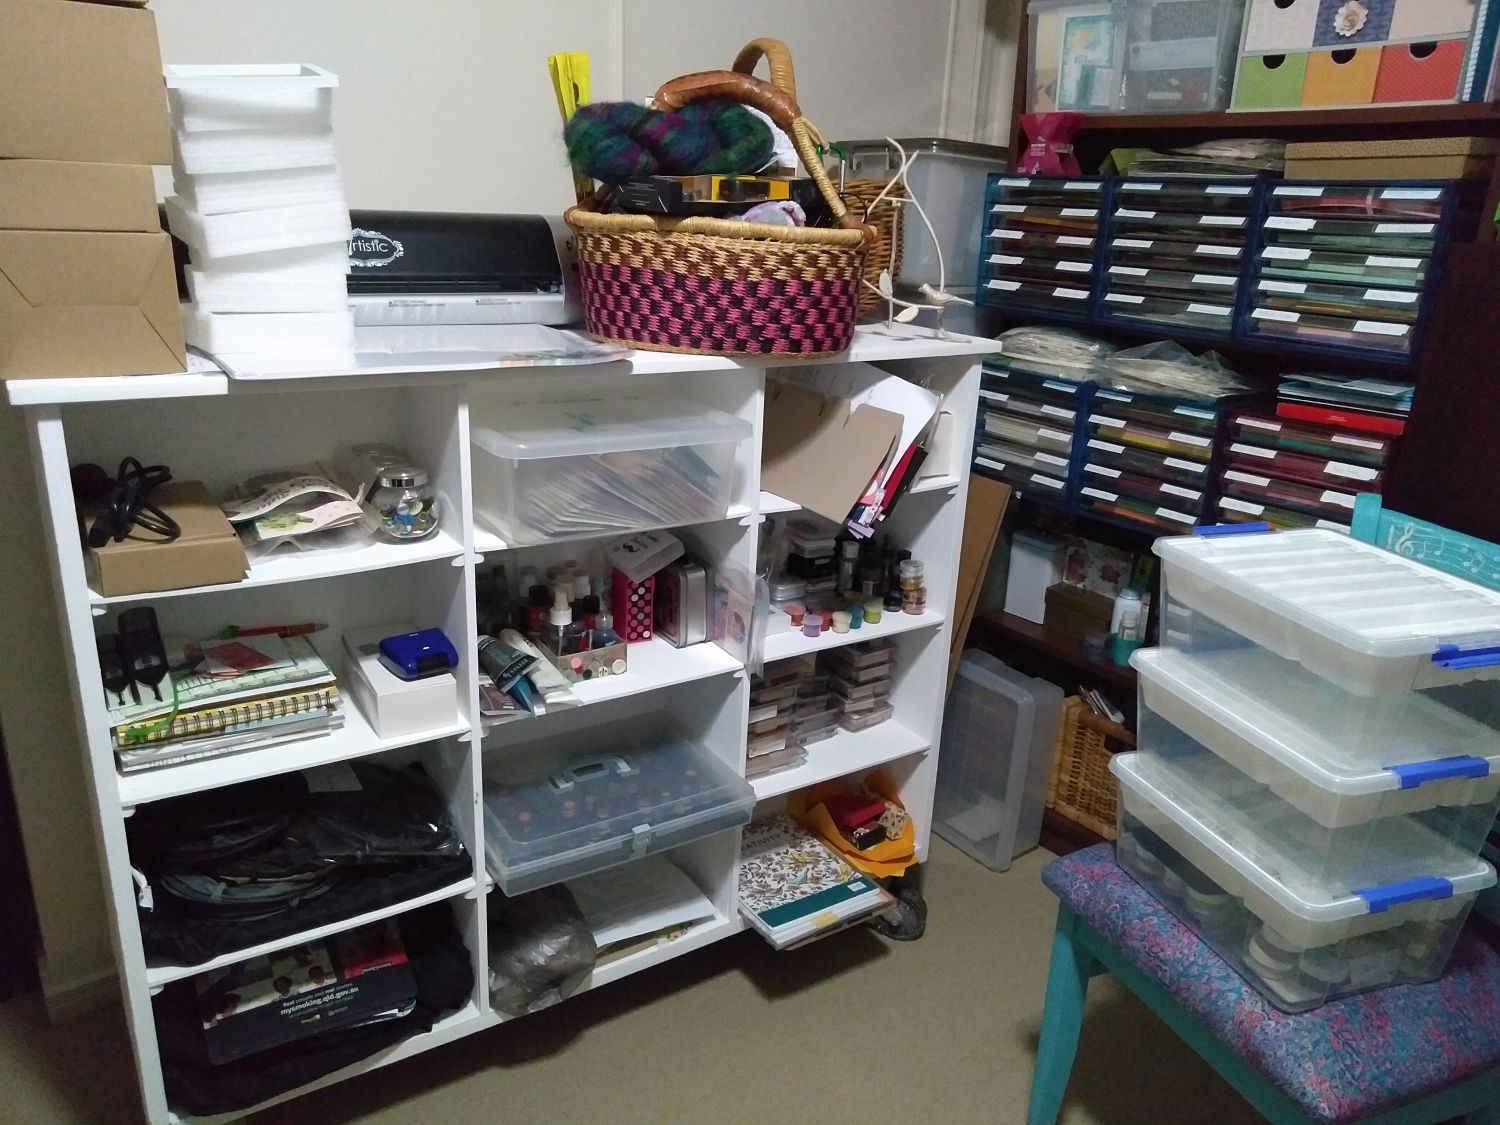
The big craft trolley has so much space in it! I am in the process of finding the right containers to hold things on each cubby hole.
So far I have found some clear containers from Woolworths that are pretty good at holding many small things and allowing me to stack a layer inside the container.They also have lids which makes stacking the actual containers easy.
I am still packing some of the loose items on the shelves into their new plastic tubs. So far, I have organised all my embossing powders into one, and all my daubers into the case at the bottom middle.
My paints and sprays are going to fit well into another container.
I have completed card projects in another one.
And I haven't filled ANY of the cubby holes on the far side of the trolley yet! I have room for expansion! Yay!
Oh, and see where all my paper is? It's in the bookcase to the right. I have it organised into the Stampin' Up! colour families.
Bliss!
And the chair that started this whole craft-room-makeover-part-3 train? It is holding my new plastic tubs right now, but it is an honoured place for visiting crafters to sit when they venture into my craft space.
In Conclusion
Even though it took lots of thinking, planning, blood, sweat and tears (mainly from my husband who has been so wonderful about restoring all the pieces of furniture I asked him to work on), and even though it took about eight weeks to accomplish, my craft-room-makeover-part-3 (and parts one and two) was worth it.
I love my new space.
I love all the furniture pieces I chose.
I love that it was a team effort, not only with my husband but also with my girlfriend who helped me with ideas and making it all seem so possible.
I love that it is done now, and I actually bit the bullet to allow my craft space to be disrupted. My caravanning craft days where I worked in very small spaces for over 16 months did not go astray! I was able to keep crafting and even run classes while my room was in disorder.
I love that I was able to take you on the journey with me, and I love that maybe some of you will be inspired to take the next step with your own craft spaces.
Is my craft-room-makeover-part-3 finished? Probably not! As I get more supplies and let things go, I will probably keep tweaking and re-organising.
Now that I have a structure to follow, with dedicated spaces for all things that are alike, I am hopeful that it will be an organised space that works for a few years to come.
So, till my next craft room makeover, I will sign off on this project!
Happy crafting, and especially happy craft room makeovers!
PaperCraftCentral Susan
xxx
❤


New! Comments
Have your say about what you just read! Leave me a comment in the box below.