- Home
- Papercraft Adhesives
- How to make Easel Cards
Easel Cards
Written and Created by PaperCraftCentral Susan
Make easel cards displaying your favourite photos as special gifts! Instructions are below.
"Easel: an upright frame or tripod to hold an artist's canvas, a picture on display, etc".
~www.yourdictionary.com
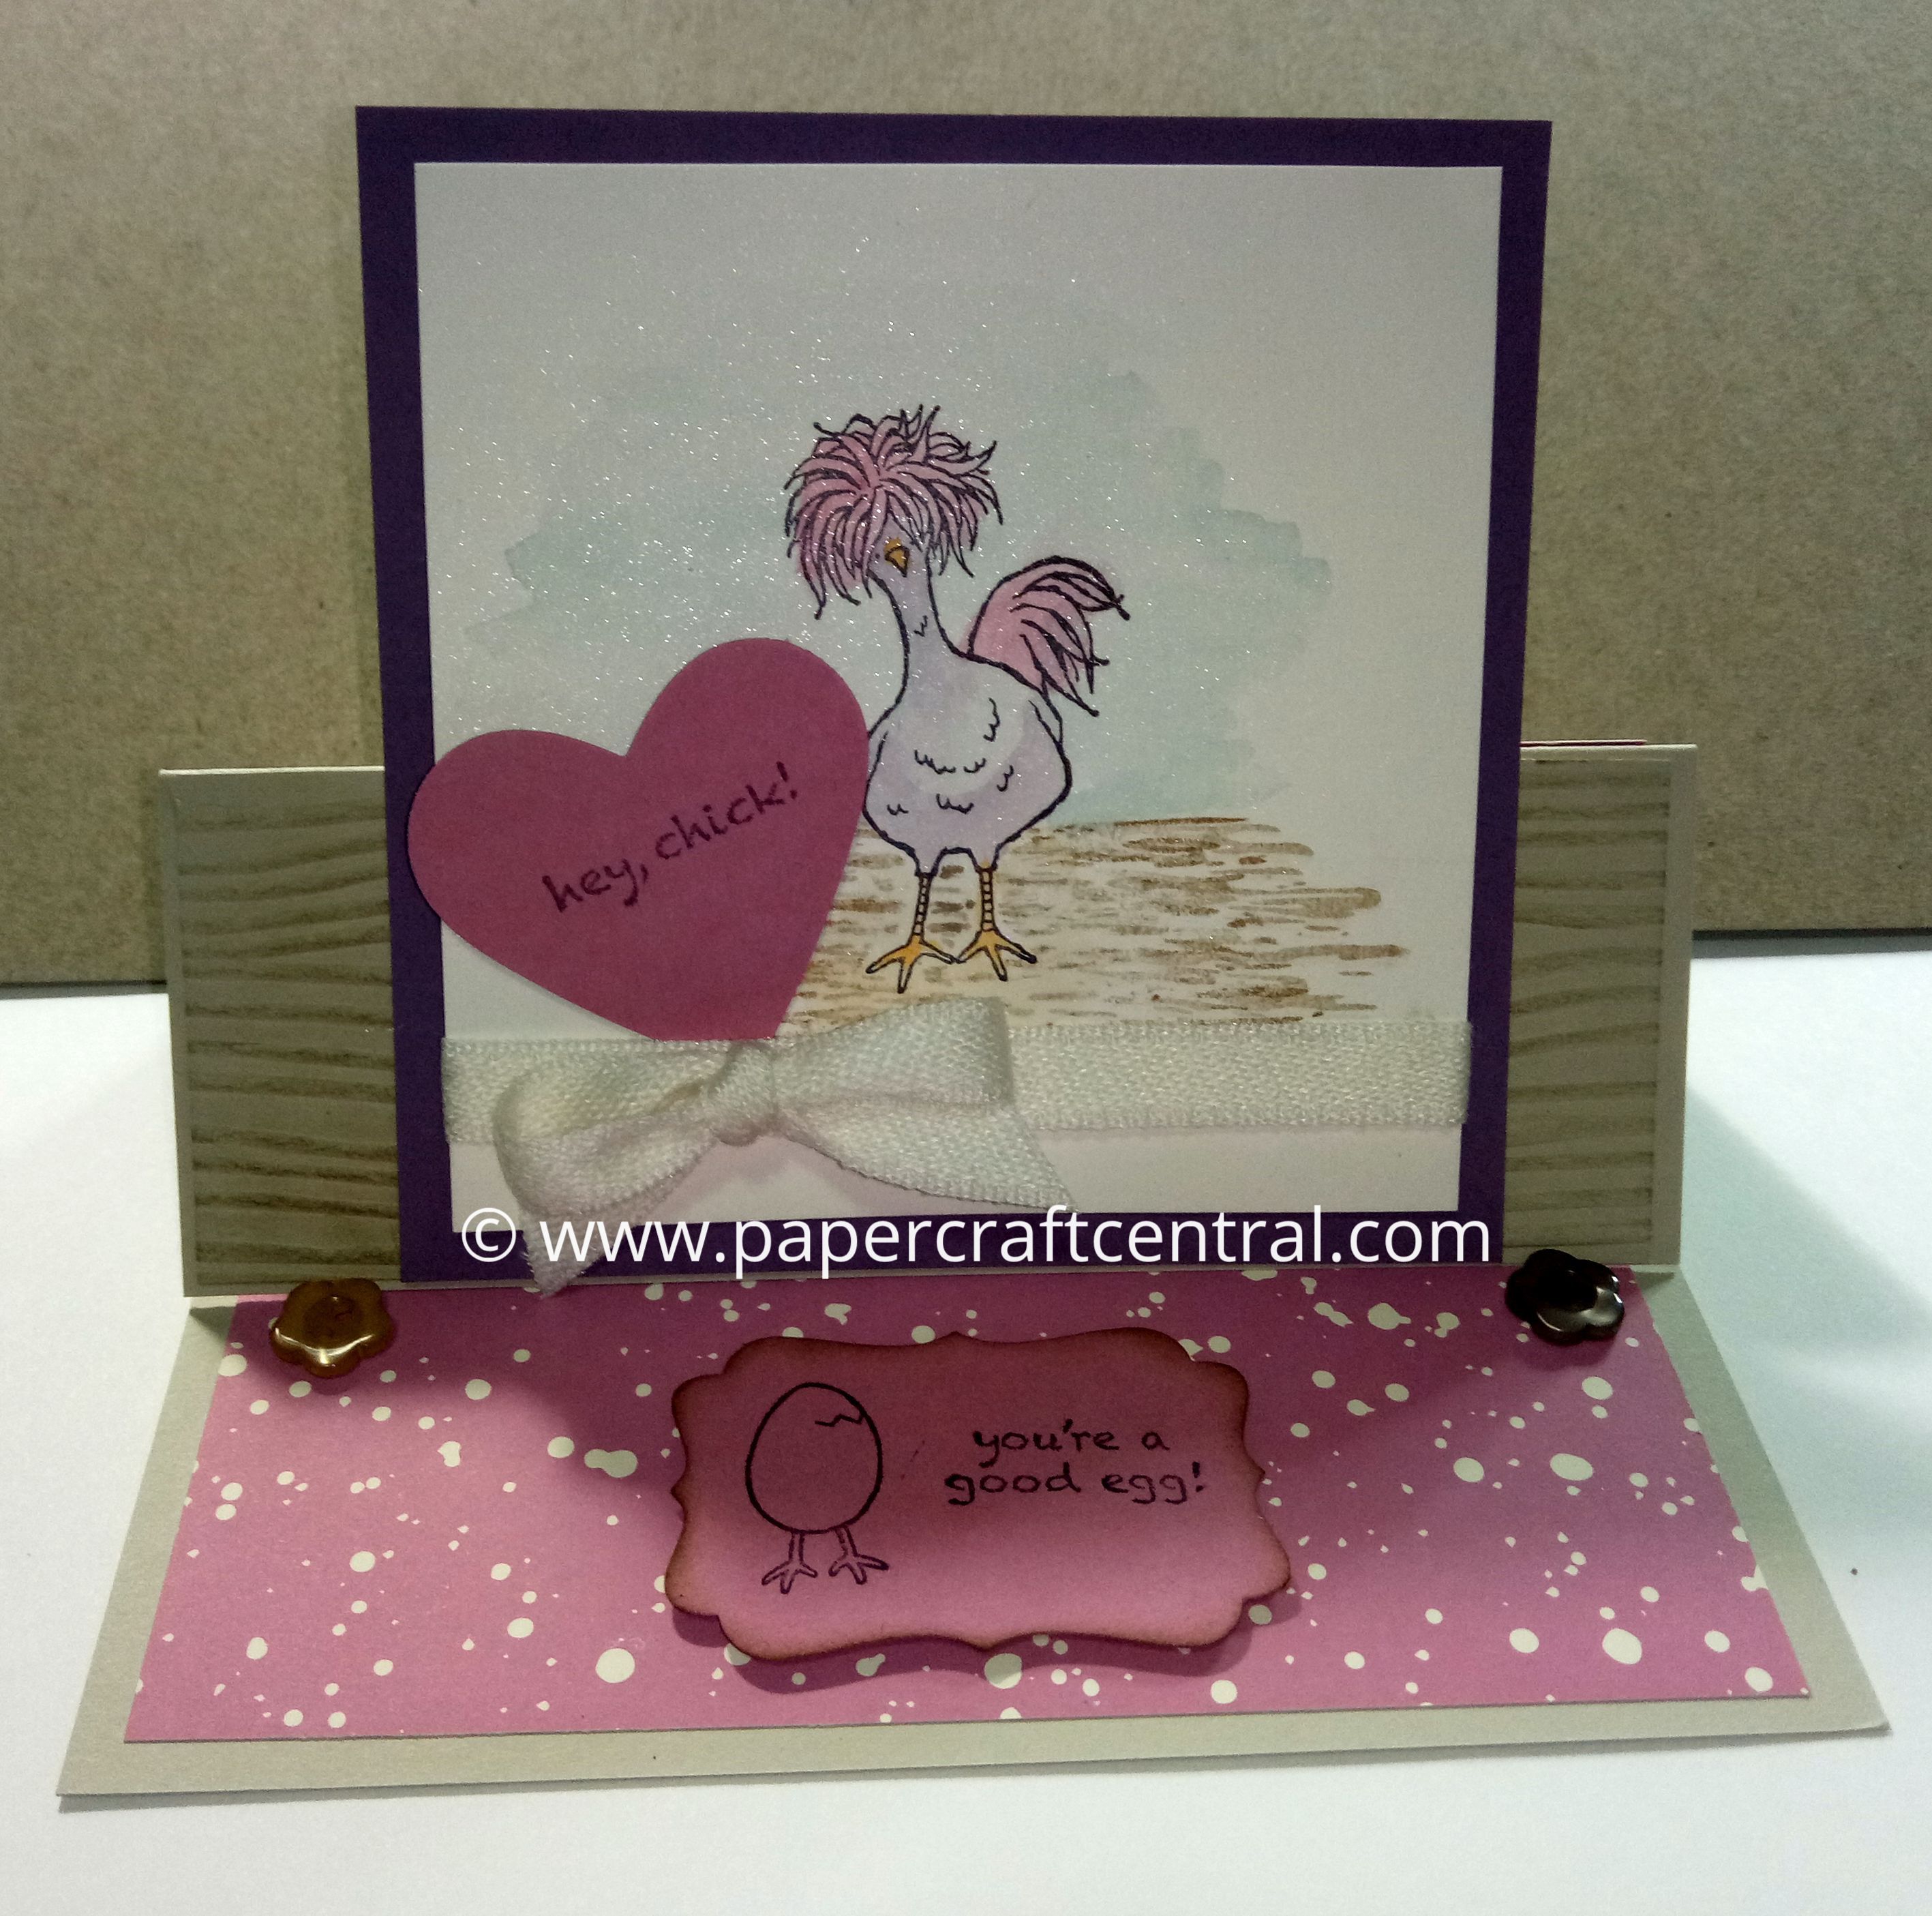
Ever wanted to give someone a photo and couldn't think of a good way to present it? Making Easel Cards may be the solution.
They allow you to send someone a special and memorable gift that may be displayed for months after it is received, or it may even be incorporated into your friend's scrapbook album after she has admired it for awhile.What a compliment, hey?
Let's face it, when I receive a hand made card, it goes on display for at least a month. There's no need for a special occasion in my eyes when you have been given something from the heart! Paper hugs are wonderful to receive.
I made some special Christmas ones for a friend one year with pictures of her entire family on them. She was very pleased to have them and said they were well received by her family.
These greetings would be great to send as a thank you after a special event like a wedding or the birth of a baby, a graduation celebration or to help celebrate or commemorate any other special event.
If you run a craft stall, or you're thinking about doing so, you could also consider making some of these as inventory for your stall. You could make them for standard sized photos but you can also offer to make them in custom sizes, if you like to do that.
If you haven't made these cards before, the secret is in knowing how it's done. I promise these are not terribly difficult to make.
Here's How to Make Easel Cards:
You Will Need:
- A card base already scored to fold in half landscape style. I always use half an A4 sheet, cut at 15cm and scored at 10.5cm
- A photo that will fit in landscape on the front of the card
- A piece of cardstock cut to fit over the entire front of your greeting card (In my case the piece would measure 10.5cm x 15cm)
- A bone folder and ruler
- Some buttons or brads or punched shapes to form the easel 'stops'
- Double sided tape or Sticky Strip
- Other embellishments of choice
Here's What to Do:
- Take your card base, open it out and score a line horizontally across the centre of the card front
- Mount the photo to the spare piece of cardstock and decorate the piece as desired. I used punched photo corners and ribbon, some punched borders and crystals
- Add a sentiment to tell a bit of the story or to mark your occasion
- You will have a decorated piece of cardstock at the end, that should fit over the entire front of your card when closed
- Now attach the photo piece to the bottom half of the front of your card base as shown below:
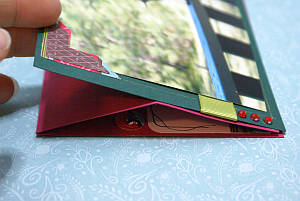
- Note: Do not add adhesive to the top half of the decorated piece of cardstock or it will not open into an easel
- Finish your Easel Card by attaching some buttons, brads or punched shapes to the inside of your card base where you want to prop open the card. Experiment till you have just the right place for your photo to be displayed, then mark points on each side of the card to act as guides for where to place your 'stops'. I used brads and some punched shapes to make my 'stops' for this card, but also consider cutting out several shapes and glueing them together to add height. This could be a less bulky way of adding the stops
- Add a sentiment inside your card and you are done!
Don't forget to decorate your envelope as well. If you need a different sized envelope due to the size of your photo, remember you can always custom make one to suit your greeting, or make one with the Envelope Punch Board (no longer available from Stampin' Up! but you may find one in a craft store).
You can also make other types of greetings using this format, such as this Birthday card that uses a star shape, and here's a Wedding Greeting with a Western theme. Make it work for you!
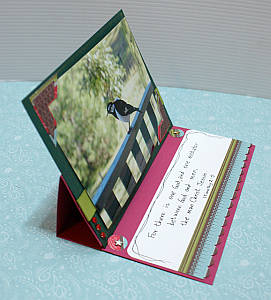
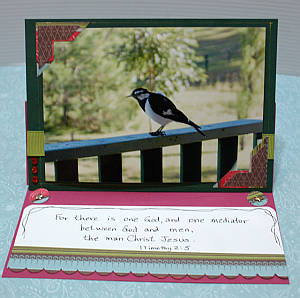
I especially like them with photos as they make such a lovely keepsake you can have on display.
If you would like to see another example of a birthday card made with this card design this one is made in a totally different style.
I have some other samples for you which I have placed below. These cards make great birthday cards, thank you cards and cards for all occasions. I often make two birthday greetings and a thank you one at the same time, while I have my supplies out.
I love the Owl Builder Punch but Stampin' Up! has retired it.
Which is your favourite card so far?
More Examples using this design:
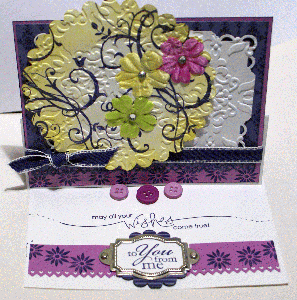
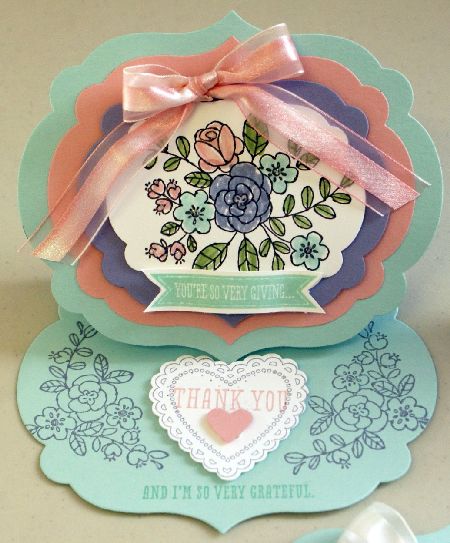
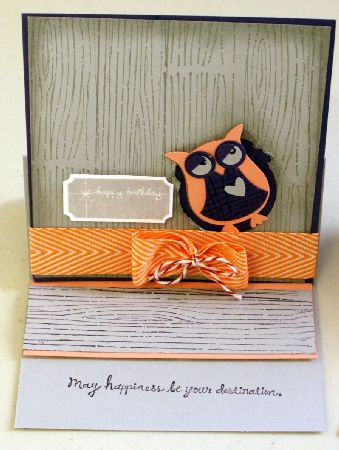
If you live in Australia and need any of the supplies mentioned in this project, remember to browse the Stampin' Up! catalogue in my online store.


New! Comments
Have your say about what you just read! Leave me a comment in the box below.