- Home
- Papercraft Adhesives
- Easter Projects
Easter Greeting Card and Projects
Written and Created by PaperCraftCentral Susan
Make an Easter Greeting Card with a playful or a Christian focus
"For God so loved the world, that He gave His only begotten Son, that whosoever believeth in Him should not perish, but have everlasting life"
~John 3:16KJV
His Love Easter Greeting Card
I'm very thankful for making it through to 2021 without major illness. It has been such a strange 12 months with society growing and changing into something different. I think this Easter, it is a time to rejoice.
And the His Love stamp set allowed me to express that sentiment perfectly.
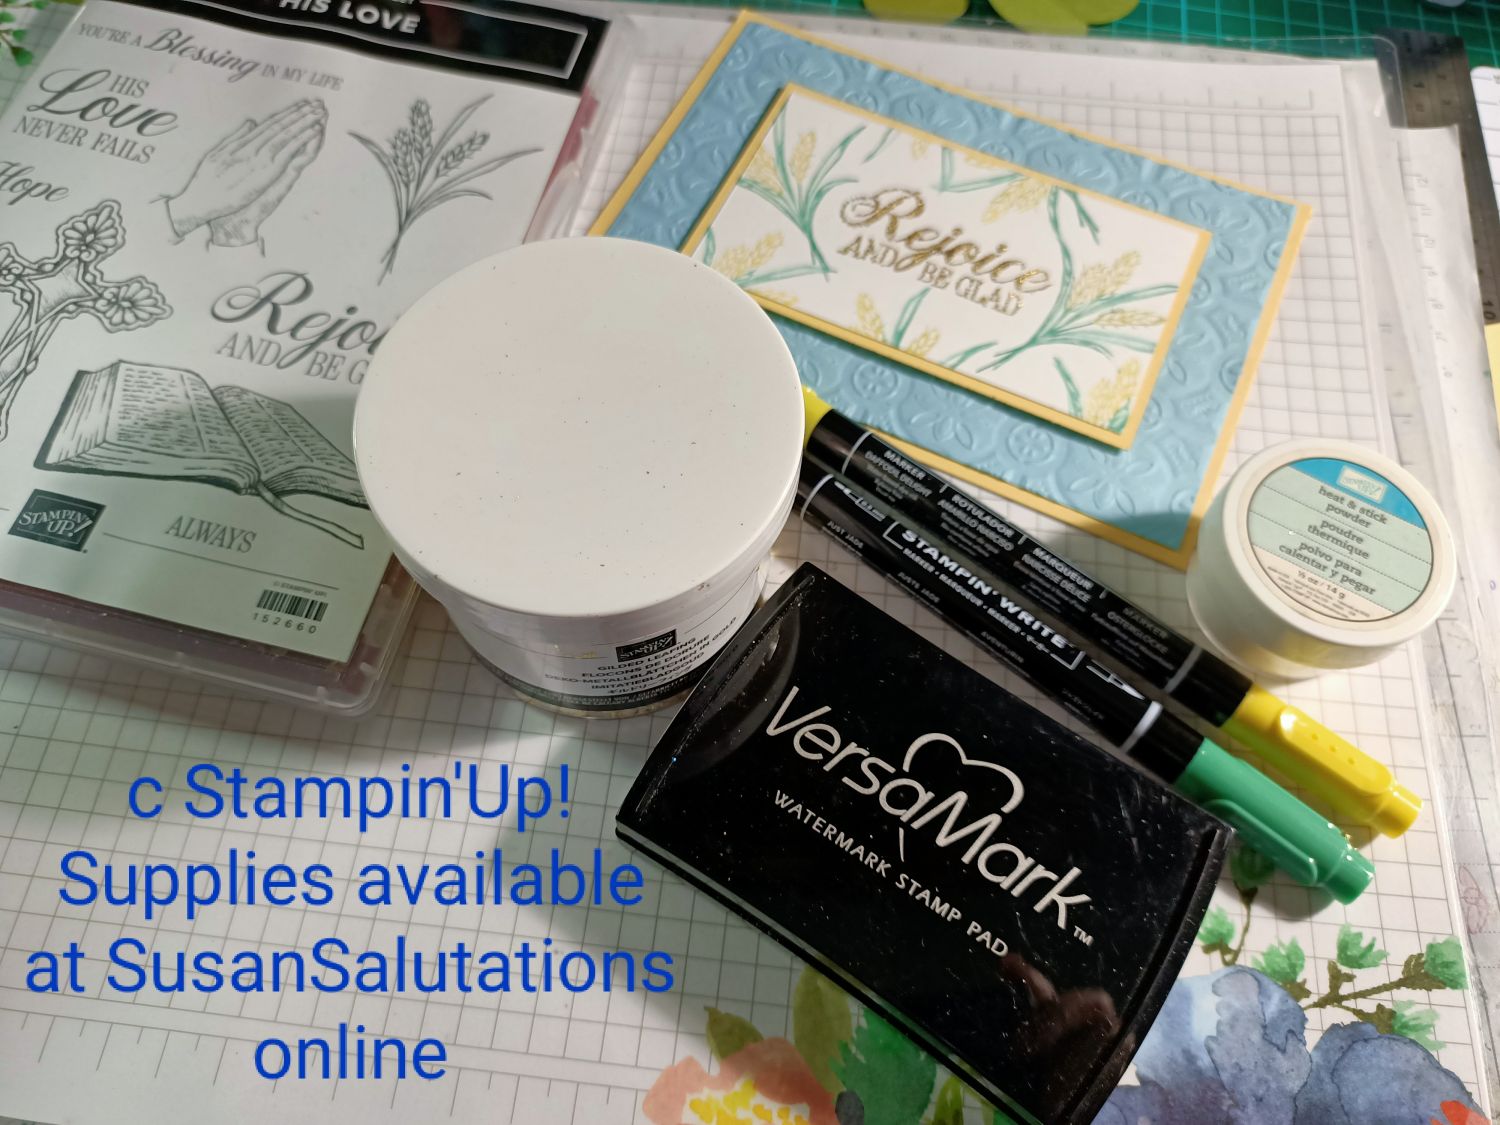
I simply used the beautiful words i the set and stamped then in Versamark. I added some Heat 'n Stick powder and briefly heated it before brushing it with gold leaf.
My Stamp 'n Write! markers made colouring the wheat images very easy. I coloured them right on the stamp itself before adding a stamped image to my sentiment piece.
In keeping with the cheerfulness of this sentiment. I chose So Saffron and Soft Sky cardstock. The layer behind the sentiment has been embossed with the Tin Tile embossing folder.
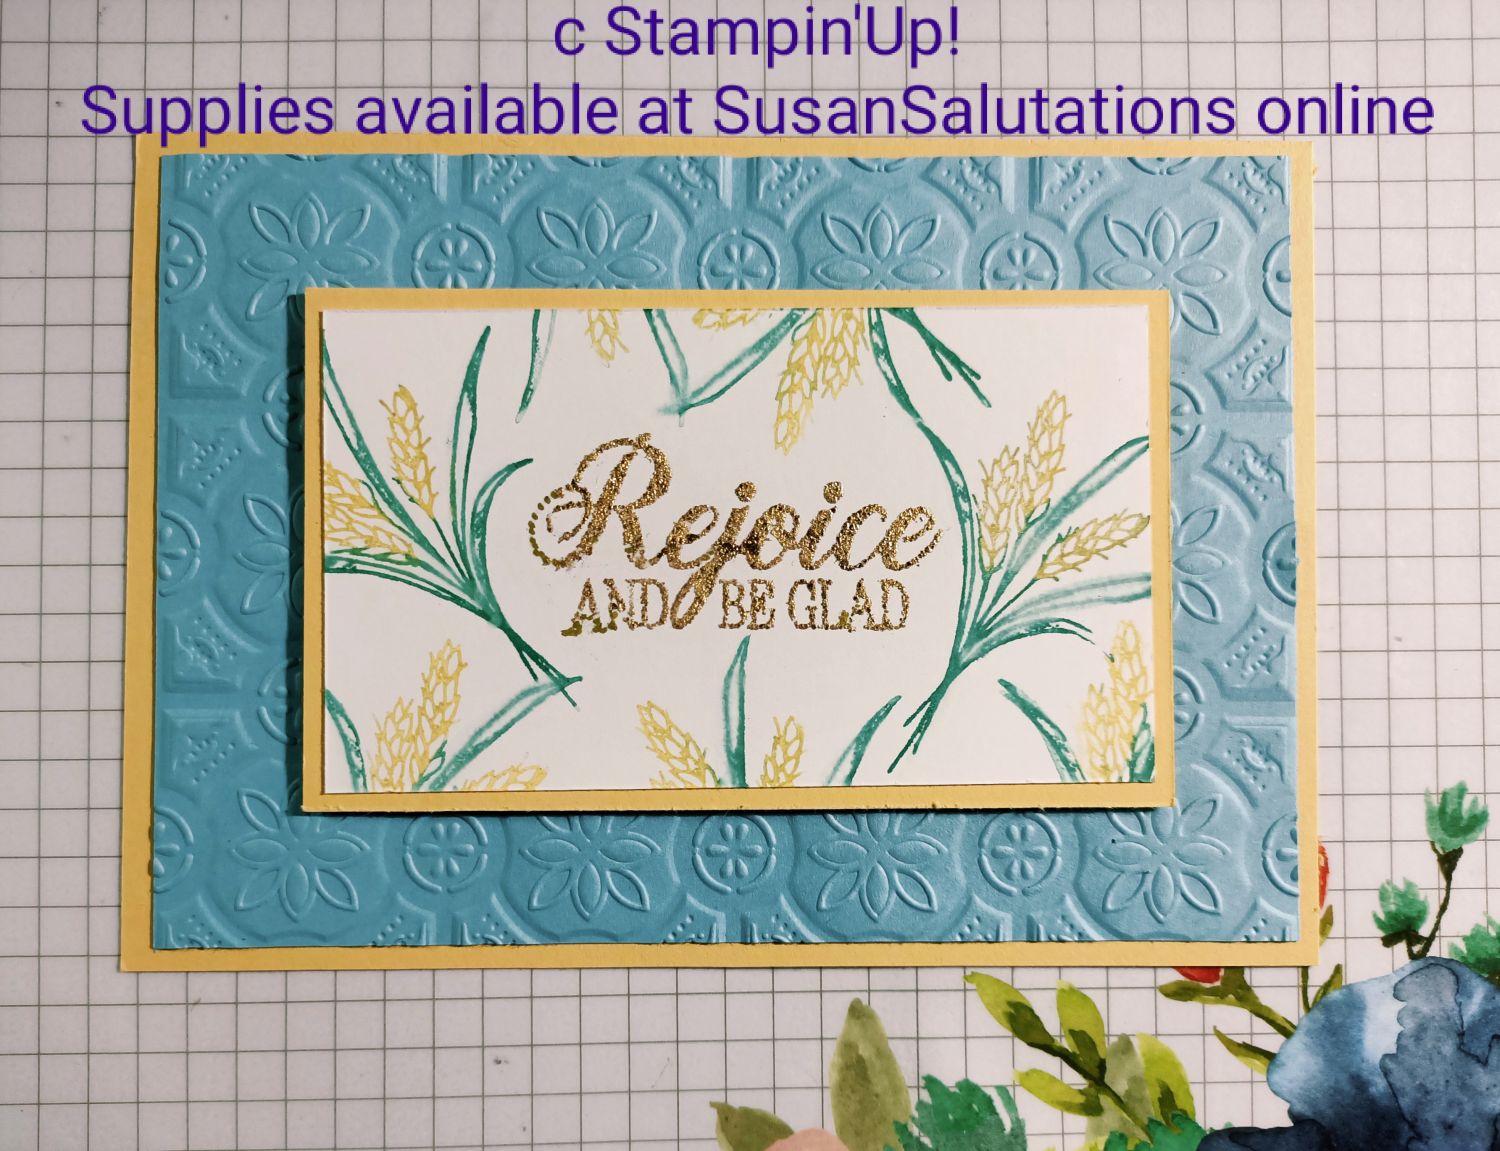
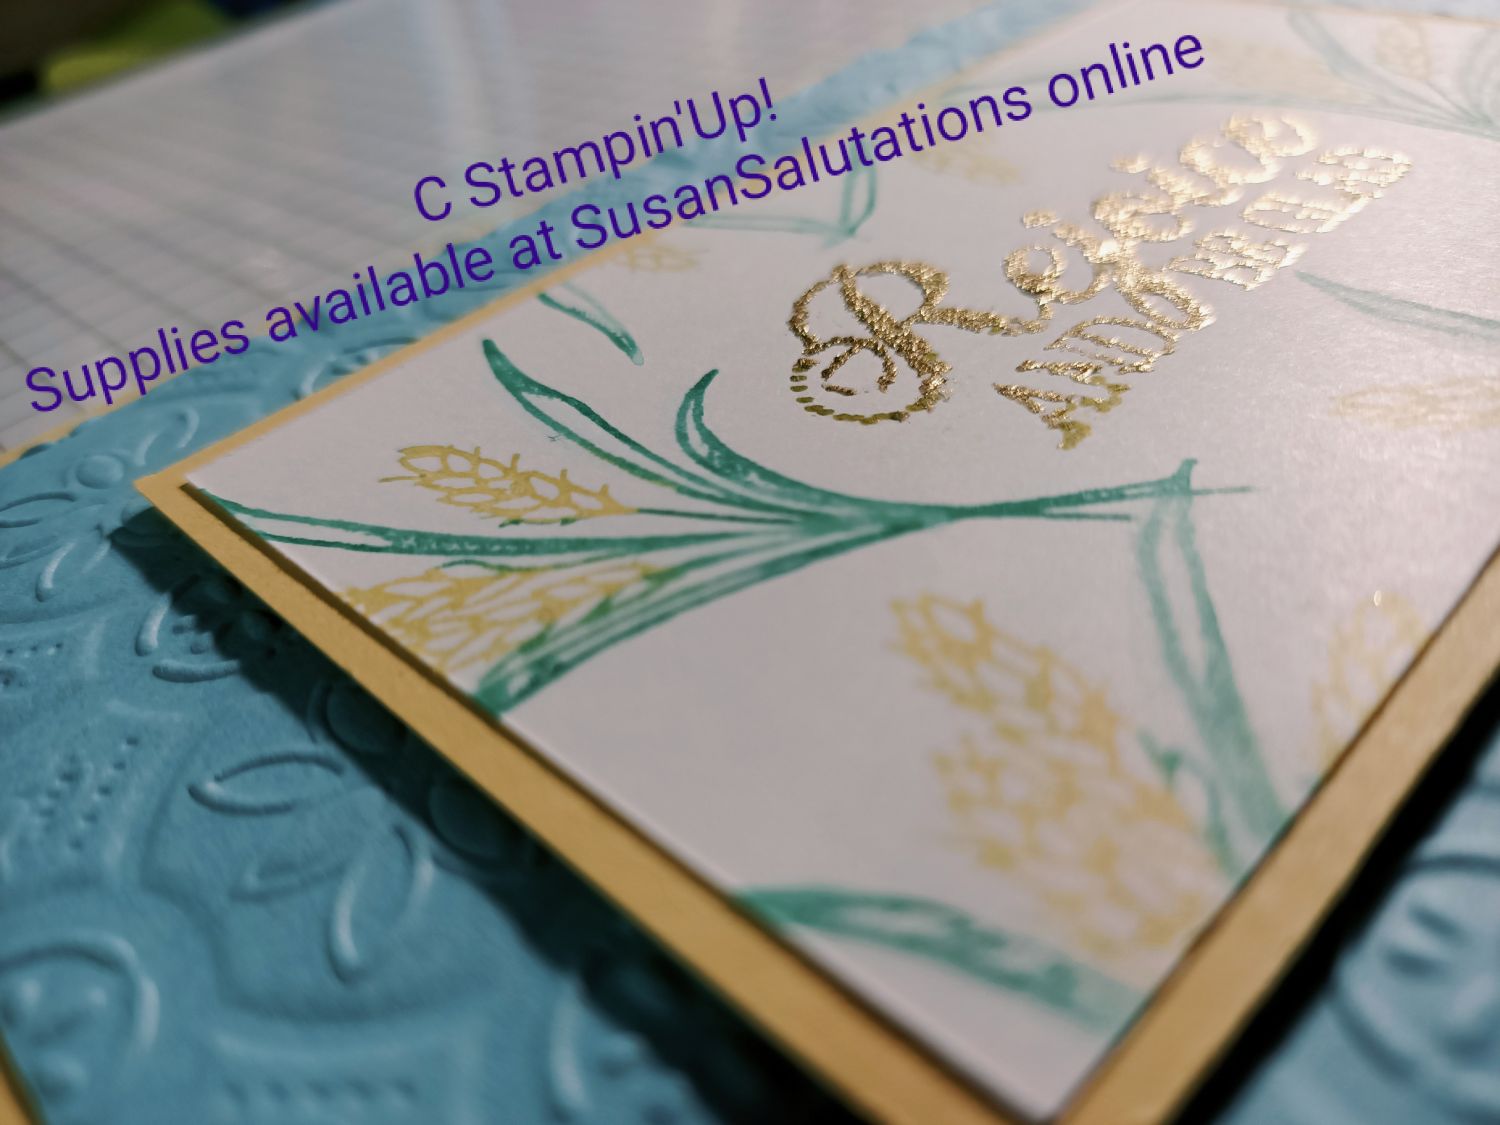
I tried to angle the card so you could see the effect of the gold leafing in the sentiment here.
It didn't take a lot of supplies to make this little card.
I just had to show you a close up of this lovely stamp set. It's only available till the new catalogue comes out in June 2021, unless it is carrying over. You can never tell what will be included in a new catalogue (for example, the Brushos I used in my Easter greeting card project last year are no longer available), so do be sure to get one of these stamp sets soon if you need it like I did.
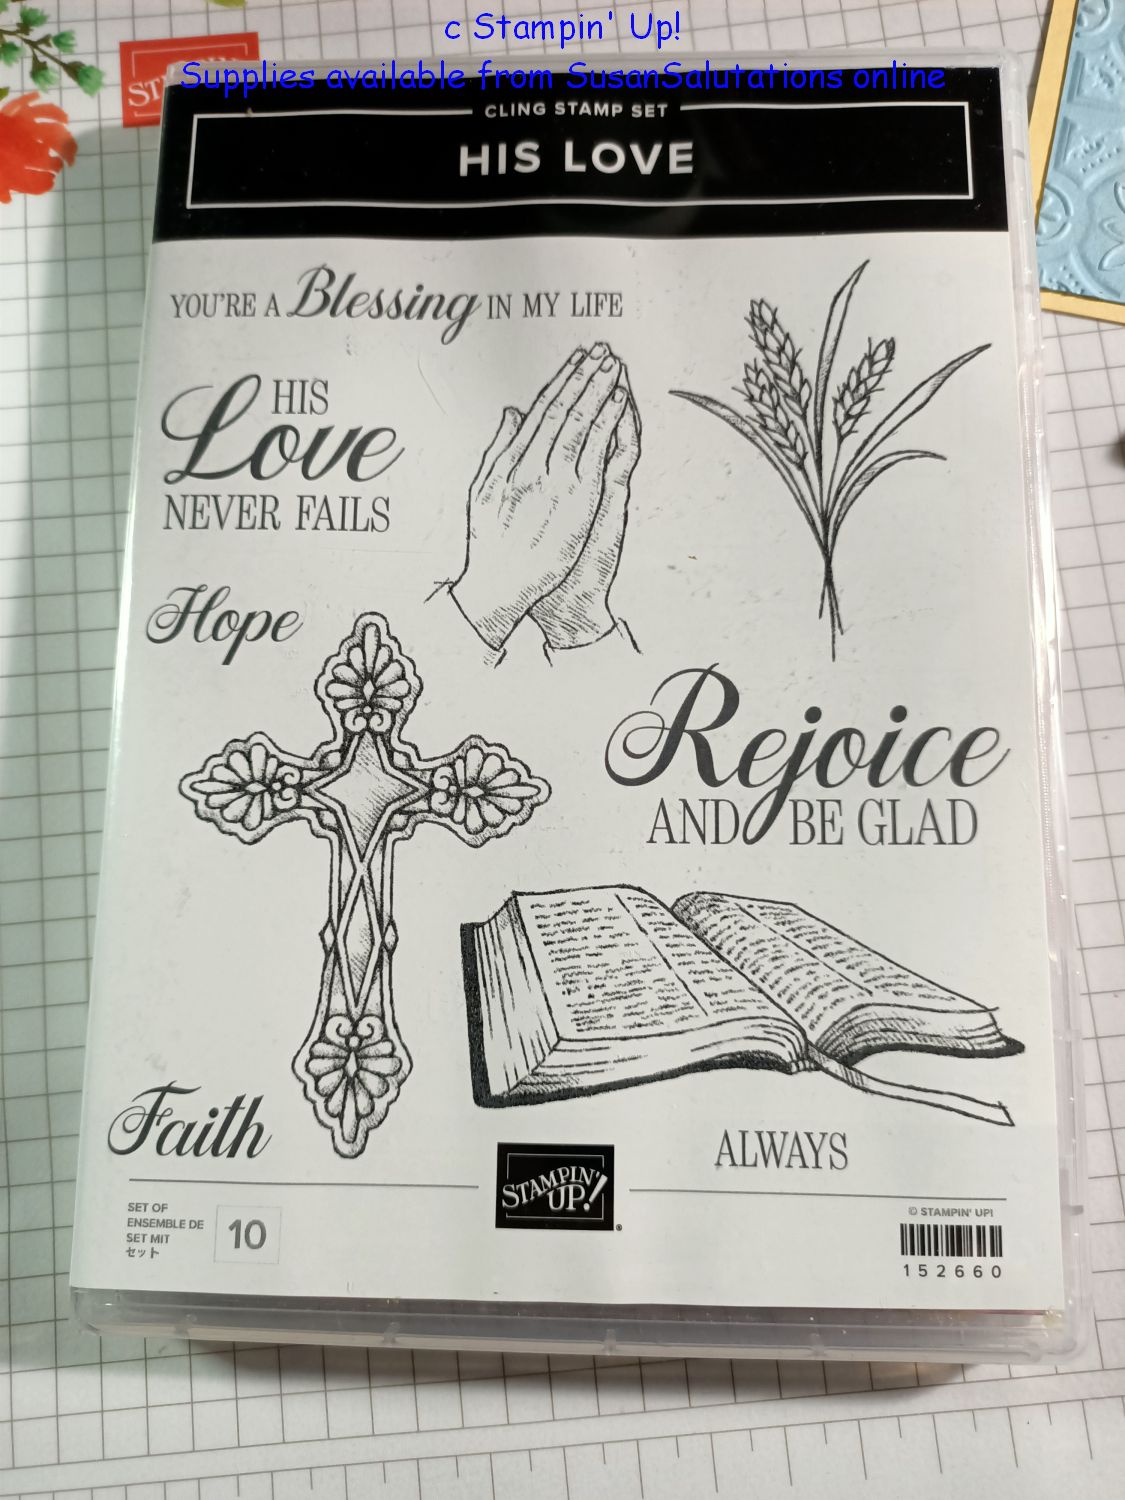
This stamp set isn't just for Easter greeting cards. You could make an encouragement card, thank someone for being a blessing to you or use the images for special occasions in a person of faith's life.
And that's just off the top of my head!
In fact, I did use some of the images to decorate the back of little scripture memory cards this month.
Have a wonderful Easter, everyone. Stay safe and well!
Card with Eggs
Last year I made a quick and easy Easter greeting card using my now retired Brushos from Stampin' Up! and the egg images from my retired Swirly Bird stamp set.
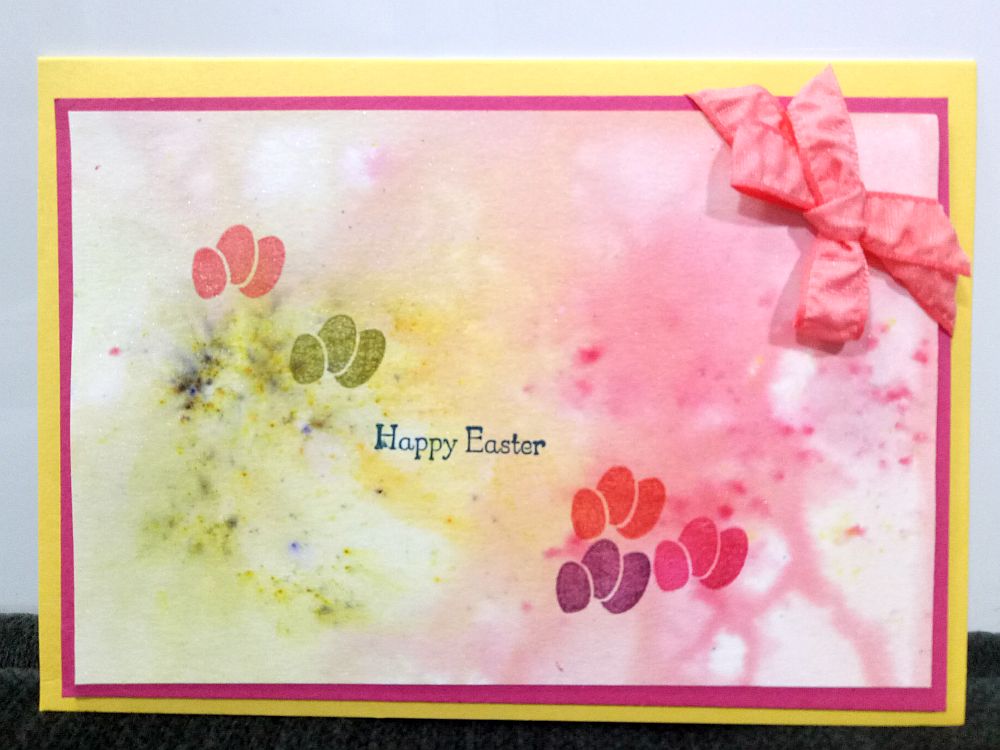
I just started with Shimmer Paper, carefully added some Brusho dust, sprayed it with lots of water, tipped the cardstock around and when I was happy, I heat set it with my heat tool.
After it was thoroughly dry, I stamped my eggs in various colours over the top.
The final touches were my Easter greeting from Teeny Tiny Sentiments (retired ) nd a touch of ribbon (retired). I layered my main image onto Rose Red cardstock (retired) and a So Saffron card base.
Then I made some 3-d paper eggs to go inside (see below).
Religious Theme
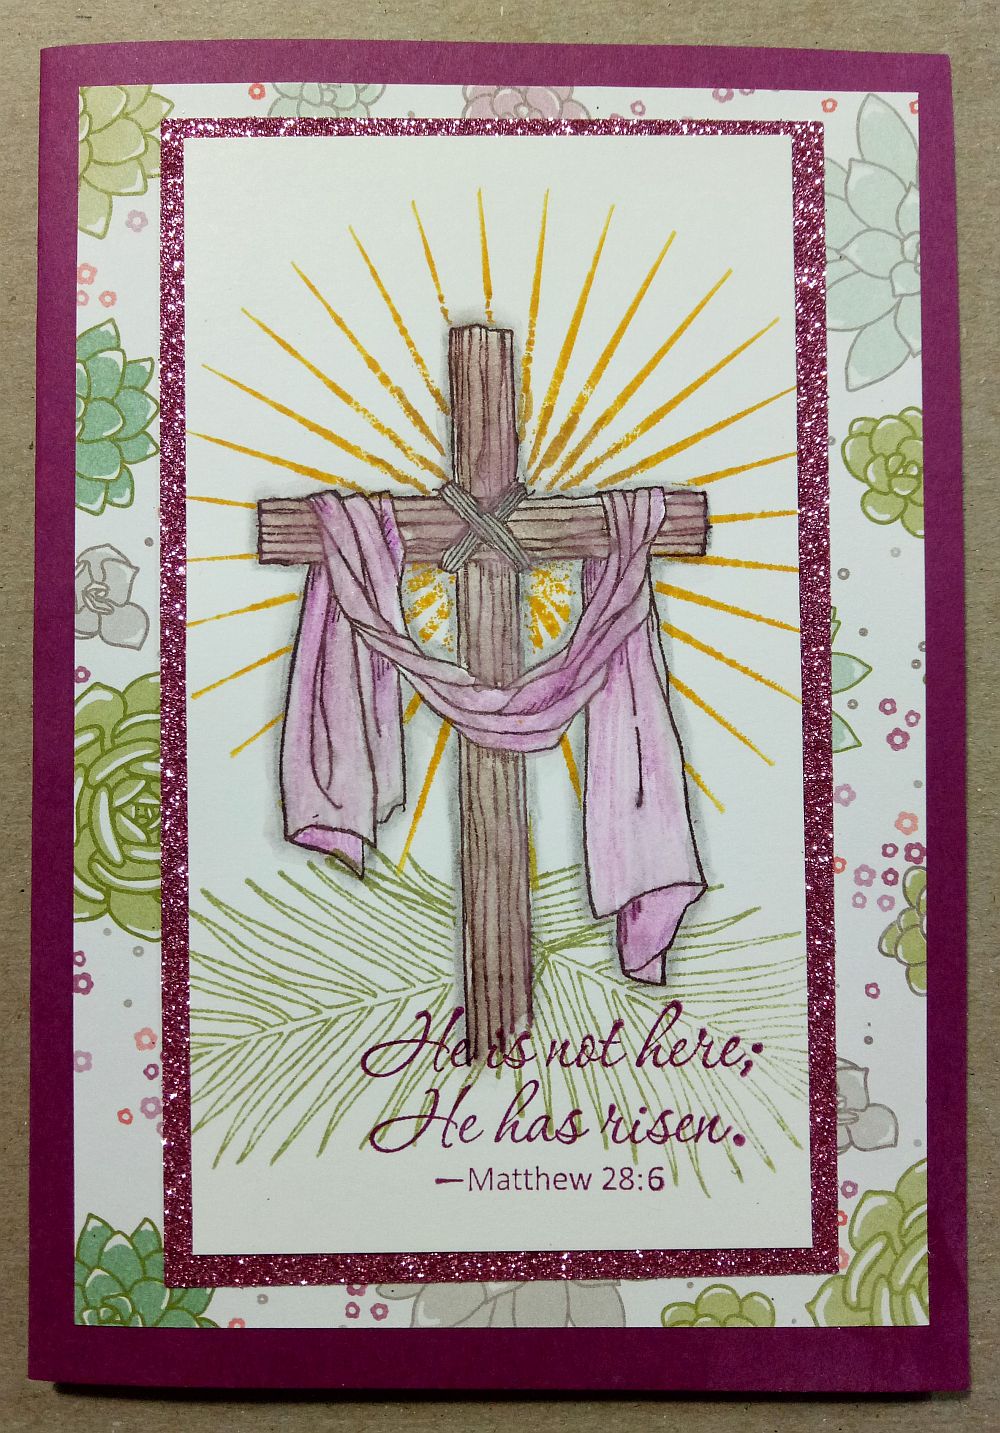
Making an Easter greeting card that reflects Christian belief can be a challenge at times. So many cards have cute little bunnies and eggs on them, which doesn't really focus us on the true meaning of Easter for me.
There are cards made with crosses and sometimes empty tombs, which can be very meaningful. I do love to focus on the everlasting life given to us by the Lord with His unselfish and loving sacrifice.
I made the card pictured above with the beautiful Easter Message stamp set released during the 2017 Sale-A-Bration promotion by Stampin' Up!
I masked off the cross after stamping and water colouring it with the water colour pencils (also from Stampin' Up!) and stamping the palm fronds and sun rays behind it.
The sun rays came from the Kinda Eclectic stamp set (retired).
I loved the Sweet Sugarplum glitter paper released during the 2017 Sale-A-Bration and used that to mount my main image on.Too bad it is retired too.
The designer series paper is from the Succulent Garden pack (now retired).
A few touches of clear Wink of Stella finished my image off.
Love it.
3-d Paper Easter Egg Ornaments
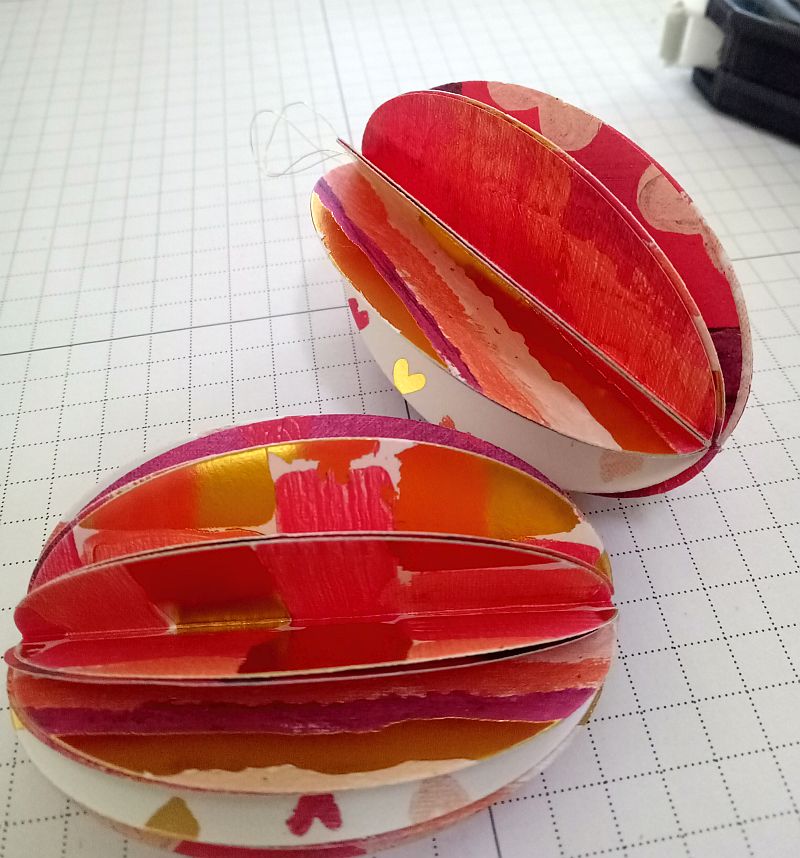
A quick and easy project is to make beautiful eggs from double-sided scrapbook paper. Eggs are a symbol of new life, which is what makes them Easter symbols for me.
Think how lovely they would look put together in a nice basket or bowl as a table centrepiece.You could even glue them to a wreath shape to make a very nice decoration for your front door.
This project is also easy enough for children to do, so why not make it a family project!
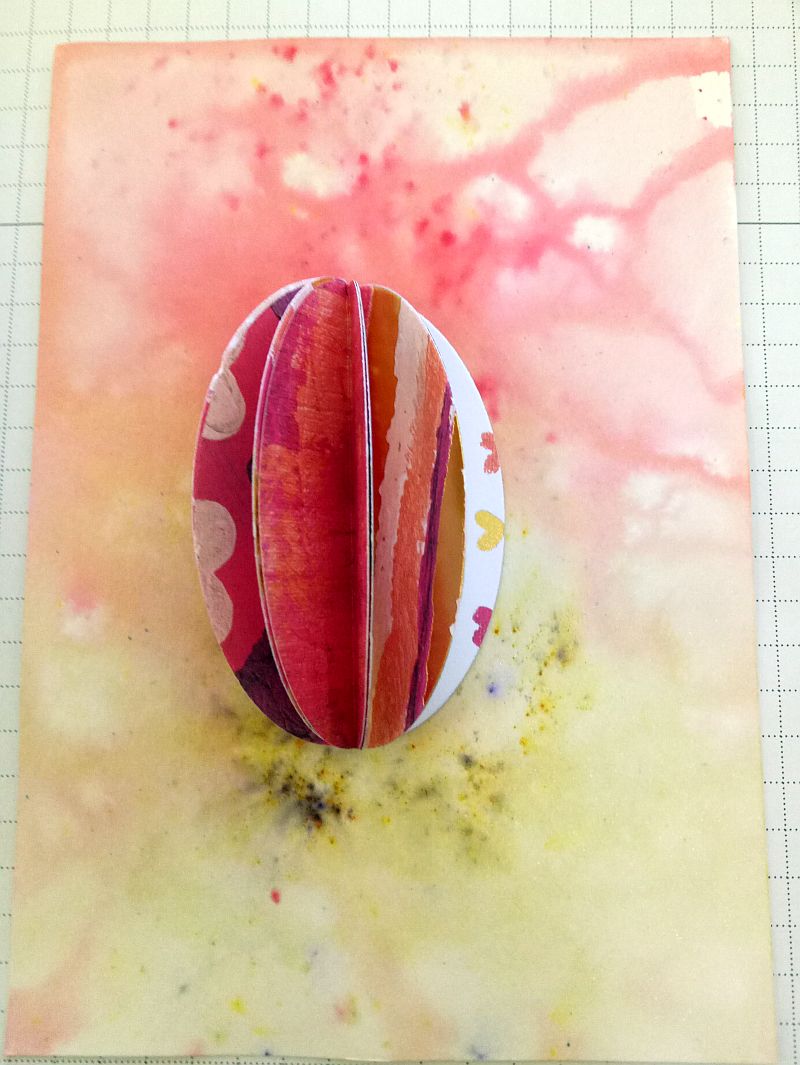
You can even use them on an Easter greeting card. I added two of these (folded down flat) to a card I sent my granddaughters so they will spring open when the card is opened.
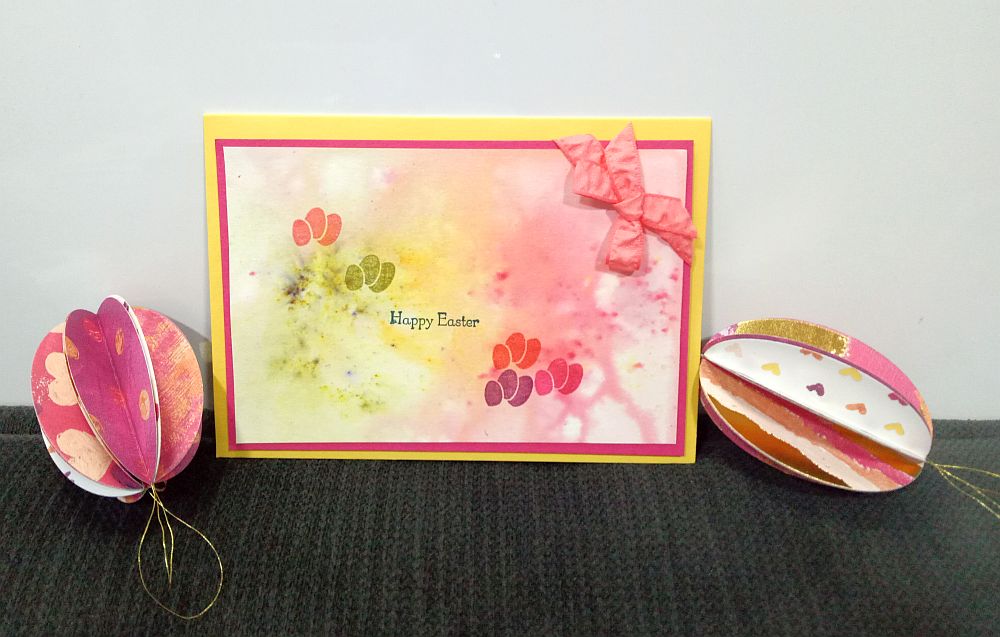
You could add them as decorative elements for a gift or placing them on the lid of a hand made box would also look beautiful.
Here's what you need and what to do:
You will need:
- Double-sided scrapbook paper (mine has foil accents as I took paper from the Painted With Love designer series paper pack from Stampin' Up!'s 2018 Sale-A-Bration)
- Oval paper punch or an oval Big Shot framelit
- Strong adhesive such as Tear 'n Tape
- A bone folder
- Paper scoring tool such as your paper trimmer or Simply Scored board with scoring tool
Here's what to do:
- Cut or punch out eight oval shapes
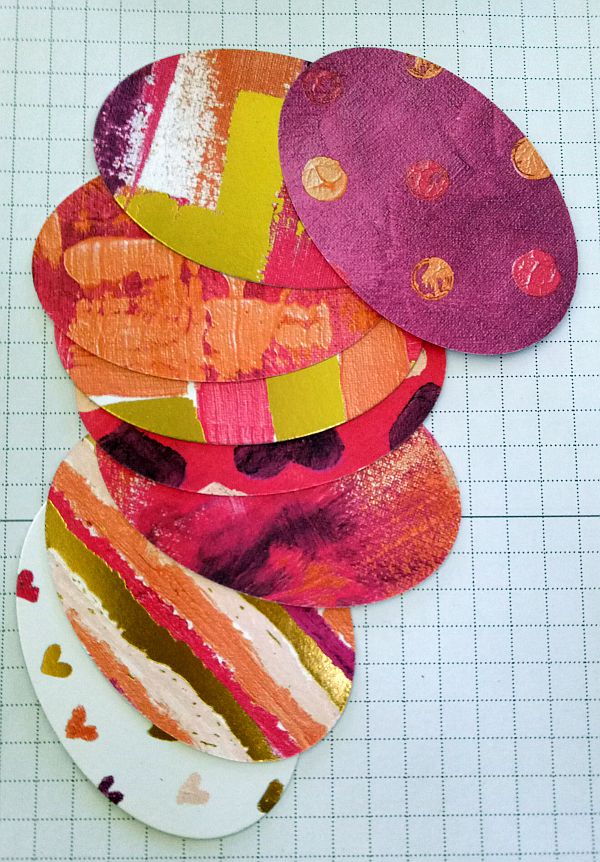
- Score and fold each oval in half lengthwise
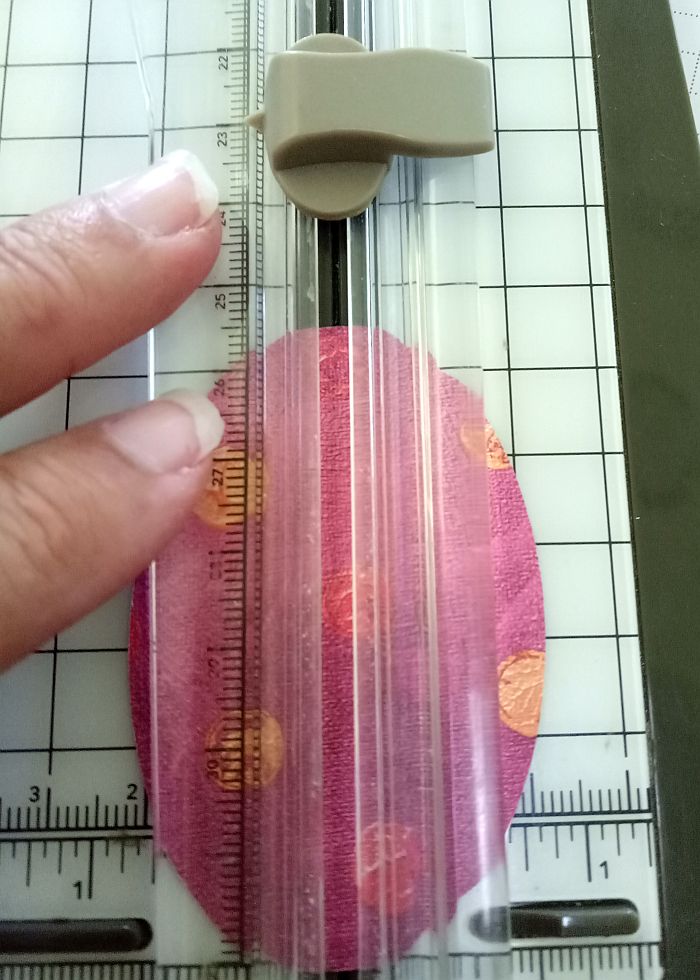
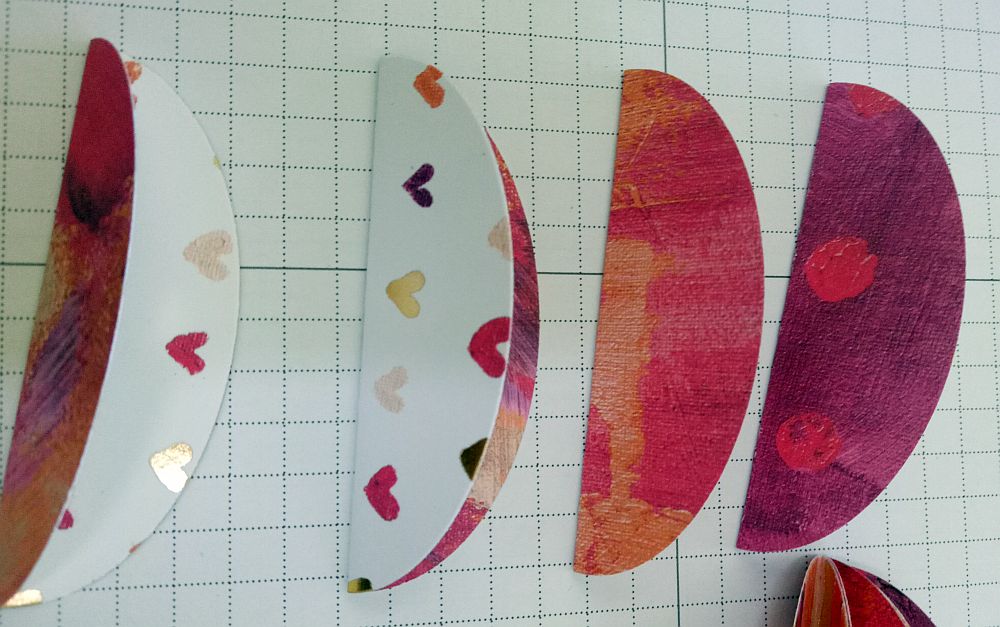
- Make a stack of glued ovals. Adhere each folded oval to another along their fold lines to make a stack of eight ovals
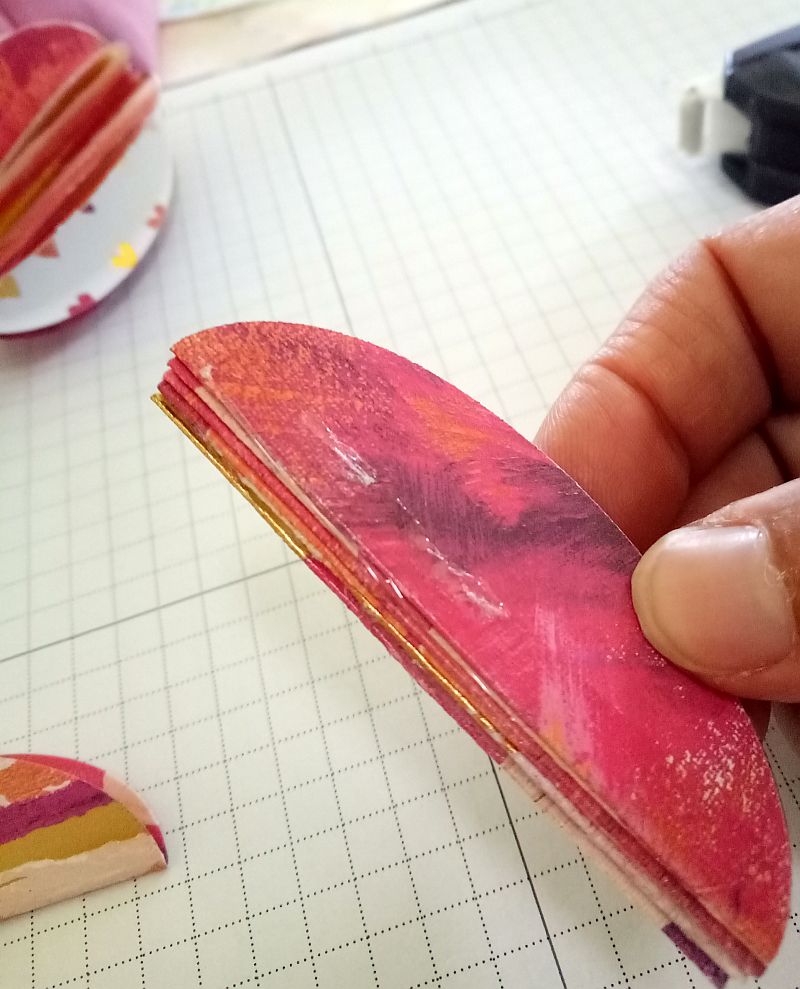
- If
desired, add some metallic thread or Baker's Twine along the spine of
the eight folded and adhered oval stack. Add enough adhesive to keep the
thread anchored in place when you open the egg out
- Finally, add adhesive to the first and last folded ovals to make a complete 3-d egg, or add pieces of ribbon to the closing ovals to allow you to tie them together when you want them to be 3-d. You can then store them flat at the end of the Easter season to be brought out again next year!
Remember you can still use these eggs to decorate Easter greeting cards and boxes or gift wrapping paper. Just don't glue the final two ovals together to make them 3-d. Let them lie flat on your project instead:

Torn Paper Card for Easter
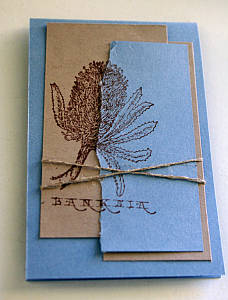
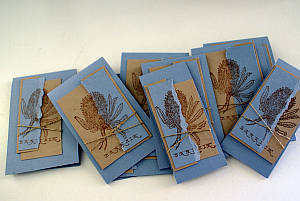
I made the above Easter card with a rubber stamp of a Banksia image (Stampin' Up!'s Blooms Away, now retired). The native plant represented new life for me. I loved the images included in the Ideas Book and Catalogue that showed a two toned card front divided by a torn edge. The colours used were attractive too, so I used Bashful Blue (NLA) and Crumb Cake cardstock to make my little cards. They went together quite quickly.You could use this layout with another floral (or really any other line image) stamp set and cardstock colours of your choice.
Here's how:
- First stamp whole Banksia images on Crumb Cake cardstock with Chocolate Chip ink and crop them to suit
- Next stamp Banksia images on Bashful Blue cardstock and carefully tear them in half lengthwise. You can use both sides of the image on your cards, so don't discard any. This makes the cards quite economical to make, too
- Now back your half images with Crumb Cake cardstock. I liked the effect of making the half image a little longer layer than the whole images so it added some extra visual interest to my card but you can make yours line up if you prefer
- Match up the half image so it overlaps the whole image exactly. I matched the 'banksia' word part up and this made it easier. Adhere in place with double sided tape
- Now adhere a length of criss-crossed linen thread around the image where it pleases you, and mount the whole piece to your card base. You're all done!
Because this card was so quick and easy to make, I made several. I used a verse inside that spoke of the eternal life offered by Christ's sacrifice. This card also makes a nice gift tag and of course you can use it for other occasions as well.
I hope this Easter greeting card project inspires you to make some too.
If you want to know about the true meaning of Easter, I found some wonderful news for you.
Using Hearts on an Easter Greeting Card
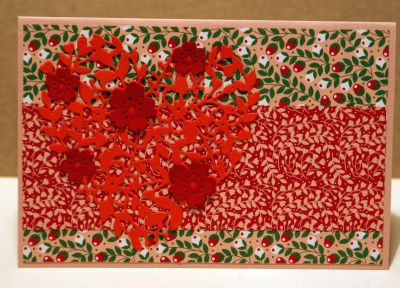
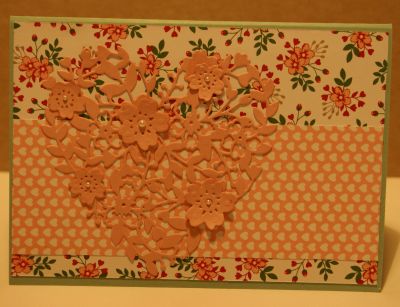
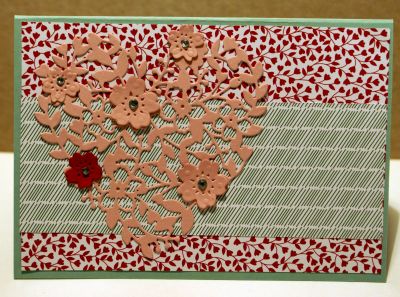
Think outside the box with this beautiful holiday. Here I made some Easter Greeting Cards for family using the gorgeous Bloomin' Heart Thinlit Dies (retired) and Love Blossoms Designer Series Paper Stack (designer series paper NLA). I figured Easter is a season that is all about the love of Christ, so why not send some love to those you care most for?
Punch Art Easter Greeting Card
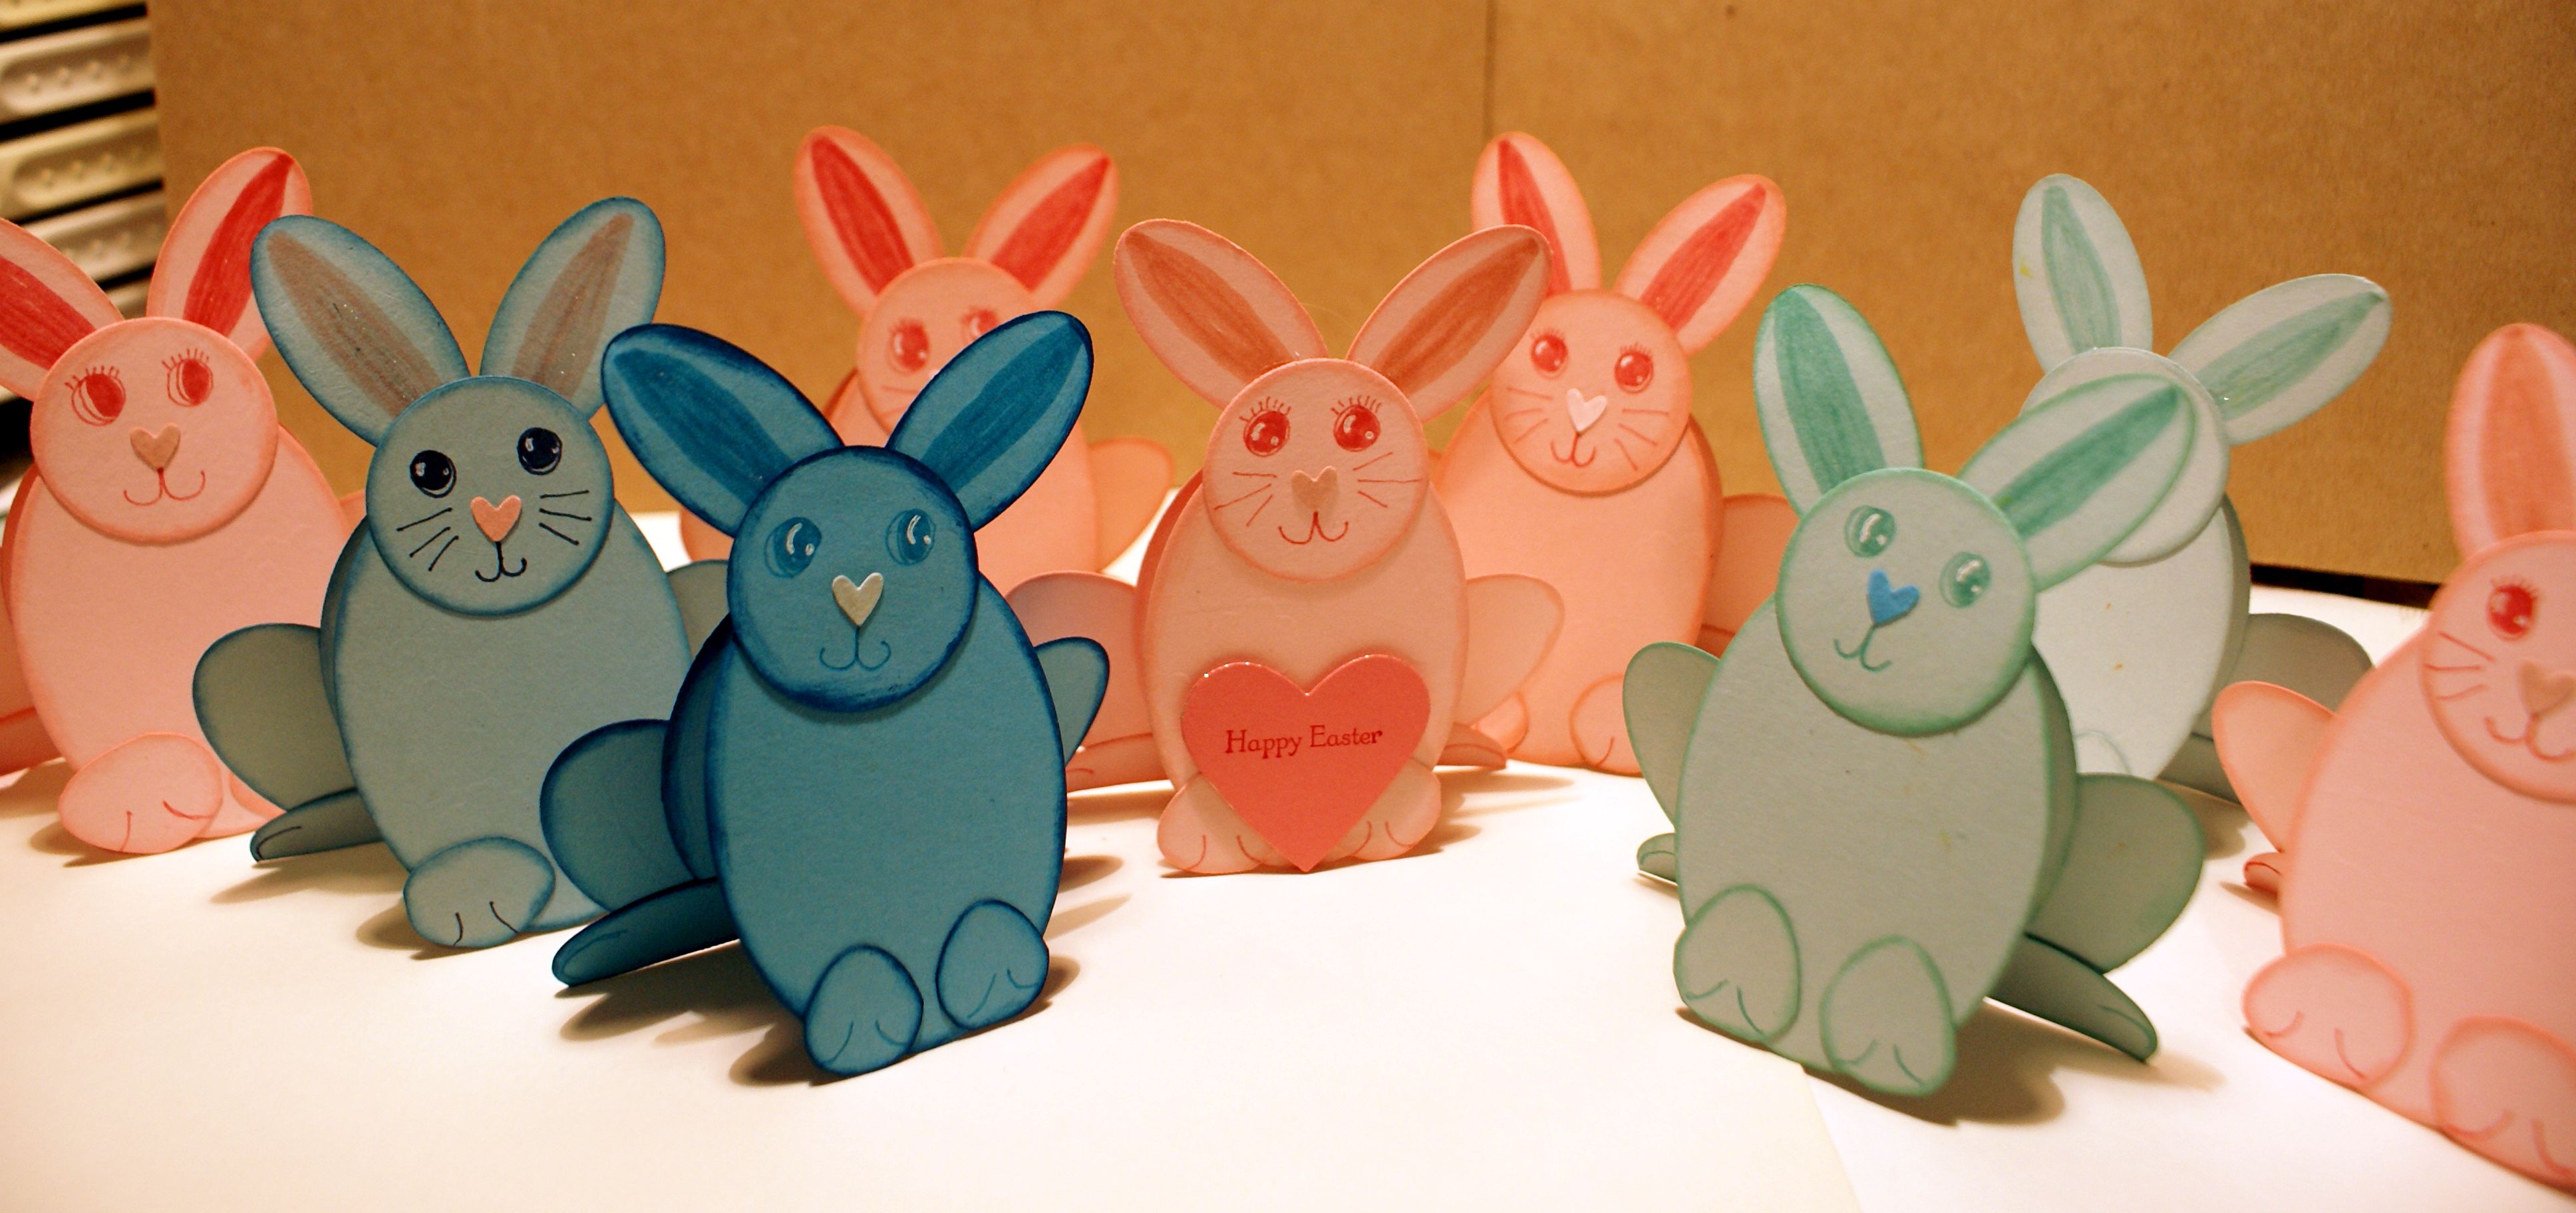
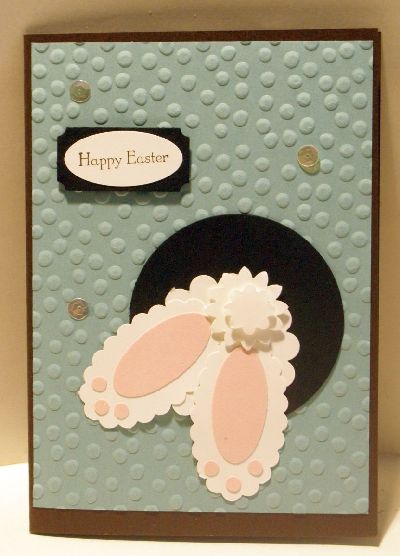
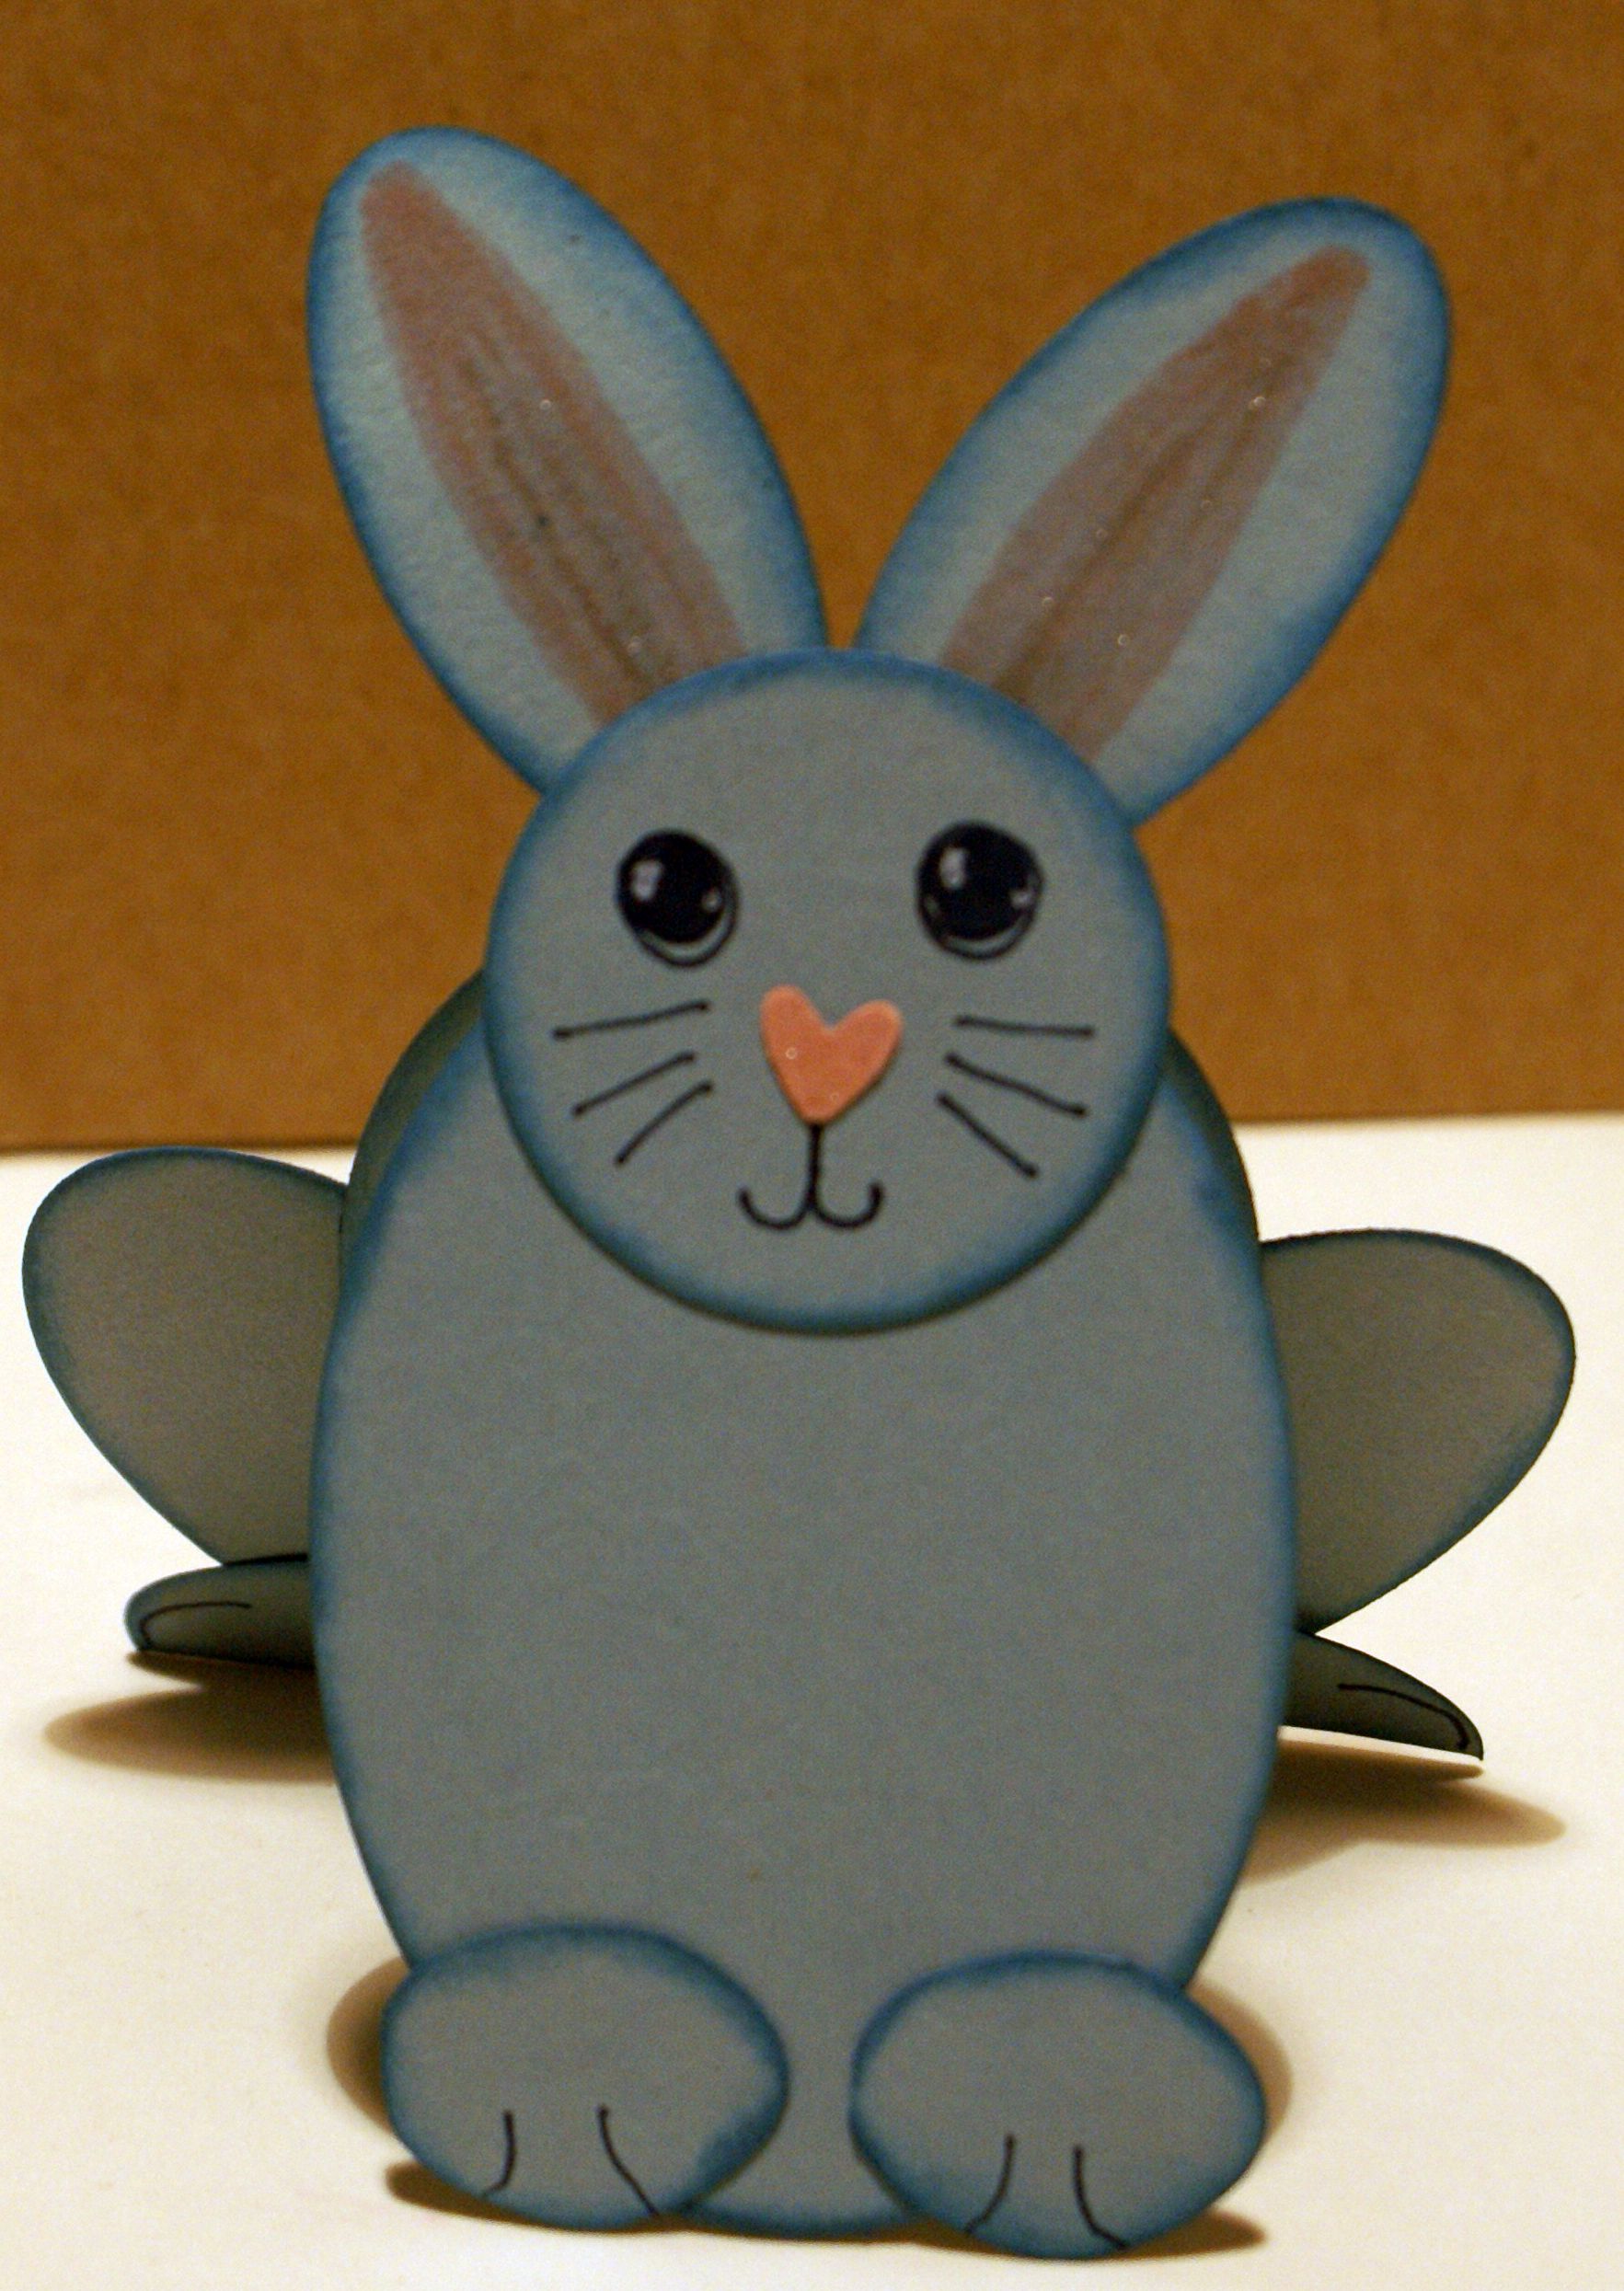
Of course, you can also have some fun with punches and bunnies for Easter. I made a punch art bunny card using one of the many designs out there on the 'Net for inspiration. I got my punches from Stampin' Up! of course
I made these bunny cards, modifying them as I didn't have the stamp set or all the dies she used, by following instructions on the Qbee's quest blog. You can often modify a papercraft idea to suit the supplies you have, right?
I drew their faces with Stampin' Write! markers and white gel pen (retired), then added sparkle to their noses and ears and the outside of the one heart held by the middle bunny with my clear Wink of Stella pen:
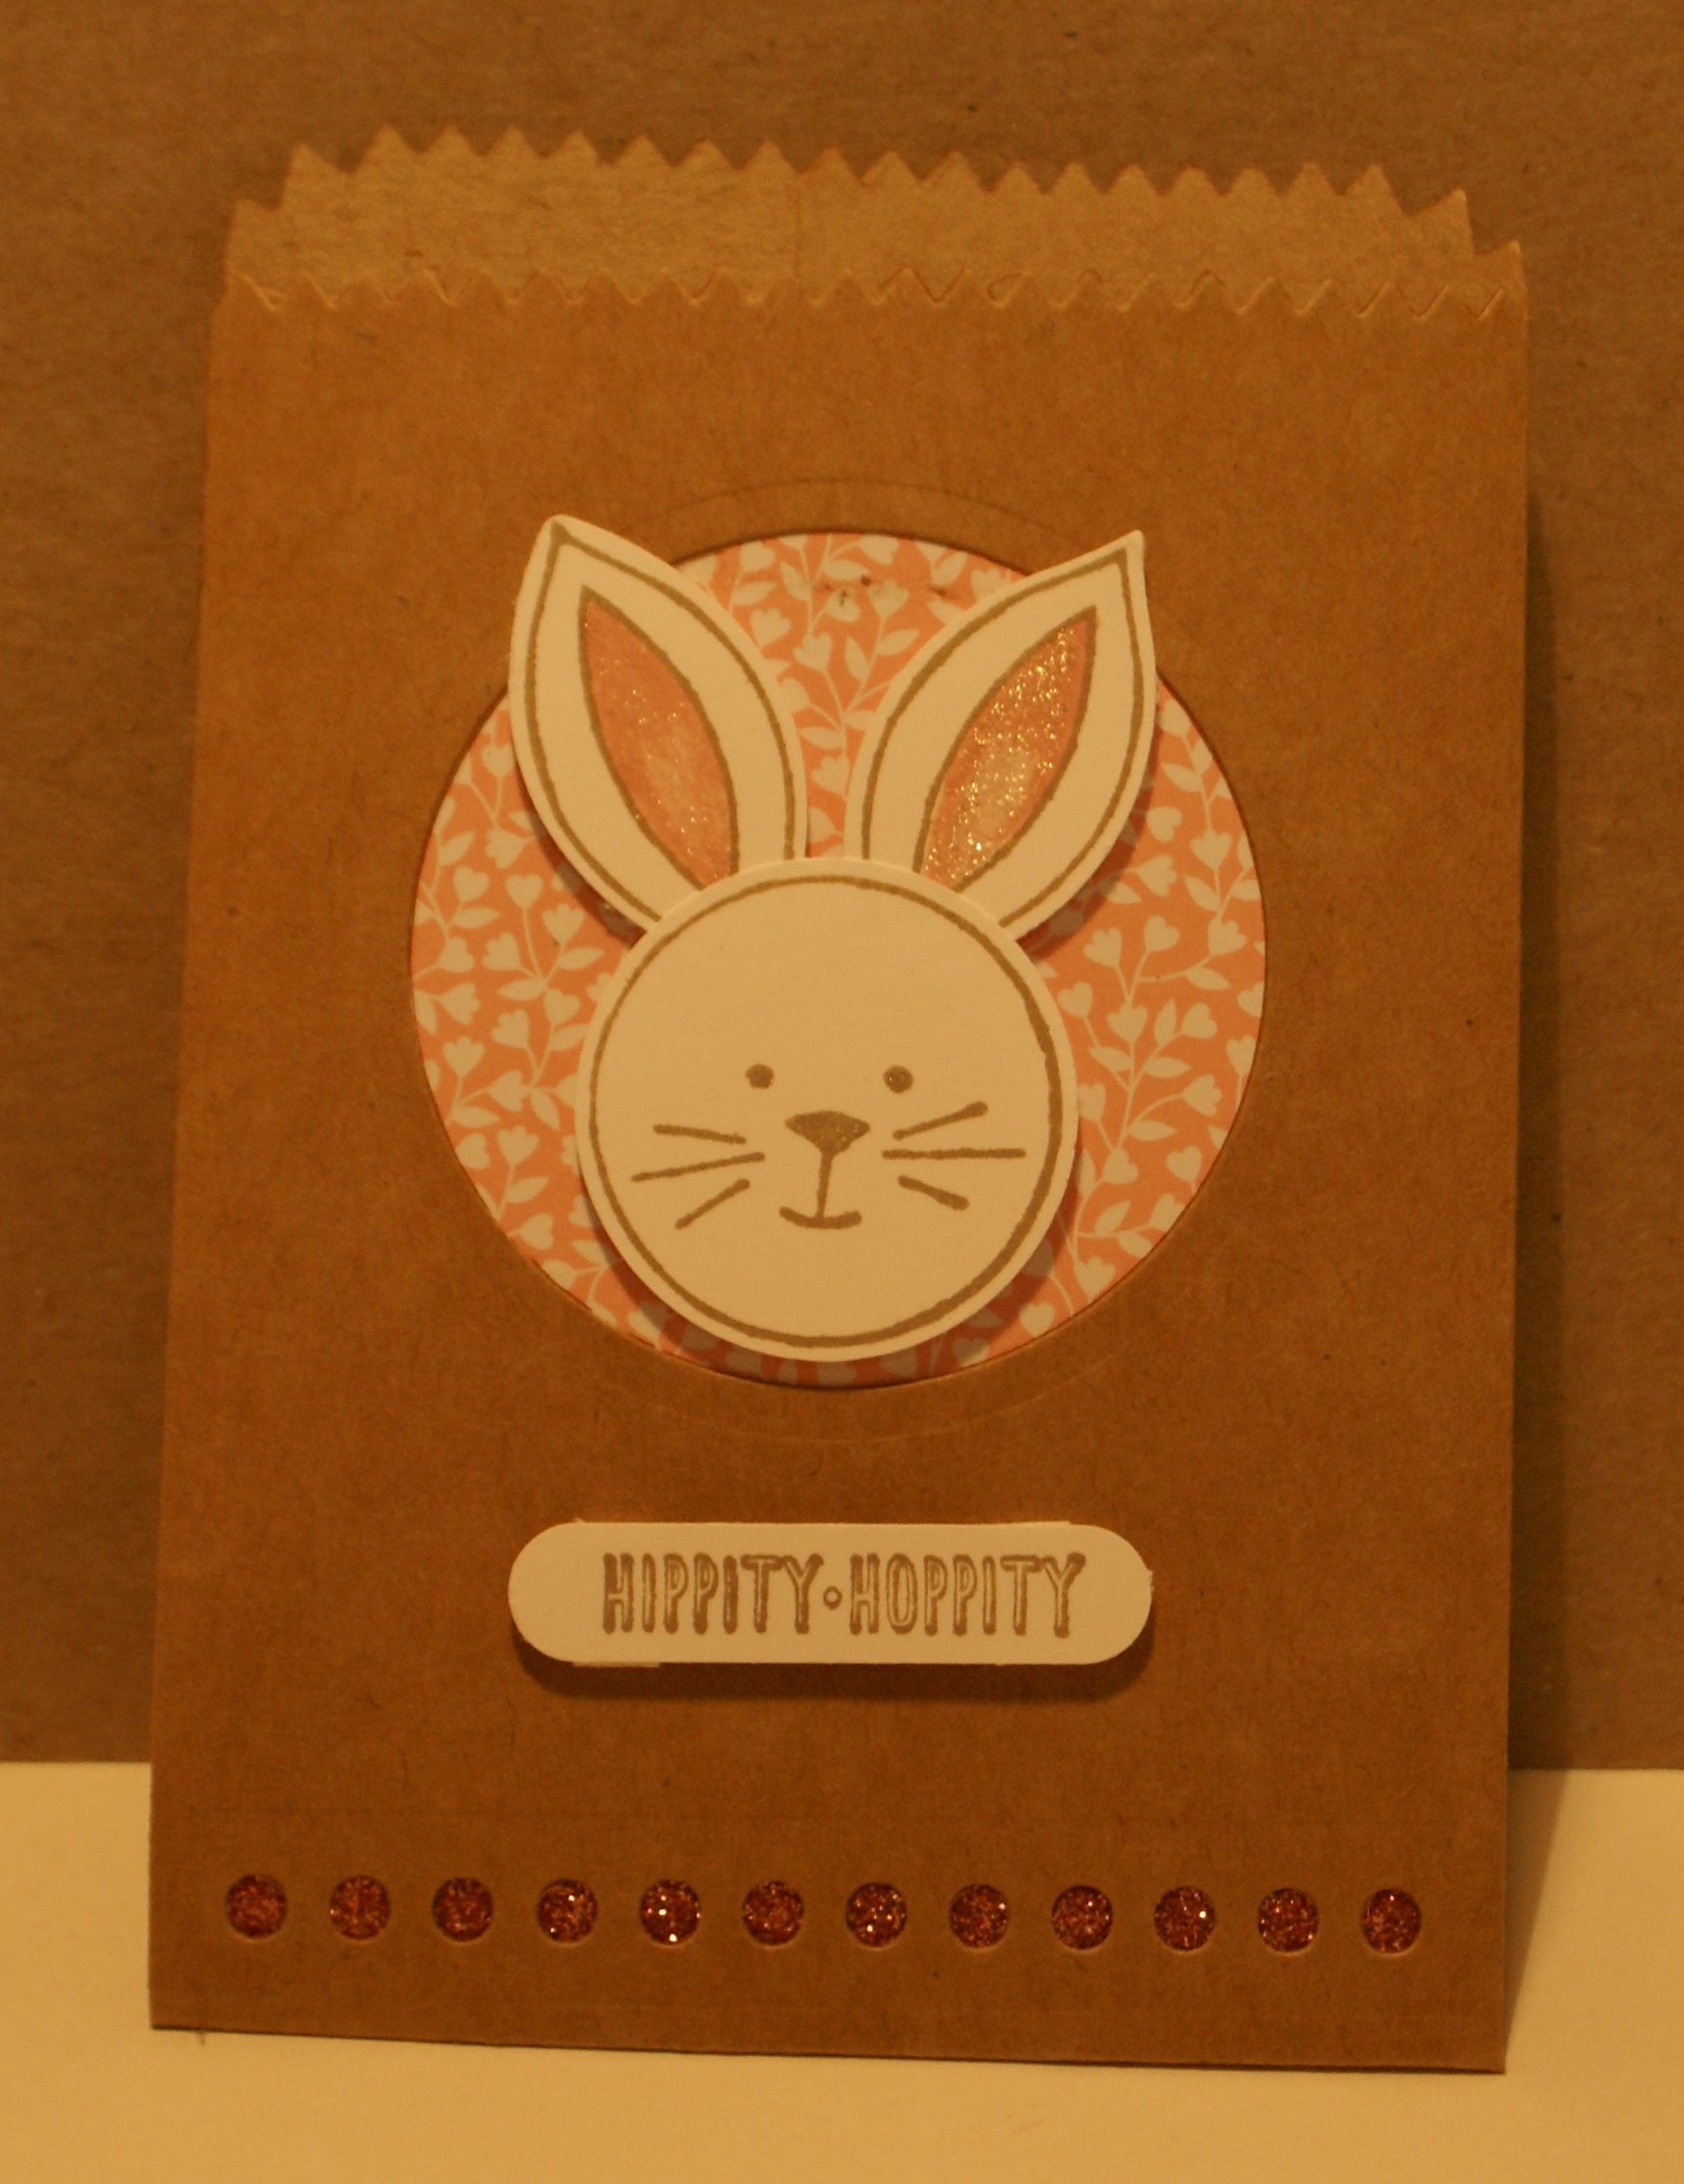
If you are looking for something to put little treats in, here's a You're So Sweet bag (retired) with an Easter theme:
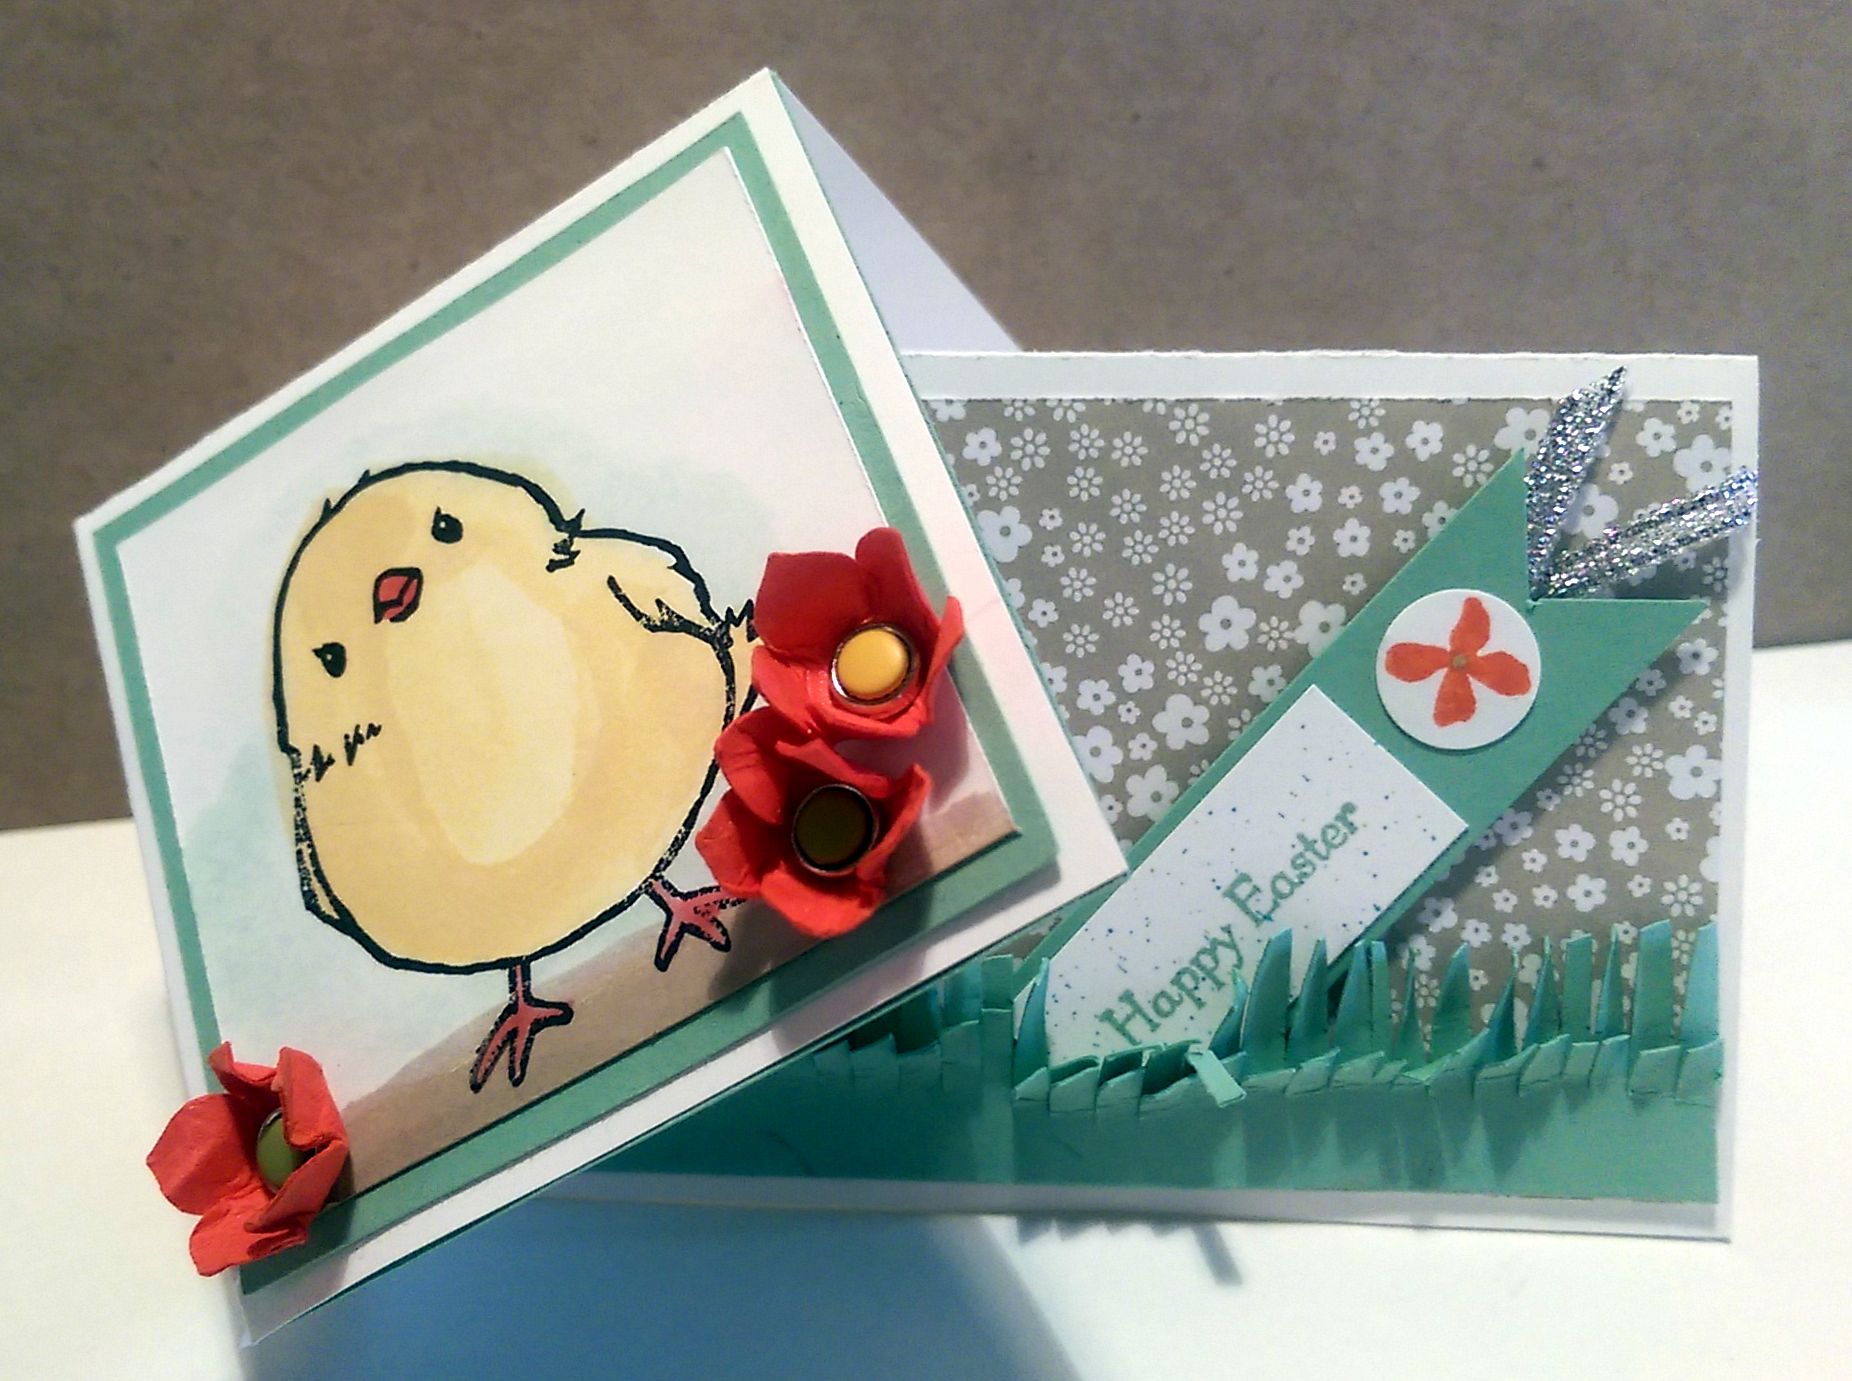
I also love the little Honeycomb Happiness stamp set (NLA) Here I used a different fold to make my greeting card with the little chick, and used my fringing scissors (NLA) to make the grass:
If you liked these projects, you may also like the following:


New! Comments
Have your say about what you just read! Leave me a comment in the box below.