- Home
- Papercraft Adhesives
- Embossed Candle
Embossed Candle
Written and Created by PaperCraftCentral Susan
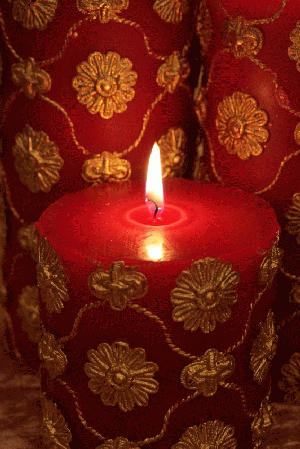
Making an Embossed Candle is fun and the results can be stunning. Cathy from the USA asked me how it to make one. Thank you for the question, Cathy!
"I wanted to buy a candle holder, but the store didn't have one.
So I got a cake".
~Mitch Hedberg

(©iStockphoto.com/15018639)
How to Make an Embossed Candle
Imagine being able to customise a plain candle for a special person or occasion using your papercraft supplies! You can add your own images and words to your candle that way and show someone you have been thinking about them with your heart, or share an in joke, or mark a special anniversary. There are lots of reasons you might like to make a celebratory, customised candle for someone.
There are a couple of ways I know of to make an embossed candle.

Here's how to heat set your image into your candle with embossing powder (EP):
You really only need a few supplies to start decorating plain candles.
Here is my list of supplies recommended for you.
- First, find some baking paper or vellum paper and work with that. Make sure whatever you use is safe enough to have around a burning flame. You don't want your creation to cause a house fire! You will also need some waxed paper
- To make this a safer process, dig out the wick of the candle so you can next a battery operated one in the hole you made. Rough edges can be softened with heat
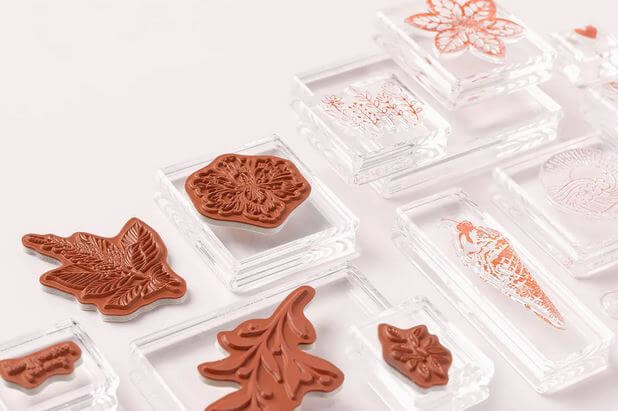
- Start with the baking paper or vellum cardstock flat on your table. Stamp your image on the paper in Versamark ink or something similarly sticky, and then add your glitter or Embossing Powder
- Heat set your image it with a heat tool
- Once you have the image looking the way you would like, carefully cut it out and moisten the back with a little bit of water. You don't want to saturate it, but the water will help it to stick to the candle wax. Try misting with a fine spray of water from a Stampin' Spritzer
- Cover your work surface with a silicone craft sheet
- Place your image on the candle, and then cover it with waxed paper. Hold that in place while you use your heat tool to melt it into the candle. Make sure the heat tool is always about 6" (15cm) way from your image. Move it evenly over the outline
- Tilt the candle away from you a bit while you are embossing so any hot wax falls safely onto your craft sheet work surface and not on you. Hot wax burns!
- The decal will disappear into the wax and the image will remain
- Allow your project to cool for awhile, then peel off the waxed paper
- You have decorated your candle!
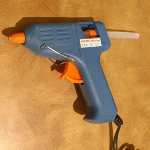
Here's How to Emboss with a Hot Glue Gun:

You can get some pretty glitter glues these days and they would look nice using this method. Using plain glue is good too as you can paint it afterwards
- First, decide what sort of raised image you would like to have
on your project. You could draw your own design and transfer that onto
the wax by tracing it on with a stylus and some tracing paper, or go
freehand and not worry about drawing. Or you could stamp a simple image
and follow the outline of that
- Then see the tips I wrote about making your glue gun work properly so you don't get too many messy strings of glue.
- Allow your hot glue gun to heat up properly and be aware of safety issues when working with the super hot glue
- Slowly lay a track of glue along the outline of your image,
straight onto the candle, being careful not to smudge it as you go. You
might want to work on one side at a time and wait for the glue to set
hard before decorating the back of the taper
- If you like, paint or colour the cool, dried glue
Embossing with 3-d Objects

Another way to emboss candles is to embed 3-d objects into them. You can choose natural shapes such as shells or leaves, being careful again not to choose anything flammable.
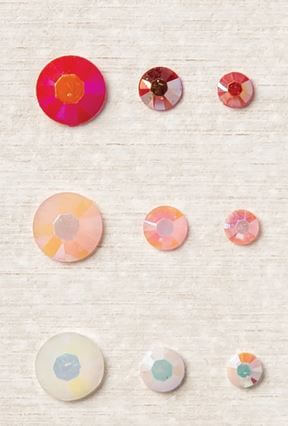
You can also use objects such as bone buttons (plastic ones might melt or catch fire) sequins, beads, gems or glitter. Again, be sure you know if the objects will catch fire or not.
TIP: If you just want a decorated candle that is never burnt, trim the wick down to its very base, making sure none is left above the wax, certainly not enough to be lit. Then it will not matter what your embellishments are made of. Or do as suggested earlier, dig out a battery operated candle shape from your candle and add it to your candle so no one can ever light the wick. Trim the wick you uncover by digging a shape in your candle.
I hope this information helps you get the Embossed Candle finish you are after.


New! Comments
Have your say about what you just read! Leave me a comment in the box below.