- Home
- Papercraft Adhesives
- How to make Inchies and Twinchies
Inchies and Twinchies
Written and Created by PaperCraftCentral Susan
I think more people should know about Inchies and Twinchies. Discover what they are below.
"No scrap of paper bigger than my smallest punch
shall be thrown away".
~Author Unknown, The Scrappers Creed
If more people knew about them, then more people would be getting the fun from from making these cute and tiny works of art
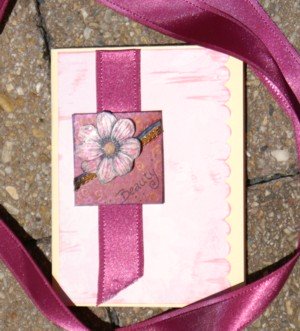
What's the Difference between Inchies and Twinchies?
I showed you how to make Inchies before. The difference between Inchies and Twinchies is - one inch (or 2.5cms!) You could really call them "Two Inches" instead of their nickname.Twinchie sounds better to me though. Do you agree?
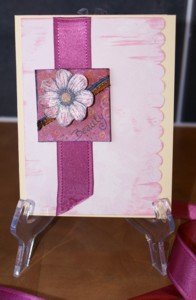
I made a handmade greeting card with my latest one and will show you how I did that.
You Will Need:
- Some chipboardor cardboard
- A craft knife
- A pencil, scissors or trimmer, adhesive and ruler
- Cardstock, stamps and inks/decorative elements of choice. This time I used some paint daubers, black Stazon ink, markers, ribbon and some Dazzling Diamonds glitter (retired).
Here's What To Do:
- You want these little elements to be sturdy, so choose some chipboard or cardboard you can easily cut to start with
- Measure out a 2" (5cm) square on the chipboard or cardboard and cut it to size with your craft knife or trimmer, making sure it is really square
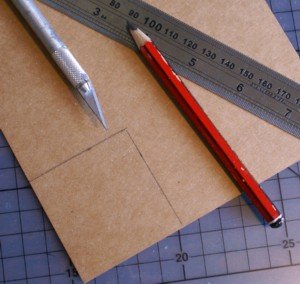
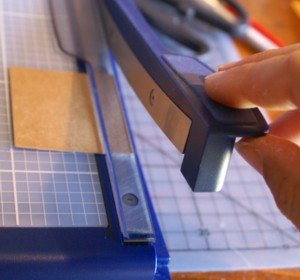
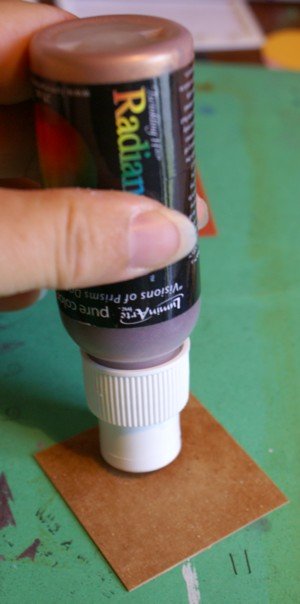
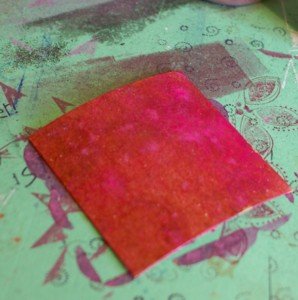
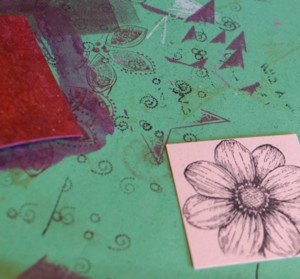
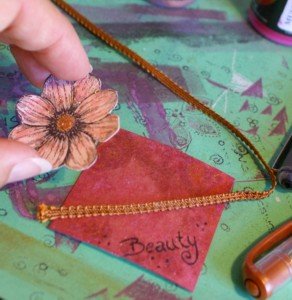
Of course, the possibilities with making these little gems are really rather endless. You could use any way you like to decorate your embellishment, to suit any occasion.
How nice would this be if you used a heart stamp for Valentine's Day, or a cake for a birthday card, or some cute little booties for a baby card?
You can also use them to decorate scrapbook pages and OTP projects (Off The Page Projects), of course.
Imagine twelve of them, all decorated differently, in a pretty frame! You could use some of the ideas on the Inchies page on them as well.
Or why not organise a swap with your scrapbooking and cardmaking friends to get even more ideas for how to decorate these cuties? They would be so easy to send in the post so you could swap with friends from far away or even internationally.
TIP: Just so you know, there are also embellishments known as Rinchies. These are small round pieces of art that are 1" (2.5cm) in diameter. They are also called Artist Trading Coins. They kind of go with Artist Trading Cards or ATCs. All are easy to make into pieces for swapping or just to fit in with a project you want to create.
Have fun making your own cute little 1" or 2" pieces of art.
And if you make some, please do tell me about them and show them off.
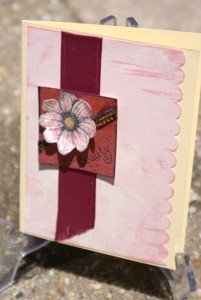
Have A Favourite Altered Art Piece?
Do you have a piece of altered art you have created? I'd love to see it.
Want more Inchie and Twinchie and Rinchie Ideas?
Check out some special Boards on Pintrest. For example, I found a board with over 100 Inchie and Twinchie ideas.
If you want some Rinchie Ideas, there are plenty on that Pintrest board too.
Isn't it amazing how creative people can be? Why not try your own hand at making some of these? You might find a new crafting love!
Return from Inchies and Twinchies to Scrapbooking | Return to PaperCraftCentral Home Page


New! Comments
Have your say about what you just read! Leave me a comment in the box below.