- Home
- Papercraft Adhesives
- Mothers Day Card Designs
Mothers Day Card Designs
Written and Created by PaperCraftCentral Susan
This year I don't have any Mothers Day card designs for you.
Mother's Day is a bittersweet day for me since I lost my own dear Mother in 2018. The butterfly card below was the last card I made for her. I am so glad I made it a special one. You never know how long you will have your Mother. Cherish her.
It is still a sweet day as I hear form the three I raised. And I have grandchildren too who remember me, in varying degrees. Even hubby helps with buying me flowers.
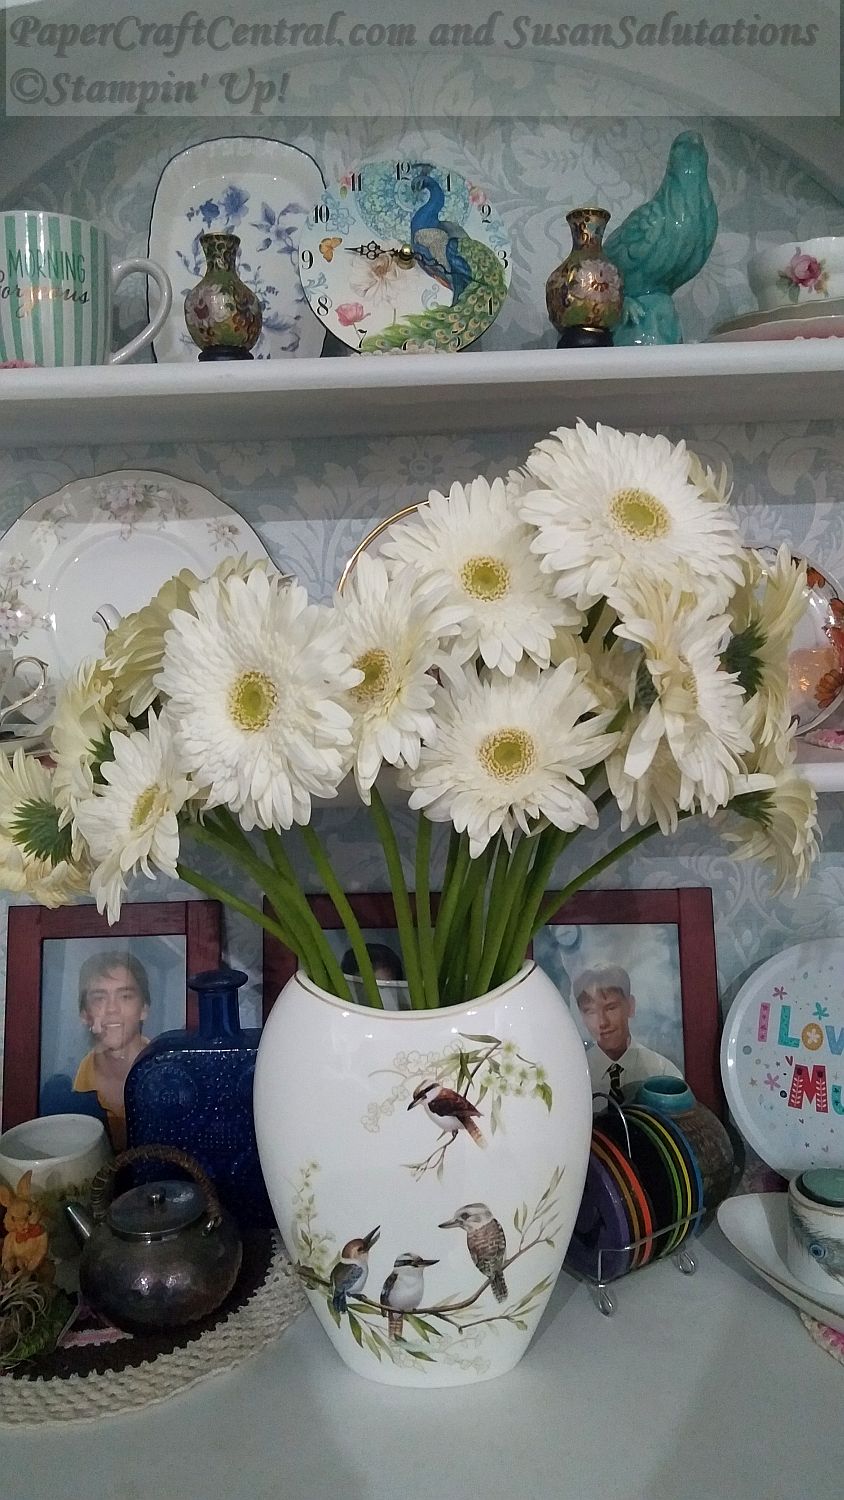
Mothers Day 2020 is the year of Social Isolation, so having flowers form hubby was even more special to me. Today instead of sharing a card, I will share my flowers with you.
Happy Mother's Day.
Here's one of the Mothers Day Card Designs I have been wanting to show you. VIcki Hodgman of Cards on the Table with Vicki made a similar card and I was so taken with the idea, it stuck in my head. Here's how I made my own version.
Below I show you step-by-step how I made my own special butterfly card.
Further down the page, I show you another design using the Floating Frame technique and the Tropical Chic stamp set from Stampin' Up!

Vicki made her card in lovely shades of blue for a birthday, I believe, so Mothers Day Card Designs will work when making other special occasion cards as well.
Here's a short video showing how my completed card mechanism works:
Mothers Day Card Designs Supply List
Here's what you will need to complete this Mothers Day Card Designs project. I used only Stampin' Up! products which are available in my online store, SusanSalutations. You can of course adapt your own project to suit your own supplies:
NOTE: Measurements have been UPDATED. Sorry for the incorrect ones that were first published!!
- A standard plain cardstock card base (21cm x 14.5cm or 5.75" x 8.25") folded in portrait style, and the front is scored at 5.25cm (2.25"). I used Melon Mambo for mine.
- A piece of designer series paper measuring 1/2cm (1/4") smaller than your card base, so 20.5cm x 14cm or 8" x 5.5". Here I used some Berry Bliss from the In Colors designer series paper stack for 2017/2018. Test it out against your card base to make sure it fits the way you want it to. Trim further if necessary. Fold it in half portrait style.
- A piece of Whisper White cardstock measuring 20cm x 13.5cm ( 7.25" x 5.25"). You can trim this down if you want more of the designer series paper to show. Fold it in half portrait style.
- The Bold Butterfly open framelit and one of the Layering Ovals framelits to match the size of your sentiments.
- Spare Whisper White and Melon Mambo cardstock for stamping and cutting out butterflies. You need one cut from the Whisper White and two from Melon Mambo.
- Basic Black, Sweet Sugarplum, Flirty Flamingo and Rose Red inks and some stamping blocks.
- Teeny Tiny Sentiments, Butterfly Basics and Watercolor Wings stamp sets.
- Clear Wink of Stella brush pen.
- Adhesive. I chose Tombow Multi Liquid Glue.
- A bone folder.
- An envelope.
- Post-It notes.
- Big Shot machine.
Here's how to make your card:
First score the fronts of the card stock base, designer series paper and Whisper White cardstock layers in half. You want them all to layer together and frame each other.
Here is how they will look when you have scored and folded each piece, before you layer them together:

IMPORTANT: You will see from the above photo that I also stamped my sentiments on my whisper White. Do all stamping before you adhere the layers together so you can stamp when your cardstock is completely flat.
I also stamp my Angel Policy stamp on the back of my card base before I put my layers together, so I don't get ridges in my stamped images.
While I have my stamps and ink out, I usually stamp my envelope up as well.

You aren't done stamping yet though!
Take the Whisper White layer. Cut out two oval shapes from Post-It notes, getting as much of the sticky bit into your oval as possible.
Use the Layering Ovals framelits to cut out the Post-It note ovals. We're going to use these to help with the masking technique.
Now lay the Post-It note ovals down over your sentiments to allow them to be completely masked off. You can usually see the sentiment through the Post-It note paper so this is easier to do:

Next choose a butterfly image from the Butterfly Basics stamp set and the Sweet Sugarplum ink, and, using scratch paper behind your project (see my well-used sheet of paper!) stamp some butterflies on the card, making sure you get some of them on the Post-It Notes like so:

NOTE: I left some room blank so I could write a message on my card, just to the right of the inside sentiment.
This time choose Flirty Flamingo ink and, using the same image, fill in some of the white space with more butterfly images It won't matter if some of the images overlap a bit.
Again, make sure some of the butterflies help frame the sentiments by stamping over the Post-It note edges.

Now you can fill in any other parts you want filled with the Rose Red ink and your butterfly stamp. Keep stamping till you are happy with how the card layer looks.
The entire oval does not need to have ink around it, but you can di that if you want a more defined shape to show:


When you have finished stamping the layers, use your Tombow glue to adhere the layers together by gluing down just the end pieces of each layer.
Before the glue is dry, close your card and smooth it out, to make sure the layers fit well together.
Leaving the glue on the ends of each layer instead of trying to glue all the layers down in the middle ensure you have some play between the pieces, and they will close better for you. This card has three layers so it becomes quite thick to fold.
I always reinforce my scored lines with my bone folder several times to make sure they all lie as flat as possible.
I even put this card inside a heavy hard-covered book, under a heavy 15 litre water container for awhile so it would close flatter.
Making the Butterfly Closure Piece
More Mothers Day Card Designs Steps:
The next thing to do is to stamp and colour your main butterfly closer image. Finish embellishing your butterfly before you line it up with the Bold Butterfly framelit and cut it out. You will have an image similar to this when you are done:

Score the butterfly along both sides of the body so the wings can fold up.
Now cut two more butterfly shapes form the Melon Mambo cardstock and score them along the bodies too.
Then layer all three cut outs together with Tombow glue, making sure they match up.

After that, add some Stampin' Dimensionals to the back of the butterfly's body. Position it on the inside of the card so it overlaps the folded front.


Now you have completed all the Mothers Day Card Designs steps. Your card is done!
Another Mother's Day Card Design Idea
Have you heard of the floating frame technique? It's a lovely idea that results in elements on your card seeming to float off the page a bit.
It is a great idea for a Mothers Day card design.
Here are a couple I made using the Tropical Chic stamp set from Stampin' Up!
PS: I'll have to put a tutorial for this card together during the week ahead. I'll announce it in What's New when it is ready.


If you have Mothers Day Card Designs you would like to share, feel free to add them below.
Do You Have A Favourite Handmade Card to Share?
Do you make greeting cards? Please do share it with me.
What Other Visitors Have Said
Click below to see contributions from other visitors to this page...
Mothers Day Card Competition Entry 
Hi Susan,
Here is the Mother's Day card I made for one of my daughters-in-law. Hope you like it.
The white flower is from the "Sunshine Wishes" …
You can see many other Mothers Day Card Designs on the Cards for Troops pages.


All brand names and product names used on this website are trade names, service marks, trademarks or registered trademarks of their respective owners. Also mentioned products or brand endorses this website. no mentioned products or brand endorses this website. Go to Privacy Policy to read more
PaperCraftCentral.com is a participant in the Amazon Services LLC Associates Program, and affiliate advertising program designed to provide us with earn fees to link to Amazon.com and affiliate sites.
Powered by Solo Build It!
New! Comments
Have your say about what you just read! Leave me a comment in the box below.