- Home
- Papercraft Adhesives
- Glossy Faux Flannel Tutorial
Glossy Card Stock
Written and Created by PaperCraftCentral Susan

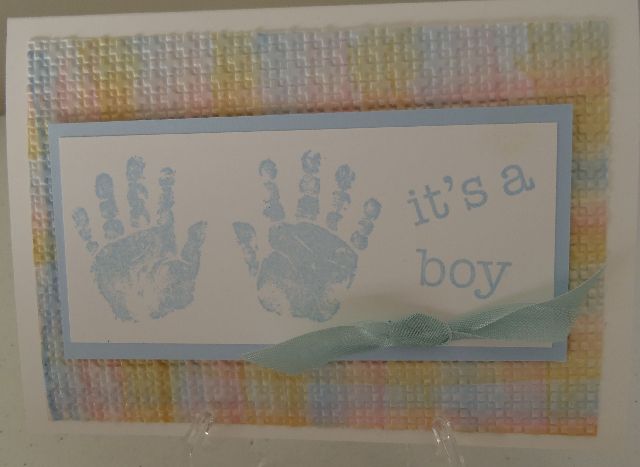
Did you know? Glossy card stock can be used to make faux flannel blankets for your papercraft projects? It really is quite an amazing technique to try. It's a great way to use your reinkers as well. You really don't need many supplies to try this technique either.
Scroll down for a list of the supplies you will need and to find the instructions for making a little flannel blanket of your own.
This technique is also called the Baby Wipe Technique.
HINT: I show you a tip at the bottom of the page for how to get this effect using plain cardstock instead of glossy cardstock.
Gather Your Supplies:
You will need the following supplies:
- Glossy card stock in a size that will fit inside your Embossing Folder and Die Cutting and Embossing Machine (Your paper needs to have a glossy finish to it or the technique will not work. Most of this type of paper is finely coated in a shiny clay medium). Unfortunately Stampin' Up! retired this lovely glossy cardstock but I am sure you can find it in craft stores.
- Three shades of reinker. I used So Saffron (retired), Bashful Blue (retired) and Pink Pirouette (retired) from Stampin' Up! but choose your colours to suit your own project of course. Now I would choose Lemon Lolly, Balmy Blue and Bubble Bath inks, for example.
- The closely patterned Stampin' Up! Square Lattice embossing folder (or similar close patterned one as the square lattice one is now retired) and Die Cutting and Embossing Machine.
- A baby wipe (preferably the kind with no alcohol in them as the rest can be used to clean rubber stamps without causing any drying of the rubber)
- Scratch paper
- Some wide satin ribbon to coordinate with your reinker colours and a Take Your Pick Tool or sewing machine (optional)
Glossy Card Stock Card Instructions:
stock
Here's how to make your faux blanket:
- Lay down your scratch paper and place your piece of shiny card stock upon it
- Fold the Baby Wipe to make an edge about 1cm long. Add some reinker to the edge you have created
- Swipe the ink across your cardstock in straight lines horizontally, leaving room to add other colours in between
- Fold a new edge from the Baby Wipe and add a new colour to that edge. Swipe this colour across the cardstock horizontally, just under the last lines of colour
- Fold a new edge from the Baby Wipe and add reinker to the edge in the third colour. Swipe horizontally across your cardstock as before, this time filling in the blank spaces between the first two colours
- Now turn your cardstock 90 degrees and repeat the above process, this time swiping colours horizontally to cross your first lines of colour at 90 degree angles. The first colours should be softened a little by the second layer of ink
- Once you have your
inking done, place the inked paper in the embossing folder and run it
through the Big Shot to add your texture to it. You now have your faux
flannel blanket element done!
- Now is the time to pierce holes across the top of the blanket and add your wide satin ribbon, doubled over and stitched down, to look like the top edge of the blanket
- Add your faux flannel piece to your greeting card or scrapbook page and finish your card as desired.
You can find out about other types of card stock and see a table listing some of their suggested uses here.
Other Ways to get a Flannel or Plaid Effect
TIP: You could try this technique with plain card cardstock as well. It just won't be as shiny at the end, unless you also heat emboss your finished piece with clear embossing powder after you dry emboss it through the Die Cutting and Embossing Machine. So go ahead and
- swipe your plain cardstock with colours using a baby wipe, then
- run the piece through an embossing folder. After that
- ink it up with Versamark Ink and add clear embossing powder.
- Shake off the excess powder then heat set it and voila, you will have a shiny flannel blanket!
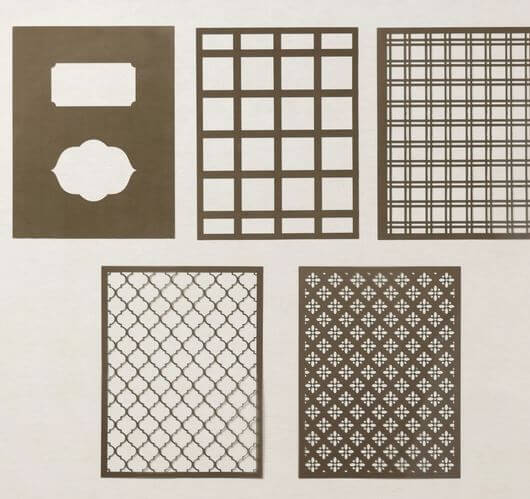
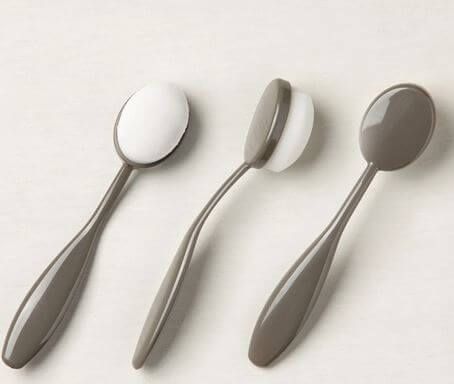
TIP: Another way to get a plaid effect is to try using the Stampin' Up! masks. The Artistic Mix set of masks has endless possibilites for creating plaid patterns with ink, the masks and some blending tools.You can use glossy cardstock or plain cardstock with masks, too.


If you enjoyed this technique, you may also like to try some more. Here are some suggestions for you:
Enjoy playing with your craft supplies in a new way so you keep the spark of creativity going! And do share your ideas with others to increase your joy.


New! Comments
Have your say about what you just read! Leave me a comment in the box below.