- Home
- Papercraft Adhesives
- Making Rub Ons
Rub Ons
Written and Created by PaperCraftCentral Susan
Rub Ons are so useful for saying what you want to say and then using them to alter almost any hard surface.
"Scrapbooking is cheaper than a therapist."
~Author Unknown
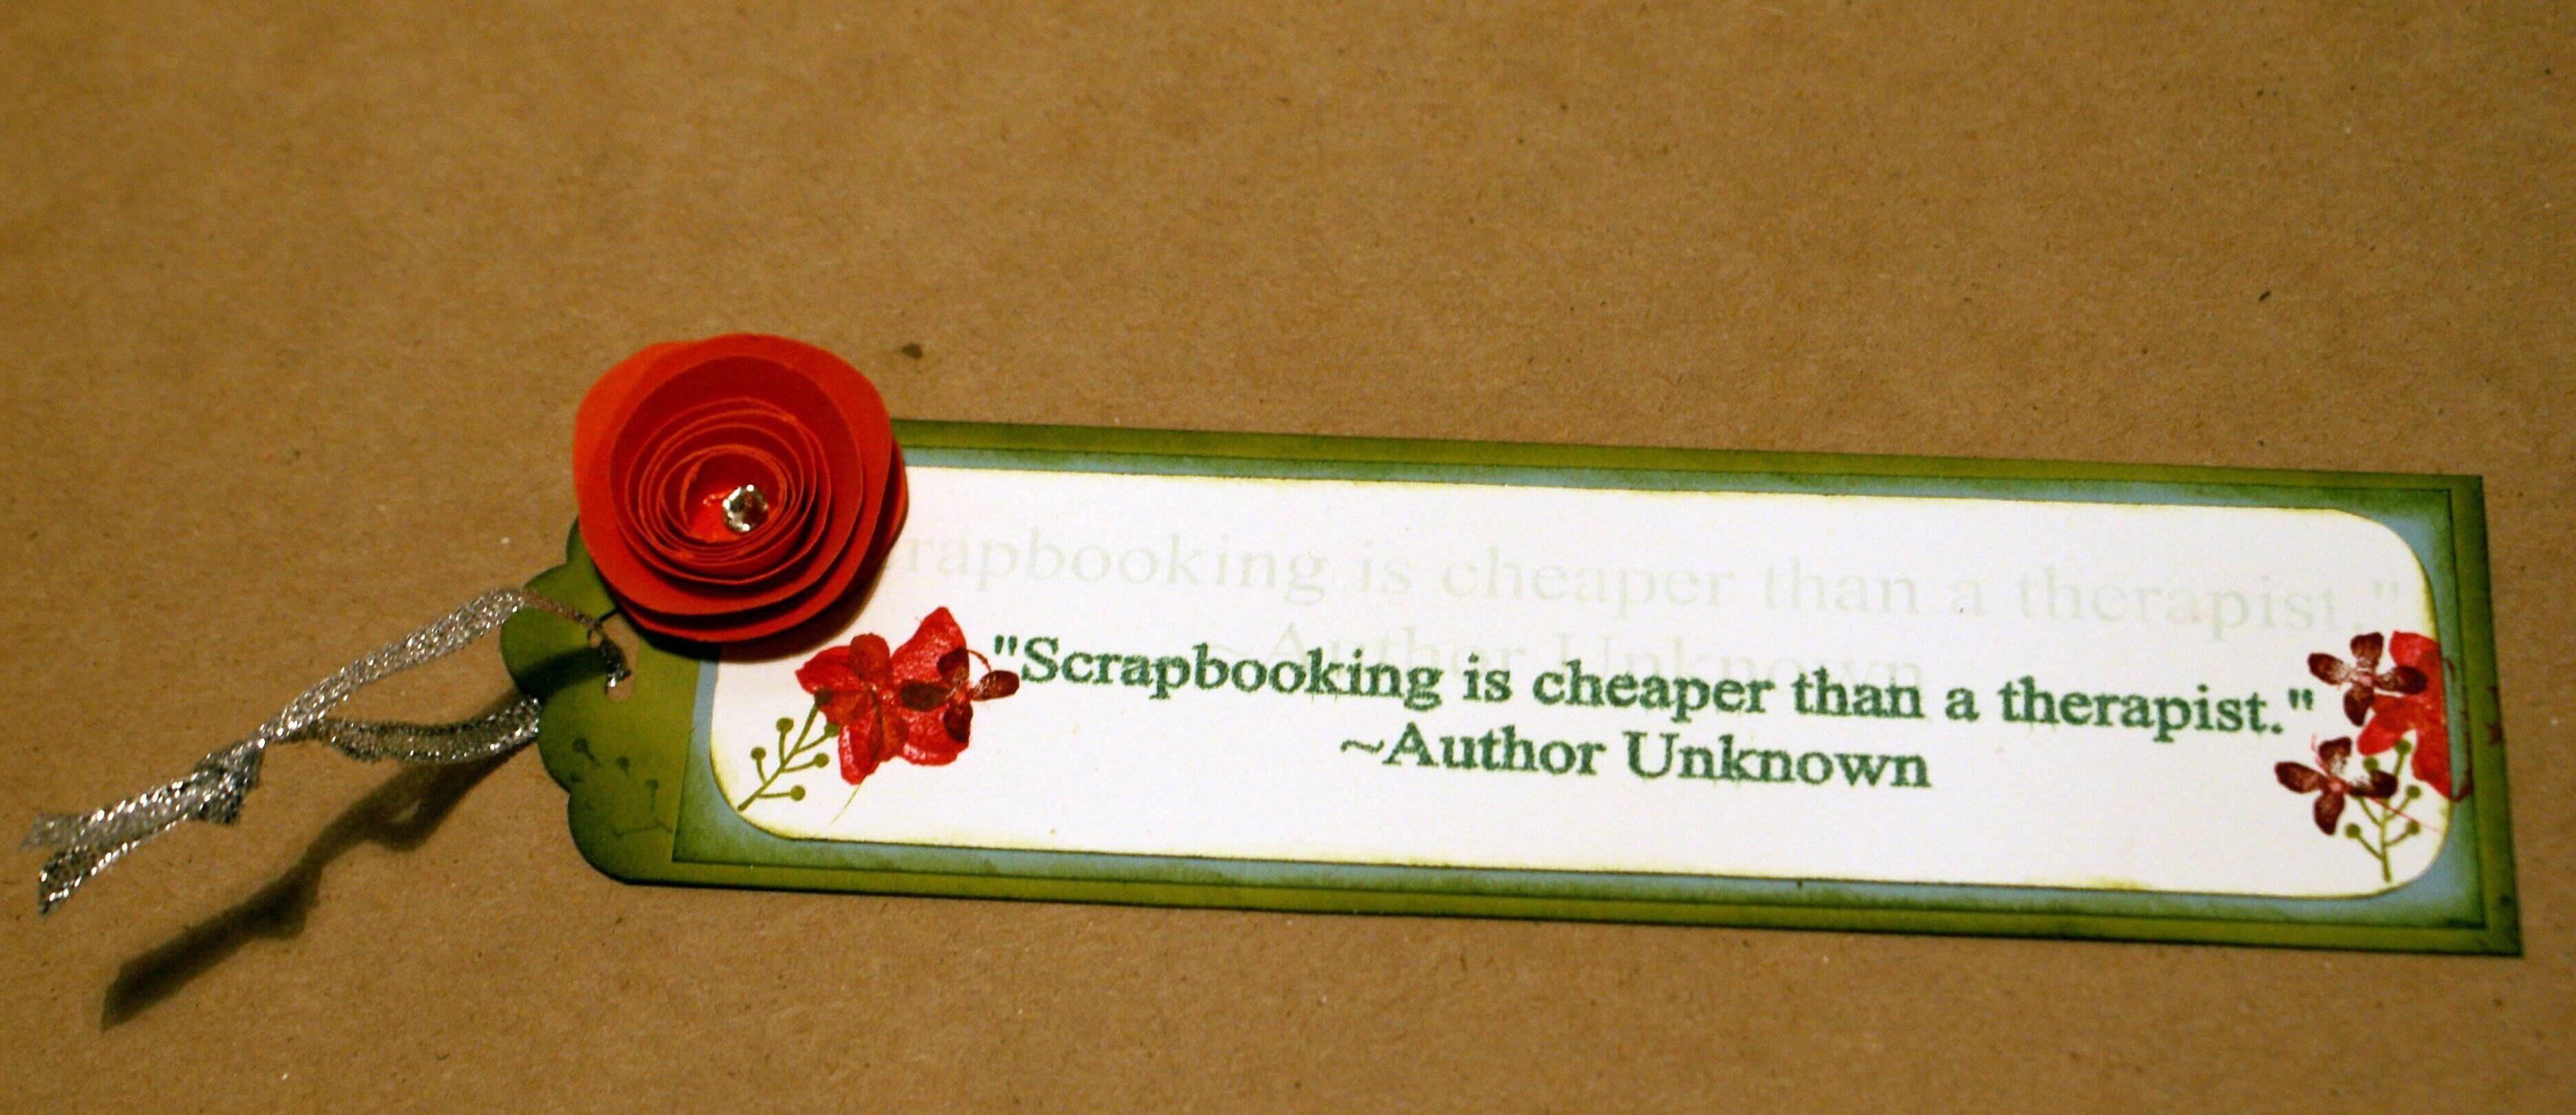
While there is a great variety of ready-made transfers available, sometimes you cannot find just the right words, in the right font, in the right size and colour for your papercraft project. And finding a transfer that has the right graphics can be equally as elusive.
With ready-made ones, once they are used, they are gone and you have to buy more. Making your own means you can have as many as you want, with no leftover letters you will probably never use.
Wouldn't it be great to know how to make just what you need, whenever you want it? I wanted a bookmark tonight, so I decided to make one with a rub on to show you how.
How to Make Your Own Rub Ons
If you have a computer, a printer, a word processing program and some acetate (Window Sheets, overhead projector aka OHP sheets are great to use for this as are Word Window Sheets from Stampin' Up!), you can make your own rub ons.
Here's how to make what is essentially a transfer sticker:
- First, go to your computer and open your word processing program
- Create the image or saying you want, in the colours you want. Use Word Art or a text box in Word programs so you can flip the image once it is created.
- NOTE: Some colours will show up more effectively than others so choose ones dark enough to show up on your project. In the example I chose to have a shadow effect behind the quote
- A step I always do next is to print out my image or saying on ordinary note paper to see that it is just as I want it. If not, I keep changing it and printing it out till it is right for my project. Use the same piece of paper so there's little waste. Just put a different end of the paper into the printer each time. You can have four goes at experimental printing this way. I also like that stationery is usually fairly translucent so you can see where you are placing your element on a page or other papercraft project
- Once I am happy with my image or saying, I feed a piece of
acetate or OHP film into the printer so that it will be printed on the
smooth side. There's a smooth and a rough side of OHP film - make sure
your image gets printed on the smooth side.
- For my project, I chose a
Stampin' Up! Window Sheet and before I fed it into the printer, I taped
it to a piece of ordinary stationery with birdie Washi Tape. You can purchase Window Sheets and Washi Tape from my Stampin' Up! store if they are still available
- Convert your image to a mirror image or flip it horizontally and set the printer to best quality so you get a nice, thick covering of ink
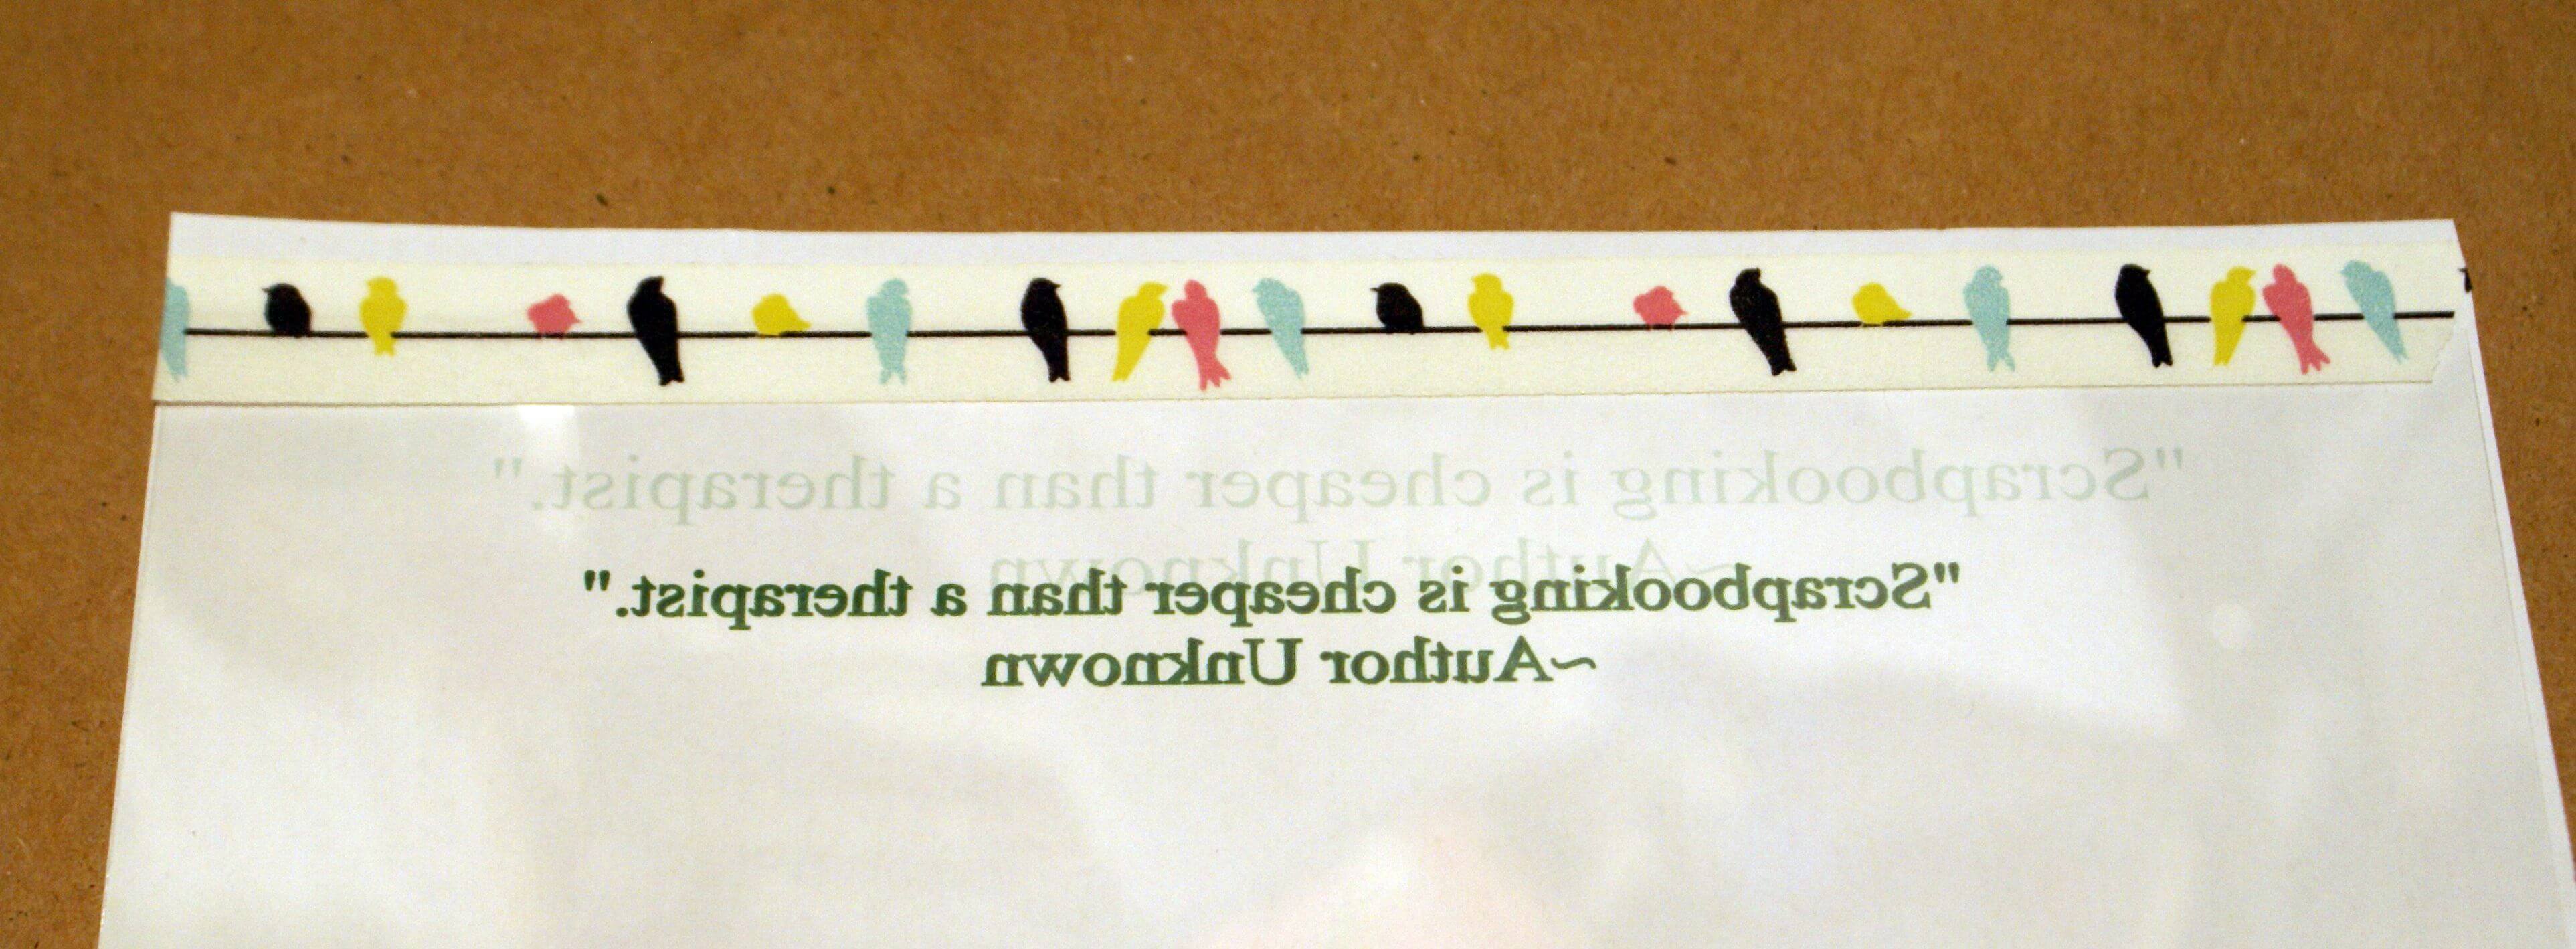
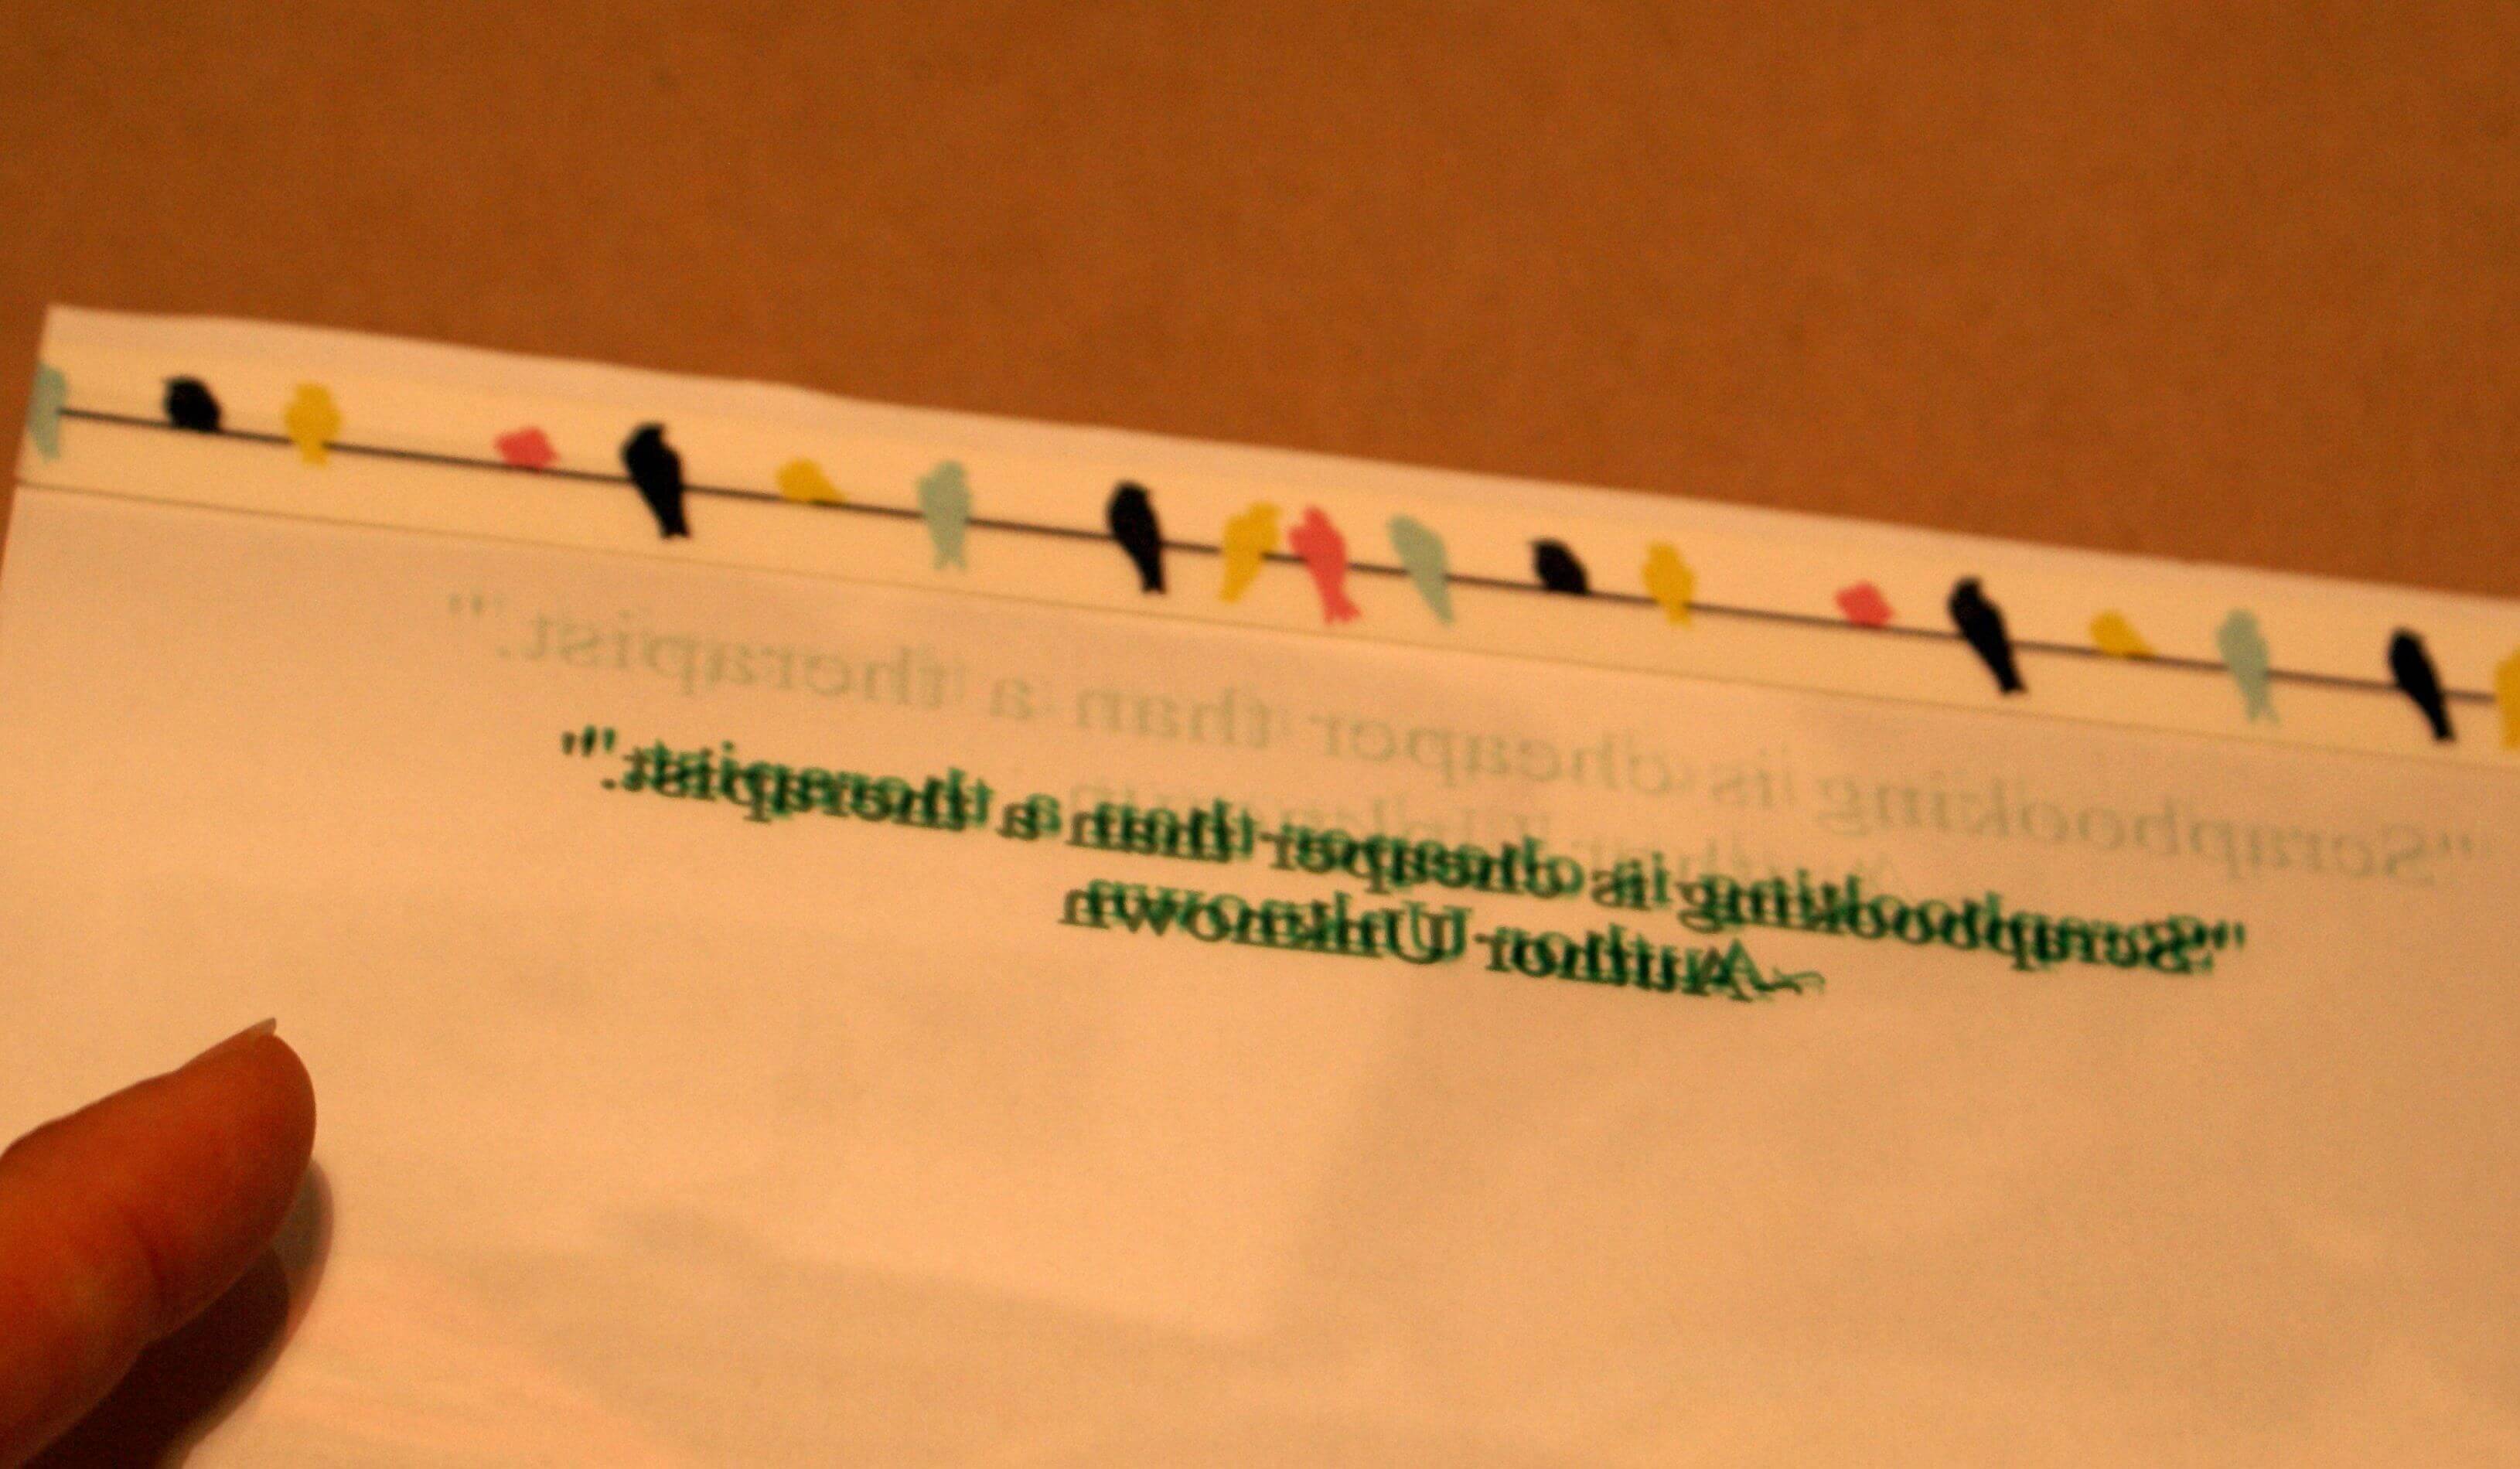
- Print out your image or saying on the acetate - remember it will be a mirror image of what you want right now
- Let the image dry for about 10 minutes. If you touch it, it will smudge at this stage
Now, how do you use these embellishments on your paper craft projects?
Rub ons are useful for:
- Being placed onto items that cannot be put through a printer (have you tried putting a hand made box or a 12" x 12" scrapbook page through an ordinary printer lately??) or
- Applying finishing touches to scrapbook pages and cards
- Adding embellishments to boxes, wood pieces and many more surfaces
There are actually heaps of places you may find to use them.
Here's how to apply them:
- Find a wooden ice cream stick. (If it happens to be inside an ice cream at the moment, never fear! Eat the ice cream first then clean and dry the stick. That's called repurposing. Lol! On the other hand, the back of a clean spoon or your bone folder will also work
- Position the rub on, smooth side down, on your project. Your words should now read the right way round and your images should be facing the right way, the way you want them to appear on your project. Tape the acetate down so it won't move while you are rubbing it.
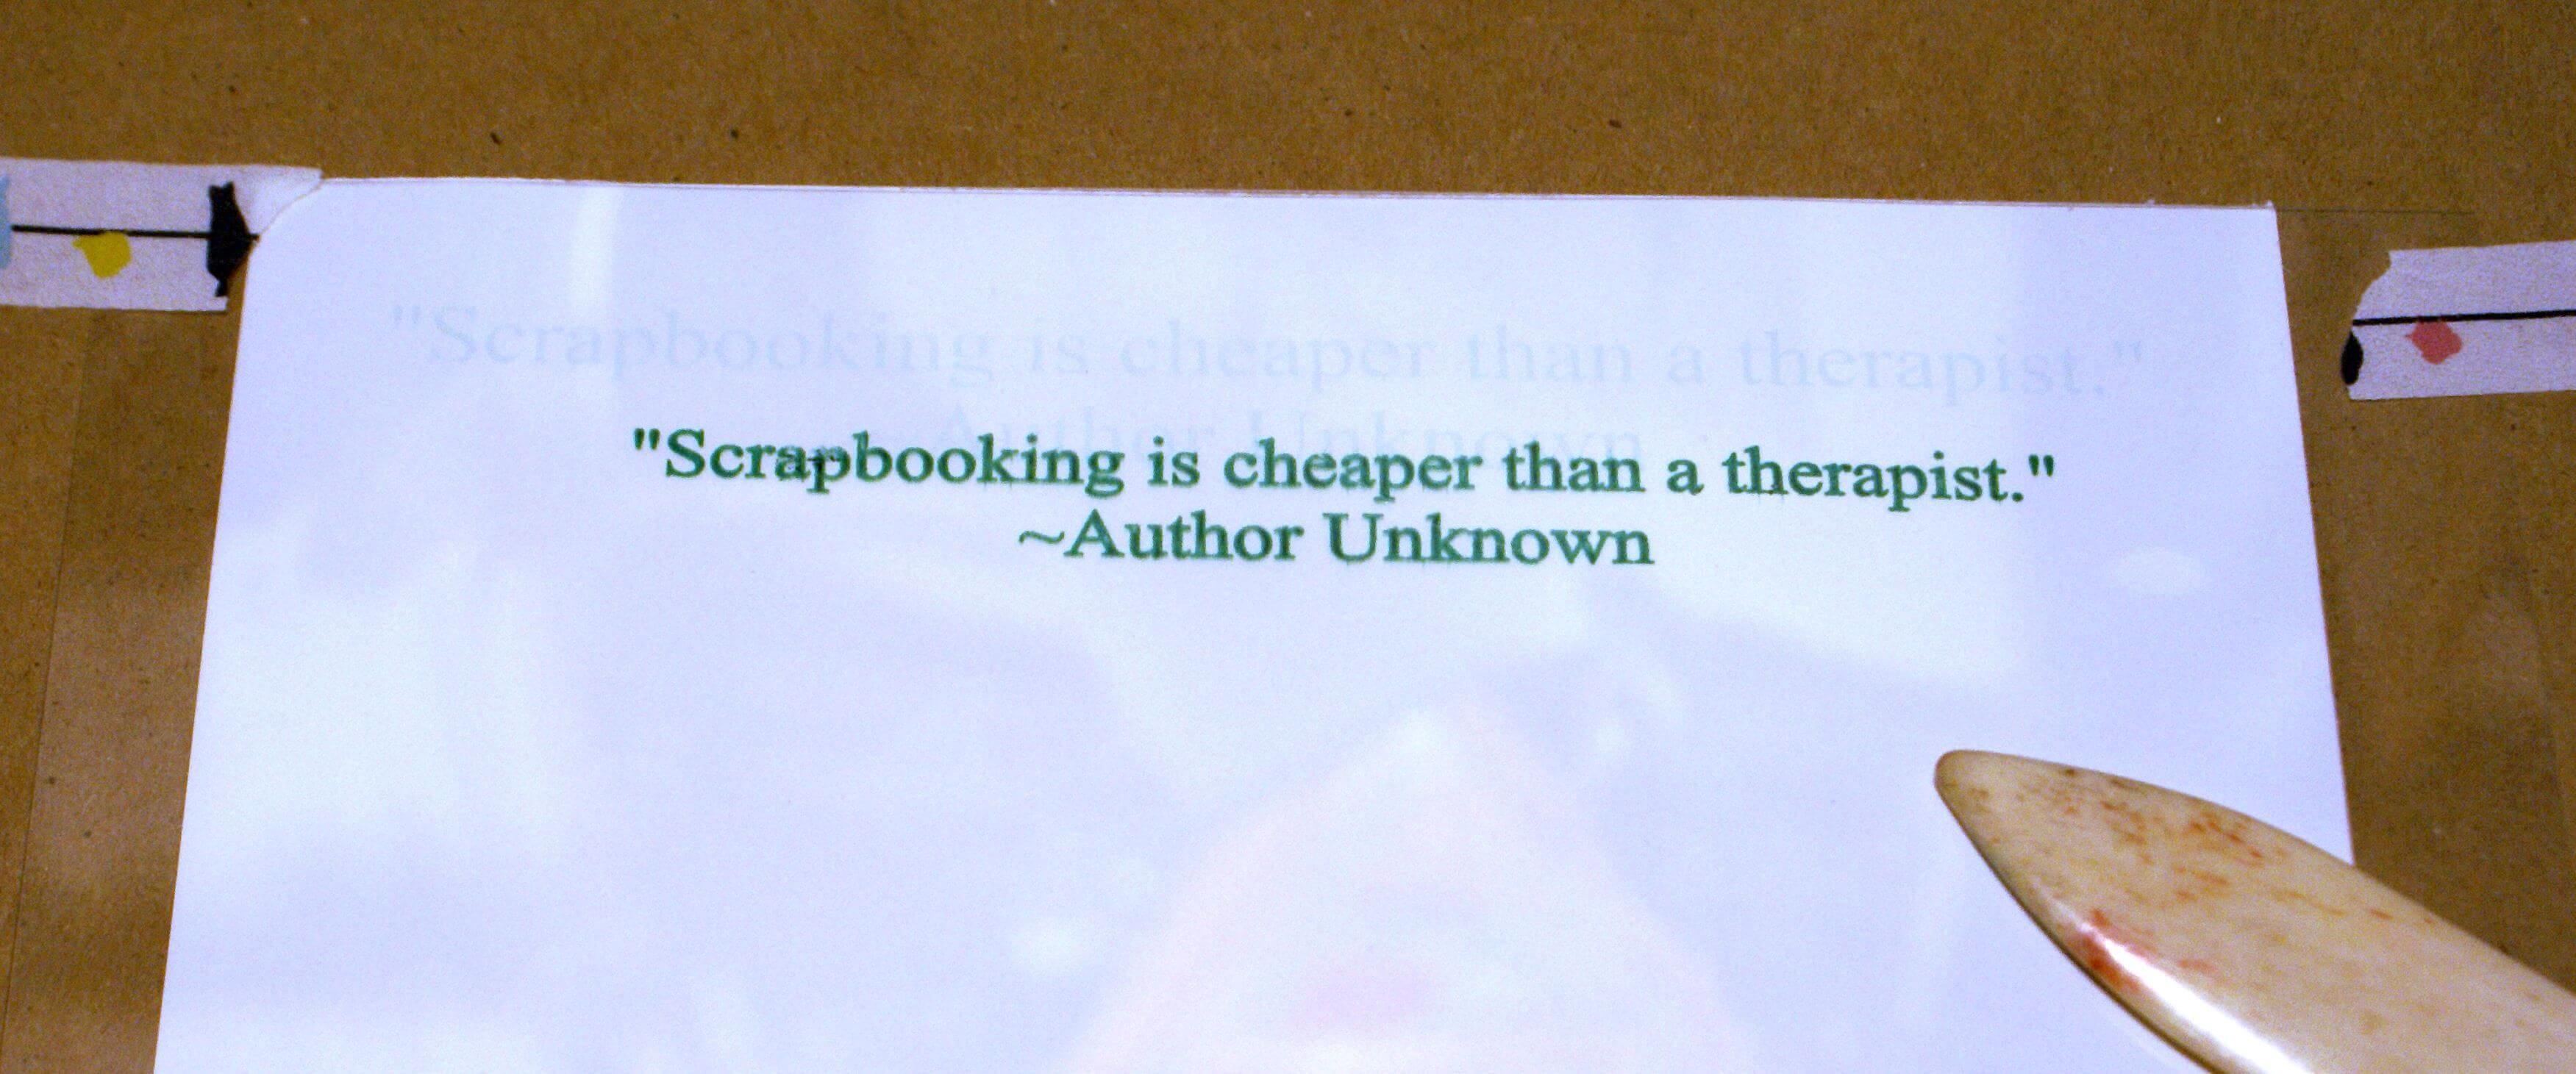
- Use your clean, dry ice cream stick (or bone folder or spoon) to apply even and firm pressure on the image or word. Try to just move the stick horizontally across your image
- Keep pressing with the stick until the image leaves the acetate and adheres to your project. Carefully lift part of the acetate when you think the image or words have been transferred, and if not, put the acetate back in the same place and rub some more. If you have not lifted the entire piece of acetate, re-positioning it is much more accurate
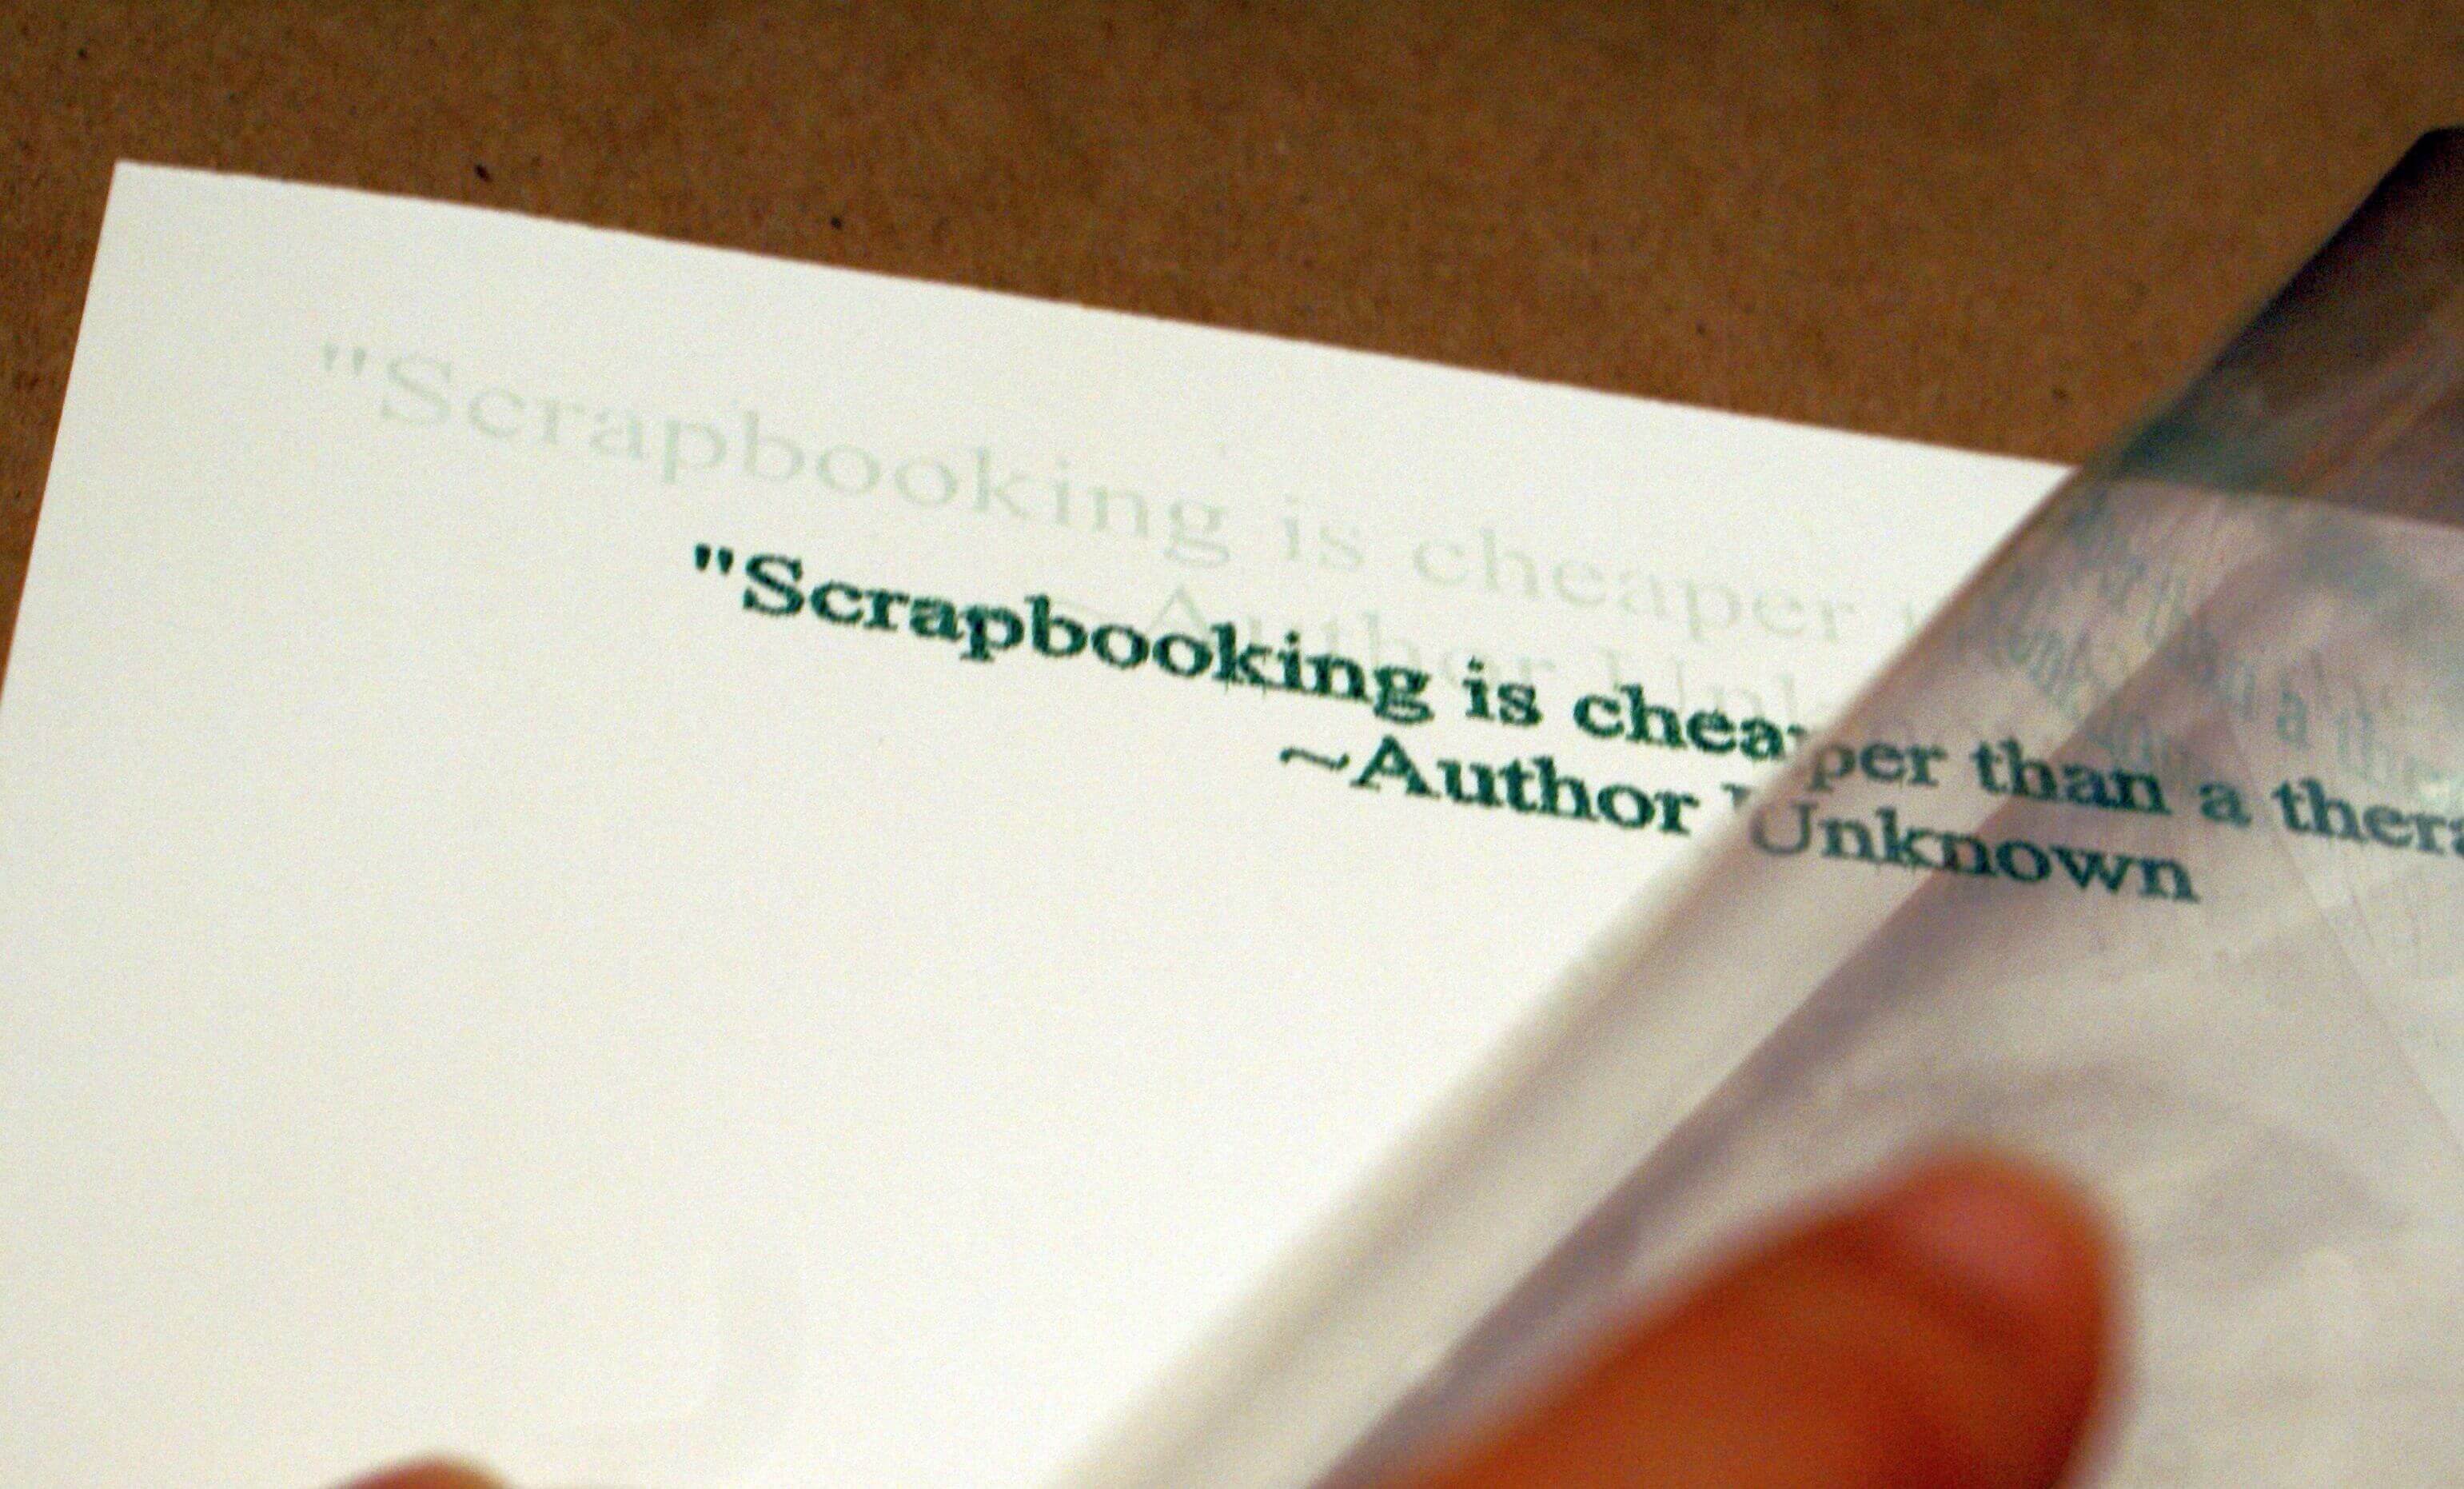
- Once you have placed the transfer on your project, any residue on your acetate can be wiped off with a tissue or no alcohol baby wipe and the acetate will be ready to be used to make your next custom-made transfer
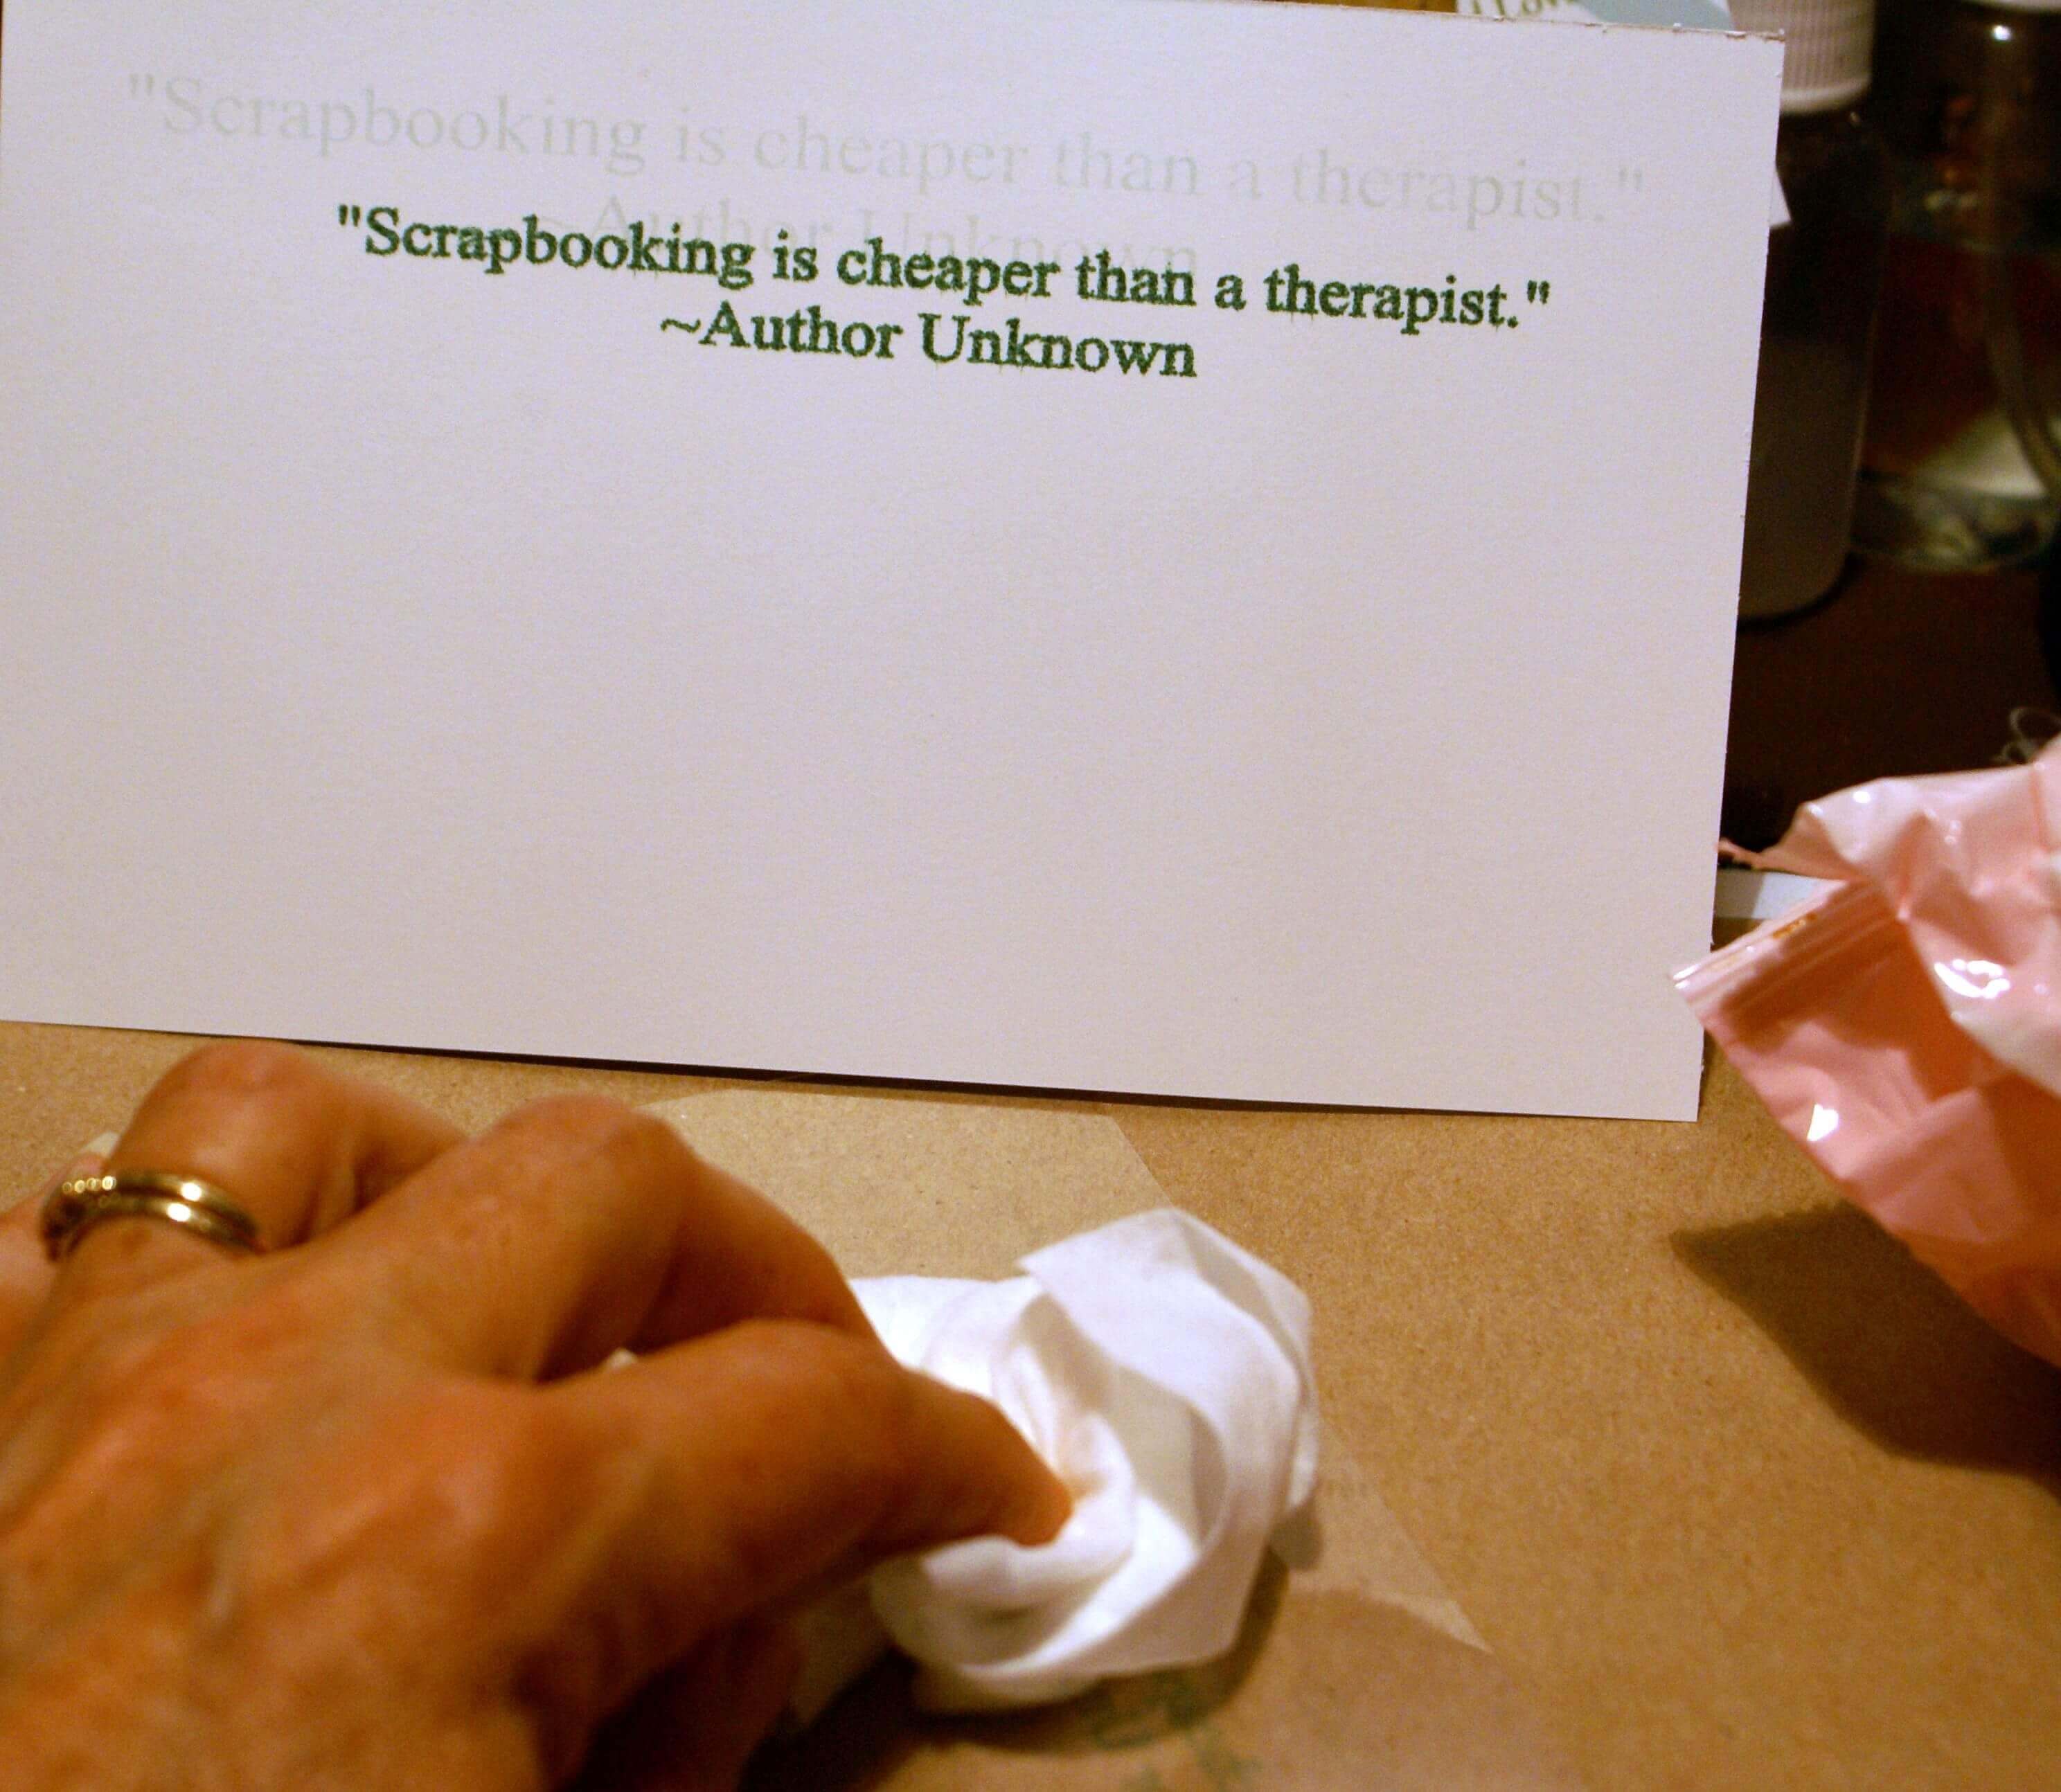
Now your transfer has been positioned firmly on your project, stand back and admire it!
Who would have thought making your own Rub Ons could be so easy?
If you want more ideas for how to use these on items that may not go through a printer, you can see them here:
Do let me know if you make any rub ons yourself by telling me about it in the form below, especially if you find a new way of using them. Share your tips and ways of using your handmade, customised rub ons.
Do You Have a Papercraft Hint or Tip to Share?
Do you have a hint or tip to share about papercrafting? Please do share it below.
What Other Visitors Have Said
Click below to see contributions from other visitors to this page...
Making Your Own Rub Ons With A Laser Printer Not rated yet
Hi,
Thank you for your tutorial on making your own rub on transfers... please could you tell me if you used an inkjet printer or laser printer for …


New! Comments
Have your say about what you just read! Leave me a comment in the box below.