- Home
- Papercraft Adhesives
- Baby Cards
Baby Cards
Written and Created by PaperCraftCentral Susan
Baby cards are one of my favourite greetings to make!
"
A baby has a special way of adding joy in every single day".
~Author Unknown
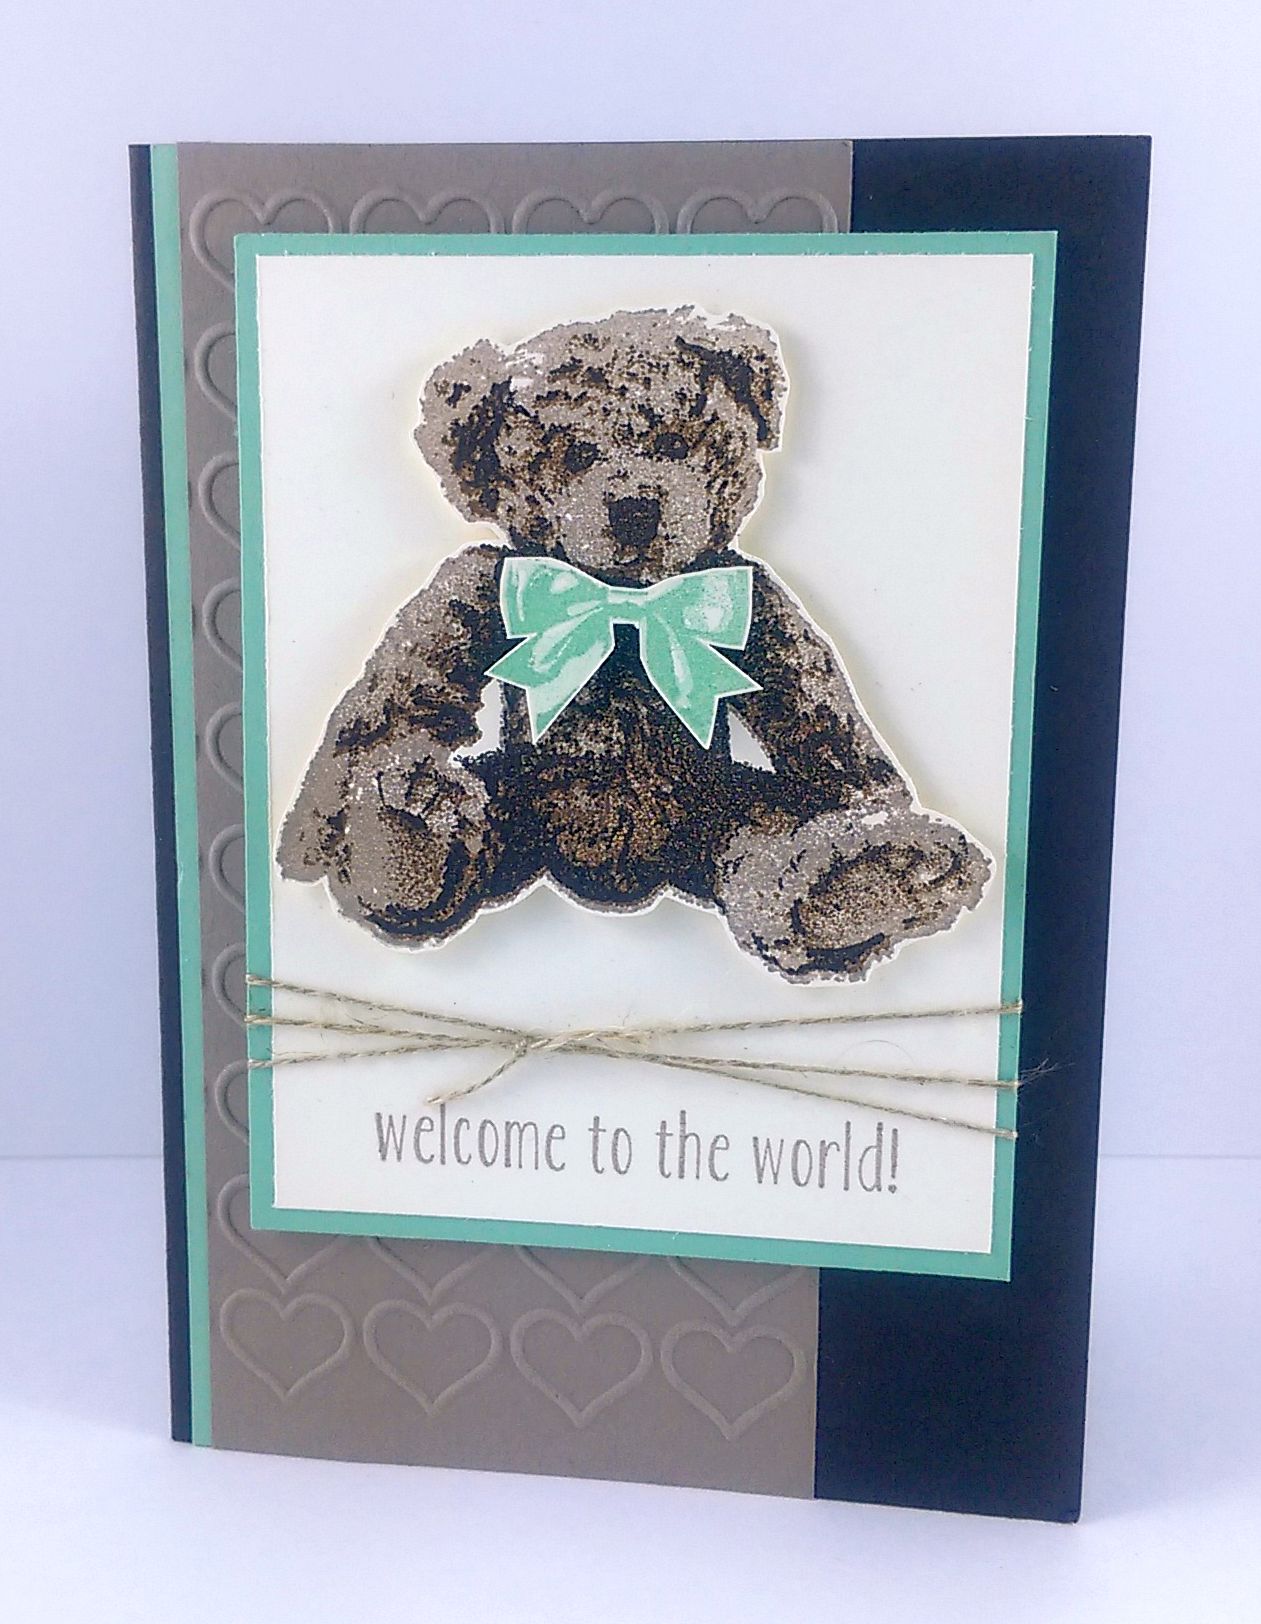
Baby cards and teddy bears just seem to go together in my mind. Do you think that way?
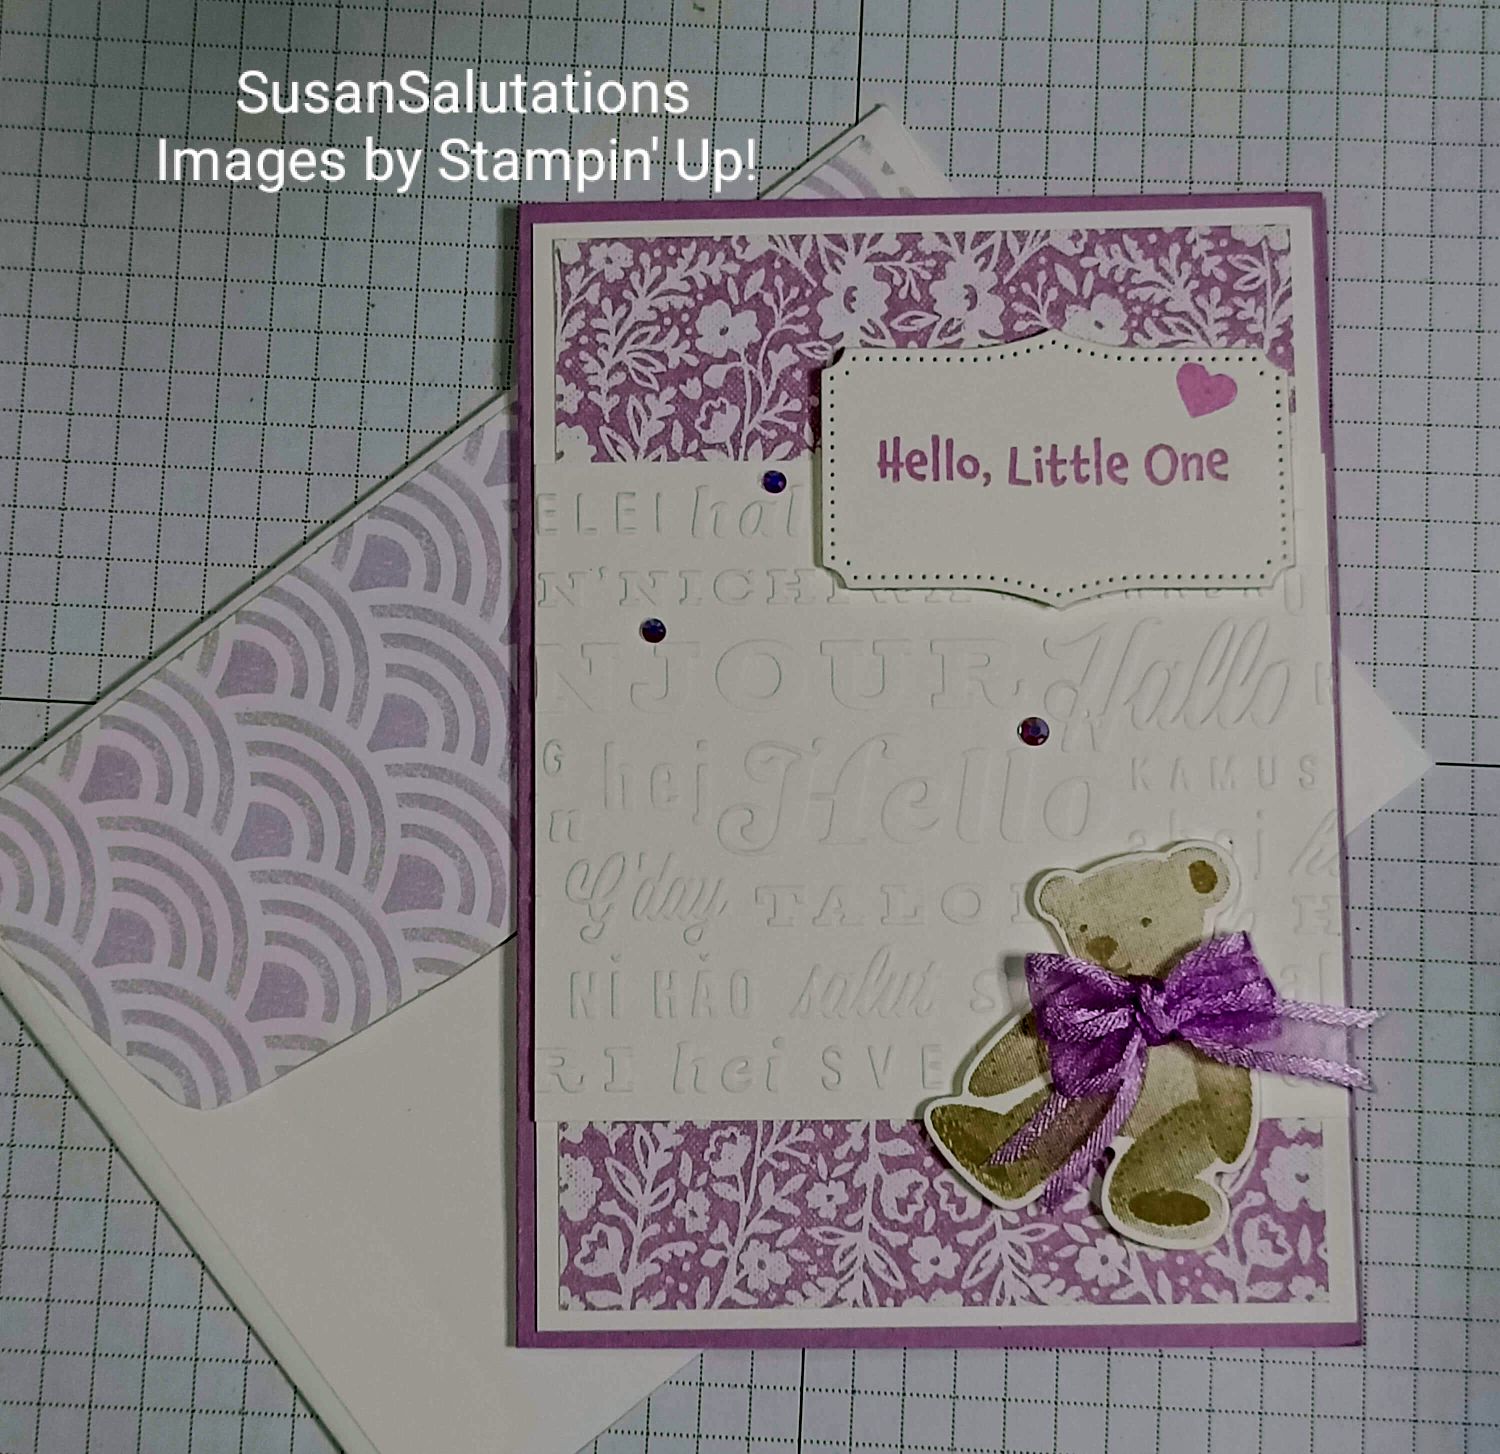
The All For Baby stamp set and dies from Stampin' Up! are retired now, but I sure do dig it out of my stash when I need a special little card for a new arrival.
The stamp did all the work for this teddy. It was already shaded in just the right places. I also had the coordinating die to cut it out with so this card was relatively quick to make, once I decided what I wanted.
Notice the dry embossed background and the Designer Series Paper I framed that with?
The sentiment and heart were stamped and the tag cut out with a die.
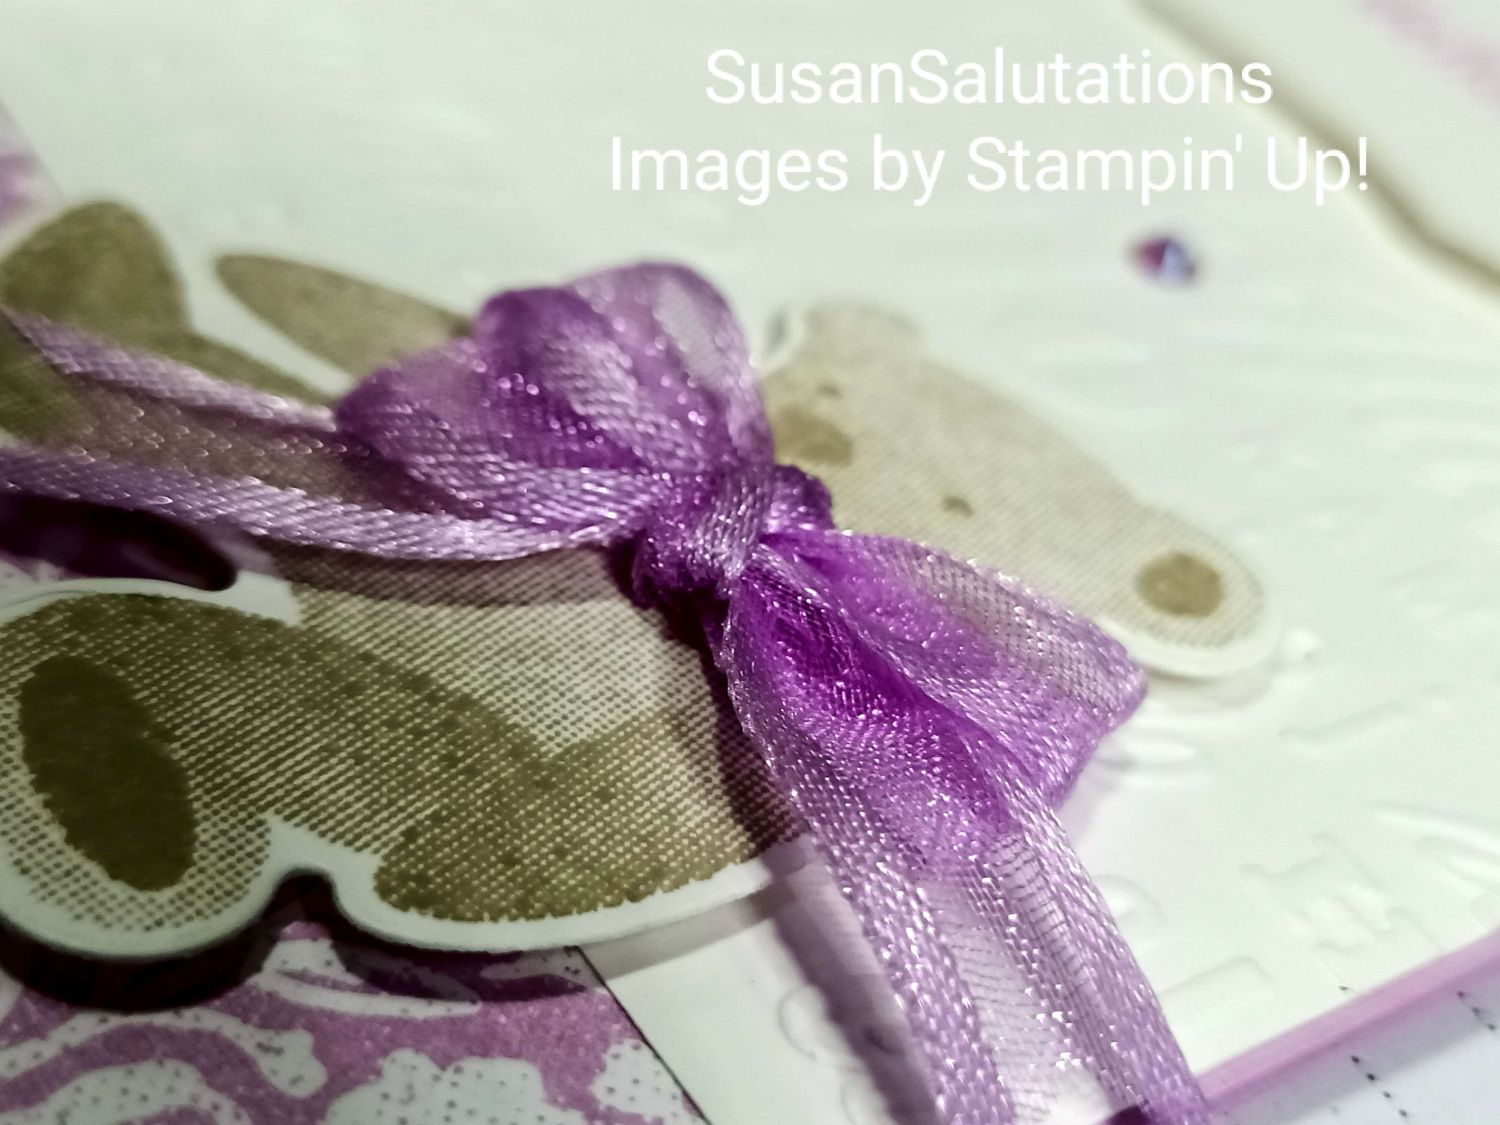
I finished the card with a bow around teddy's neck then added some pretty sparkle gems.
This is a detail of the soft ribbon I tied into a double bow for the gorgeous purple teddy bear card:
I like the teddy in this stamp set a lot, so I made another baby card in different colours. This time I used strips of pastel shades of cardstock and designer series paper to create part of the background.
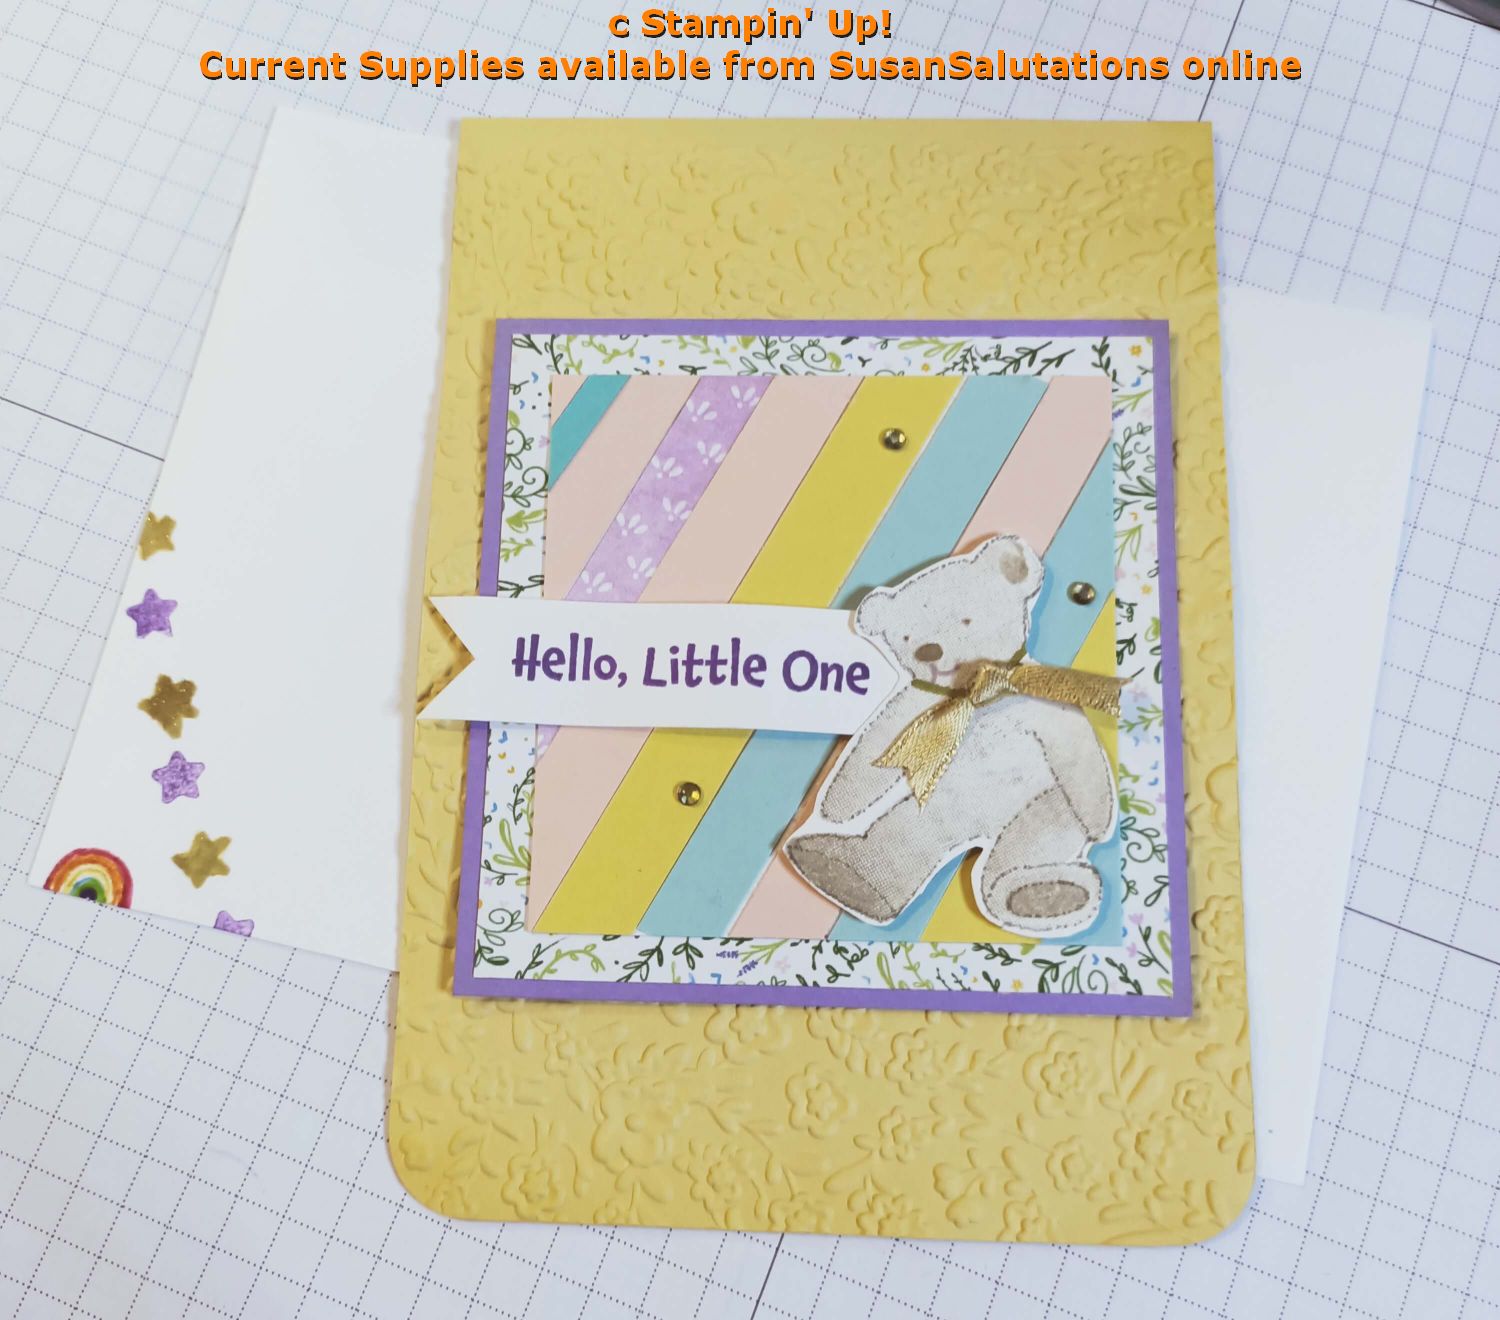
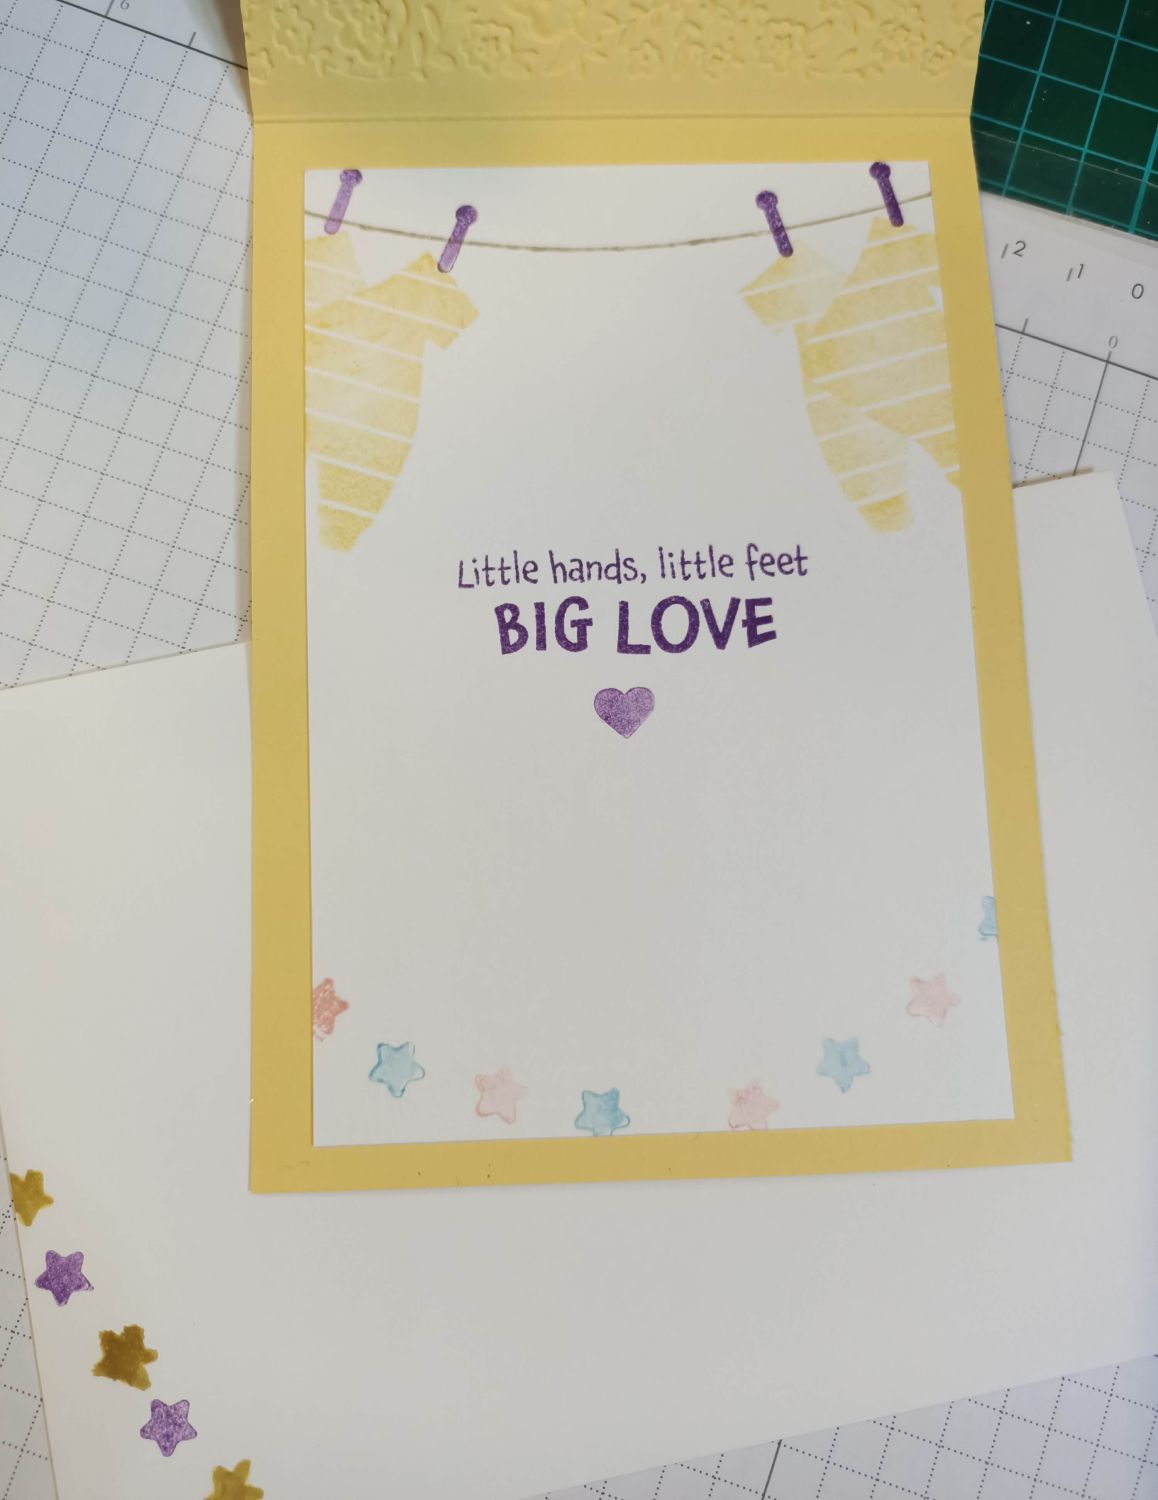
Again, I used an embossing folder for the background and you can see in the picture below that it also shows through inside the baby card.
I rounded the corners of this greeting card, and I created a little clothesline with baby clothes on it with the stamps. I loved the little pegs in this set!
There's something so amazing about a new little one and handmade cards can help to make the occasion of a child's birth an even more special event. Often the new mother will keep such a handmade greeting cards as a memento to show their child later in life, or just to re-live the joy of welcoming a new member of the family.
So make them as special as you can. :)
Traditionally, the colours are pink for girls and blue for boys and yellow if you don't know the gender of the baby yet, but these days you can find cards with almost any pastel or even bold colour on them. My teddy bear is brown, after all!
Crafters are often more adventurous with colour, using bold brights and even black and white colour themes. So don't be limited by tradition unless you want to be.
I still like soft pastel colours and often use mauves and pale yellows or pinks.
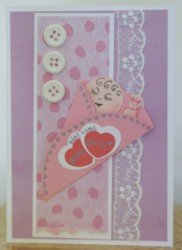
Babies in Blankets
For this card I wrapped my baby in a paper blanket.
You can customise the blanket you wrap your babies in with designer series paper and/or embossing folders too.
Think of ways to make the blanket edges fancy as well with a punch or a die cut shape. For example, a scalloped circle would make the edges cuter.
I decided to draw a small design on mine with a Stampin' Write! Marker though.
What if you have twins or triplets born in the family? It's a lot of fun to make your own embellishments showing babies in blankets.
Here I have made a boy twin card using the baby blanket embellishment idea, and you can see that it would be possible to use this idea for any multiple birth event:
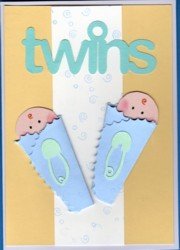
How to Make Baby Cards with Blanket Embellishments:
- First, punch out a small circle of flesh coloured cardstock (such as Petal Pink) and cut a larger circle to make the blanket. I used decorative scissors to cut mine out
- Next, take the thin end of a Stampin' Write Marker and draw some cute little eyes (simpler seems better) and the suggestion of a nose on the smaller circle, adding a curl if you wish.
- I added pale pink chalk on their cheeks as well. If you have some blush in your make up kit, you can use a cotton bud to make your baby's cheeks sweet. Otherwise carefully use a sponge dauber and a little ink
- Now take the larger circle and place the little head in one section (adhere it down now, using a Stampin' Dimensional if you wish), then fold over the larger circle to make a blanket.
- Adhere the blanket in place
Now you can use your baby embellishment on your baby card or in your infant's scrapbook album.
Want another idea? Perhaps you'd like to know how I made this card:
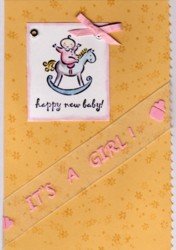
I love to use cute stamps on my handmade greetings for new mothers as well.
Here I have used a small cute stamp (stamped in black Stazon ink (so colouring the image wouldn't cause it to run) of a rocking tot on Basic White cardstock, coloured in with pastel chalks and a blender pen, then matted on a coordinating colour of cardstock. I chose a pretty ribbon to highlight the main image.
Finally, I placed the image on a card base and added a brad and another little ribbon.
Voila! All done!
Here's a card I made for one of my own grandsons using a sketch that had three square embellishments down one side.I punched those squares out but if you have square dies they would work too.
However you decide to make your handmade baby cards for newly arrived little persons, you are bound to make a special occasion even better.
If you need a baby cards stamp set, check out my SusanSalutations shop online for all the latest cuteness.
When you do make your cards for the newest little members of your circle, would you inspire me back by sharing them with me here? Thank you :)
Do You Have A Favourite Handmade Card to Share?
Do you make greeting cards? Please do share it with me.
You may enjoy seeing these projects too:
- Faux Flannel Blanket card
- Teddy Bear Card with punches
- Baby Gift Tags
Return from Baby Cards to Special Occasion Cards |Return to PaperCraftCentral Home Page


New! Comments
Have your say about what you just read! Leave me a comment in the box below.