- Home
- Papercraft Adhesives
- Heirloom Recipe Card Ideas
Recipe Cards
Written and Created by PaperCraftCentral Susan
Personalised Recipe Cards make anyone's cooking days seem brighter! You can even start a tradition and immortalize some favourite family recipes this way.
"Lentils are friendly —
the Miss Congeniality of the bean world."
~Laurie Colwin
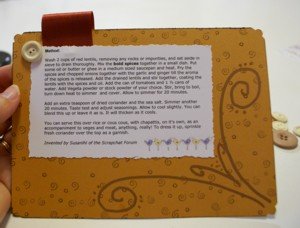
My Savoury Lentils - Made for a Healthy Recipe Cards Swap
If you have some heirloom recipes or some family favourites, why not make up your own personal cook book, album or box with some like these? You probably already have your scrap book or cardmaking supplies, so it is just a little shift of the mind to adapt them to making recipe index cards.
There are plenty of reasons to use this idea as a delightful and practical gift for someone too. For instance, I thought of
- making a batch of never-fail recipes up for a new bride, or
- for sending with your son or daughter as they leave the family home, or
- to show a grandparent how special their tastes of the kitchen are, and you may have even more ideas about how to use them.
You're bound to treasure them even more once you have created a scrapped version of your favourites!
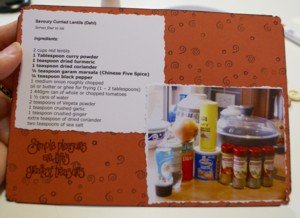
When you start making your collection, something to think about is the colour of the food you are going to scrap about. Here I used my savoury red lentil recipe, so I chose a rich red brown cardstock, rich brown ribbon and brads, and found rub ons in the colours that matched the cardstock and even the ingredient labels I photographed.
I can just imagine how pretty doing recipe cards in pink and yellow and lilac would be for a little girl's birthday cake recipe! A picture of a birthday cake on the card would really make it wonderful.
Here's what I used for my Recipe Card:
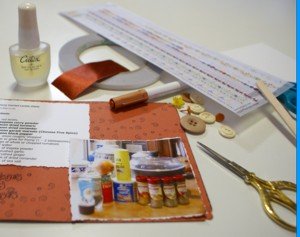
- A set of 5" x 7" blank cardstock cards (about 12cm x 18cm)
- A healthy recipe and
- A picture of the ingredients I use in it.
- Typed instructions. I split the ingredients from the method so I could place the list of ingredients on one side of the card and put the method on the other side
- Cardstock, inks, embellishments of choice such as:
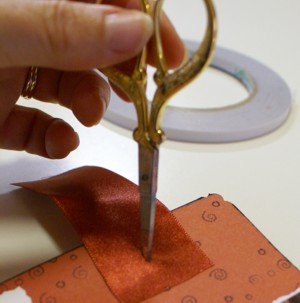
- Ribbon
- Deckle-edged scissors
- double-sided tape
- A corner punch if you like
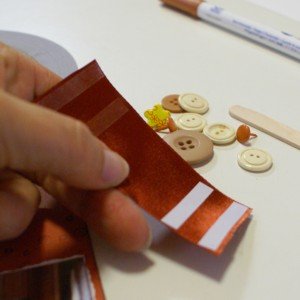
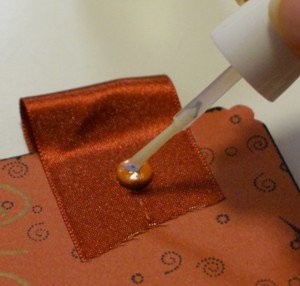
- Brads, buttons
- Rubber Stamps
- Sharp-nosed scissors
- Metallic pens
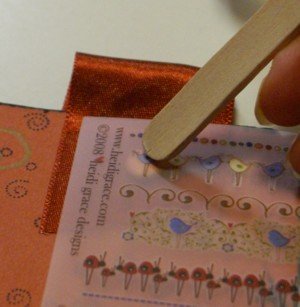
- Rub-Ons
- Clear Nail Polish or other sealant or even contact paper to make the card more durable and cleanable
Here's What I Did:
First I used the deckle-edged scissors to cut around these elements I had already made:
- my photos
- list
of ingredients
- method
I measured them so they would fit where I wanted them to
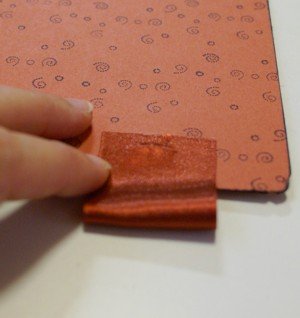
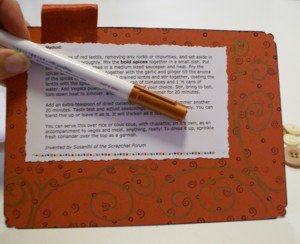
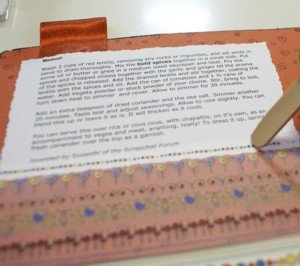
Once you have made one of these, it is likely you will want to have more. What a good excuse to make a decorative box or album to keep them all safe in!
Preserving Heirloom Recipes for your family never felt so good.
If you want more tips about how to preserve family heirloom recipes, try the Archival Methods Blog, especially this page.
However you decide to make them. enjoy making your personalised recipe cards.
Here are a couple more Recipe Cards I made for your inspirational pleasure:
Return from Recipe Cards to Scrapbooking | Return to PaperCraftCentral Home Page


New! Comments
Have your say about what you just read! Leave me a comment in the box below.